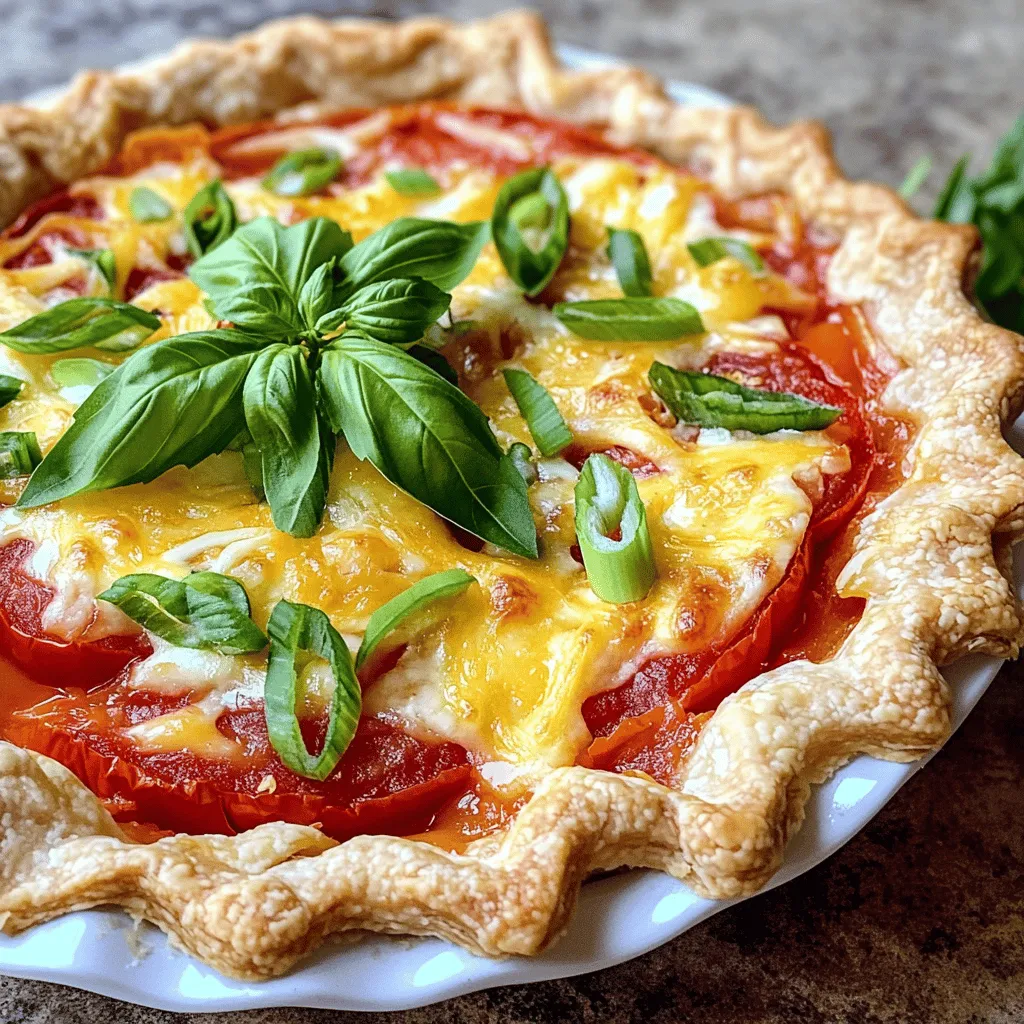
If you crave comfort food packed with flavor, you’ll love Paula Deen’s Tomato Pie. This dish combines ripe tomatoes, creamy cheese, and fresh herbs in a simple pie crust. Whether you’re a seasoned cook or a kitchen newbie, this recipe is both easy and satisfying. Join me as we explore how to make this savory delight, plus tips for adding your unique twist! Let’s dive in!
Ingredients
To make Paula Deen’s Tomato Pie, you need fresh and simple ingredients. Each one adds to the pie’s rich taste. Here’s what you will need:
– 1 pre-made pie crust
– 4 large ripe tomatoes, sliced into 1/4-inch rounds
– 1 cup shredded mozzarella cheese
– 1 cup shredded sharp cheddar cheese
– 1/2 cup mayonnaise
– 1 tablespoon Dijon mustard
– 1/4 cup fresh basil, chopped (plus extra for garnish)
– 1 teaspoon garlic powder
– Salt and freshly cracked black pepper to taste
– 1/4 cup green onions, finely chopped
These ingredients come together to create a dish that is both savory and comforting. The ripe tomatoes provide juiciness, while the cheeses offer a creamy texture. Mayonnaise and Dijon add a slight tang that balances the flavors. Fresh basil and green onions give an aromatic touch that makes each bite refreshing. This pie is truly a celebration of simple ingredients that turn into something special.
Step-by-Step Instructions
Preparation
– Preheat the oven to 375°F.
– Prepare the pie crust. Fit it snugly in a pie dish. Use a fork to poke holes in the bottom. This helps prevent bubbles when baking.
Layering the Ingredients
– Start with a layer of sliced tomatoes. Use half of the tomatoes. Spread them evenly across the crust.
– Sprinkle salt and black pepper on the first layer. This brings out the flavor.
– Next, spread half of the creamy mixture over the tomatoes. Make sure to cover them fully.
– Add half of the mozzarella and cheddar cheese on top of the creamy layer. This adds a nice texture and flavor.
– Repeat the same steps with the rest of the tomatoes, creamy mixture, and cheese.
Baking the Pie
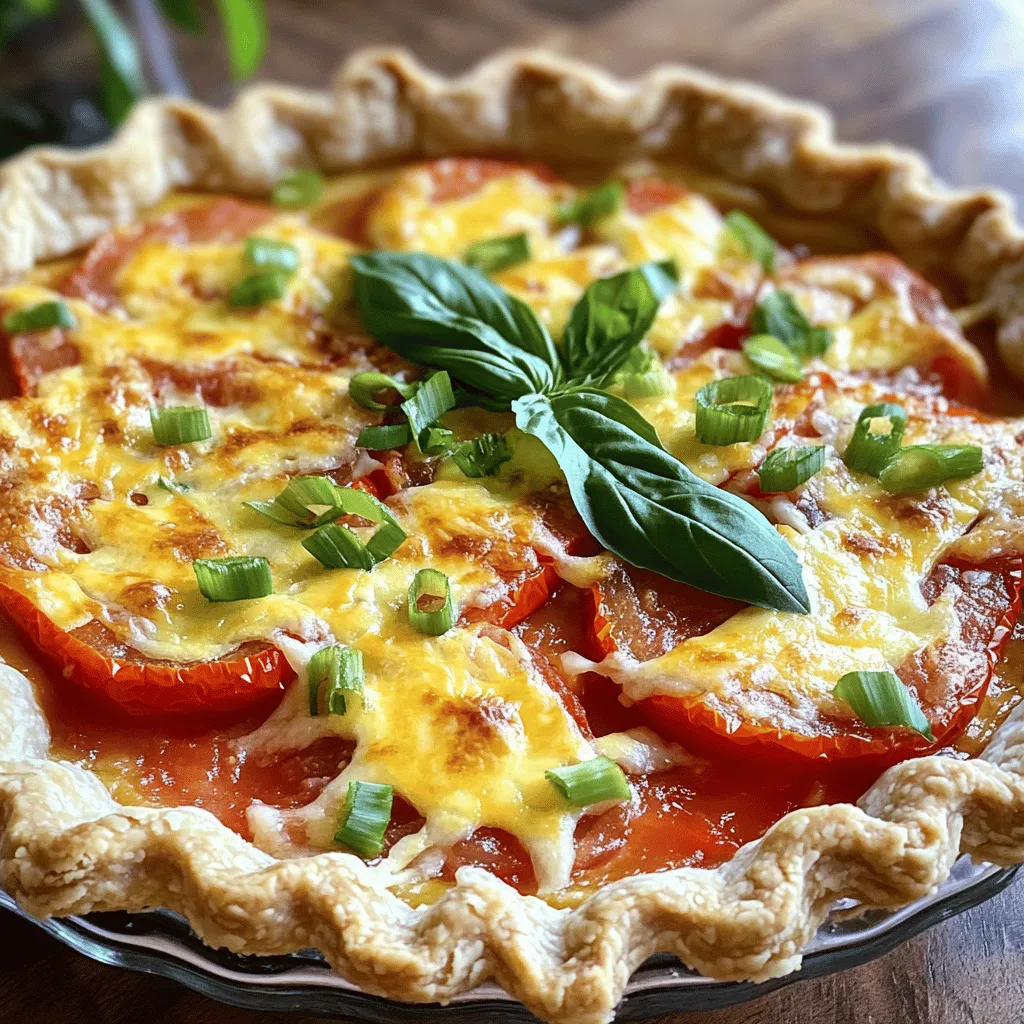
– For the final touch, sprinkle chopped green onions and extra basil on top of the cheese. This adds color and taste.
– Place the pie in the oven and bake for 35-40 minutes. Look for a golden brown and bubbling top.
– Once baked, take it out and let it cool for 10 minutes. This makes it easier to slice. Enjoy your delicious pie!
For the full recipe, check the details above.
Tips & Tricks
Perfecting the Crust
To avoid sogginess, always prick the bottom of the crust before baking. This helps air escape. You can also bake the crust slightly before adding the filling. This gives it a head start. If you want to skip the store-bought crust, try making your own. A simple mix of flour, butter, and water works great!
Flavor Enhancements
Fresh herbs add a burst of flavor. I love using basil in this pie. You can also try oregano or thyme for a twist. For seasoning, don’t forget salt and pepper. They bring out the flavors of the tomatoes. Adding a splash of vinegar can balance the dish’s richness too.
Serving Suggestions
Serve this pie warm for the best taste. It pairs well with a light salad. A simple mix of greens with vinaigrette complements the pie nicely. You can also serve it with roasted veggies for a heartier meal. Enjoy it fresh for the best flavor and texture!
Variations
Cheese Substitutes
You can switch up the cheese in this pie. Try using gouda or fontina for a rich taste. Blend different cheeses for a unique flavor. For a vegan option, use cashew cheese or tofu. These options work well and keep the pie creamy and delicious.
Adding Protein
Want to add protein? You can include crispy bacon or cooked chicken. Both will give the pie a savory kick. For a vegetarian choice, use chickpeas or lentils. They add texture and boost nutrition without meat.
Seasonal Twists
Make this pie your own by adding different veggies. Try spinach, zucchini, or bell peppers for a fresh touch. You can also use seasonal herbs. Fresh thyme or dill can really brighten the dish. These twists keep your Tomato Pie exciting all year round.
For the full recipe, check the provided details and enjoy!
Storage Info
Refrigeration Tips
To store leftovers, let the pie cool completely. Cover it tightly with plastic wrap or aluminum foil. You can also use an airtight container. This keeps the pie fresh and prevents odors from mixing.
The shelf life in the fridge is about three to four days. After that, the flavors may fade. It’s best to enjoy Paula Deen’s Tomato Pie while it’s fresh.
Freezing Instructions
To freeze the pie, slice it first for easy servings. Wrap each slice in plastic wrap. Then place the slices in a freezer-safe bag or container. This way, they stay fresh and don’t get freezer burn.
For reheating, take the slice out and let it thaw in the fridge overnight. You can also reheat it directly from the freezer. Preheat your oven to 350°F (175°C). Place the slice on a baking sheet. Heat for about 20-30 minutes, or until it’s warm and the cheese is bubbly. Enjoy it hot for the best flavor!
FAQs
How do I make Paula Deen’s Tomato Pie gluten-free?
To make Paula Deen’s Tomato Pie gluten-free, you can use a gluten-free pie crust. Many brands offer ready-made options. You can also make your own crust using almond flour or rice flour. Just follow a simple recipe for a gluten-free crust. Ensure all your other ingredients are gluten-free as well.
Can I use canned tomatoes instead of fresh?
Yes, you can use canned tomatoes. However, the flavor and texture may change. Fresh tomatoes provide a bright taste and juicy texture. Canned tomatoes can be more watery. Drain them well and consider using less salt. This helps keep the pie from becoming too soggy.
What’s the best way to cut the pie?
To cut the pie cleanly, let it cool for about ten minutes. Use a sharp knife for even slices. Start from the center and work your way out. This will help keep the layers intact. Serve each slice on a plate for a nice presentation. Enjoy your savory slice!
This blog post showed you how to make a delicious tomato pie. We covered the key ingredients, the steps to prepare, layer, and bake your pie. You learned tips for the crust and flavor, along with variations for every taste. We also discussed how to store your leftovers safely.
By following these steps, you can create a dish that impresses and satisfies friends and family. Enjoy your cooking journey and share this delightful recipe with others!
