Desserts
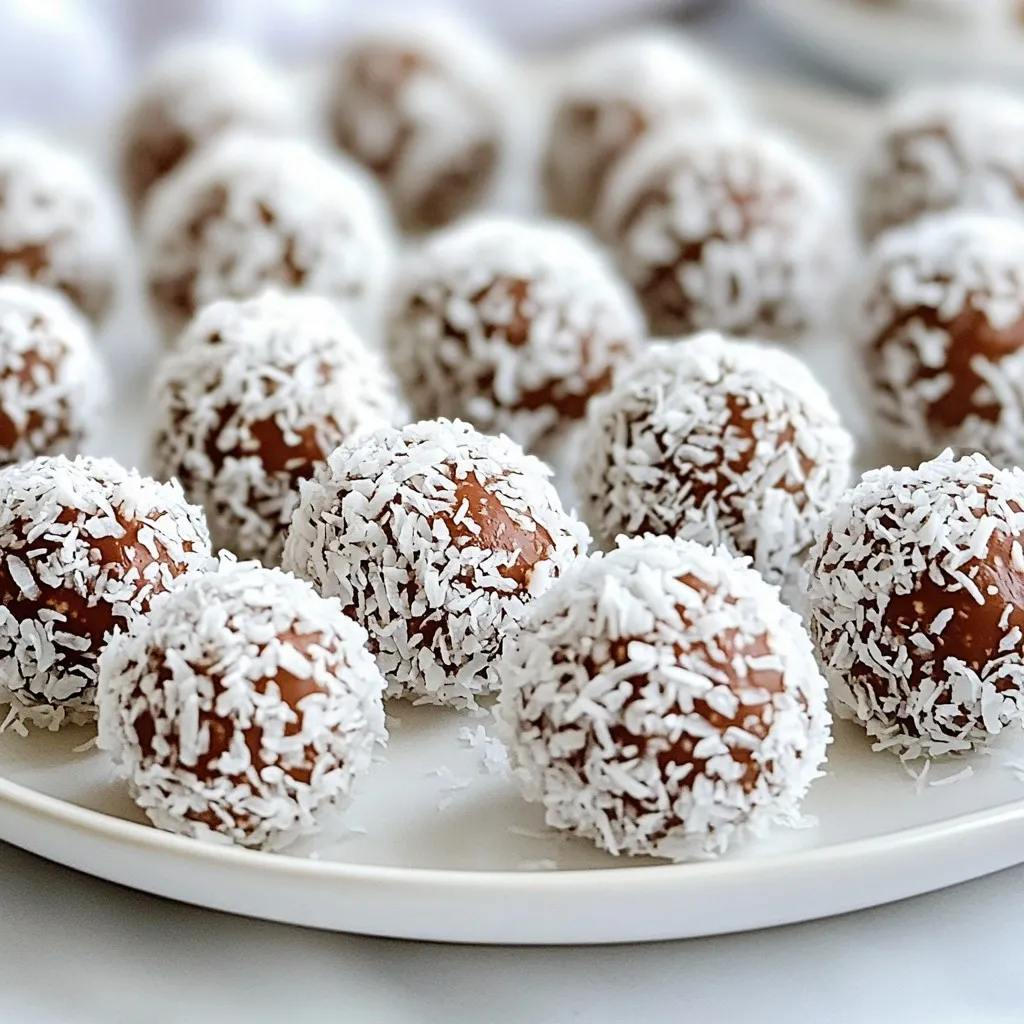
Chocolate Coconut Snowball Truffles Delightful Treat
Ready to indulge in a sweet and creamy delight? These Chocolate Coconut Snowball Truffles are the perfect treat for any occasion. With just a few
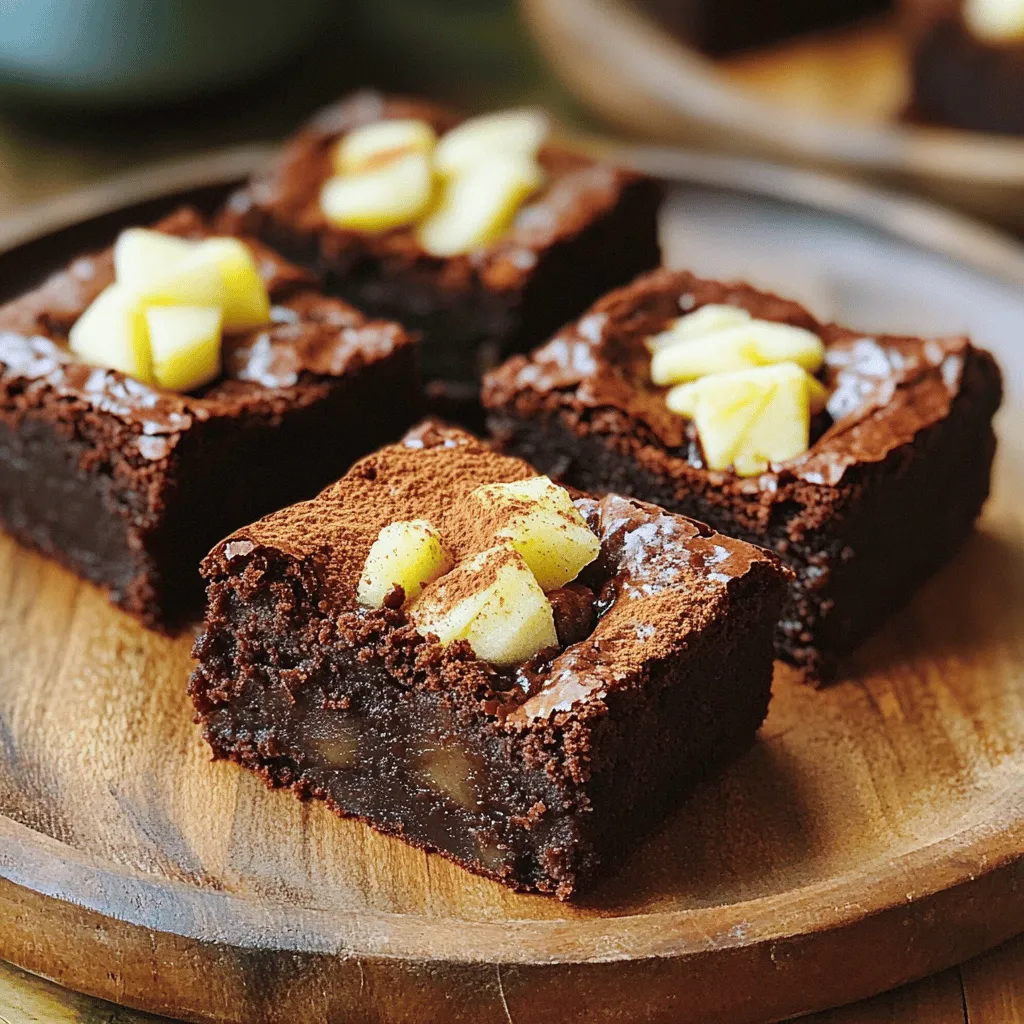
Sugar Free Apple Brownies Tasty and Guilt-Free Treat
Looking for a delicious treat without the sugar rush? You’ve found it! My Sugar Free Apple Brownies are a game-changer. They are rich, moist, and

Apple Zucchini Bread Delightful and Moist Recipe
Are you ready to bake a tasty treat that’s both delightful and moist? Apple Zucchini Bread is a perfect blend of flavors and textures. With
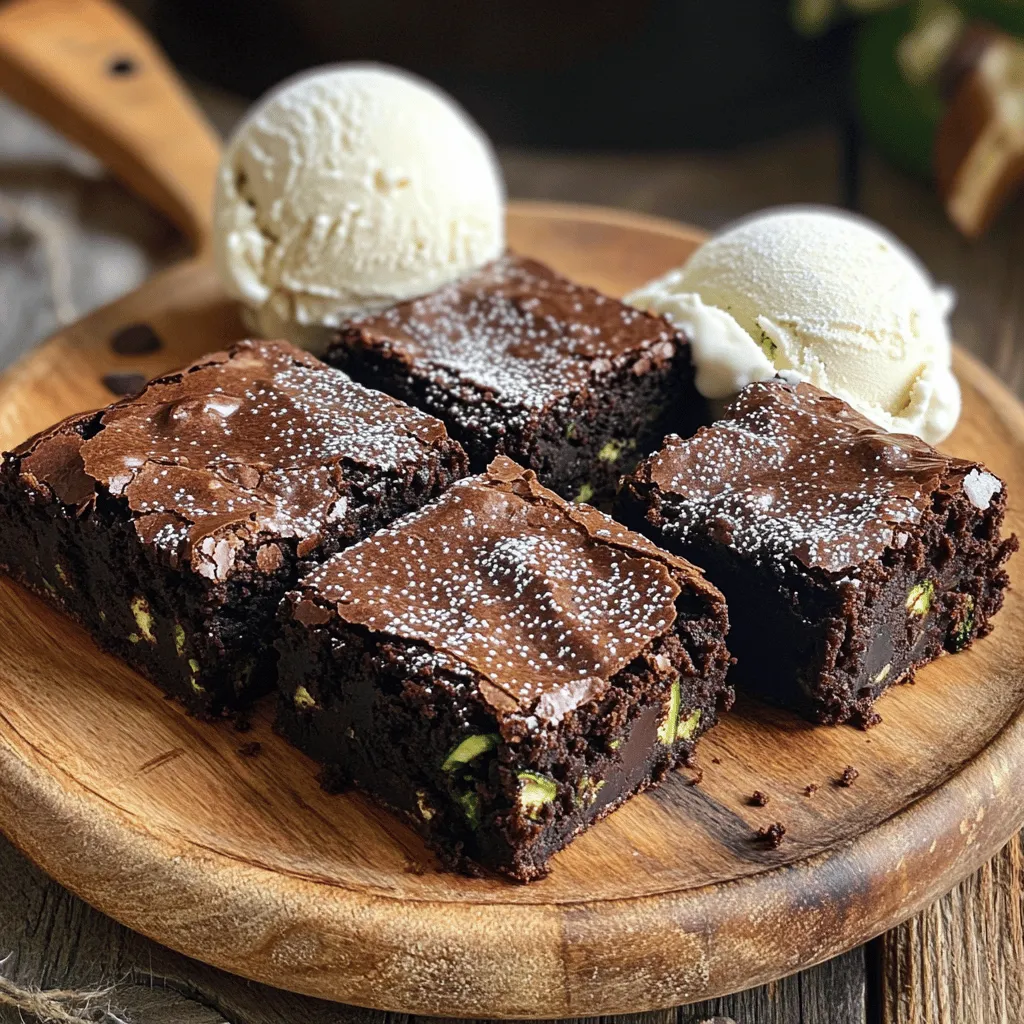
Zucchini Brownies Rich Flavor in Every Bite
Are you ready to transform your dessert game with a delicious twist? Zucchini brownies pack rich flavor and moisture in every bite. You won’t believe

Old Fashioned Peach Cobbler Delightful and Easy Recipe
There’s nothing quite like a warm slice of Old Fashioned Peach Cobbler. This delightful treat is easy to make and brings comfort to your kitchen.
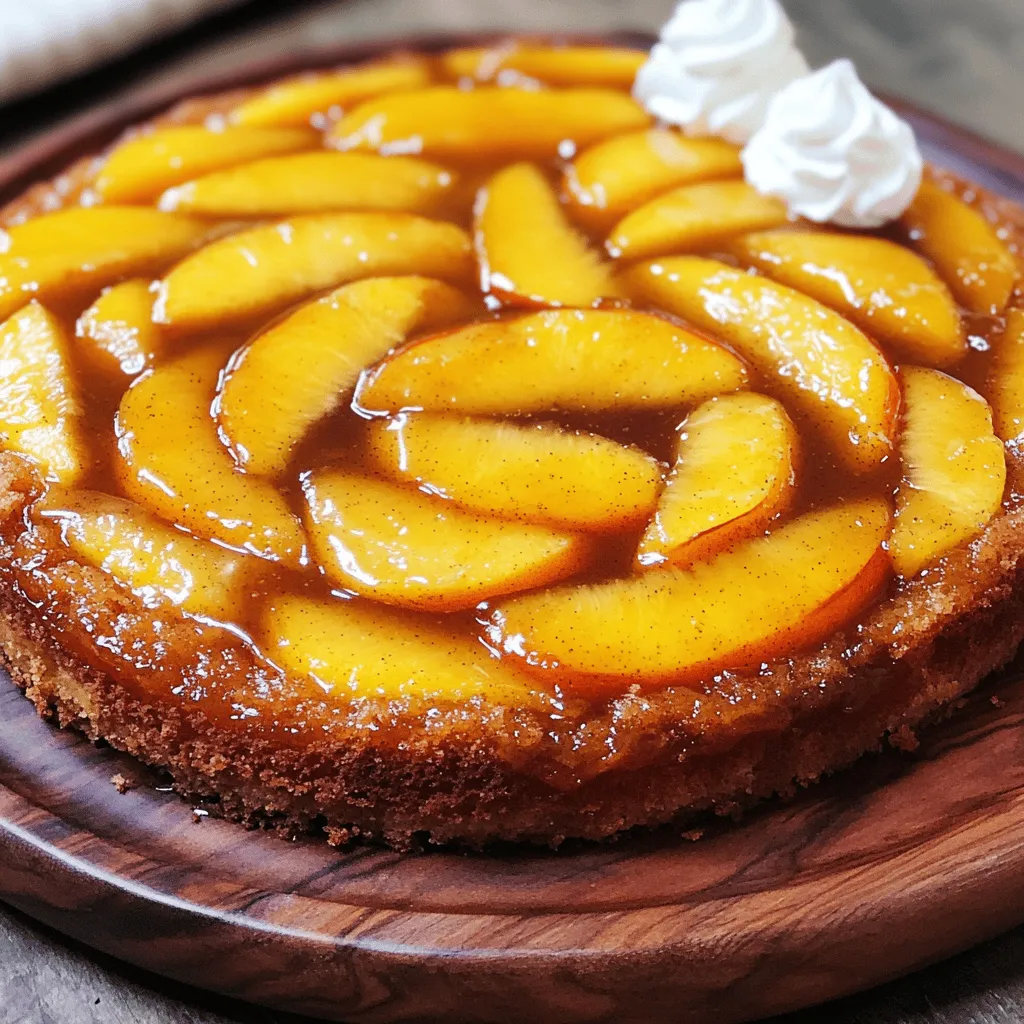
Peach Upside Down Cake Simple and Soft Delight
Are you ready to bake a Peach Upside Down Cake that is simple, soft, and oh-so-delicious? This classic dessert showcases the sweet, juicy flavors of
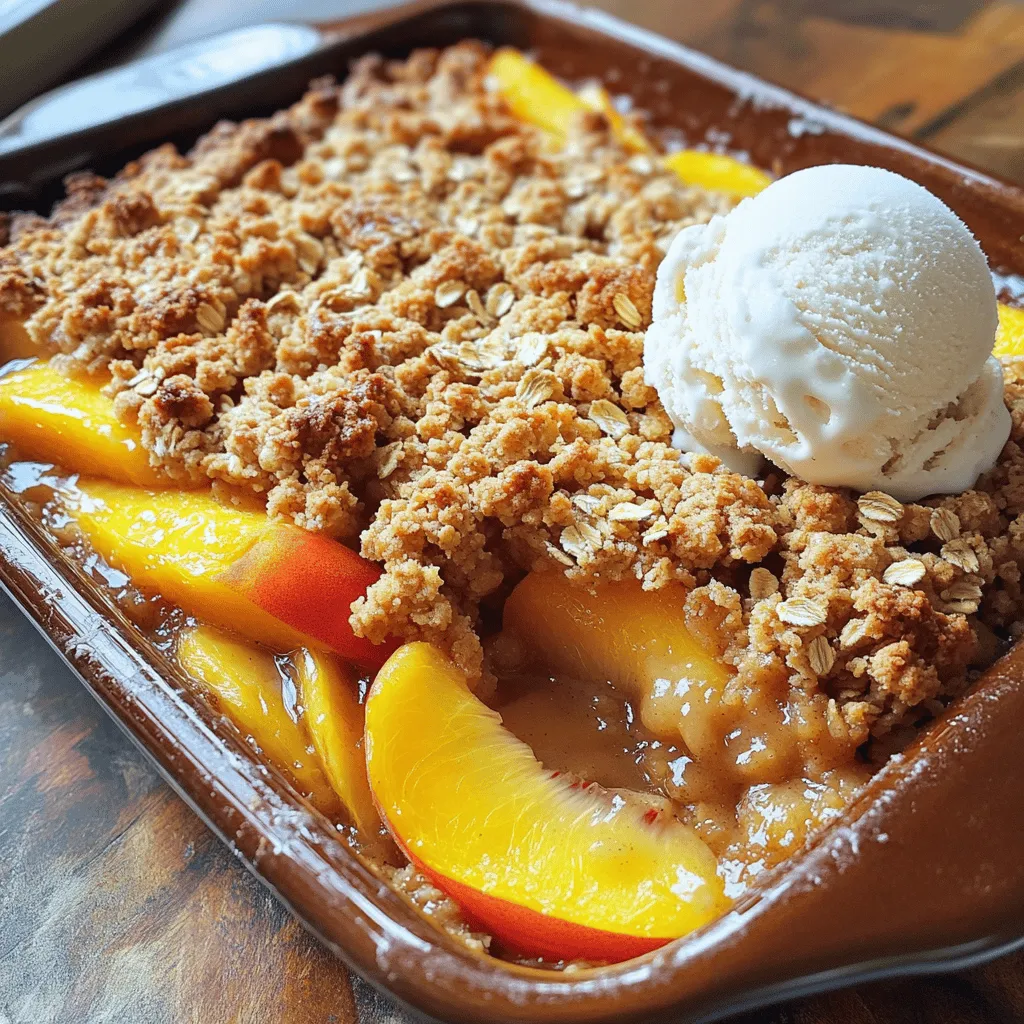
Simple Peach Crisp Delightful and Easy Dessert Recipe
Are you ready to enjoy a simple, delicious dessert? This Simple Peach Crisp is your go-to recipe! It’s easy to make and perfect for any
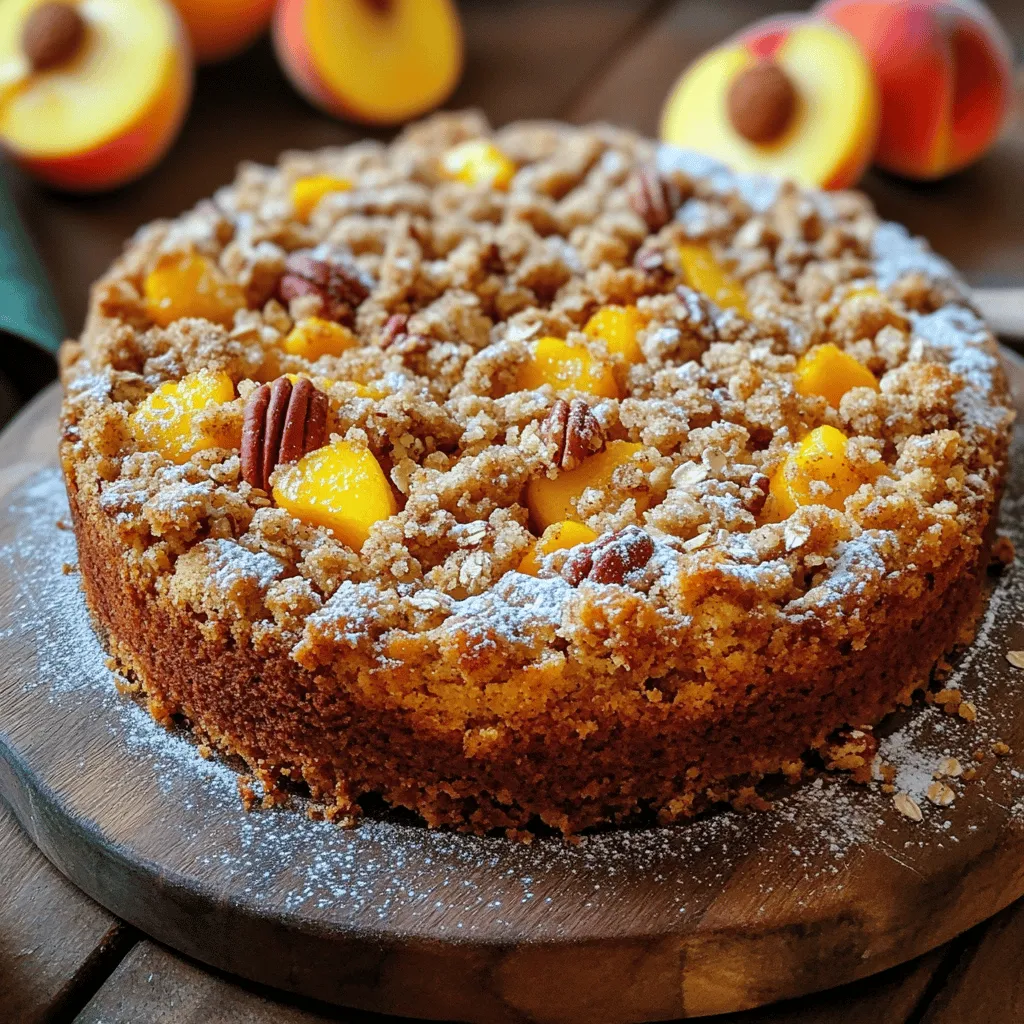
Southern Peach Crumb Cake Scrumptious and Simple Treat
Are you ready to bake something that screams summer? My Southern Peach Crumb Cake is a sweet, simple treat that combines juicy peaches with a

Ridiculously Easy Peach Cobbler Delightful and Simple
Are you ready to impress your friends and family with a delightful peach cobbler? This Ridiculously Easy Peach Cobbler is not only simple but bursting
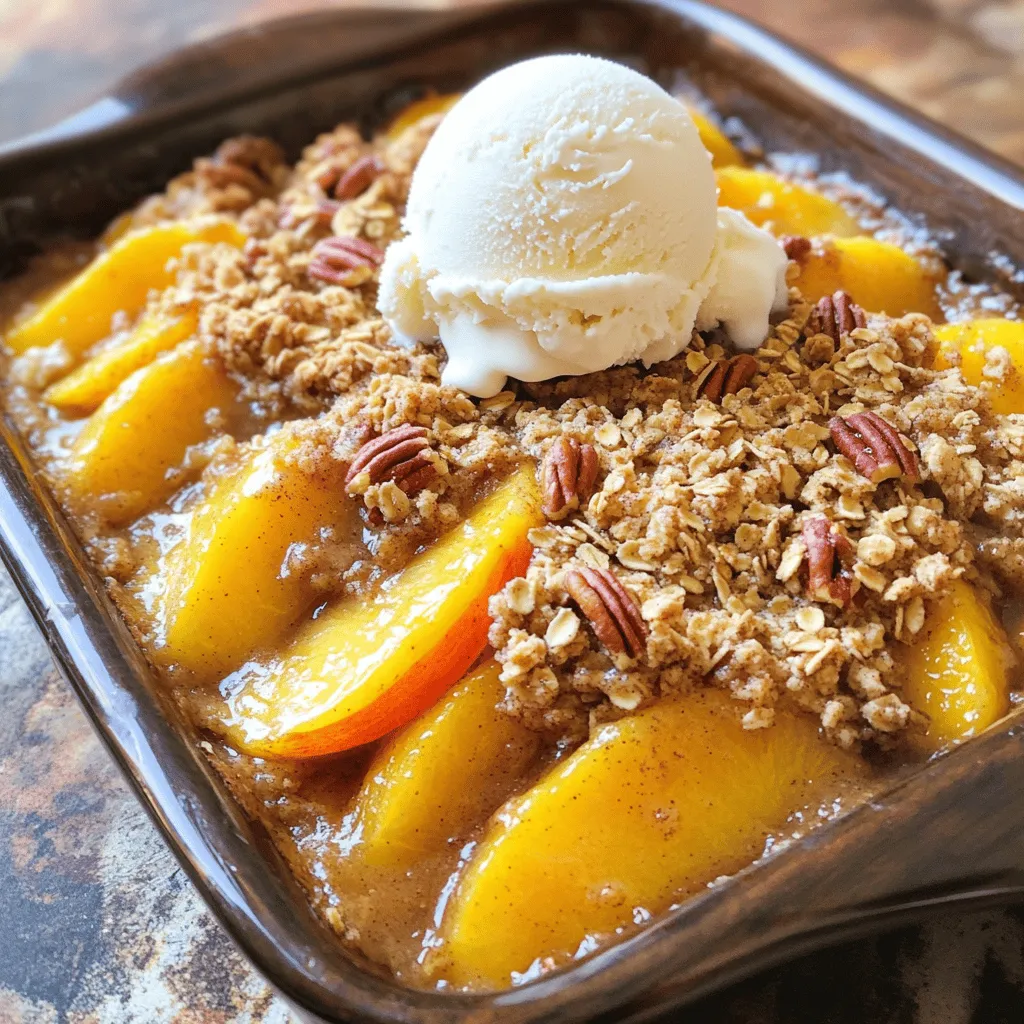
Peach Crisp Delightful Recipe You Can Easily Make
Peach Crisp is a joyful dessert you can easily make at home! With ripe peaches, a crumbly oat topping, and warm flavors, it’s perfect for