The Best Tomato Galette Savory and Flavorful Recipe
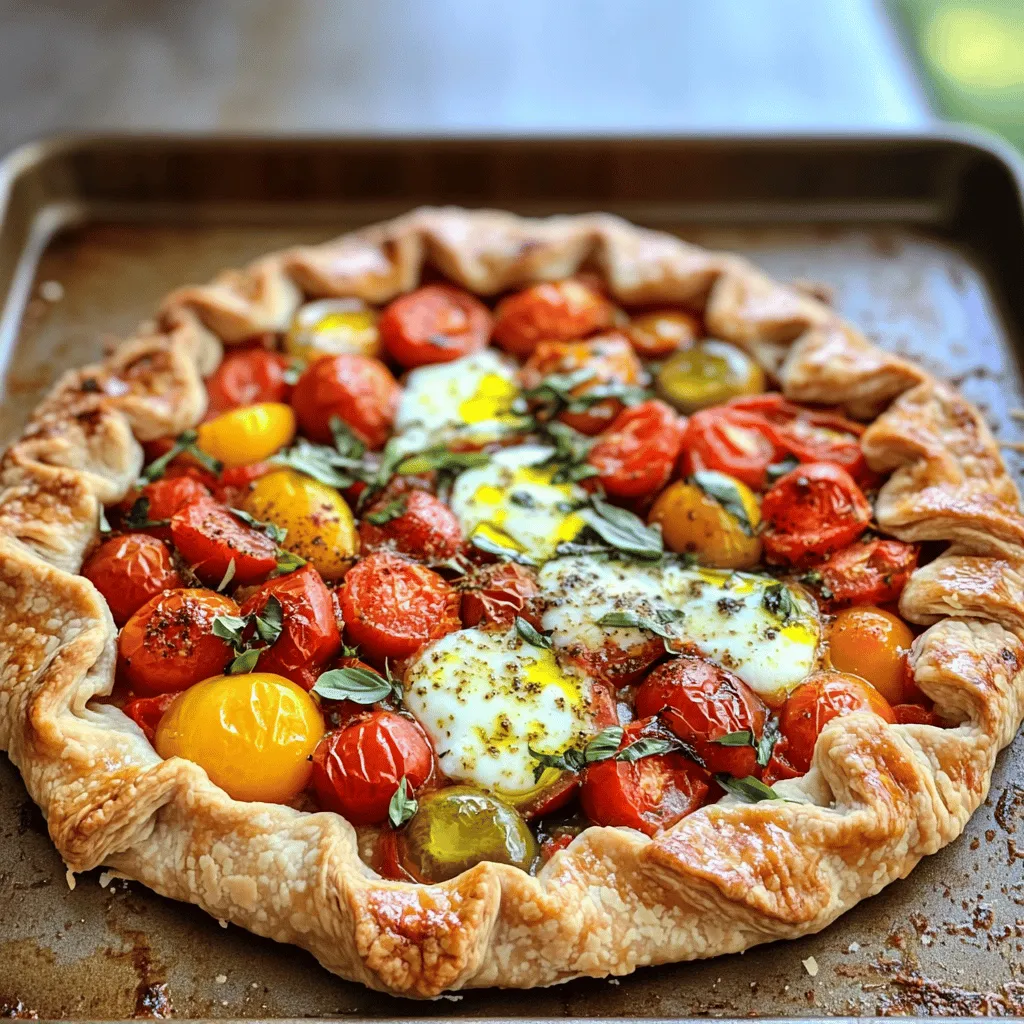
Are you ready to enjoy a delicious Tomato Galette that bursts with flavor? This savory dish combines ripe tomatoes, fresh mozzarella, and a flaky crust for a perfect balance of …
Are you ready to enjoy a delicious Tomato Galette that bursts with flavor? This savory dish combines ripe tomatoes, fresh mozzarella, and a flaky crust for a perfect balance of …

There’s nothing quite like a warm slice of Old Fashioned Peach Cobbler. This delightful treat is easy to make and brings comfort to your kitchen. With juicy peaches and a …

Are you ready to enjoy a tasty twist on a classic Southern dish? In this article, I share my easy recipe for Okra Hush Puppies that are packed with flavor …
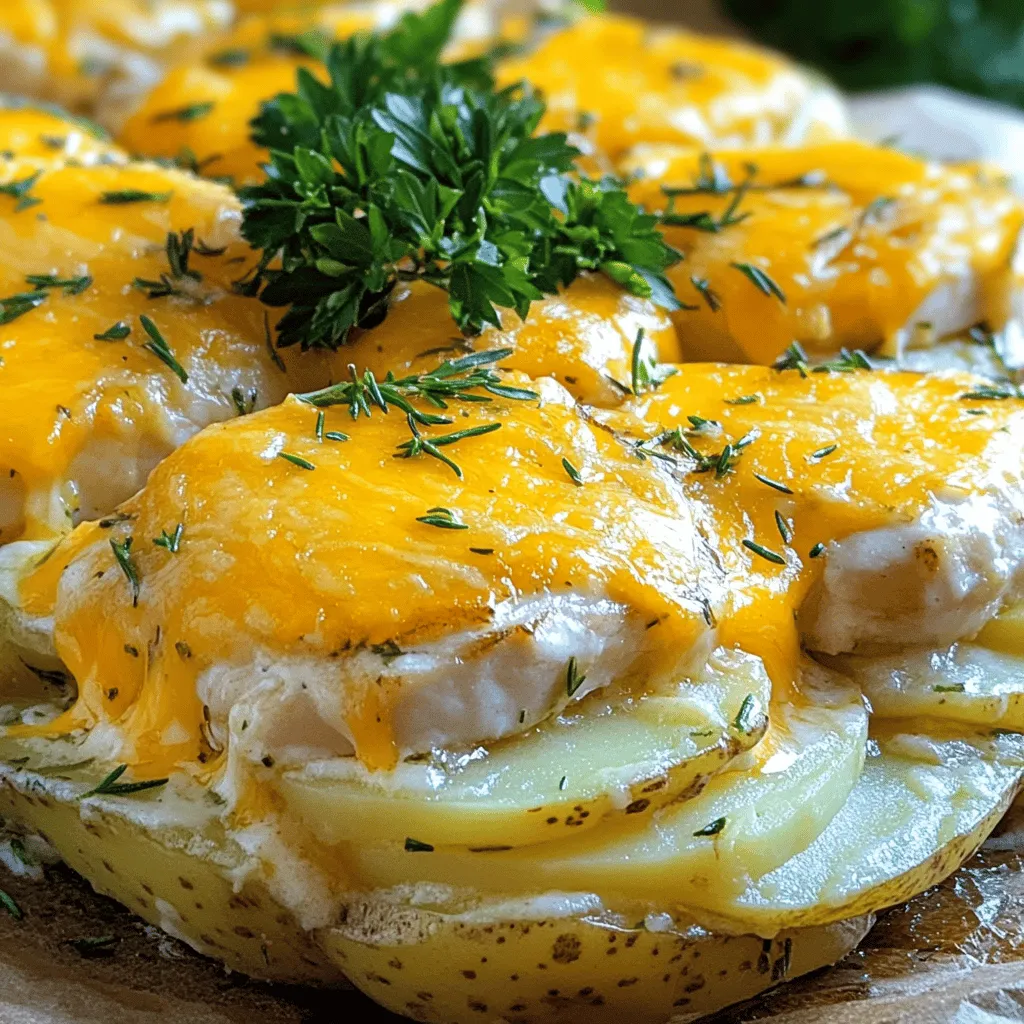
Looking for a warm and filling dish to please your family? My Chicken Potato Bake is just what you need. It’s simple to make, packed with flavor, and perfect for …
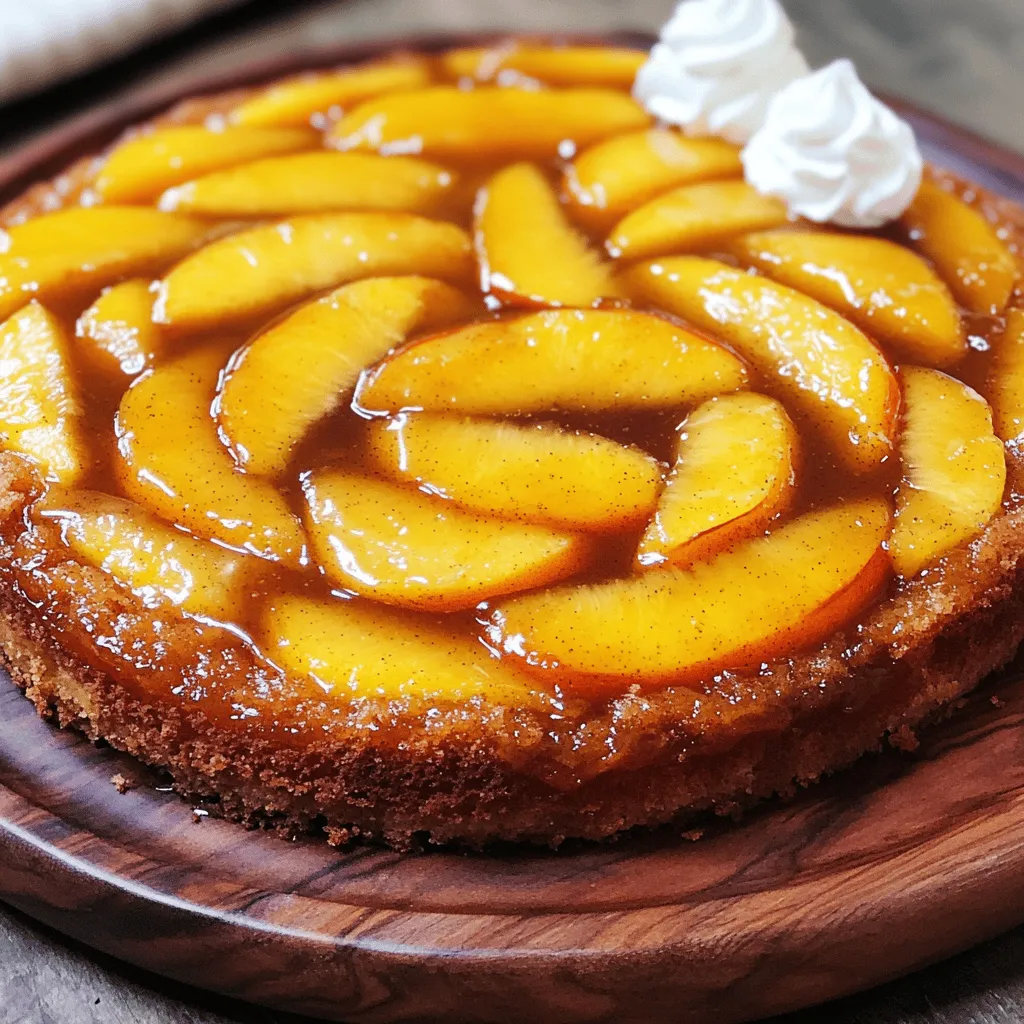
Are you ready to bake a Peach Upside Down Cake that is simple, soft, and oh-so-delicious? This classic dessert showcases the sweet, juicy flavors of ripe peaches in a soft, …
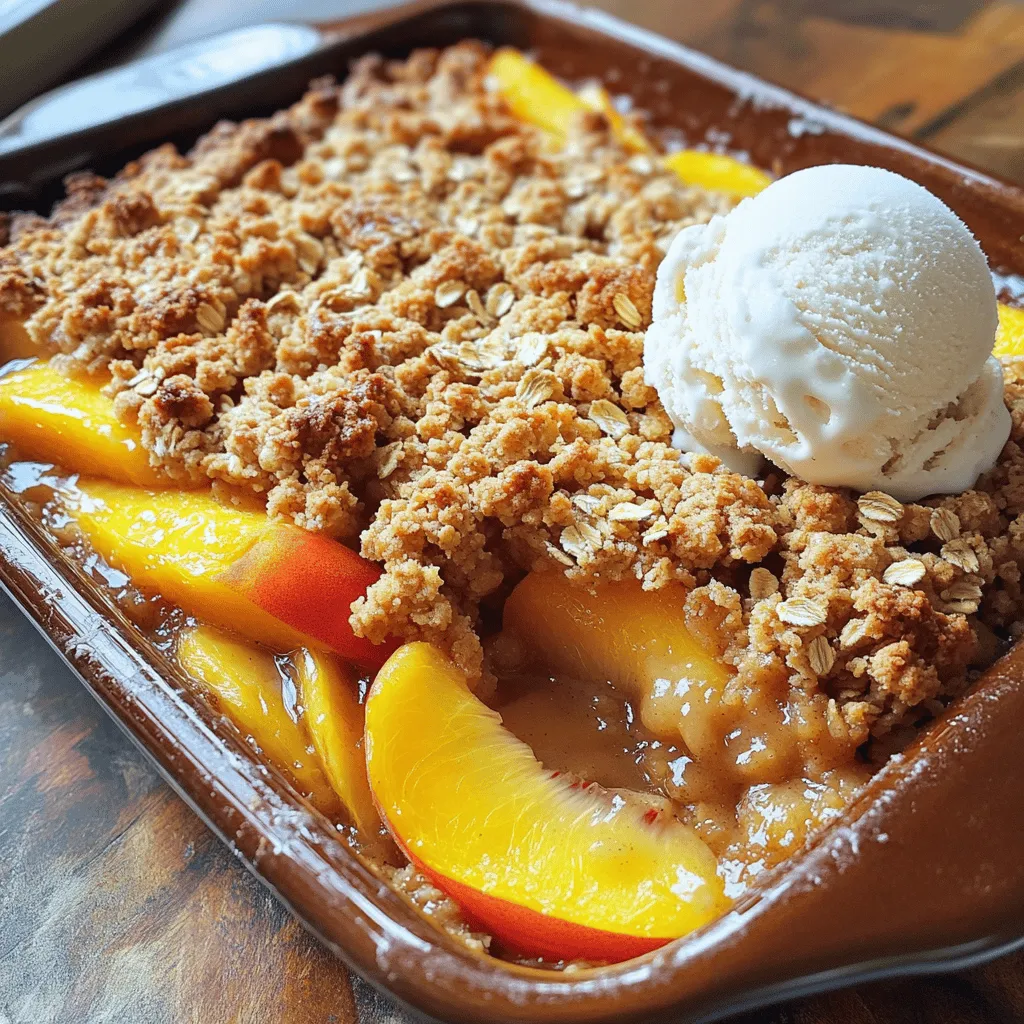
Are you ready to enjoy a simple, delicious dessert? This Simple Peach Crisp is your go-to recipe! It’s easy to make and perfect for any occasion. With fresh peaches and …
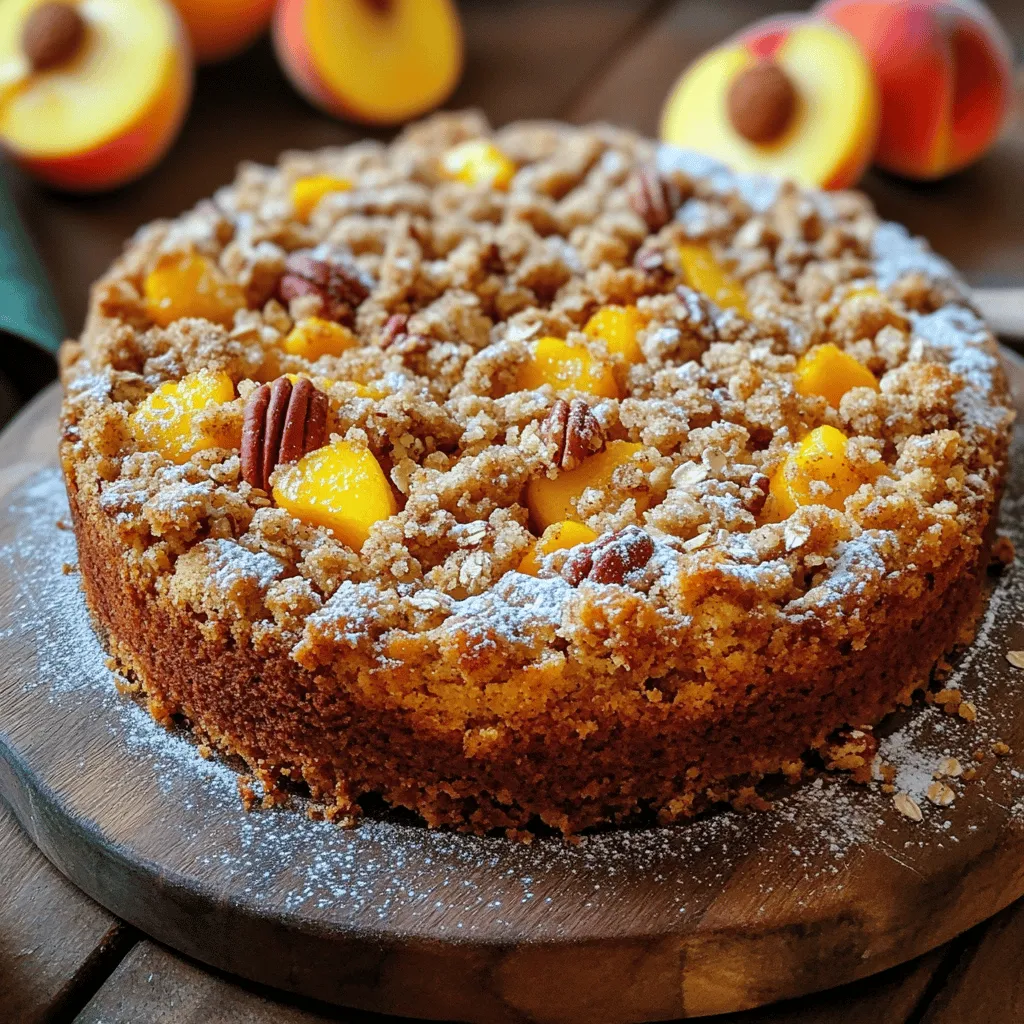
Are you ready to bake something that screams summer? My Southern Peach Crumb Cake is a sweet, simple treat that combines juicy peaches with a delightful crumb topping. You’ll enjoy …

Are you ready to impress your friends and family with a delightful peach cobbler? This Ridiculously Easy Peach Cobbler is not only simple but bursting with flavor. With just a …
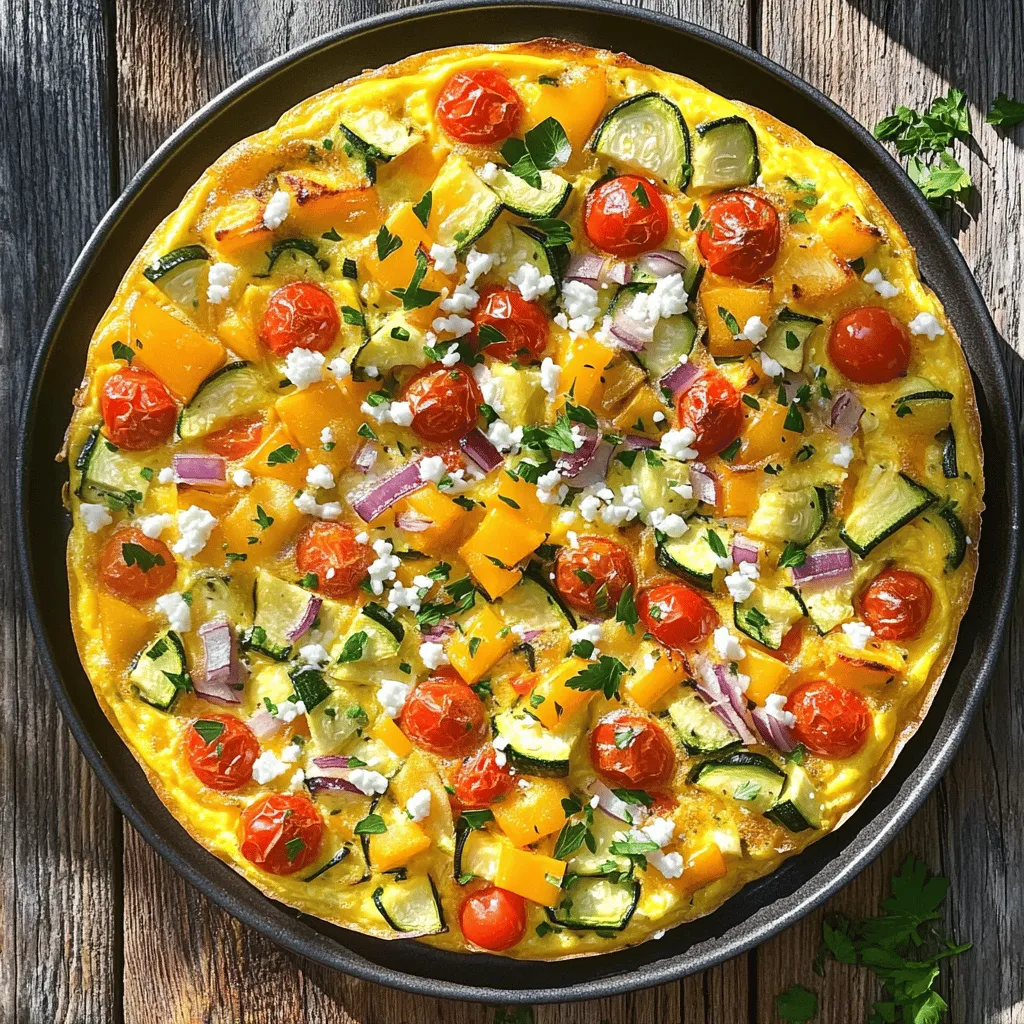
Are you ready to whip up a dish that’s both tasty and easy? Introducing the Easy Cheesy Roasted Vegetable Frittata Delight! Packed with vibrant veggies and creamy cheese, this frittata …
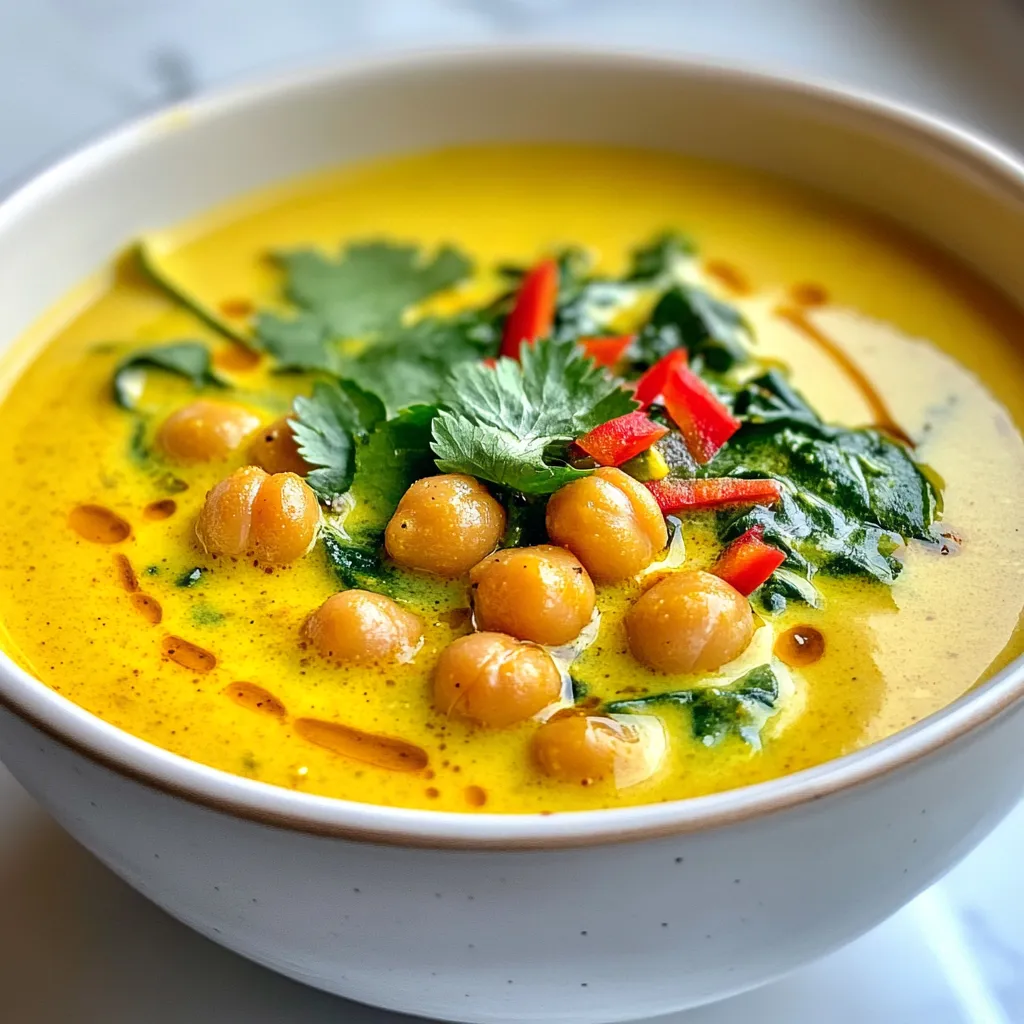
Are you ready to warm up with a bowl of Coconut Curry Chickpea Soup? This simple yet flavorful recipe combines creamy coconut milk and hearty chickpeas, making it the perfect …