Small Batch Vanilla Peach Jam Flavorful and Fresh Delight
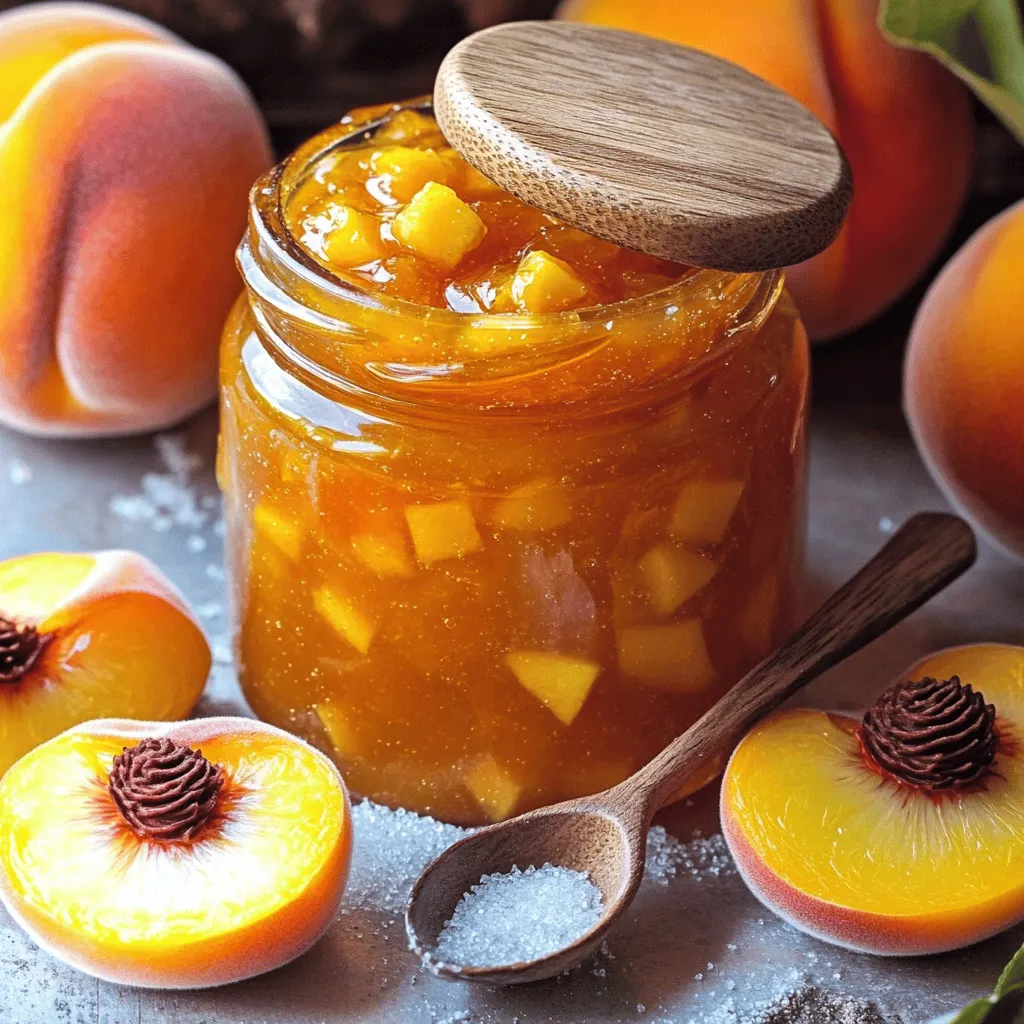
Are you ready to transform fresh peaches into a sweet delight? In this article, we’ll make Small Batch Vanilla Peach Jam that bursts with flavor. With just a few simple …
Are you ready to transform fresh peaches into a sweet delight? In this article, we’ll make Small Batch Vanilla Peach Jam that bursts with flavor. With just a few simple …
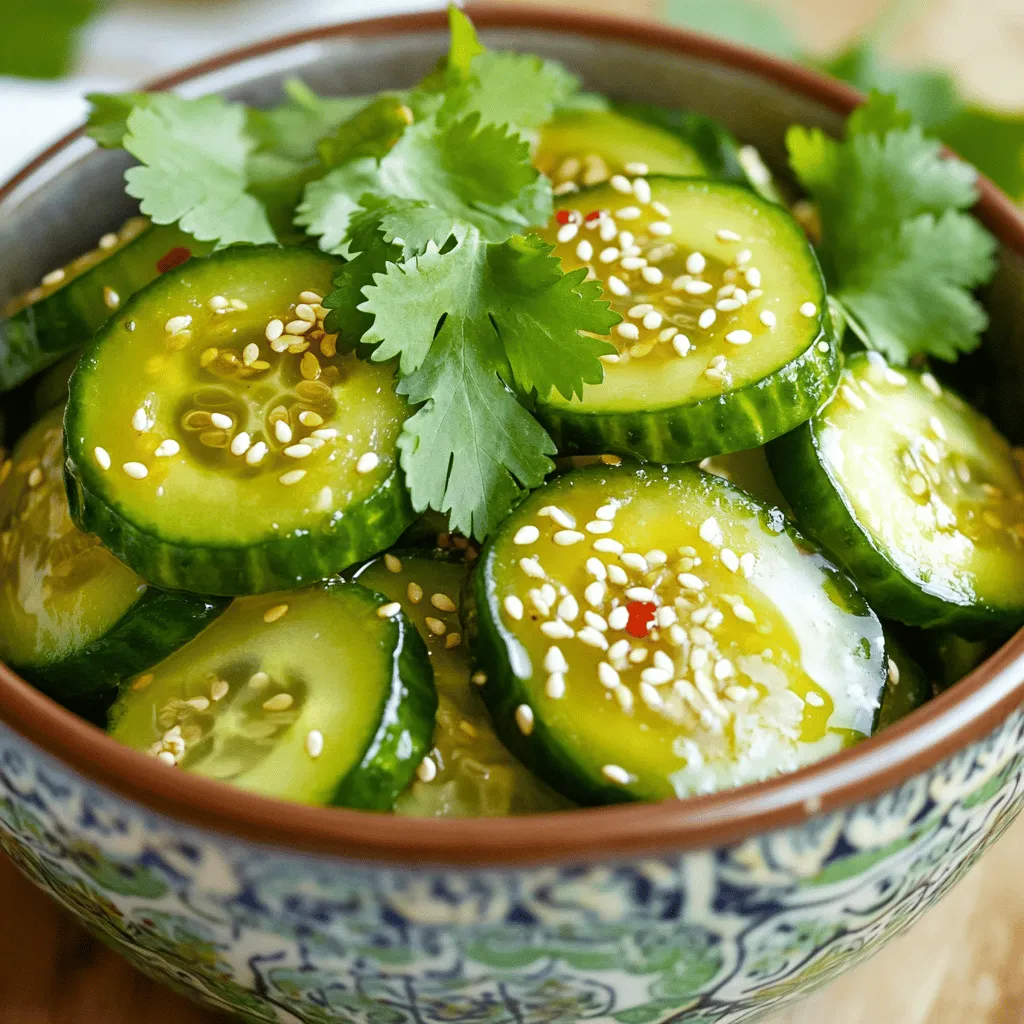
Are you ready to elevate your meals with a burst of flavor? This quick and easy recipe for savory Asian pickled cucumbers will do just that! Bursting with taste and …

Looking for a nutritious, tasty snack? You’re in the right place! These Blueberry Vanilla Granola Bars offer a perfect balance of flavors and healthy ingredients. Packed with rolled oats, almond …
 for detailed steps and tips. How to choose the best yellow squash Look for squash that is firm and smooth. The skin should be bright yellow. Avoid squash with soft spots or blemishes. Smaller squash are often sweeter and more tender. Tips for sautéing vegetables properly Heat your skillet before adding oil. Use medium heat for even cooking. Add onions first and cook until soft. Then, add garlic and stir for one minute. Finally, add your yellow squash. Cook until tender but not mushy. This keeps the flavor and texture just right. Best sides to accompany the casserole A fresh green salad pairs well. You can also serve it with crusty bread for a full meal. Grilled chicken or fish can add protein if you want. For a twist, try adding roasted veggies on the side. Presentation ideas for serving Serve the casserole right from the dish for a homey feel. For a special touch, garnish with fresh parsley before serving. You can also plate individual servings for a nice look. Adding other vegetables You can mix in zucchini or bell peppers for more color and taste. Spinach or kale can add a healthy boost. Just sauté them along with the onions and squash. Substituting cheese options If you want a different flavor, try using mozzarella or feta cheese. You can also use vegan cheese for a dairy-free option. Mix and match to find your favorite cheese combination. Incorporating meats like chicken or sausage Add cooked chicken or sausage for extra protein. Dice them small and mix in with the squash. Sauté them first for the best flavor. Plant-based protein suggestions Use lentils or chickpeas for a hearty, plant-based option. They add protein and fiber. Mix them in with the other ingredients before baking. For the full recipe, check out the Cheesy Yellow Squash Casserole Fest. To keep your yellow squash casserole fresh, follow these tips: - Refrigeration: Let the casserole cool completely. Cover it with plastic wrap or foil. Store it in the fridge for up to 3 days. - Freezing: For long-term storage, freeze the casserole. Use an airtight container or freezer bag. It can last up to 3 months in the freezer. Thaw overnight in the fridge before reheating. When you are ready to enjoy your leftovers, here’s how to reheat them without drying out: - Oven Method: Preheat your oven to 350°F (175°C). Place the casserole in an oven-safe dish. Cover it with foil to keep moisture in. Heat for about 20-25 minutes. - Microwave Method: Place a single serving on a microwave-safe plate. Heat for 1-2 minutes, checking often to avoid dryness. - Can I make this dish ahead of time? Yes! You can prepare the casserole a day before. Store it in the fridge, then bake it when you're ready to serve. - What can I substitute if I don’t have sour cream? You can use Greek yogurt or cream cheese as a substitute for sour cream. Both will add creaminess and taste. This casserole is tasty and has many health benefits: - Calories: One serving has around 250 calories. - Health Benefits: Yellow squash is low in calories and high in vitamins A and C. - Healthier Version: Use low-fat cheese and whole grain breadcrumbs for a lighter option. - Can I use different types of squash? Yes! You can mix in zucchini or even butternut squash for a twist. Just cut them into similar sizes. - How can I make the casserole gluten-free? Use gluten-free breadcrumbs and check the cheese for gluten-free labels. This way, everyone can enjoy it! {{image_4}} In this post, we explored yellow squash casserole from ingredients to serving tips. We covered key ingredients like yellow squash, cheddar cheese, and optional spices. You learned step-by-step instructions for cooking and baking the casserole. We also discussed storage tips and ways to adjust the recipe for your needs. This dish is easy to make and full of flavor. With a few simple steps, you can enjoy a comforting meal that suits any occasion. Try adding your personal touch, and share the joy with friends and family!](https://tossedflavors.com/wp-content/uploads/2025/07/9357c2c5-426f-4a48-8095-e8c49cdb5377.webp)
If you’re craving a dish that’s both savory and simple, you’ve landed in the right spot! My Yellow Squash Casserole is an easy crowd-pleaser that’s perfect for any meal. With …

Sautéed zucchini is a simple and tasty side dish that adds color to any meal. With just a few fresh ingredients, you can create a vibrant and flavorful dish in …
![- 4 boneless, skinless chicken thighs - 2 medium zucchinis, sliced into half-moons - 1 red bell pepper, cut into strips - 1 yellow bell pepper, cut into strips - 1 cup cherry tomatoes, halved - 4 cloves garlic, minced - 3 tablespoons olive oil - 1 teaspoon dried oregano - 1 teaspoon smoked paprika - Salt and pepper to taste When I create this Mediterranean Chicken & Zucchini Sheet Pan dish, I focus on fresh and simple ingredients. The chicken thighs stay juicy and full of flavor. The zucchinis and bell peppers add a vibrant color and texture. I love using cherry tomatoes for a sweet burst in every bite. In my kitchen, I always reach for quality olive oil. It enhances the richness of the dish. Dried oregano and smoked paprika bring depth to the flavor. A pinch of salt and pepper rounds it all out, making each bite delightful. This recipe makes meal prep easy. You can chop the veggies and marinate the chicken ahead of time. Just follow the [Full Recipe] for detailed steps. Enjoy this dish as a quick weeknight meal or for a special gathering. - Preheat your oven to 400°F (200°C). This step warms the oven for even cooking. - In a large bowl, mix together 3 tablespoons of olive oil, 4 cloves of minced garlic, 1 teaspoon of dried oregano, 1 teaspoon of dried thyme, 1 teaspoon of smoked paprika, along with salt and pepper. Whisk until the mixture is well blended. This marinade brings bold flavor to the chicken. - Take 4 boneless, skinless chicken thighs and coat them in the marinade. Make sure each piece is fully covered. - Let the chicken marinate for 15 minutes. This allows the flavors to soak in and makes the chicken taste amazing. - Grab a large sheet pan. Spread 2 medium zucchinis (sliced into half-moons), 1 red bell pepper (cut into strips), 1 yellow bell pepper (cut into strips), and 1 cup of halved cherry tomatoes evenly across the pan. This colorful mix adds flavor and nutrition. - Place the marinated chicken thighs on top of the veggies. This helps the chicken juices mix with the vegetables. - Drizzle any remaining marinade over the veggies. This adds extra flavor to the dish. - Bake everything in the oven for 25-30 minutes. The chicken should be cooked through and the veggies should be tender. This time gives you a deliciously baked meal. Follow these steps, and you’ll create a Mediterranean Chicken & Zucchini Sheet Pan that is both tasty and easy to make. For a detailed guide, check out the Full Recipe for more insights. - Make sure the chicken is well-coated in the marinade. This helps the flavors blend well. - Use a meat thermometer to check the chicken’s doneness. Aim for 165°F (74°C) for safe eating. - Add lemon juice just before serving. This brightens the dish and adds a fresh tang. - Try using fresh herbs like thyme or rosemary. They can really boost the flavor profile. - You can serve the meal directly from the sheet pan. This keeps it rustic and fun. - If you want to impress, transfer the dish to a platter. Drizzle olive oil on top for a beautiful finish. These tips will help you make your Mediterranean Chicken & Zucchini Sheet Pan even better! You can find the Full Recipe for more details. {{image_4}} You can change up the vegetables in this dish. Instead of zucchini, try using asparagus or broccoli. Both options add a nice crunch and flavor. You can also add olives for a briny taste. They give a nice contrast to the sweet veggies and chicken. If you want a leaner option, use chicken breasts instead of thighs. They cook well and stay tender. Another fun twist is to swap the chicken for shrimp. Shrimp cooks quickly and adds a nice seafood flavor to the dish. To make this meal gluten-free, check that all your ingredients are certified. There are many gluten-free options available nowadays. You can also use low-sodium ingredients. This helps make a healthier dish while keeping the flavors intact. Feel free to get creative with these variations. They let you explore new tastes while enjoying the core recipe. Check out the Full Recipe for even more ideas! After enjoying your Mediterranean Chicken & Zucchini Sheet Pan, store leftovers in airtight containers. This keeps the dish fresh and tasty. It’s best to eat the leftovers within three days. This way, you can enjoy the flavors at their peak without losing quality. To reheat, the oven is your best friend. Preheat it to 350°F (175°C). Place the chicken and veggies on a baking sheet. Heat for about 10-15 minutes until warm. This method helps keep the chicken juicy and the veggies tender. If you prefer the microwave, you can use it for convenience. Just add a splash of water to keep everything moist. Heat in short bursts, checking often to avoid overcooking. If you want to save portions for later, freeze them! Individual servings are great for meal prep. Use freezer-safe containers or bags. Make sure to label them with the date. To reheat, thaw in the refrigerator overnight. This will help your chicken and zucchini stay flavorful and juicy. Bake for 25-30 minutes at 400°F (200°C) until chicken is cooked through. This time ensures the chicken remains juicy, and the veggies become tender. I recommend checking the chicken's internal temperature. It should reach 165°F (74°C) for safe eating. Fresh chicken is preferred for optimal texture. If you use frozen chicken, fully thaw it before marinating. This step keeps the marinade effective. Thawing helps the chicken absorb all those tasty flavors. Serve with quinoa, rice, or a fresh salad for a complete meal. These sides add healthy grains and greens to your plate. I love a light lemon vinaigrette on salads for extra zing. Yes, it is perfect for meal prep. Store leftovers in the fridge for up to 3 days. This dish reheats well, making it a smart choice for busy days. You can enjoy it again without losing flavor. For the detailed step-by-step to make the Mediterranean Chicken & Zucchini Delight, check the Full Recipe. It guides you from start to finish. This blog shared a simple recipe for Mediterranean Chicken and Zucchini. We covered the main and additional ingredients, marinade steps, and baking instructions. I included tips for better taste, variations, and storage options. This dish is easy to make and can adapt to your needs. Try experimenting with different veggies or proteins to make it your own. You can enjoy it fresh or save it for later. Simple and tasty meals can fit into any lifestyle. Enjoy cooking and share your version with others!](https://tossedflavors.com/wp-content/uploads/2025/07/e2379295-c00d-4b4d-918a-a99bd130d5e2.webp)
Looking for a quick, healthy meal that tastes amazing? Try this Mediterranean Chicken & Zucchini Sheet Pan recipe! It blends juicy chicken with fresh veggies, all baked in one pan …

Get ready for a dessert that’s both rich and indulgent! Tiramisu Brownies blend the classic coffee flavors of tiramisu with fudgy brownie goodness. You can whip this delicious treat up …
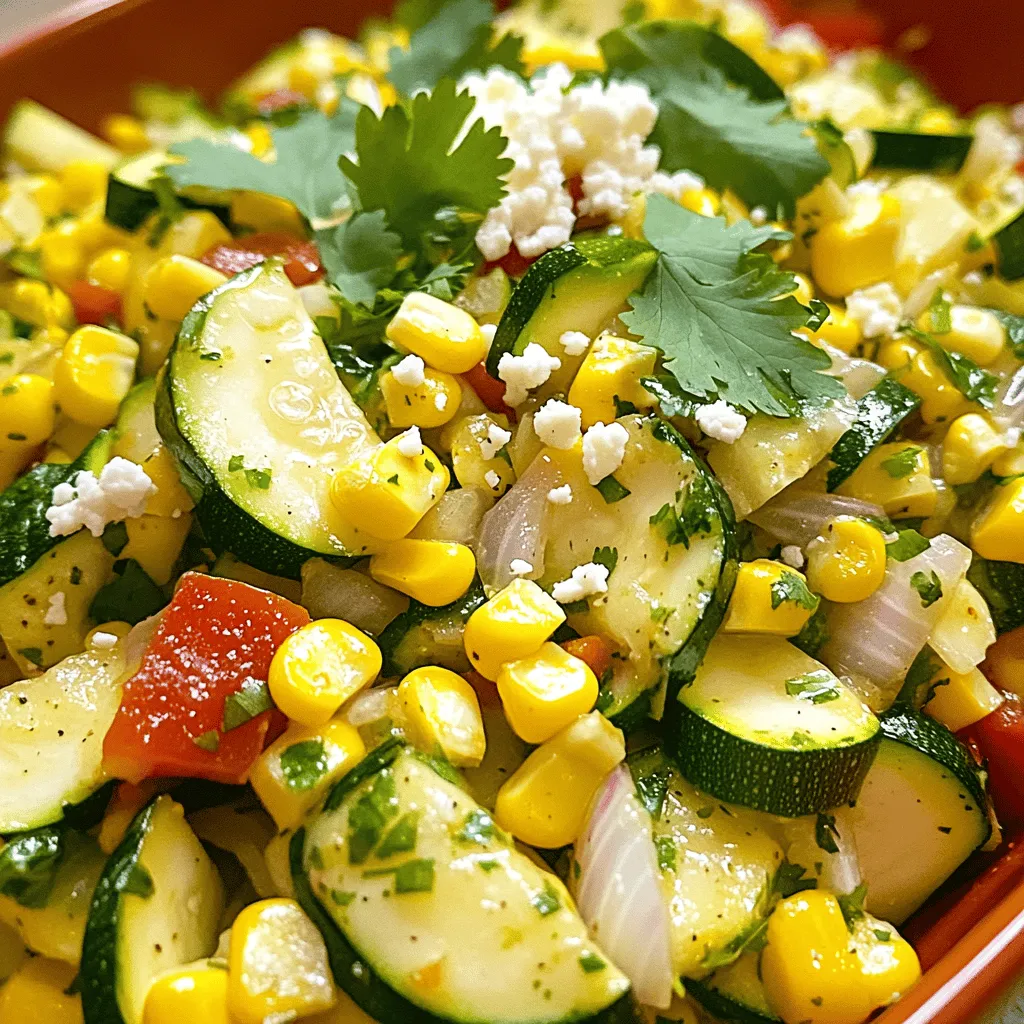
If you’re ready to dive into a colorful and delicious dish, calabacitas is calling your name! This vibrant mix of zucchini, corn, and spices will brighten your dinner table. With …

Are you craving a delicious treat that’s easy to make? Look no further! This Blueberry Sour Cream Coffee Cake combines the tangy taste of sour cream with fresh blueberries for …
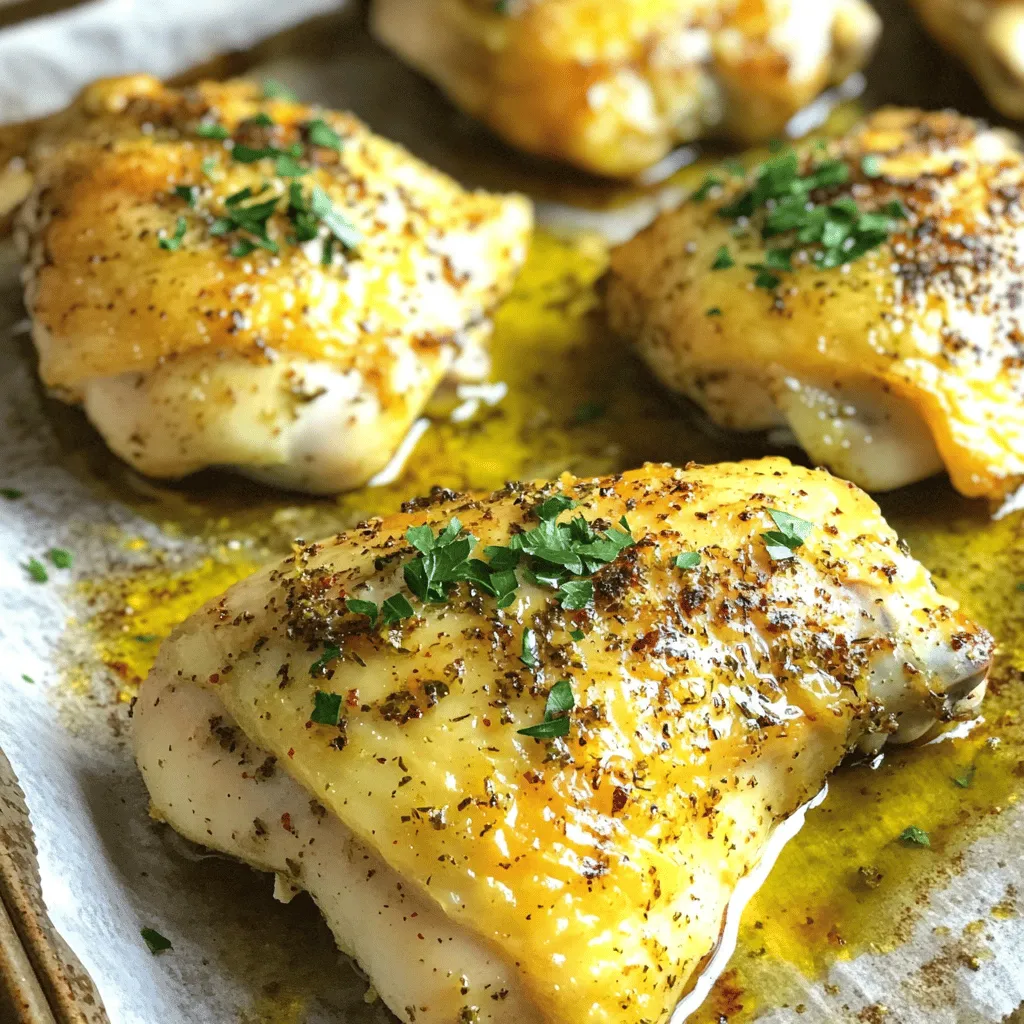
Are you ready to make the juiciest oven-baked chicken breast ever? This simple and tasty recipe is perfect for any day of the week. I’ll share easy steps and tips …