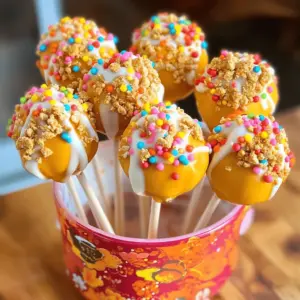
Pumpkin Pie Cake Pops
Indulge in the festive flavors of fall with these delightful Pumpkin Pie Cake Pops! Easy to make, these treats combine moist pumpkin cake with a creamy filling and a delicious white chocolate coating, perfect for any autumn celebration. Discover the simple steps to create these fun and tasty pops that everyone will love. Click to explore the full recipe and bring a seasonal treat to your next gathering!