
Are you ready for a treat that screams summer? My Strawberry Lemonade Layer Cake is your new go-to dessert! It’s light, refreshing, and packed with vibrant flavors that dance on your tongue. This cake features fresh strawberries and zesty lemon, making it perfect for any celebration. Join me as we dive into the simple steps to create this delightful dessert that will impress family and friends alike!
Ingredients for Strawberry Lemonade Layer Cake
Dry Ingredients
– 2 cups all-purpose flour
– 2 teaspoons baking powder
– ½ teaspoon baking soda
– ½ teaspoon salt
Wet Ingredients
– ½ cup unsalted butter, softened
– 1 ½ cups granulated sugar
– 1 cup buttermilk
– 3 large eggs
– 1 teaspoon pure vanilla extract
– Zest of 2 lemons
– 1 cup fresh strawberries, pureed
– ¼ cup fresh lemon juice
Frosting Components
– 1 cup unsalted butter, softened
– 4 cups powdered sugar
– ¼ cup heavy cream
– 1 tablespoon fresh lemon juice
– 1 teaspoon pure vanilla extract
– Fresh strawberries and lemon slices for decoration
The right mix of ingredients makes this cake shine. For the dry ingredients, use all-purpose flour, baking powder, baking soda, and salt. These help the cake rise and stay fluffy.
For the wet ingredients, start with softened butter and sugar. Cream these well to add air. Then mix in buttermilk, eggs, vanilla, lemon zest, pureed strawberries, and lemon juice. This blend gives flavor and moisture.
For the frosting, you need more butter, powdered sugar, heavy cream, lemon juice, and vanilla. This mix makes a sweet, smooth frosting. You can top the cake with fresh strawberries and lemon slices for a lovely finish.
Check out the Full Recipe for more tips on perfecting your cake!
Step-by-Step Instructions
Preparing Your Oven and Pans
– Preheat oven to 350°F (175°C)
– Prep cake pans with butter and flour
To start, I preheat my oven to 350°F (175°C). This step ensures the cakes bake evenly. While the oven heats, I grab three 8-inch round cake pans. I coat each pan with softened butter. Then, I sprinkle flour inside. This helps the cakes release easily later.
Mixing the Cake Batter
– Combine dry ingredients, then set aside
– Cream butter and sugar until fluffy
– Add eggs one at a time, then vanilla and lemon zest
– Alternate adding dry ingredients and buttermilk
Next, I mix the dry ingredients. I whisk together the flour, baking powder, baking soda, and salt in a bowl. I set this mixture aside for later. In a larger bowl, I use an electric mixer to cream the softened butter and sugar. I beat them until light and fluffy. This usually takes about 3-4 minutes.
After that, I add the eggs. I crack in one egg at a time, mixing well after each addition. Then, I stir in vanilla extract and lemon zest. This gives the batter a bright flavor. Now, I alternate adding the dry mixture and buttermilk. I start and end with the flour mixture. I mix until just combined, making sure not to overmix.
Baking and Cooling
– Fold in pureed strawberries and lemon juice
– Divide batter into pans and bake for 25-30 minutes
– Cool pans before transferring cakes to wire rack
Now it’s time to add the fun part: flavor! I gently fold in the pureed strawberries and fresh lemon juice. This makes the cake taste fresh and fruity. I divide the batter evenly among the three pans. Then, I bake them for 25-30 minutes. I check for doneness using a toothpick. If it comes out clean, the cakes are ready.
Once baked, I let the cakes cool in their pans for about 10 minutes. After that, I carefully turn them out onto a wire rack. This cooling step is important. It prevents sogginess and helps the cakes stay fluffy.
Tips & Tricks
Achieving the Perfect Cake Texture
To make a light and fluffy cake, avoid overmixing the batter. Mix just until combined. This keeps your cake from becoming dense. Also, use room temperature ingredients. This helps them blend better, creating a smooth batter.
Frosting Tips
When making the frosting, gradually add powdered sugar. This will help you avoid lumps. Start slow and mix well after each addition. Make sure your cakes are completely cool before frosting. This prevents the frosting from melting and sliding off.
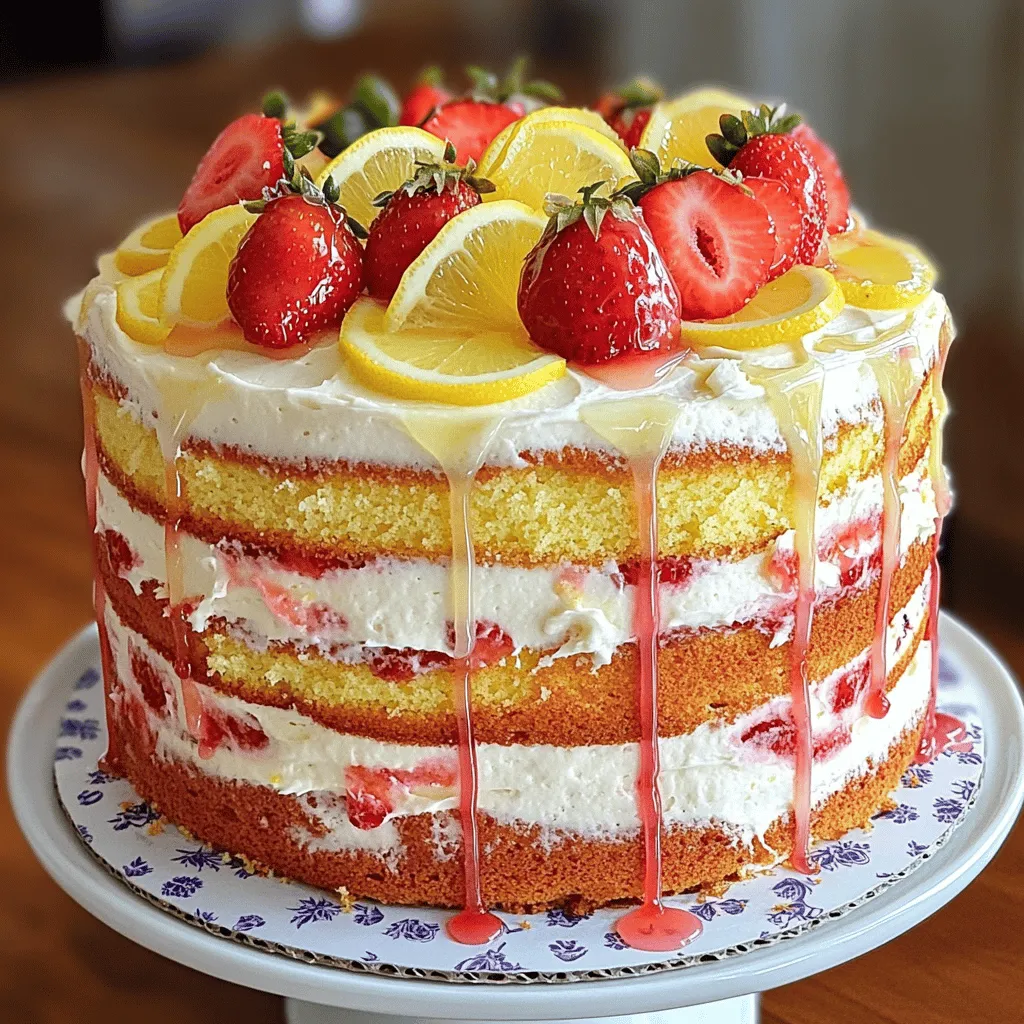
Decorations that Wow
Fresh fruit makes a great decoration. Use strawberries and lemon slices to add color and taste. For an extra burst of flavor, drizzle any remaining puree on top. This adds a beautiful finish and enhances the flavor, making your cake even more delightful.
For details on how to make this cake, check the Full Recipe.
Variations
Flavor Alternatives
You can add a fun twist to this cake. Try substituting raspberries for a berry twist. Raspberries give a sweet and tart taste that pairs well with lemon. You could also experiment with lime or orange zest. This change gives a new flavor profile, perfect for citrus lovers.
Dietary Adjustments
If you need a gluten-free option, use gluten-free flour. It works well and still delivers great texture. For a healthier choice, replace granulated sugar with agave. This swap keeps your cake sweet without refined sugar.
Layering Options
Want to change the look? You can create a two-layer cake instead of three. This makes it easier to assemble and still looks stunning. Another idea is to add a filling between layers like lemon curd. This extra layer adds flavor and a creamy texture that everyone will love.
For the complete recipe and steps, check out the Full Recipe.
Storage Info
Short-term Storage
You can store your Strawberry Lemonade Layer Cake in the fridge. Cover it well to keep it fresh. It will last up to 5 days. Enjoy it chilled for a refreshing treat.
Long-term Storage
If you want to save some cake, freeze individual slices. Wrap each slice in plastic wrap tightly. You can keep them in the freezer for up to 2 months. To defrost, take a slice out and let it sit at room temperature for about 30 minutes. This keeps the taste as fresh as possible.
Serving Suggestions
This cake pairs nicely with a cold drink. Try it with lemonade or iced tea for a perfect match. It is also great for celebrations. Birthdays and summer gatherings are ideal times to serve it. The bright flavors make any occasion feel special. If you’re looking for the full recipe, check out the details to create this delightful dessert.
FAQs
Can I make this cake ahead of time?
Yes, you can bake and freeze in advance, frosting just before serving. This method works well if you want to save time on the day of your event. Just let the cake layers cool completely before wrapping them in plastic wrap. The cake will stay fresh and tasty.
How can I tell when the cake is done?
Use a toothpick; it should come out clean when the cake is fully baked. Insert it into the center of the cake. If it comes out with wet batter, bake a few minutes longer. Keep an eye on the time, but also trust your toothpick!
What’s the best way to decorate the cake?
Fresh fruit garnishes and a drizzle of puree create a beautiful presentation. I love adding slices of lemon and whole strawberries on top. This adds color and makes the cake look inviting. You can even drizzle some strawberry puree over the top for extra flair.
Can I use frozen strawberries?
Fresh is preferred for better flavor, but thawed frozen strawberries can work in a pinch. If you use frozen strawberries, make sure to drain off extra liquid. This helps keep your batter from being too wet.
Making a Strawberry Lemonade Layer Cake is a fun and tasty project. You learned about the essential ingredients, step-by-step instructions, and helpful tips. Don’t forget to try variations in flavors, adjust for dietary needs, and store it properly. This cake shines at any gathering and offers a refreshing twist. Whether you are a baking pro or just starting, this cake can impress anyone. Enjoy your baking journey and share this delightful treat with friends and family!
