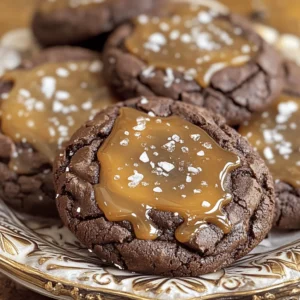
Are you ready to indulge in a sweet treat that’s both rich and simple to make? These Salted Caramel Chocolate Cookies will be your new favorite dessert. With gooey caramel tucked inside soft, chocolatey dough, every bite is pure bliss. Plus, I’ll guide you step-by-step so you can whip them up easily. Let’s dive into this irresistible delight and create the perfect cookie together!
Ingredients
To make these salted caramel chocolate cookies, you need some simple yet essential ingredients. Here’s what you’ll need:
– 1 cup all-purpose flour
– 1/2 cup unsweetened cocoa powder
– 1/2 teaspoon baking soda
– 1/4 teaspoon salt
– 1/2 cup unsalted butter, softened to room temperature
– 1/2 cup granulated sugar
– 1/2 cup packed brown sugar
– 1 large egg
– 1 teaspoon pure vanilla extract
– 1 cup semi-sweet chocolate chips
– 1/2 cup caramel sauce (store-bought or homemade)
– Sea salt flakes for garnish
Each ingredient plays a key role in creating the perfect cookie. The all-purpose flour and cocoa powder form the base, giving texture and flavor. Baking soda helps the cookies rise, while salt balances the sweetness.
Butter adds richness, and both sugars create a lovely sweetness. The egg and vanilla extract provide moisture and flavor. Chocolate chips bring melty goodness, while caramel sauce adds that sweet, gooey center. Finally, sea salt flakes on top give that irresistible contrast.
For the full recipe, check out the entire process to bake these delights!
Step-by-Step Instructions
Prepping the Oven and Baking Sheet
First, preheat your oven to 350°F (175°C). This step is key for even baking. Next, line a baking sheet with parchment paper. This helps the cookies not stick.
Mixing the Dry Ingredients
In a medium bowl, whisk together the following dry ingredients:
– 1 cup all-purpose flour
– 1/2 cup unsweetened cocoa powder
– 1/2 teaspoon baking soda
– 1/4 teaspoon salt
Mix until everything is combined well. Set this mixture aside for later.
Creaming the Butter and Sugars
In a large bowl, beat together:
– 1/2 cup unsalted butter, softened
– 1/2 cup granulated sugar
– 1/2 cup packed brown sugar
Beat until it is light and fluffy. This should take about 2-3 minutes. Then, crack in 1 large egg and add 1 teaspoon pure vanilla extract. Mix until smooth.
Combining Ingredients
Now, gradually add the dry ingredients to the wet mixture. Mix just until no flour streaks are visible. Be careful not to overmix. Next, gently fold in 1 cup semi-sweet chocolate chips. This adds rich flavor and texture.
Shaping and Indenting Cookies
Use a tablespoon to scoop rounded balls of cookie dough. Place them on the prepared baking sheet, spaced about 2 inches apart. With your thumb, create a small indentation in the center of each cookie. This is where the caramel will go.
Baking the Cookies
Spoon about 1 teaspoon of caramel sauce into each indentation. Feel free to let some spill over for extra gooeyness. Bake the cookies in the preheated oven for 10-12 minutes. The edges should be set, while the centers remain soft. As soon as they come out, sprinkle sea salt flakes over each cookie for that perfect flavor boost.
For the full recipe, be sure to check out the complete instructions!
Tips & Tricks
Baking Perfection
To get the best cookies, avoid overmixing the dough. When you mix too much, your cookies can turn tough. Just mix until the flour disappears. Adjust the baking time for soft centers. Check at 10 minutes; they should look a bit underbaked. This gives you that perfect chewy texture.
Enhancing Flavor
Using quality chocolate and caramel is key. Choose semi-sweet chocolate chips that melt nicely. For caramel, a rich, creamy sauce makes a big difference. You can use store-bought or make your own. To add more sea salt, sprinkle it right after baking. This way, the salt melts into the warm cookies, enhancing the flavor.
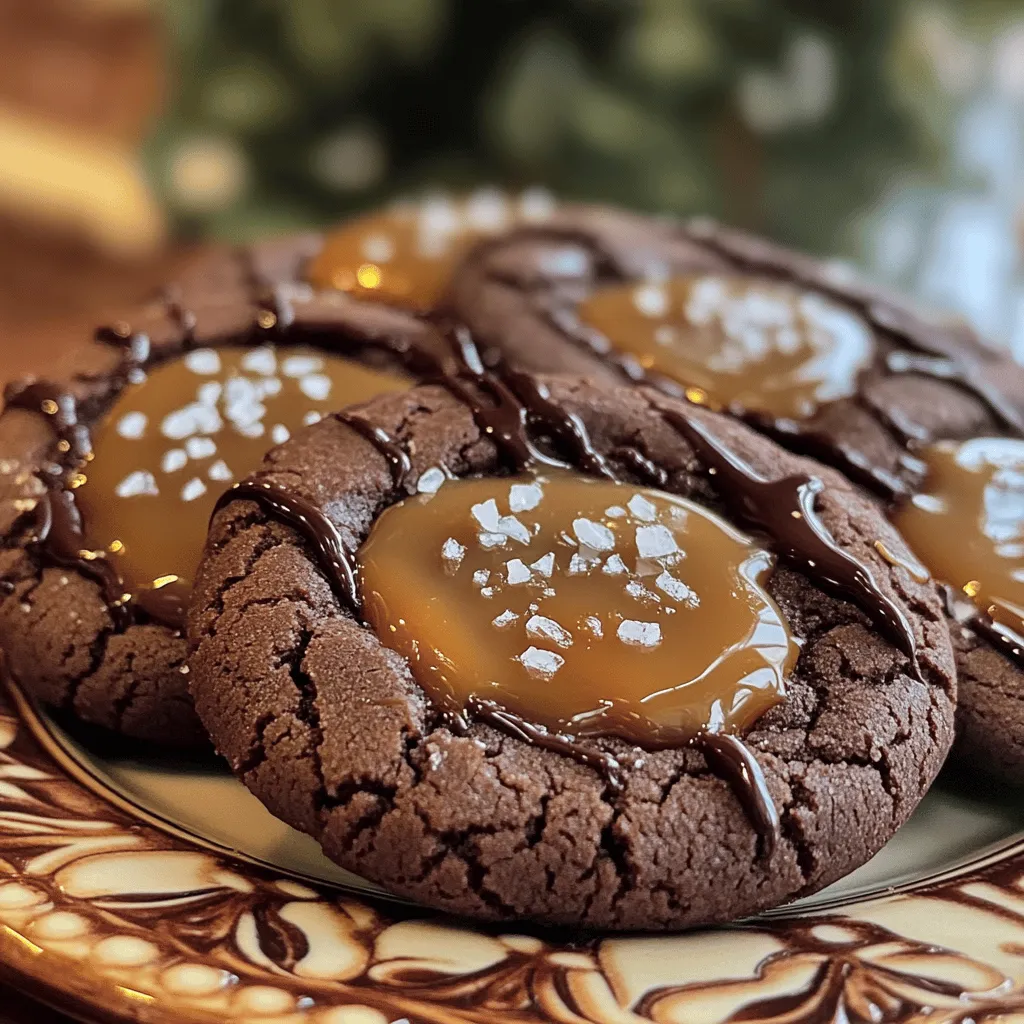
Presentation Tips
Arranging cookies for serving can make them look fancy. Place them on a colorful plate or tiered stand. Drizzle extra caramel for garnish. It not only looks nice, but it also adds more sweetness. A few extra flakes of sea salt on top make them pop visually and taste amazing. For the full recipe, check out the link!
Variations
Gluten-Free Option
To make gluten-free salted caramel chocolate cookies, you can easily swap the all-purpose flour. Use a gluten-free flour blend instead. Look for one that has xanthan gum in it. This will help bind the ingredients together. You might need to adjust the amount of flour slightly. Start with 3/4 cup and see how the dough feels. It should be soft but not wet.
Vegan Alternative
If you want a vegan version, replace the butter with coconut oil or vegan butter. For the egg, use a flax egg. Mix one tablespoon of ground flaxseed with three tablespoons of water. Let it sit for about five minutes. This will act as a perfect binding agent. Use dairy-free chocolate chips to keep it vegan-friendly.
Flavor Additions
Think about adding nuts or dried fruits for extra texture. Chopped walnuts or pecans work well. You can also add dried cherries or cranberries for a sweet twist. Want to play with flavors? Try mixing in instant coffee for a mocha taste. Or add a drop of peppermint extract for a minty kick. These variations make each batch unique and exciting.
Storage Info
Short-Term Storage
To keep your salted caramel chocolate cookies fresh for up to a week, store them in an airtight container. This option keeps the cookies soft and chewy. If you only have a cookie jar, ensure it has a tight lid. However, cookie jars can let air in, which may dry out your treats.
Long-Term Storage
For longer storage, freezing is your best bet. Place the cookies in a single layer on a baking sheet. Freeze them for about an hour. Once frozen, move the cookies to a freezer bag or container. This method protects them from freezer burn and keeps them fresh for up to three months.
When you’re ready to enjoy, just take out the number of cookies you want. Let them thaw at room temperature for about 30 minutes. For best results, try to avoid microwaving them directly from the freezer, as this can lead to uneven thawing.
Reheating Methods
To restore freshness to your cookies, you can reheat them. The oven works best for this. Preheat it to 350°F (175°C). Place the cookies on a baking sheet and warm them for about 5 minutes. This method helps to keep the cookies soft and gooey.
If you’re short on time, the microwave is an option too. Heat the cookies for about 10-15 seconds. Be careful not to overheat; otherwise, they may become tough. Enjoy your cookies warm, and don’t forget the extra drizzle of caramel!
FAQs
How long do salted caramel chocolate cookies last?
Salted caramel chocolate cookies last about five days when stored properly. Keep them in an airtight container. This helps maintain their soft texture and rich flavor. If you want them to last longer, consider freezing them.
Can I make the dough ahead of time?
Yes, you can make the dough ahead of time. Chill the dough for one hour before baking. This step helps the cookies hold their shape better. You can also freeze the dough for up to three months. Just thaw it overnight in the fridge when you are ready to bake.
What is the best way to store cookies to keep them soft?
To keep your cookies soft, store them in an airtight container. Place a slice of bread inside. The bread keeps the cookies moist. Avoid storing cookies in the fridge, as this can make them hard.
Can I use homemade caramel sauce instead of store-bought?
Absolutely, homemade caramel sauce works great in this recipe. Just make sure it is thick enough to stay in the cookie’s center. Homemade caramel can add a special touch to your cookies. It can enhance both the flavor and texture.
What adjustments do I need for high-altitude baking?
If you are baking at high altitude, reduce the baking soda by 1/8 teaspoon. You may also need to increase the flour by 1 to 2 tablespoons. This helps the cookies rise correctly. Keep an eye on baking time, as cookies may bake faster. Always check for doneness a few minutes early at high altitudes.
For the full recipe, check the Salted Caramel Chocolate Cookies section.
These salted caramel chocolate cookies are easy and fun to make. You learned about the ingredients, how to mix them, and bake them to perfection. I shared tips for great flavor, storage, and variations for diets.
In the end, these cookies are a treat for any occasion. Enjoy the sweet success and share them with friends and family. They will love them! Happy baking!