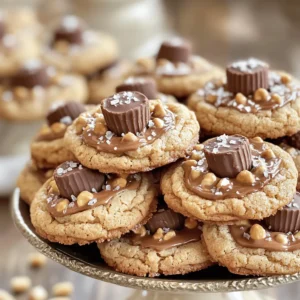
Get ready to drool over these Peanut Butter Cup Stuffed Cookies! If you love soft, chewy cookies full of chocolate and peanut butter, this recipe is for you. I’ll guide you through every step, from choosing the right ingredients to baking the perfect batch. You’ll learn handy tips, fun variations, and storage secrets to enjoy these treats longer. Let’s dive in and create something delicious together!
Ingredients
Essential Ingredients
To make these cookies, you need a few key items:
– 1 cup creamy peanut butter
– 1/2 cup unsalted butter, softened
– 1/2 cup granulated sugar
– 1/2 cup brown sugar, tightly packed
– 1 large egg
– 1 teaspoon pure vanilla extract
– 1 1/2 cups all-purpose flour
– 1/2 teaspoon baking soda
– 1/4 teaspoon fine sea salt
– 1 cup mini chocolate peanut butter cups, unwrapped
These ingredients work together to create a rich and sweet cookie. The peanut butter adds creaminess, while the chocolate cups surprise you with a delicious burst of flavor.
Optional Ingredients for Extra Flavor
For even more deliciousness, consider adding:
– Additional sea salt for a sprinkle on top
– Chopped nuts for crunch
– A drizzle of melted chocolate for extra sweetness
Adding these optional ingredients can enhance the taste and texture, making your cookies even more tempting.
Ingredient Substitutes
If you need to change something, here are some easy swaps:
– Use almond butter instead of peanut butter for a nut-free option.
– Replace unsalted butter with coconut oil for a dairy-free choice.
– Use brown sugar only if you prefer a richer flavor.
These substitutes still keep the cookies tasty while catering to different dietary needs or preferences. Enjoy crafting your perfect peanut butter cup stuffed cookies!
Step-by-Step Instructions
Prepping the Oven and Baking Sheet
Start by preheating your oven to 350°F (175°C). This heat makes our cookies soft and chewy. Line a baking sheet with parchment paper. The paper stops cookies from sticking and helps with easy cleanup.
Mixing Wet Ingredients
In a large bowl, mix 1 cup of creamy peanut butter and 1/2 cup of softened unsalted butter. Add 1/2 cup of granulated sugar and 1/2 cup of packed brown sugar. Use an electric mixer on medium speed. Beat for about 2 minutes until the mix is smooth and creamy.
Combining Dry Ingredients and Forming Dough
In another bowl, whisk together 1 1/2 cups of all-purpose flour, 1/2 teaspoon of baking soda, and 1/4 teaspoon of fine sea salt. Slowly add this dry mix to the wet mix. Stir gently until just combined. Be careful not to overmix; we want soft cookies.
Chilling the Dough for Better Texture
Cover the bowl with plastic wrap. Place it in the fridge for 30 minutes. Chilling the dough makes it easier to handle. It also helps the cookies stay thick when baking.
Stuffing the Cookie Dough and Baking
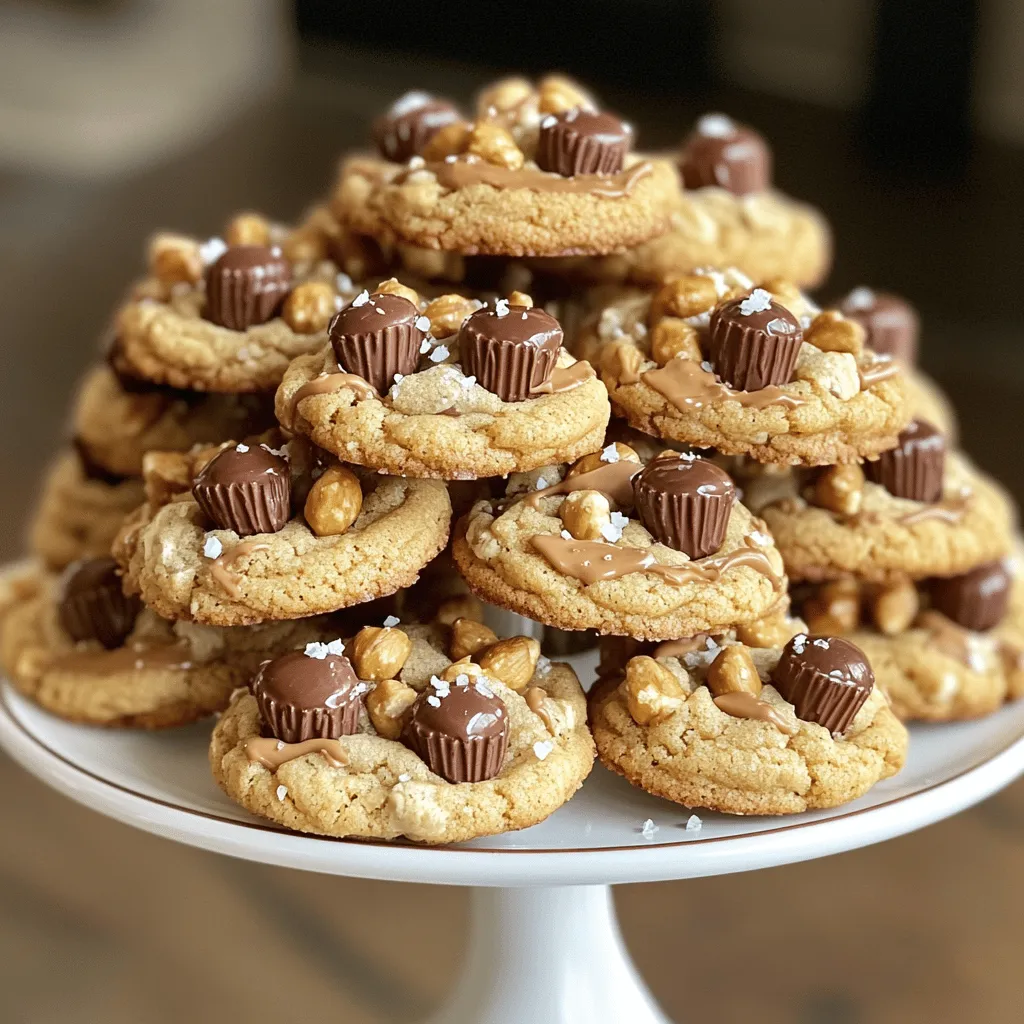
After chilling, scoop a tablespoon of dough. Flatten it slightly in your hand. Place one unwrapped mini chocolate peanut butter cup at the center. Wrap the dough around it, rolling it back into a ball. Repeat this for all the dough and cups. Put the cookie balls on the baking sheet, leaving 2 inches of space between each. For extra flavor, sprinkle a bit of sea salt on top. Bake for 10 to 12 minutes. The edges should be golden while the centers stay soft.
Cooling Tips for Perfect Cookies
Let the cookies cool on the baking sheet for about 5 minutes. This step helps set them. Then, move the cookies to a wire rack to cool completely. This cooling time is key for the best texture. Enjoy your Peanut Butter Cup Stuffed Cookies! For the full recipe, check out the earlier section.
Tips & Tricks
How to Avoid Overmixing
To keep your cookies soft, mix just until combined. Overmixing can make cookies tough. When you add the dry ingredients, blend gently. Use a spatula to fold the mixture instead of a mixer. This helps to keep the dough light and fluffy.
Recommended Baking Time for Desired Texture
For chewy cookies, bake for about 10 to 12 minutes. The edges should be golden, while the centers stay soft. If you want crunchier cookies, add a minute or two. Watch them closely, as every oven is a bit different. You want to catch them just before they harden.
Enhancing Flavor with Sea Salt or Chocolate Drizzle
A sprinkle of sea salt on top adds a nice touch. It balances the sweetness of the cookies. For extra flair, drizzle melted chocolate over the cooled cookies. This not only looks great but also adds rich chocolate flavor. Both options make this treat even more enjoyable.
For the full recipe, check out the detailed steps above!
Variations
Nut-Free Options
If you want to make nut-free cookies, use sun butter instead of peanut butter. Sun butter gives a similar taste without nuts. You can also use soy nut butter for a different flavor. Both options keep the cookies soft and delicious.
Adding Other Fillings (e.g., caramel, nuts)
You can get creative by adding other fillings inside your cookies. Try adding caramel for a gooey surprise. Just place a small piece in the center before wrapping the dough. If you like nuts, chop some and mix them into the dough. This adds crunch and flavor.
Chocolate or Peanut Butter Variations
You can change up the flavors of these cookies. Use chocolate hazelnut spread instead of peanut butter for a rich twist. Or, mix cocoa powder into the dough for a chocolatey cookie. This makes for a fun surprise in every bite. Don’t forget to check the Full Recipe for more ideas!
Storage Info
Best Practices for Storing Cookies
To keep your cookies fresh, store them in an airtight container. This helps maintain their softness. You can layer parchment paper between cookies to prevent sticking. If you want to keep them longer, consider placing a slice of bread in the container. This will help keep the cookies moist.
Freezing and Reheating Instructions
You can freeze the cookies to enjoy later. First, let them cool completely. Then, place them in a single layer in a freezer-safe bag. Seal the bag tightly, removing as much air as possible. To reheat, take out the needed cookies and let them thaw at room temperature for a few hours. If you want them warm, pop them in the oven at 350°F (175°C) for about 5 minutes.
Shelf Life of Peanut Butter Cup Stuffed Cookies
These cookies can last about one week at room temperature. If stored properly in the fridge, they can stay fresh for up to two weeks. Freezing extends their life to about three months. Just remember, the fresher the cookie, the better the taste! For the full recipe, check out the detailed steps above.
FAQs
How do I prevent cookies from spreading too much?
To prevent cookies from spreading too much, chill the dough before baking. This helps the butter firm up. You can also use baking sheets lined with parchment paper. This creates a non-stick surface. Lastly, use a cookie scoop to keep the size uniform.
Can I make the dough ahead of time?
Yes, you can make the dough ahead of time. After mixing, cover it and place it in the fridge. It will stay fresh for up to three days. You can also freeze it for up to three months. Just thaw it in the fridge before baking.
What can I use instead of peanut butter?
If you want a nut-free option, use sun butter. This gives a similar taste without nuts. You can also try almond butter or cashew butter. Just keep in mind the flavor will change a bit.
Are these cookies suitable for kids or people with nut allergies?
These cookies are not safe for people with nut allergies. They contain peanut butter and peanut butter cups. For kids, if they don’t have allergies, these cookies are a fun treat!
How many cookies does this recipe make?
This recipe makes about 12 cookies. Depending on how big you scoop the dough, you might get a few more or less. Each cookie is packed with flavor and a hidden surprise.
What toppings can I add to elevate these cookies?
You can add melted chocolate drizzle on top for a rich flavor. Sprinkling crushed peanuts adds a nice crunch. Sea salt enhances the sweet taste and gives a gourmet touch. For a fun twist, try mini marshmallows or caramel drizzle.
You now have a clear guide to making delicious cookies. From choosing essential ingredients to mastering the mixing and baking process, these steps will help you create tasty treats. Don’t forget the tips on texture and flavor that can make a big difference. With options for variations and storage, you can enjoy these cookies anytime. Remember, practice makes perfect, so have fun experimenting. Happy baking!