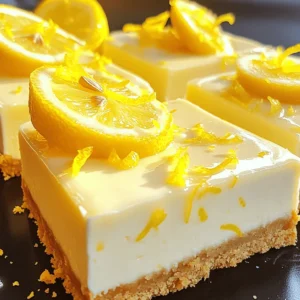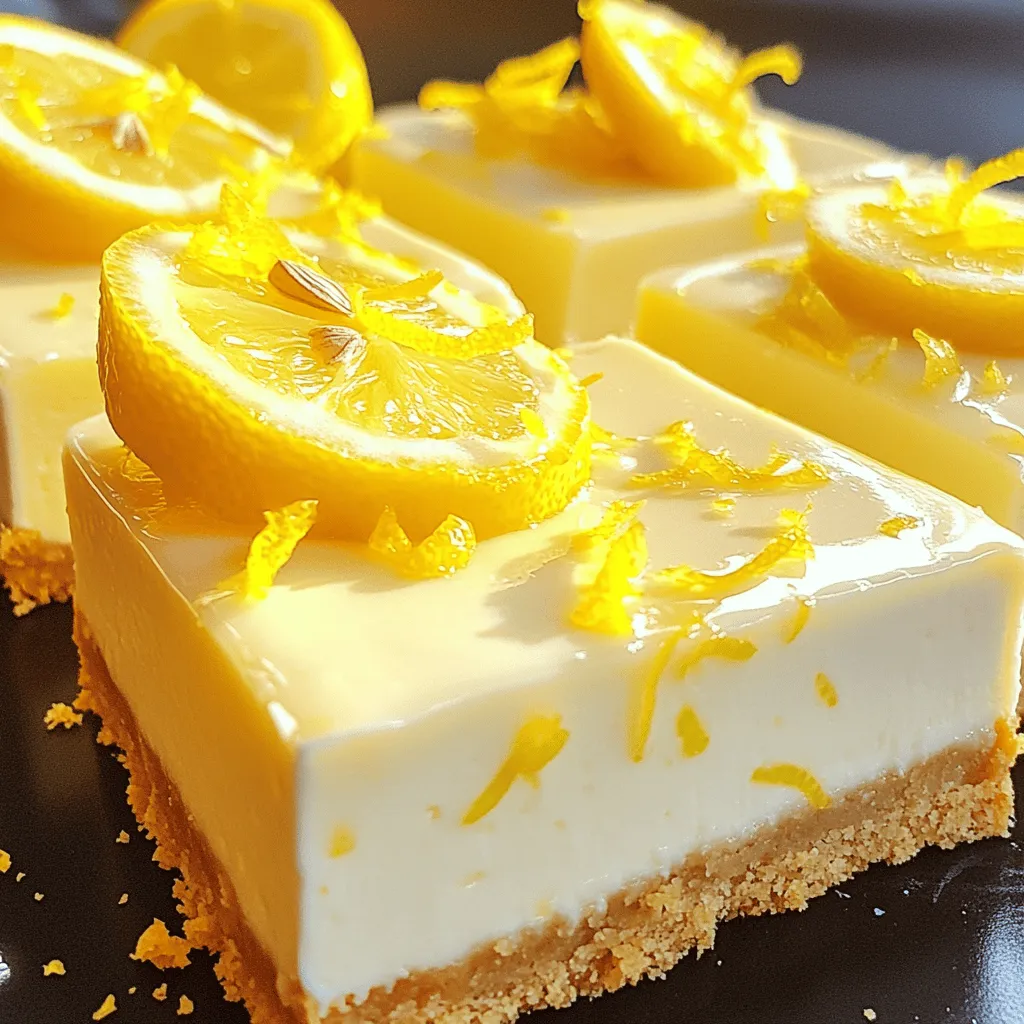
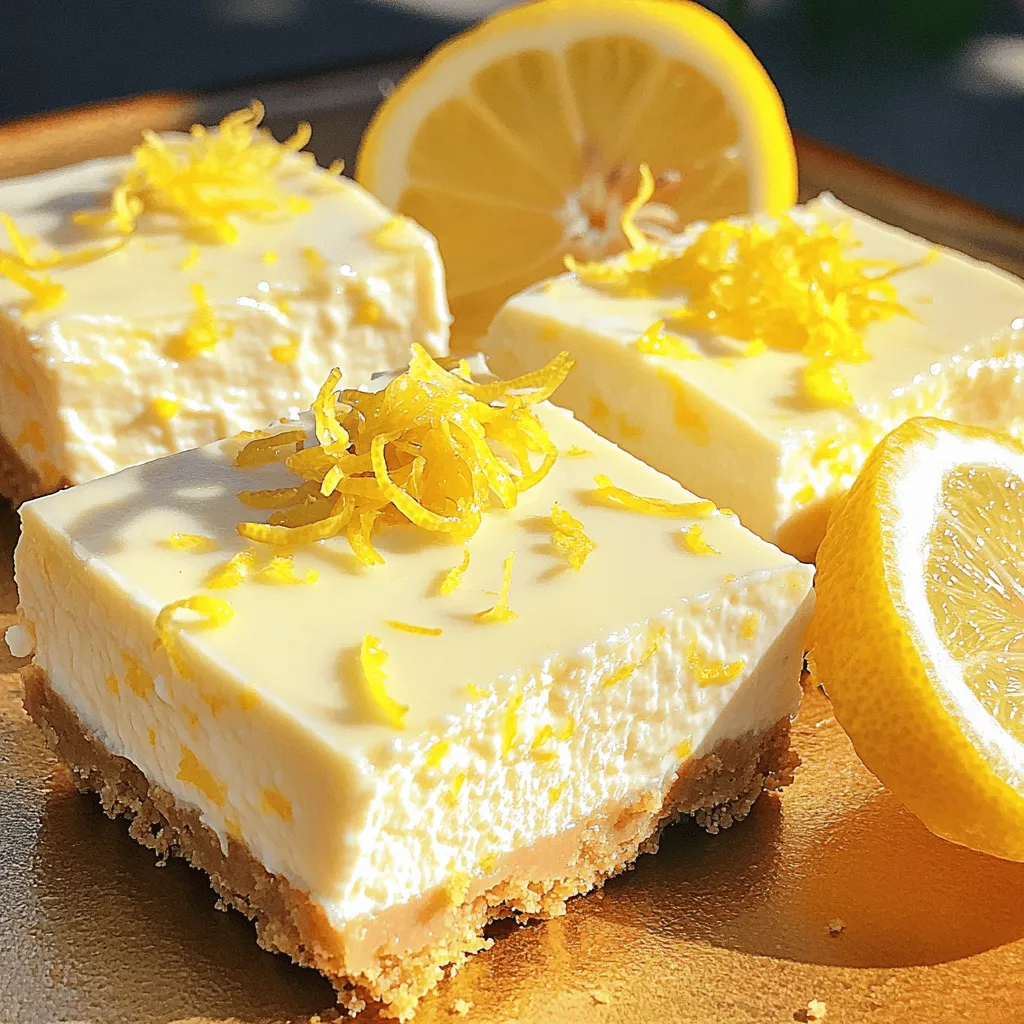
Are you craving a sweet treat that’s both zesty and creamy? Look no further! My Lemon Cheesecake Squares recipe combines the tang of fresh lemons with smooth cream cheese for a mouthwatering dessert. Plus, it’s easy to make! In this post, I’ll guide you step-by-step, ensuring your squares turn out perfectly every time. Get ready to impress your friends and family with this delightful recipe!
Ingredients
To make Lemon Cheesecake Squares, you need fresh and simple ingredients. Each one adds a special touch to the flavor and texture. Here is what you will need:
– 1 ½ cups graham cracker crumbs
– ½ cup unsalted butter, melted
– 2 tablespoons sugar
– 16 oz cream cheese, softened
– 1 cup granulated sugar
– 3 large eggs
– 1 teaspoon vanilla extract
– ½ cup fresh lemon juice
– Zest of 2 lemons
– ½ teaspoon salt
These ingredients work together to create a smooth and tangy filling on a buttery crust. The cream cheese gives it a rich, creamy texture. Fresh lemon juice and zest add a bright flavor that makes each bite delightful. The graham cracker crust provides a nice crunch that contrasts with the soft filling.
Using high-quality ingredients can make a big difference. For the best taste, always opt for fresh lemons over bottled juice. This small choice elevates the flavor of your cheesecake squares.
For the complete recipe and detailed steps, check out the Full Recipe.
Step-by-Step Instructions
Preparing the Oven and Pan
– Preheat the oven to 325°F (160°C).
– Line the baking pan with parchment paper.
First, I set the oven to the right temperature. This ensures the cheesecake bakes evenly. While the oven heats, I grab an 8×8 inch baking pan. I line it with parchment paper, letting some paper hang over the edges. This makes it easy to lift the dessert out later.
Making the Crust
– Mix graham cracker crumbs, melted butter, and sugar.
– Press the crumb mixture into the baking pan.
Next, I mix graham cracker crumbs, melted butter, and sugar in a medium bowl. I stir until the crumbs look moist. Then, I press this mixture firmly into the bottom of my lined pan. This creates a solid crust. I bake it in the oven for about 10 minutes until it’s lightly golden. After that, I let it cool down.
Preparing the Cheesecake Filling
– Beat cream cheese and granulated sugar until smooth.
– Incorporate eggs one at a time.
– Add vanilla extract, lemon juice, zest, and salt.
Now, I focus on the filling. In a large bowl, I beat together softened cream cheese and granulated sugar. I mix until it’s creamy and smooth. Then, I add the eggs one at a time, mixing gently each time. It’s key not to overmix at this stage. After that, I stir in vanilla extract, lemon juice, lemon zest, and salt. This adds bright flavor to the filling!
Baking the Cheesecake
– Pour the filling over the crust.
– Bake in the oven for 25-30 minutes.
I carefully pour the cheesecake filling over the cooled crust. I spread it evenly with a spatula. Then, I put the pan back in the oven. I bake it for 25-30 minutes. The edges should be firm, but the center can still jiggle a bit.
Cooling and Chilling
– Cool in the oven after baking.
– Chill in the refrigerator for at least 4 hours.
Once it’s done baking, I turn off the oven and leave the cheesecake squares inside for 10 more minutes. This helps the center to set gently. Next, I take it out and let it cool at room temperature. I then refrigerate it for at least 4 hours, or even overnight. This waiting time is crucial for the best taste and texture.
Final Steps
– Lift out of the pan using parchment paper.
– Slice into squares for serving.
Finally, I use the parchment paper to lift the cheesecake out of the pan. I place it on a cutting board. I slice it into squares with a sharp knife. If I want to add a special touch, I can sprinkle some lemon zest or add fresh berries on top. For the full recipe, check out the Lemon Zing Cheesecake Squares.
Tips & Tricks
Tips for Perfect Cheesecake Squares
– Avoid overmixing the filling: Mix just until smooth. Overmixing adds too much air, causing cracks.
– Ensure even baking with a water bath: A water bath helps keep the cheesecake moist and prevents cracks.
Serving Suggestions
– Garnish with lemon zest or fresh berries: This adds bright color and fresh flavor.
– Drizzle with lemon glaze or berry coulis: A sweet drizzle enhances the look and taste.
Common Mistakes to Avoid
– Using cold cream cheese: Always use soft cream cheese for a smooth filling. Cold cheese causes lumps.
– Not chilling the cheesecake long enough: Patience is key! Chill for at least 4 hours to set properly.
For more detailed steps, check out the Full Recipe. Enjoy making your lemon cheesecake squares!
Variations
Flavor Variations
You can add fun twists to your lemon cheesecake squares. Try adding lime or orange zest for a new taste. This will brighten the flavor and make it pop. You can also mix in chocolate or vanilla for a rich twist. Each option brings a unique taste to your dessert.
Dietary Modifications
If you need gluten-free options, use almond flour or gluten-free cookies for the crust. These choices keep the flavor while meeting dietary needs. For those looking for vegan alternatives, swap cream cheese with plant-based cream cheese. This keeps your cheesecake creamy without dairy.
Seasonal Twists
Change the flavors with the seasons. In winter, add spices like cinnamon or nutmeg for a cozy feel. For summer, top your squares with fresh fruits like strawberries or blueberries. These toppings add color and fresh taste to your dessert. You can even create festive variations for holidays, using themed decorations or flavors.
For more details on making these delightful variations, check out the Full Recipe.
Storage Info
How to Store Leftovers
To keep your lemon cheesecake squares fresh, use an airtight container. This will help avoid any unwanted odors or moisture. Place the squares in a single layer, if possible. If stacking, add parchment paper between layers. Store them in the refrigerator for the best taste. They stay tasty this way for about five days.
Freezing Tips
You can freeze lemon cheesecake squares for longer storage. First, let them cool completely. Then, wrap each square in plastic wrap tightly. Place wrapped squares in a freezer-safe bag. Seal and label the bag with the date. For best results, eat them within two months. To thaw, move them to the fridge overnight. This helps maintain their creamy texture.
Longevity of Cheesecake Squares
Lemon cheesecake squares last about five days in the fridge. Look for any signs of spoilage. Check for an off smell or any mold. If they feel dry or hard, it’s best to toss them. Fresh is always best for that delightful taste!
FAQs
How do I know when my cheesecake squares are done?
Look for a few key signs to know if your cheesecake squares are ready. The edges should feel firm, while the center should be slightly jiggly. You can also check for a light golden color on the top. If it cracks a bit, that’s okay! This often happens and won’t affect the taste.
Can I make these cheesecake squares ahead of time?
Yes, you can make these cheesecake squares ahead of time. I suggest preparing them at least a day before serving. This allows the flavors to meld and improves the texture. Chill them in the fridge for at least four hours, or overnight for the best results.
What can I substitute for cream cheese?
If you need a substitute for cream cheese, try using Greek yogurt or silken tofu. Both options can create a creamy texture. For a vegan choice, look for plant-based cream cheese. Ensure it has a similar consistency for the best results.
Can I use bottled lemon juice?
You can use bottled lemon juice, but fresh is best. Fresh lemon juice gives a brighter, more vibrant flavor. Bottled juice often lacks the same zing. If you use bottled juice, make sure it is 100% lemon juice for the best taste.
This blog post detailed how to make delicious cheesecake squares. You learned about the ingredients, step-by-step instructions, tips for perfection, variations, and storage. Remember to keep your cream cheese at room temperature for the best results. Feel free to experiment with flavors and toppings to make them your own. With these easy steps, you can impress your family and friends. Enjoy your creamy, tangy cheesecake squares, and happy baking!