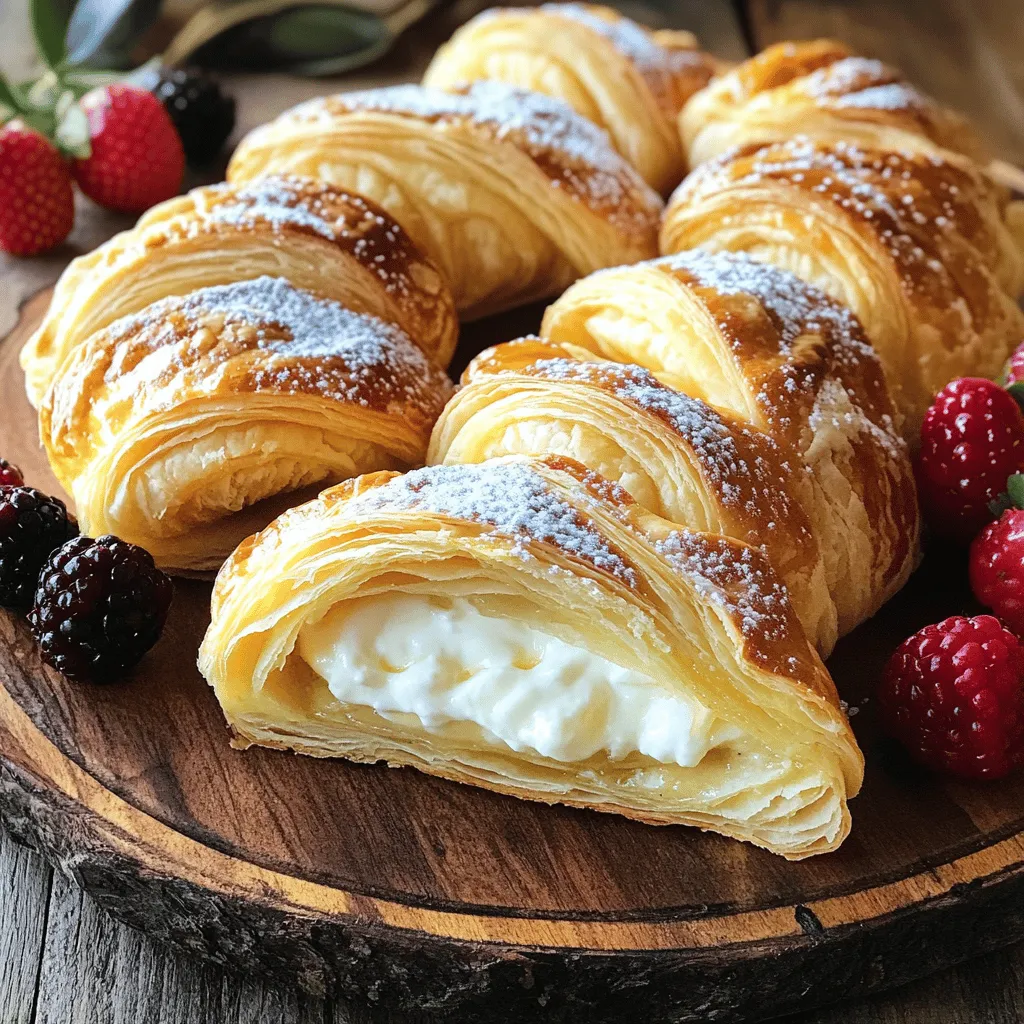
Wake up your mornings with my Delicious Breakfast Cheese Danish recipe! This simple and tasty treat combines creamy cheese filling with a flaky pastry. Whether you want a quick breakfast or a delightful brunch, this recipe is perfect. I’ll guide you through each step, so you’ll feel like a pro in your kitchen. Grab your ingredients, and let’s create a sweet morning surprise that everyone will love!
Ingredients
List of ingredients for Delicious Breakfast Cheese Danish
– 1 sheet of puff pastry, thawed
– 8 oz cream cheese, softened
– 1/2 cup granulated sugar
– 1/4 cup sour cream
– 1 teaspoon vanilla extract
– 1 teaspoon fresh lemon zest
– 1 egg (for egg wash)
– A pinch of sea salt
– 1/4 cup powdered sugar (for drizzling)
– 1 tablespoon milk (for the icing)
Measurement details for precision
When baking, accuracy is key. Use a kitchen scale for the cream cheese. This ensures the right texture. For the sugar, stick to the standard cup measurement. Use a teaspoon measure for the vanilla and lemon zest. This keeps the flavor just right. The egg wash should cover the tops lightly but evenly. This gives a nice color when baked.
Alternatives for common ingredients
If you want a lighter option, use Greek yogurt instead of sour cream. It gives a similar tang. For a dairy-free version, try a plant-based cream cheese. You can also use a sugar substitute if you prefer. If you don’t have puff pastry, use phyllo dough. Just layer it for a flaky texture. Each choice can change the taste, so pick what you like best!
Step-by-Step Instructions
Prepping the pastry and filling
Start by preheating your oven to 375°F (190°C). This step is key for a great bake. Next, prepare a baking sheet. Line it with parchment paper to stop sticking. Now, lightly dust your work surface with flour. Take your thawed puff pastry sheet and roll it out. Aim for an even thickness. Shape it into a rectangle. Cut this rectangle into four equal squares. These will be your pastry bases.
In a medium bowl, mix the filling. Combine 8 oz of softened cream cheese with 1/2 cup of granulated sugar, 1/4 cup of sour cream, 1 teaspoon of vanilla extract, 1 teaspoon of fresh lemon zest, and a pinch of sea salt. Use a hand mixer or rubber spatula to blend until creamy and smooth.
Assembling the Cheese Danishes
Now it’s time to fill the pastry. Take a generous spoonful of the cream cheese mixture and place it in the center of each square. Leave space at the edges for folding. Next, fold each corner of the pastry squares inward. Pinch them together to seal the filling inside. This step is vital for keeping the filling from spilling out while baking.
Baking and cooling process
In a small bowl, whisk one egg to create an egg wash. Use a pastry brush to spread a thin layer over the tops of each Danish. This wash gives the pastries a golden crust. Place the Danishes on the prepared baking sheet and bake for about 20-25 minutes. Keep an eye on them, as oven times can vary.
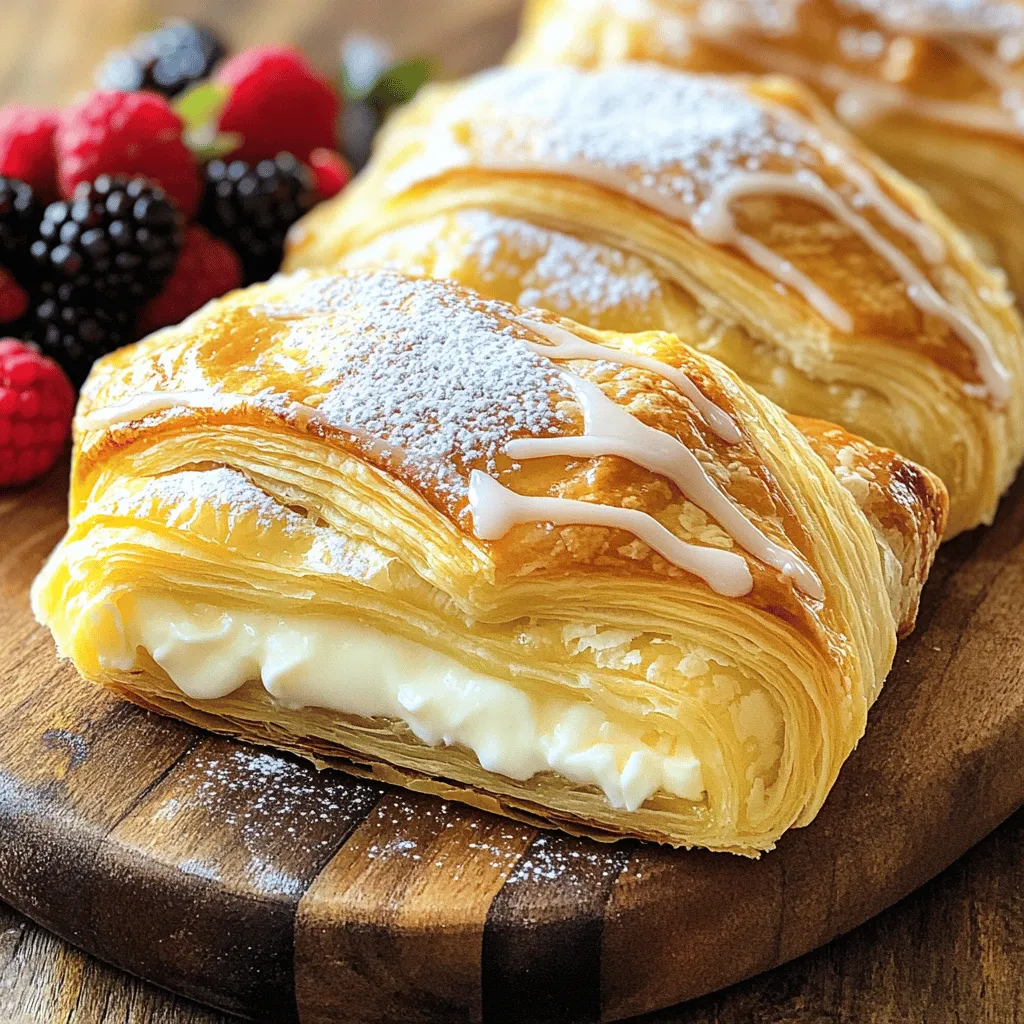
While they bake, prepare the icing. Mix 1/4 cup of powdered sugar with 1 tablespoon of milk in a small bowl. Stir until smooth. After baking, remove the Danishes from the oven. Let them cool for a few minutes on a wire rack. Finally, drizzle the icing over the warm pastries for a sweet finish.
For the full recipe, check out the earlier section. Enjoy your delicious breakfast cheese Danishes!
Tips & Tricks
How to achieve the perfect flaky crust
To get that flaky crust, keep your puff pastry cold. Cold butter creates layers. When you roll it out, do not press too hard. Light pressure helps keep those layers intact. Make sure to chill the pastry after cutting it into squares. This step makes the crust puff up nicely when baked.
Expert tips for the best cream cheese filling
Use room-temperature cream cheese for a smooth filling. Cold cream cheese clumps up. Mix well with sugar, sour cream, and lemon zest. This mix should be creamy and light. Don’t overfill the pastry. A generous spoonful is enough. Leave space around the edges to seal them well.
Troubleshooting common baking issues
If your Danishes don’t puff, check your oven temperature. An oven thermometer helps ensure accuracy. If the tops brown too fast, cover them with foil. For soggy bottoms, bake them on the middle rack. This allows better air circulation. If they stick to the baking sheet, use parchment paper. It keeps them from sticking and helps with cleanup.
For the complete recipe, refer to the Full Recipe section.
Variations
Adding fruit or jam to the filling
You can make your cheese Danish even better by adding fruit or jam. Fresh fruits like berries, apples, or peaches work great. Slice them thinly and mix them into the cream cheese filling. This adds flavor and color. You can also use your favorite jam for a quick option. Just spoon a little jam over the cream cheese before you fold the pastry. The sweet fruit or jam blends well with the creamy cheese. It creates a tasty surprise in every bite.
Flavored cream cheese options
Another way to change up your cheese Danish is to use flavored cream cheese. You can find many types at the store. Try strawberry, blueberry, or even chocolate cream cheese. If you want to get creative, mix your own flavors. Add some cinnamon, nutmeg, or cocoa powder to the plain cream cheese. A splash of almond or orange extract can also add a nice twist. These flavors can bring new life to your Danish and keep things exciting.
Gluten-free adaptations
If you need a gluten-free option, you can still enjoy cheese Danishes. Look for gluten-free puff pastry at your local store. Make sure to read the package to ensure it works well for baking. You can also make your own gluten-free dough with almond flour or rice flour. The filling stays the same, so you won’t miss out on the creamy goodness. Follow the same baking instructions, and you’ll have a delicious treat everyone can enjoy.
Storage Info
How to store leftover Danishes
To store leftover Danishes, let them cool completely first. Place them in an airtight container. This will keep them fresh. You can keep them in the fridge for up to three days. If you want to keep them longer, consider freezing them.
Reheating tips for best results
To reheat Danishes, preheat your oven to 350°F (175°C). Place the Danishes on a baking sheet. Heat them for about 10 minutes. This will help restore their crispness. You can also use a microwave, but this may make them soft. If you use the microwave, heat them for 15-20 seconds at a time.
Freezing options and methods
To freeze your Danishes, wrap each one in plastic wrap. Place them in a freezer-safe bag or container. You can freeze them for up to two months. When ready to eat, thaw them in the fridge overnight. Then, reheat them in the oven for the best taste and texture.
FAQs
Can I make the cheese Danish ahead of time?
Yes, you can make the cheese Danish ahead of time. Prepare the filling and pastry separately. You can store the filling in the fridge for up to two days. Roll and cut the pastry, then wrap it tightly. Keep the pastry in the fridge for up to a day. When you are ready to bake, fill and bake the Danishes fresh. This keeps them flaky and warm.
What can I serve with cheese Danishes for breakfast?
Cheese Danishes pair well with many breakfast items. You can serve fresh fruit like strawberries or blueberries. A side of yogurt adds creaminess. For a drink, try coffee or fresh juice. These choices balance the sweetness of the Danish and add freshness to your meal.
How do I make cheese Danish without puff pastry?
You can make cheese Danish without puff pastry. Use biscuit dough or crescent roll dough instead. These options are easy to work with. Roll out the dough and cut it into squares. Fill them with the cream cheese mixture like you would with puff pastry. Bake until golden for a tasty treat.
This blog post covered how to make a Delicious Breakfast Cheese Danish. We explored key ingredients, precise measurements, and alternatives. You learned step-by-step instructions for prepping, assembling, and baking. I shared tips for a flaky crust and the best cream cheese filling. You discovered variations to add flavor and how to store leftovers.
Now you can create your own tasty Danishes. Enjoy the process and have fun experimenting with flavors. Happy baking!