If you’re craving a crunchy, juicy treat, you’ve come to the right place! My Crispy Homemade Chicken Tenders are easy to make and full of flavor. Whether you’re cooking for family, friends, or just yourself, these tenders offer the perfect blend of crispy and tender. Plus, with simple tips, you can customize them to suit your taste. Get ready for a delicious journey into chicken perfection!
Ingredients
Required Ingredients for Crispy Chicken Tenders
To make the best crispy chicken tenders, gather these key items:
– 1 lb boneless, skinless chicken breasts, cut into strips
– 1 cup buttermilk
– 1 cup all-purpose flour
– 1 cup panko breadcrumbs
– 1 tsp garlic powder
– 1 tsp onion powder
– 1 tsp paprika
– 1/2 tsp cayenne pepper
– Salt and pepper to taste
– Vegetable oil, for frying
These ingredients work together to give you juicy chicken with a crispy crust.
Optional Ingredients for Customization
You can add your twist to the chicken tenders with these extras:
– Parmesan cheese for a cheesy flavor
– Fresh herbs like parsley or thyme
– Other spices, such as cumin or chili powder
– Different dipping sauces for a fun experience
Feel free to mix in what you love. It makes your dish unique.
Importance of Ingredient Quality
Using fresh and high-quality ingredients makes a big difference. Fresh chicken tastes better and cooks evenly. Good buttermilk helps tenderize the meat. Quality spices enhance the flavor. Always choose the best ingredients you can find. This step will take your dish from good to amazing. If you want the full recipe, check out the Crispy Homemade Chicken Tenders .
Step-by-Step Instructions
Marinating the Chicken
Start with the chicken strips. Place them in a large bowl. Pour in the buttermilk and mix well. Make sure each piece is coated. This step makes the chicken tender and adds great flavor. Cover the bowl and place it in the fridge for at least 30 minutes. If you have more time, let it marinate longer for even better taste.
Preparing the Breading Stations
While the chicken marinates, set up your breading stations. In one bowl, mix flour, garlic powder, onion powder, paprika, cayenne pepper, salt, and pepper. Stir it well. This is your first coating. In another bowl, add panko breadcrumbs. This will give the chicken its crispy finish. Keep the bowls ready for the next step.
Frying the Chicken Tenders
After marinating, take out the chicken strips. Let excess buttermilk drip off. First, dredge each strip in the flour mix. Shake off the extra flour. Next, dip it in the panko breadcrumbs. Press gently to make sure it sticks well. Heat vegetable oil in a large skillet over medium-high heat. You can check if the oil is hot by dropping in a crumb; it should sizzle. Add the chicken tenders in batches, avoiding crowding the pan. Fry for 3-4 minutes on each side until golden brown and crispy. Use tongs to flip them gently. Once done, place the chicken on a plate lined with paper towels. This will soak up extra oil, keeping them crispy.
Serving Suggestions
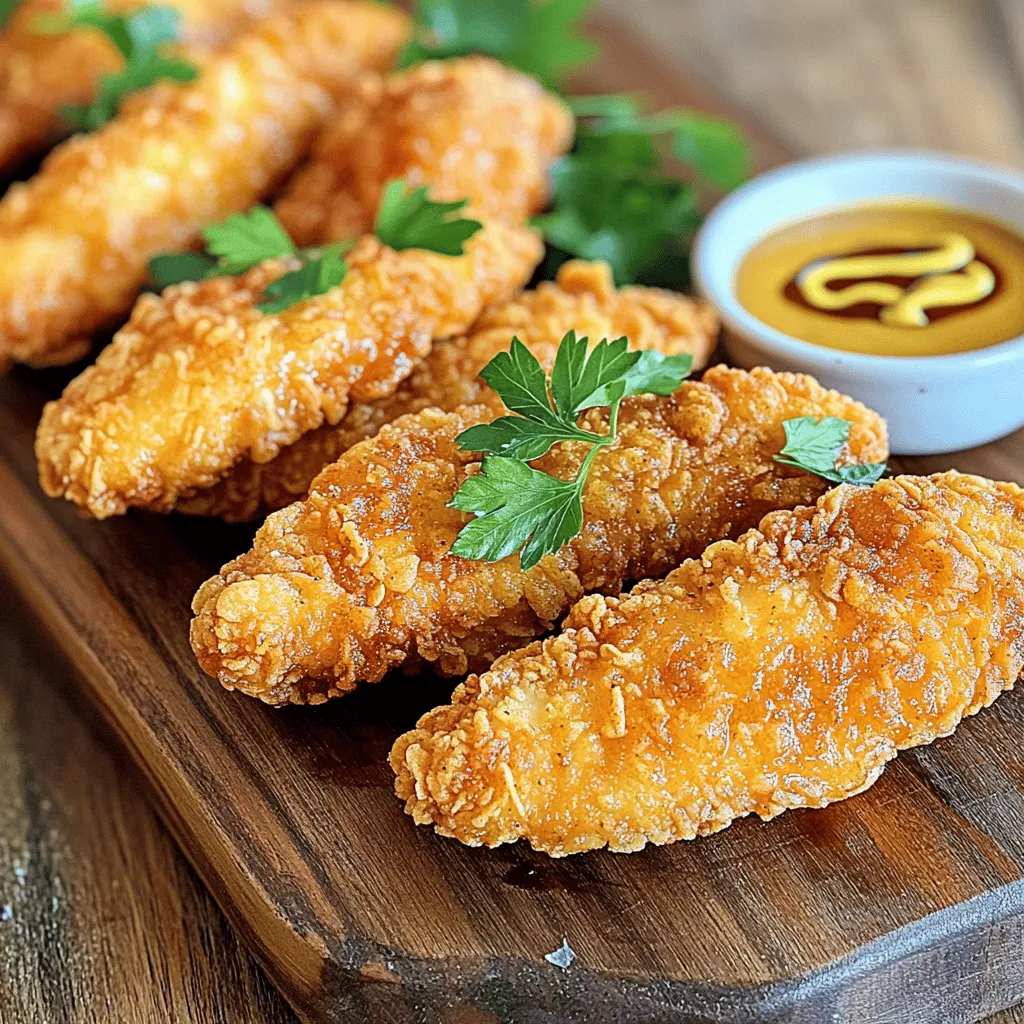
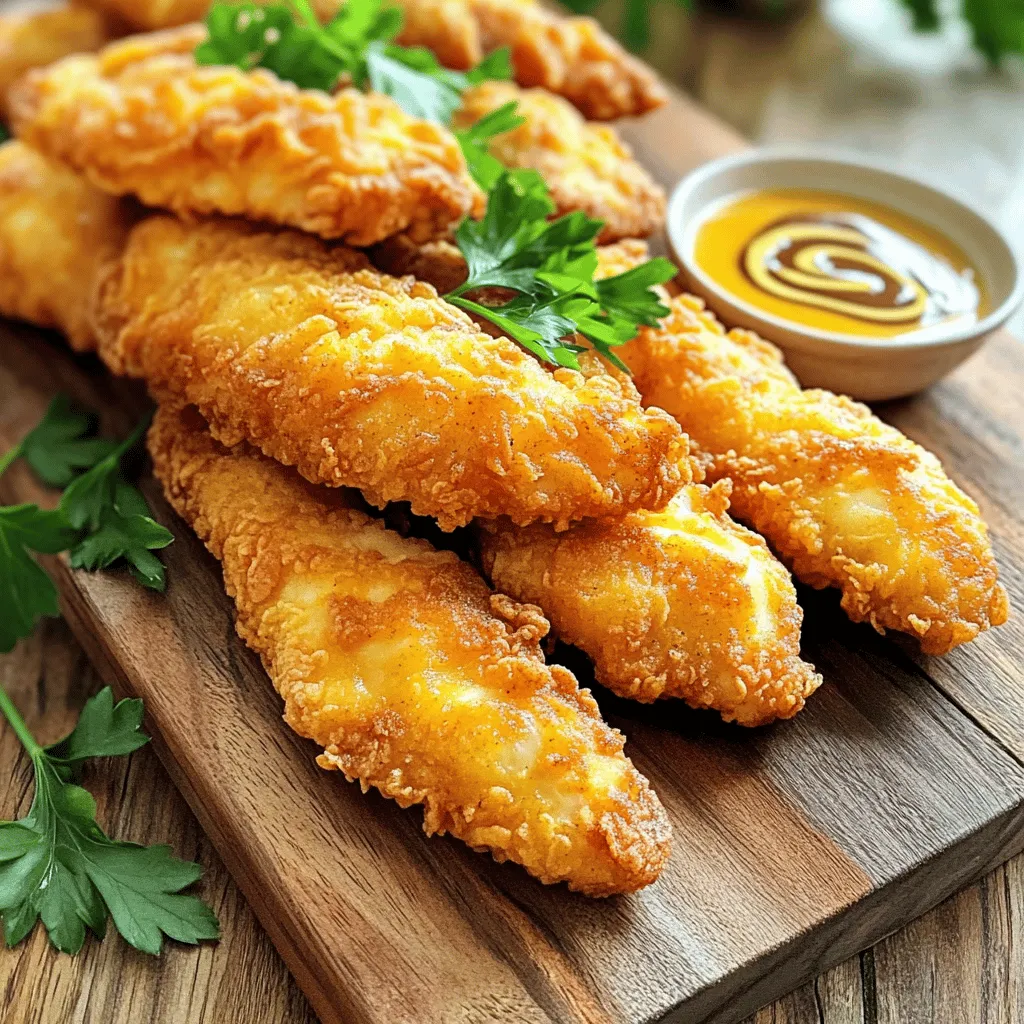
To serve your crispy chicken tenders, arrange them on a large platter. Add small bowls of your favorite dips like honey mustard or ranch. For a touch of color, sprinkle fresh parsley over the tenders. You can also place sprigs of parsley on the side. Enjoy your delicious creation! For the complete recipe, check out the Full Recipe section.
Tips & Tricks
Achieving the Perfect Crispy Texture
To get that golden, crispy texture, start with marination. Buttermilk is key here. It tenderizes the chicken and adds great flavor. After marinating, coat the chicken in seasoned flour first. Then, use panko breadcrumbs for the final layer. Panko gives a light and crunchy bite. Make sure to press the breadcrumbs onto the chicken. This helps them stick well during cooking.
Common Mistakes to Avoid
A few common mistakes can ruin your chicken tenders. First, don’t skip marination. It makes a big difference in taste and texture. Second, avoid overcrowding the pan. Frying too many at once lowers the oil’s temperature. This can lead to soggy tenders. Finally, do not rush the frying process. Let each side cook fully for the best crisp.
Best Practices for Frying
Frying is an art, and a few tips can help. Use a heavy skillet to hold heat better. Heat the oil to the right temperature, about 350°F. Test with a small breadcrumb; it should sizzle when ready. Fry in batches to keep the oil hot. Cook each side for about 3-4 minutes. After frying, place the tenders on paper towels. This helps absorb extra oil and keeps them crispy. For more tips, check out the Full Recipe.
Variations
Flavor Variations (Spicy, Herb-Infused)
You can easily mix up the flavors of your chicken tenders. For a spicy twist, add more cayenne pepper to the breading mix. Try using chili powder or hot sauce in the buttermilk to give your chicken a kick. If herbs are more your style, mix dried oregano, basil, or thyme into the flour. Fresh herbs can also add great flavor.
Baked Version for a Healthier Option
If you prefer a healthier choice, baking is a great way to go. Preheat your oven to 425°F. After breading the chicken, place each piece on a baking sheet lined with parchment paper. Spray the tenders lightly with cooking spray to help them crisp up. Bake for about 20-25 minutes, flipping halfway through. This method keeps them crispy while cutting down on oil.
Using Alternative Breading
You can get creative with the breading. Instead of panko, try crushed cornflakes or almond flour for a unique crunch. For gluten-free options, use gluten-free breadcrumbs or almond meal. These alternatives can add different textures and flavors. Don’t hesitate to experiment and find your favorite combination. For the full recipe, check out the detailed steps above.
Storage Info
How to Store Leftovers
After enjoying your crispy chicken tenders, store any leftovers in an airtight container. This keeps them fresh and tasty. Place the container in the fridge. They will last for about 3 to 4 days. If you want to keep them longer, consider freezing them.
Reheating Tips for Optimal Crispiness
To reheat your chicken tenders, use an oven for the best results. Preheat your oven to 400°F (200°C). Place the tenders on a baking sheet lined with parchment paper. Bake for about 10 to 15 minutes, or until they are hot and crispy again. Avoid using a microwave, as it can make them soggy.
Freezing Chicken Tenders
You can freeze chicken tenders for later. First, let them cool completely. Then, place them in a single layer on a baking sheet. Freeze them for about an hour. Once frozen, transfer them to a freezer bag. This helps prevent sticking. They can stay in the freezer for up to 3 months. When you’re ready to eat them, just reheat using the oven method mentioned above.
FAQs
How do I make chicken tenders extra crispy?
To make chicken tenders extra crispy, use panko breadcrumbs. They are lighter and crispier than regular breadcrumbs. Before breading, let the chicken marinate in buttermilk. This step adds moisture and flavor. For an even crunch, double-coat the chicken. First, dip in flour, then in buttermilk, and finally back in the flour before the panko. Fry in hot oil to get that golden color and crispy texture.
Can I use chicken thighs for this recipe?
Yes, you can use chicken thighs! They are juicier and have more flavor. Cut the thighs into strips just like the breasts. Make sure to adjust the cooking time slightly since thighs may take longer to cook through.
What are the best dipping sauces for chicken tenders?
Some great dipping sauces include honey mustard, ranch, and barbecue sauce. If you like spice, try a sriracha mayo or buffalo sauce. You can also make a simple garlic aioli by mixing mayo with minced garlic and lemon juice.
How long do homemade chicken tenders last?
Homemade chicken tenders last up to 3 days in the fridge. Store them in an airtight container to keep them fresh. If you want to keep them longer, freeze them. They can last up to 3 months in the freezer. Just make sure to reheat them properly for that crispy texture. For the full recipe, check the section above.
Ingredients
For the best crispy chicken tenders, start with quality ingredients. Here’s what you need:
– 1 lb boneless, skinless chicken breasts, cut into strips
– 1 cup buttermilk
– 1 cup all-purpose flour
– 1 cup panko breadcrumbs
– 1 tsp garlic powder
– 1 tsp onion powder
– 1 tsp paprika
– 1/2 tsp cayenne pepper (adjust based on your spice preference)
– Salt and pepper to taste
– Vegetable oil, for frying
Using these ingredients makes a big difference. Buttermilk helps tenderize the chicken. Panko creates a super crispy crust. Spices add flavor and warmth.
For customization, you can add herbs or change the spice level. Always use fresh ingredients for the best taste. Quality matters in every dish.
Check out the full recipe for more details!
You’ve learned all about making crispy chicken tenders. We covered important ingredients, step-by-step instructions, and tips for success. Quality matters, so choose fresh ingredients. Customize flavors or try baked options for health. Store leftovers wisely to keep them crispy.
Remember, great chicken tenders can impress anyone. With practice, you’ll master this tasty dish! Enjoy every bite!
