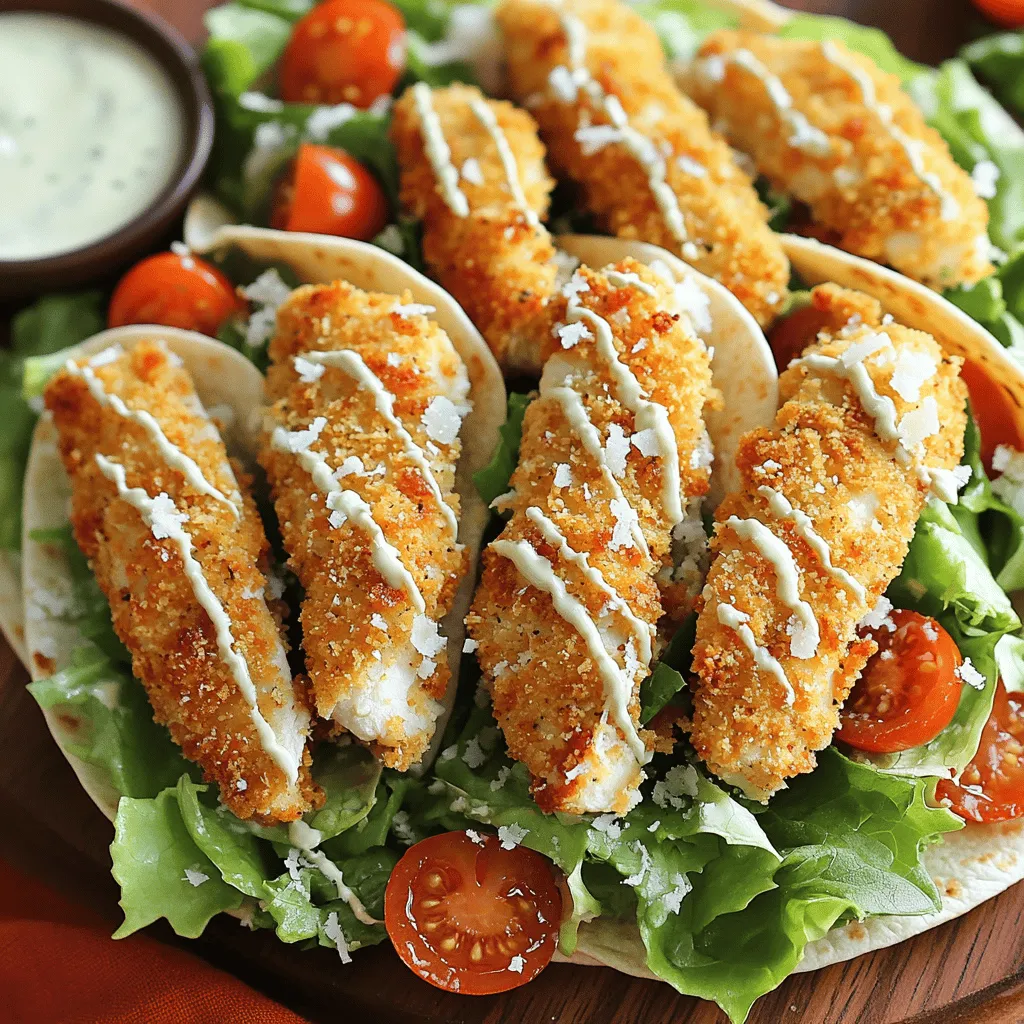
Looking for a simple yet delicious meal? Crispy Chicken Caesar Wraps are a perfect choice! In this guide, I’ll help you create a flavorful wrap that’s crunchy, creamy, and satisfying. With easy steps and essential tips, you can impress anyone at your table. Whether it’s for lunch or dinner, these wraps are a hit. Let’s dive into the ingredients and get started!
Ingredients
Essential Ingredients for Crispy Chicken Caesar Wraps
– 2 large boneless chicken breasts
– 1 cup panko breadcrumbs
– ½ cup all-purpose flour
– 1 large egg
– 1 tablespoon olive oil
– 1 cup romaine lettuce, finely chopped
– ½ cup cherry tomatoes, halved
– ½ cup Caesar dressing
– ¼ cup grated Parmesan cheese
– 4 large tortilla wraps (flour or whole wheat)
– Salt and freshly cracked black pepper to taste
For substitutions, you can use gluten-free breadcrumbs in place of panko. If you want a lighter option, replace the Caesar dressing with a yogurt-based dressing. You can swap the chicken for tofu or grilled shrimp for different flavors.
Recommended Tools and Equipment
– Baking sheet
– Parchment paper
– Medium mixing bowl
– Sharp knife
– Large mixing bowl
– Clean surface for wrapping
– Serving platter
These tools will help you prepare, cook, and serve your wraps with ease. Using a sharp knife makes cutting the wraps neat and easy. A large platter will impress your guests and keep everything organized.
Step-by-Step Instructions
Preparing the Chicken
To start, you need to season the chicken. Sprinkle salt and pepper on both sides of the chicken breasts. This step adds flavor. Next, dredge each breast in flour. Shake off any extra flour for a light coating.
Now, crack one large egg into a bowl and beat it well. Dip each flour-coated chicken breast into the egg. Make sure to cover every part. This helps the breadcrumbs stick.
For the final step, roll each chicken breast in panko breadcrumbs. Press down gently to ensure a good coating. This is what makes the chicken crispy.
Preheat your oven to 400°F. Place the breaded chicken on a lined baking sheet. Drizzle a bit of olive oil on top. Bake the chicken for 20-25 minutes. It should be golden brown and reach an internal temperature of 165°F. This ensures it is fully cooked.
Assembling the Wraps
While the chicken bakes, you can prepare the filling. In a large bowl, mix chopped romaine lettuce, halved cherry tomatoes, Caesar dressing, and grated Parmesan cheese. Toss everything gently to coat the lettuce.
Once the chicken is done, let it rest for about 5 minutes. This keeps it juicy. Slice the chicken into strips for easy wrapping.
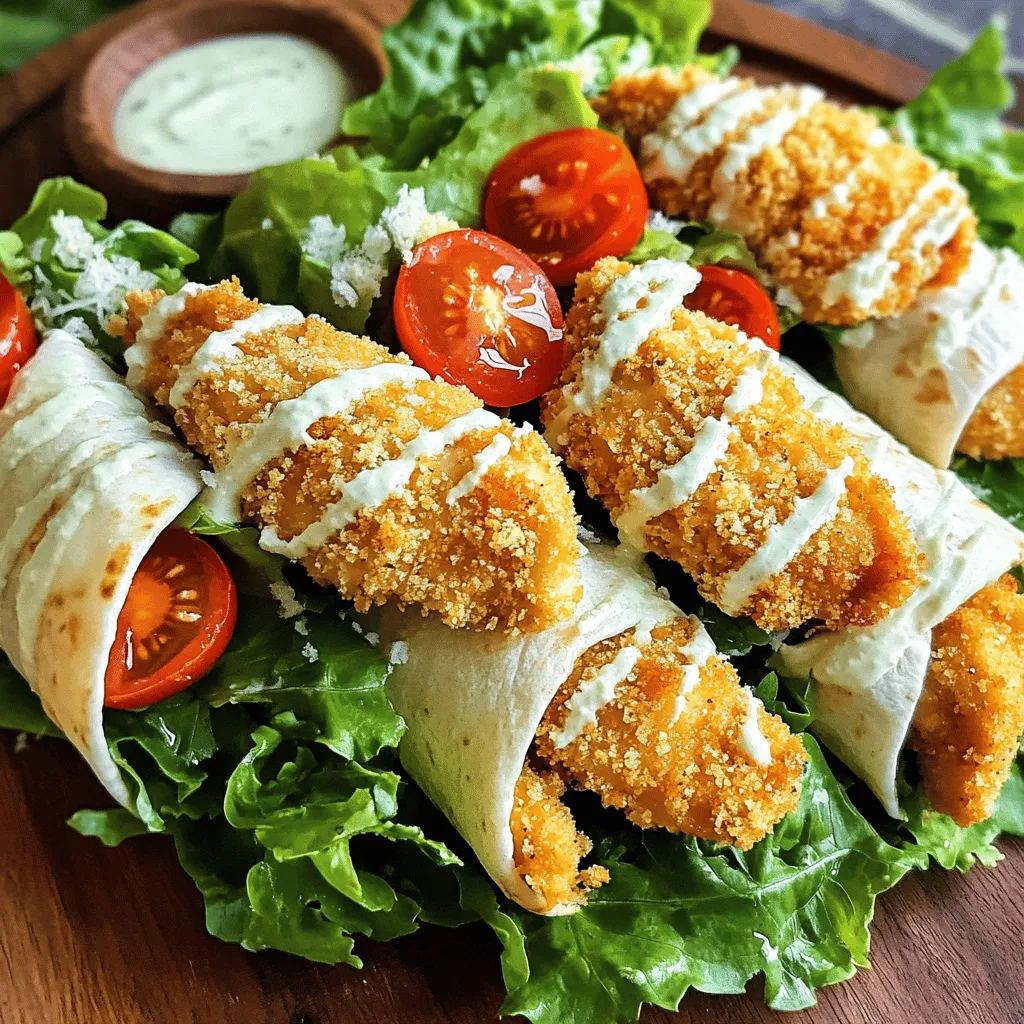
To assemble, lay a tortilla flat on a clean surface. Add a portion of the lettuce mix in the center. Top it with several strips of crispy chicken.
Now, fold in the sides of the tortilla. Start rolling from the bottom to create a tight wrap. This step is key to avoid spilling.
Baking and Serving
After wrapping, you can enjoy your meal. Serve the wraps on a large platter. For an extra touch, add a small bowl of Caesar dressing for dipping.
A great way to present these wraps is to slice each one in half diagonally. This makes them easier to handle and looks nice on the plate. You can also sprinkle more Parmesan on top for extra flavor.
For full details on the preparation, refer to the Full Recipe.
Tips & Tricks
Perfecting the Crispy Coating
To get the crispiest chicken, start with dry chicken. Pat it with a paper towel. This helps the coating stick. Use panko breadcrumbs; they are light and airy. They create a crunch in every bite. Avoid wet batter; it makes the wrap soggy. Also, don’t skip the olive oil drizzle. It helps the chicken brown nicely.
Common mistakes include not seasoning the flour. Always add salt and pepper. Another mistake is overcrowding the baking sheet. Give each piece space to cook evenly.
Flavor Enhancements
To amp up the flavor, try adding garlic powder or paprika to the breadcrumbs. A pinch of cayenne can add heat if you like spice. You can also mix in fresh herbs like chopped parsley or basil for a fresh twist.
If you want to switch up the dressing, try ranch or blue cheese. These alternatives can really change the taste.
Presentation Tips
For serving, place the wraps on a large platter. Cut them in half for easy eating. You can arrange them in a circle for a fun look.
Garnish with extra grated Parmesan or fresh herbs. A small bowl of Caesar dressing on the side is great for dipping. This adds color and makes it more inviting. For a nice touch, serve with lemon wedges. The fresh squeeze can brighten the flavors.
For the full recipe, check out the details above.
Variations
Healthier Alternatives
You can make Crispy Chicken Caesar Wraps lighter. Use these swaps:
– Instead of regular tortillas, choose whole wheat or low-carb wraps.
– Try Greek yogurt in place of Caesar dressing for fewer calories.
– Add fresh veggies like spinach, bell peppers, or cucumbers for crunch and nutrients.
These changes keep your meal tasty without the extra calories. They also boost fiber and vitamins in your diet.
Vegetarian or Vegan Versions
If you want a vegetarian option, swap chicken for grilled tofu or chickpeas. Both add protein and flavor. Use these dressings:
– For a vegan Caesar, try tahini or a creamy avocado dressing.
– Hummus can also work well, adding a rich taste.
These options keep the wraps hearty and satisfying while meeting plant-based needs.
Serving Styles
You can serve these wraps in fun ways. Try these ideas:
– Turn your wrap into a salad by chopping the ingredients and mixing them in a bowl.
– For a buffet, set up all the ingredients separately. Let guests build their own wraps.
These serving styles add a fun twist to any gathering and make it easy to please everyone.
Storage Info
Storing Leftovers
To keep your Crispy Chicken Caesar Wraps fresh, wrap them tightly in plastic wrap or foil. This helps prevent air from drying them out. Place them in an airtight container. This will keep your wraps tasty for up to three days.
Reheating Methods
When reheating, you want to keep that crunch. Preheat your oven to 350°F (175°C). Place the wraps on a baking sheet for about 10-15 minutes. This method helps maintain their crispy texture. You can also use an air fryer at 350°F for about 5-7 minutes. Both methods work well!
Freezing Tips
To freeze your wraps, wrap each one in plastic wrap, then place them in a freezer bag. This helps avoid freezer burn. They can stay in the freezer for up to three months. To prepare them later, let them thaw overnight in the fridge. Reheat them using the oven or air fryer as mentioned above. This ensures they taste just as good as when you first made them.
For the full recipe, check out the complete guide!
FAQs
How long does it take to make Crispy Chicken Caesar Wraps?
Making Crispy Chicken Caesar Wraps takes about 40 minutes. You spend 15 minutes on prep and 25 minutes baking the chicken. This quick time makes it great for busy days.
Can I make Crispy Chicken Caesar Wraps ahead of time?
Yes, you can prepare parts of the wraps ahead of time. You can bake the chicken and store it in the fridge for up to three days. Prepare the salad mix separately. Just assemble the wraps right before serving for best taste.
What can I serve with Crispy Chicken Caesar Wraps?
These wraps pair well with many sides. Here are some ideas:
– Sweet potato fries
– Fresh fruit salad
– Crunchy vegetable sticks
– A light soup like tomato basil
– Chips for a fun crunch
These sides complement the wraps and add variety to your meal.
Crispy Chicken Caesar Wraps offer delicious flavors and fun textures. We discussed essential ingredients, tools, and step-by-step instructions for cooking. I shared tips for perfecting the wraps and suggested tasty variations for different diets. Storing and reheating your wraps keeps them fresh and enjoyable. With my guidance, you can create your own wraps at home with ease. Explore and enjoy your cooking adventure!