Craving a warm, cheesy snack that’s easy to make? You’re in the right spot! This Cheesy Garlic Breadsticks recipe combines simple ingredients with fun steps to create delicious breadsticks that everyone loves. Whether you’re hosting a party or just treating yourself, these breadsticks promise cheesy goodness and a garlicky punch. Ready to impress your taste buds? Let’s dive into this tasty recipe!
Ingredients
List of Ingredients
– 2 cups all-purpose flour
– 1 packet (2 1/4 tsp) instant yeast
– 3/4 cup warm water (approximately 110°F/43°C)
– 1/2 teaspoon sugar
– 1 teaspoon salt
– 2 tablespoons olive oil
– 3 tablespoons unsalted butter, melted
– 4 cloves garlic, finely minced
– 1 cup shredded mozzarella cheese
– 1/2 cup grated Parmesan cheese
– 1 tablespoon dried oregano
– Fresh parsley, finely chopped (for garnish)
– Pinch of red pepper flakes (optional for heat)
These ingredients are simple and easy to find. The all-purpose flour forms the base. Instant yeast helps the breadsticks rise, while warm water activates the yeast. Sugar feeds the yeast, and salt adds flavor. Olive oil makes the dough tender.
Butter, garlic, and herbs create a delicious topping. Mozzarella and Parmesan cheeses give that cheesy goodness. Fresh parsley adds color, and red pepper flakes offer a hint of spice. You can easily adjust the ingredients for your taste. Check out the Full Recipe for all the steps to follow.
Nutritional Information
Each serving contains about 150 calories. It has 6 grams of fat, 4 grams of protein, and 20 grams of carbs. There’s also 1 gram of fiber. This makes the cheesy garlic breadsticks a tasty treat, perfect for sharing.
Step-by-Step Instructions
Activating the Yeast
Mix warm water, sugar, and yeast in a small bowl. Stir gently and let it sit for about 5 minutes. You’ll see bubbles forming on the surface. This means the yeast is alive and ready to work.
Preparing the Dough
In a large bowl, combine the all-purpose flour and salt. Make a well in the center and pour in the activated yeast mixture and olive oil. Mix with a wooden spoon until a rough dough forms. Lightly flour a clean surface and knead the dough for about 5 to 7 minutes. You want it smooth and elastic.
Rising Time
Place the kneaded dough in a lightly greased bowl. Cover it with a damp kitchen towel. Let it rise in a warm area for 1 hour, or until it doubles in size. This step is key for fluffy breadsticks.
Shaping the Breadsticks
Once the dough has risen, punch it down gently to remove air bubbles. Roll it out on a floured surface into a rectangle, about 1/2 inch thick. Brush the surface with the garlic butter mixture, spreading it evenly. Next, sprinkle the shredded mozzarella and grated Parmesan cheese over the dough. For a bit of heat, add a pinch of red pepper flakes. Use a pizza cutter to slice the dough into strips, about 1 to 2 inches wide, and place them on a baking sheet.
Baking
Preheat your oven to 425°F (220°C). Place the baking sheet with the breadsticks in the oven. Bake for 12 to 15 minutes. Keep an eye on them until they turn golden brown and the cheese bubbles. Enjoy the aroma that fills your kitchen! For the full recipe, refer to the provided details.
Tips & Tricks
Perfecting Your Breadsticks
To get the best breadsticks, the dough must be just right. Use 2 cups of all-purpose flour. When mixing, you want the dough smooth and elastic. Kneading is key here; do it for 5-7 minutes. This helps develop gluten, which gives your breadsticks a nice chew. If the dough is too sticky, add a little more flour. If it’s too dry, add a splash of warm water. You want it to feel soft but not wet.
Flavor Enhancements
Garlic butter is a must, but you can make it even better! Try adding herbs. Dried oregano works great, but you can also use basil or thyme. A pinch of salt in the butter adds depth. If you like heat, add red pepper flakes to the mix. These small changes can make a big difference in taste. Mix these flavors well before brushing them on the dough.
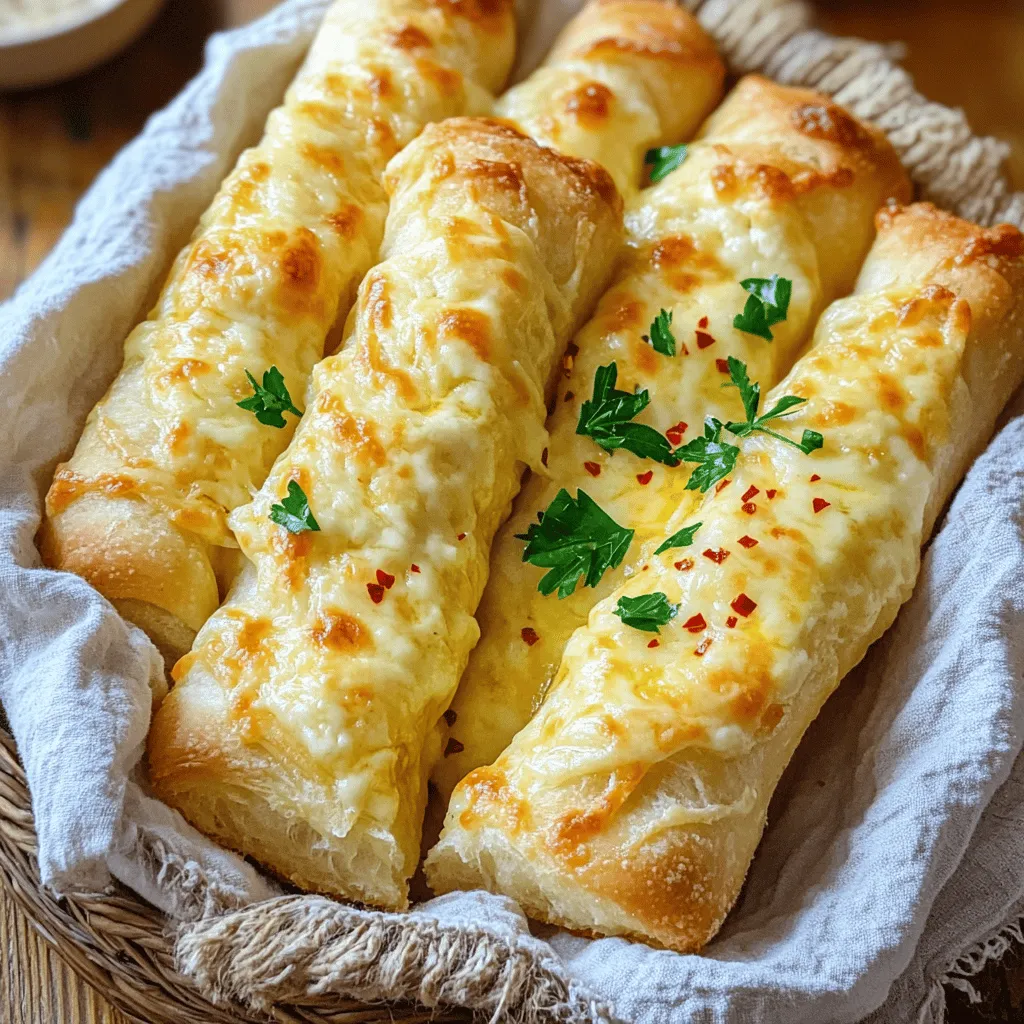
Serving Suggestions
These breadsticks pair perfectly with marinara sauce. The tangy sauce complements the cheesy goodness. You can also serve them with cheese dips for a richer taste. A warm, melted cheese dip is a crowd-pleaser. For a fun twist, try adding a sprinkle of fresh parsley on top. It adds color and fresh flavor. Serve in a basket lined with a cloth to keep them warm and inviting. For the complete experience, offer a side of extra garlic butter for dipping.
Variations
Cheese Variations
You can mix things up with cheese. Try using cheddar for a sharp flavor. Gouda adds a rich, buttery taste. You can even use a blend of cheeses for a unique twist. Don’t be afraid to experiment with different textures too. A creamier cheese can make your breadsticks extra gooey and delicious.
Spice Variations
Adding spices can elevate your breadsticks. Fresh herbs like basil or thyme give a nice touch. You can also add a pinch of cayenne or paprika for some heat. I enjoy mixing in Italian seasoning for a classic flavor. If you love garlic, sprinkle in more minced garlic for an even bolder taste.
Gluten-Free or Vegan Options
If you need gluten-free breadsticks, use a gluten-free flour mix. There are many great options available. For a vegan version, replace the butter with a plant-based alternative. Use vegan cheese instead of mozzarella and Parmesan. This way, everyone can enjoy these tasty treats! Check out the Full Recipe for more details.
Storage Info
Short-Term Storage
To keep your cheesy garlic breadsticks fresh for a few days, store them in an airtight container. This helps lock in moisture and flavor. You can also wrap them in plastic wrap or aluminum foil. Place them at room temperature for up to two days. If you want to keep them longer, the fridge is an option, but they may lose some softness.
Long-Term Storage
Freezing is a great way to save breadsticks for later. After baking and cooling, wrap them tightly in plastic wrap. Then, place the wrapped breadsticks in a freezer bag. They will stay good for about three months. When you want to eat them, just take them out and let them thaw in the fridge overnight.
Reheating Tips
When it’s time to enjoy your breadsticks, reheating is key. Preheat your oven to 350°F (175°C). Place the breadsticks on a baking sheet. Heat them for about 10-15 minutes. This will bring back their crispy texture and warm the cheese. If you prefer, you can microwave them for a quick option, but they may not be as crispy.
FAQs
How do I know when my breadsticks are done baking?
Your breadsticks are done when they are golden brown. The cheese should be bubbly. You can also tap the bottom. It should sound hollow. If you see these signs, they are ready to eat!
Can I use store-bought dough for this recipe?
Yes, you can use store-bought dough. It saves time and effort. However, it may lack the fresh taste. Homemade dough has more flavor and texture. If you choose store-bought, follow the package directions for best results.
What can I do if my dough doesn’t rise?
If your dough doesn’t rise, it may be due to old yeast. Always check the expiration date. Another cause could be cold temperatures. Yeast needs warmth to grow. Try placing the dough in a warm spot. If it still doesn’t rise, start over with fresh yeast.
How to make these breadsticks without cheese?
You can make these breadsticks dairy-free. Use a dairy-free cheese alternative. Nutritional yeast is a great option too. It adds a cheesy flavor without dairy. You can also skip the cheese altogether for a simple garlic breadstick.
How long do these breadsticks last at room temperature?
These breadsticks last about two days at room temperature. Store them in a paper bag. This keeps them soft without getting soggy. If you want them to last longer, freeze them. They can stay fresh in the freezer for up to three months.
These garlic cheese breadsticks are easy to make and delicious. You need just a few ingredients, follow simple steps, and you can serve them warm. Remember to let the dough rise for the best texture. You can also try different cheeses or spices to make them your own. Store extras in the freezer for later use. Enjoy these tasty bites with friends and family anytime you want. Now, go ahead, make your own perfect breadsticks!