Salads
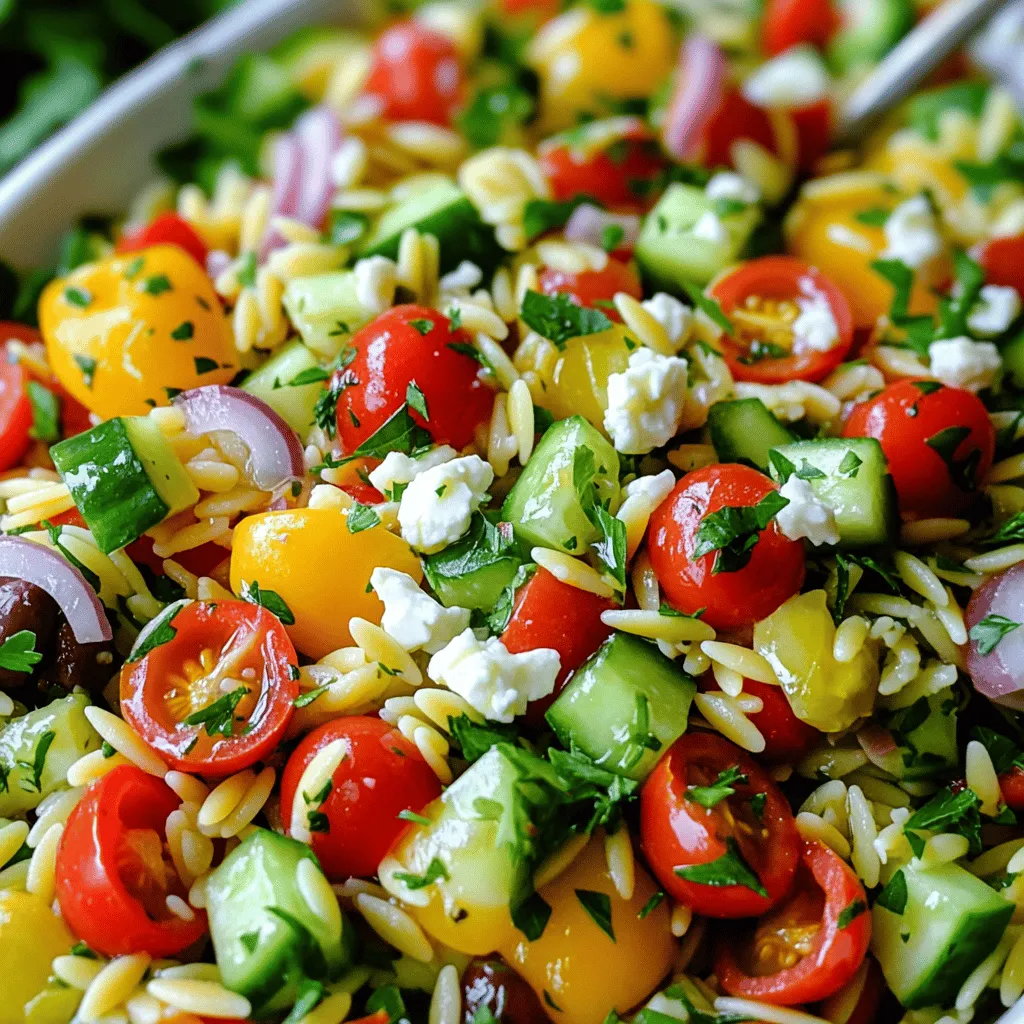
Mediterranean Orzo Salad Flavorful and Nutritious Dish
If you’re looking for a dish that’s packed with flavor and nutrients, Mediterranean Orzo Salad is the answer. This easy-to-make salad blends tender orzo with
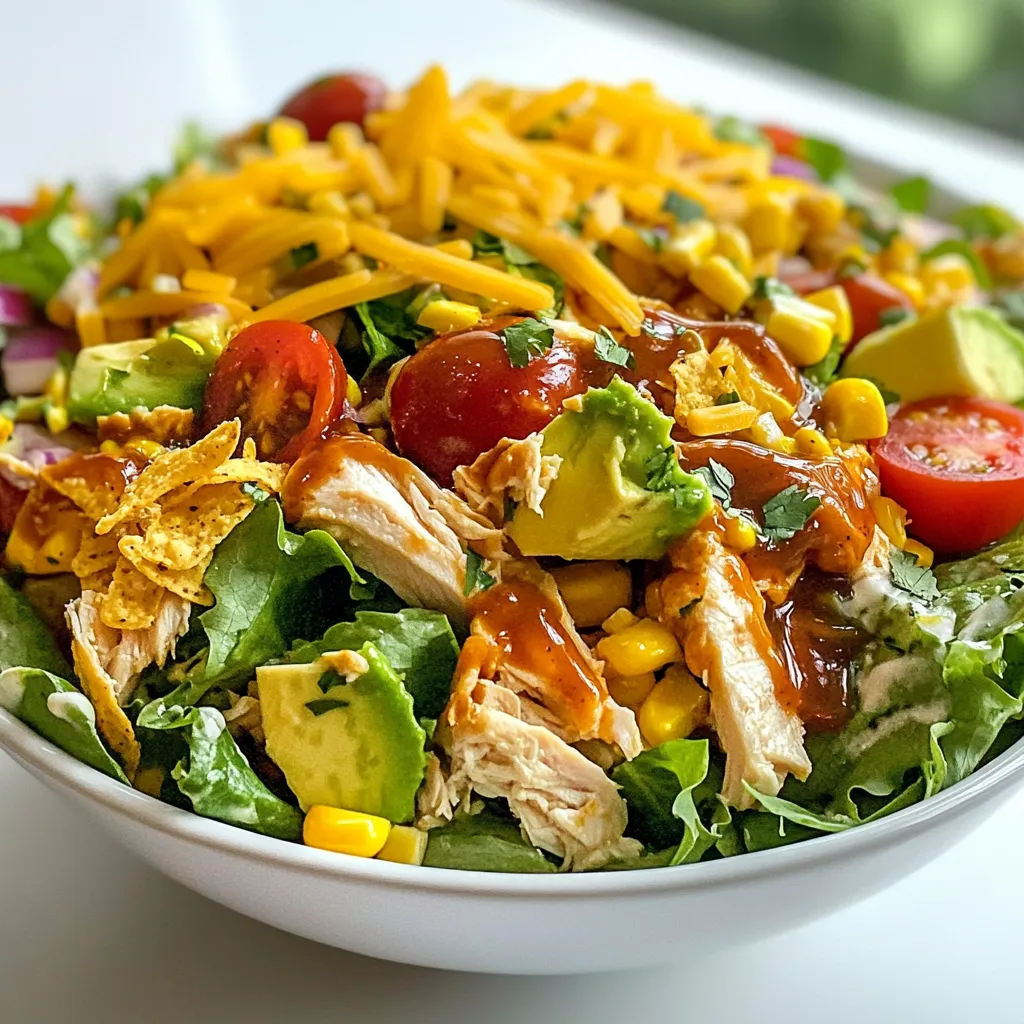
BBQ Ranch Chicken Salad Flavorful and Easy Recipe
Are you ready for a fresh and tasty dish? My BBQ Ranch Chicken Salad is packed with flavor and super simple to make. This easy
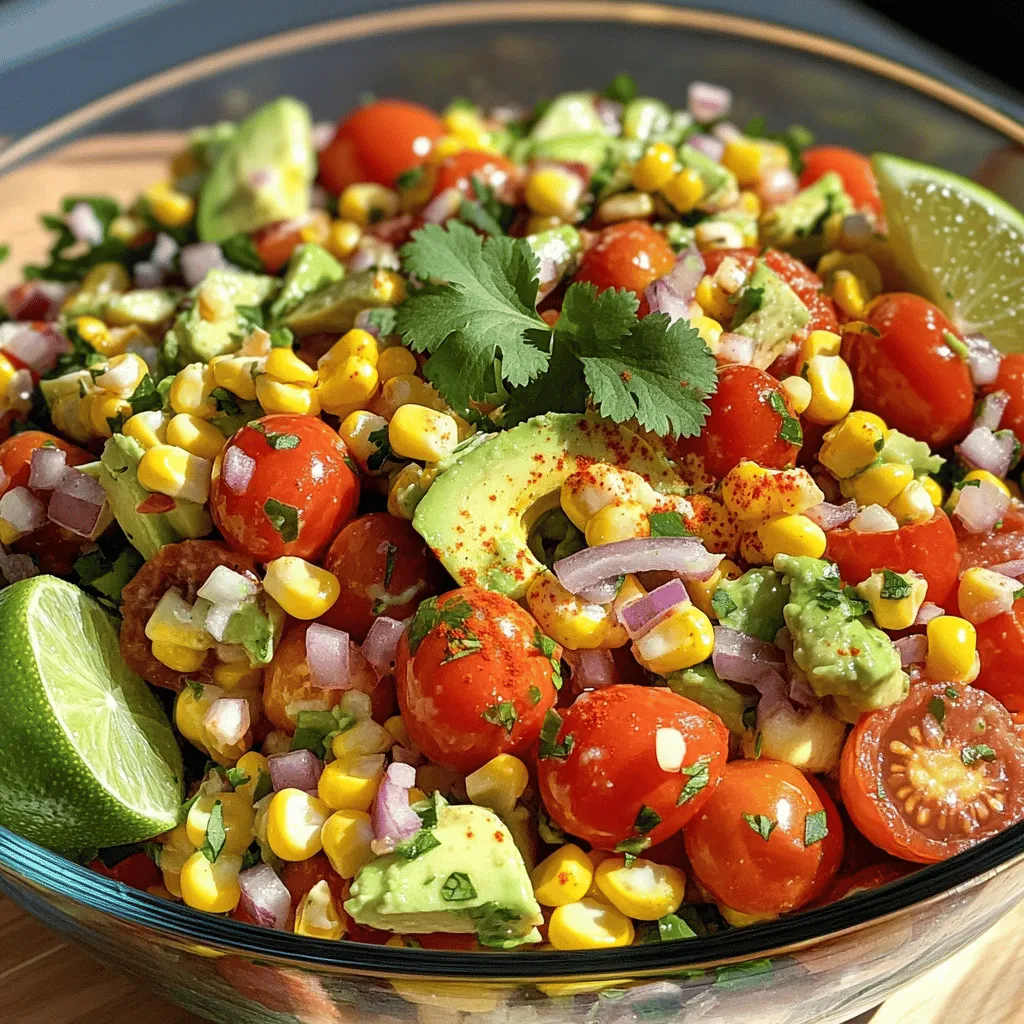
Tomato Avocado Corn Salad Fresh and Flavorful Dish
Looking for a fresh and vibrant dish? Look no further than Tomato Avocado Corn Salad! This colorful salad bursts with flavors and is easy to
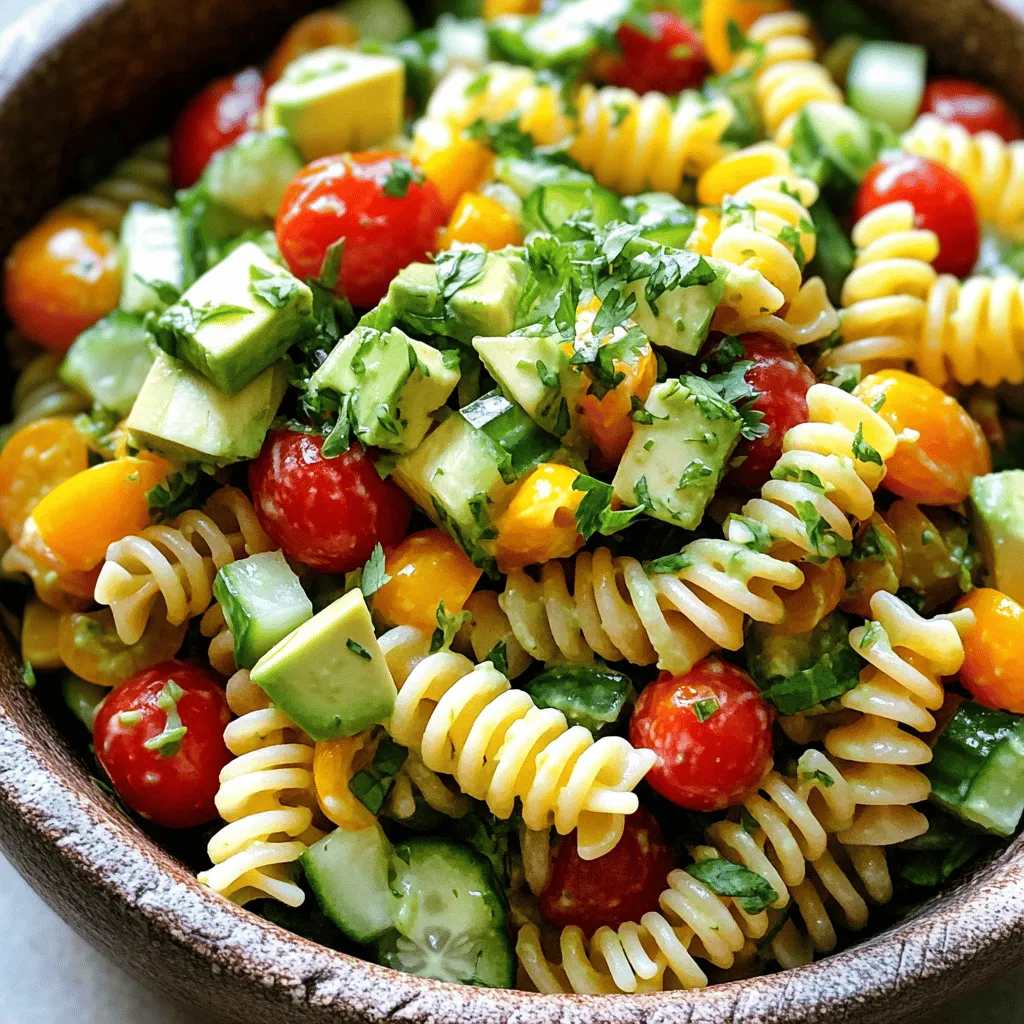
Cilantro Lime Pasta Salad Fresh and Flavorful Dish
Are you ready to spice up your meal prep? Cilantro lime pasta salad is fresh, bright, and packed with flavor. This easy dish features colorful
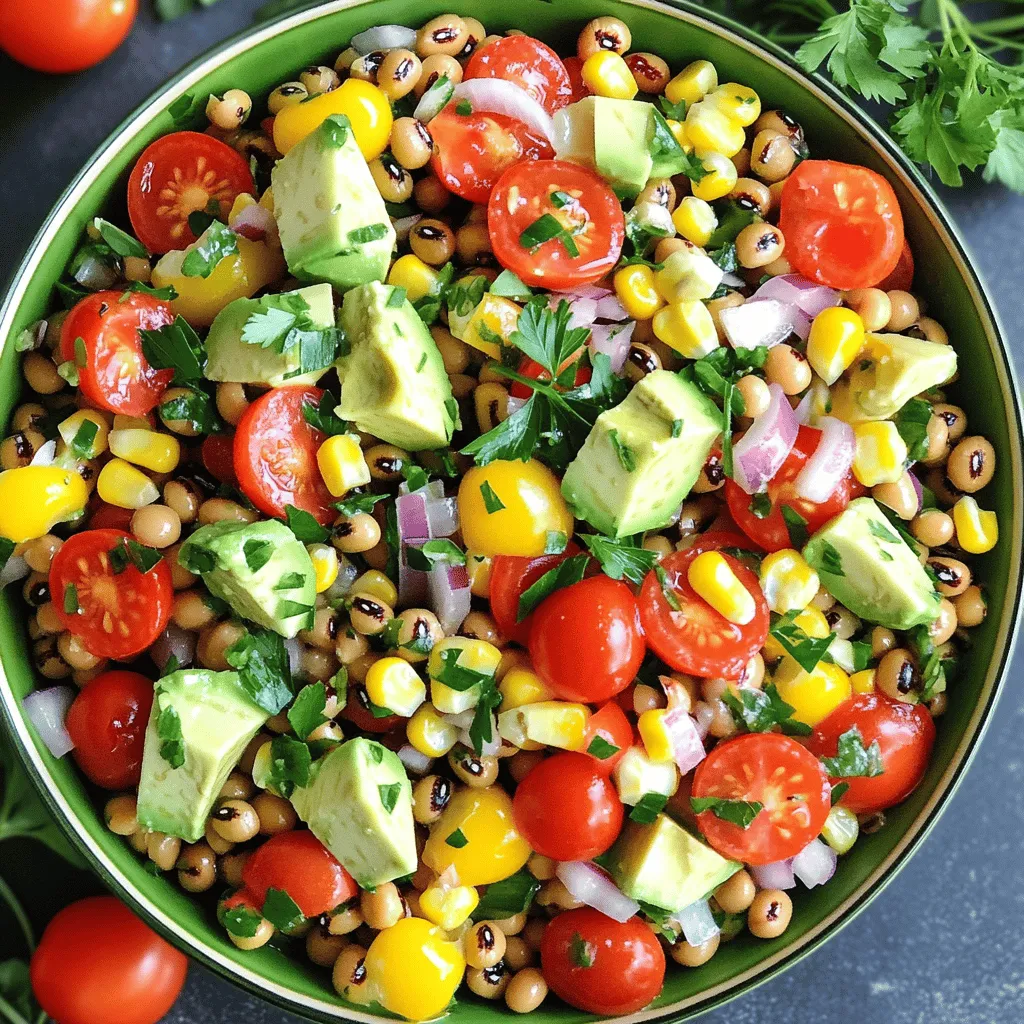
Lucky Black Eyed Pea Salad for New Year’s Health
New Year’s Day is a time for fresh starts and good luck, and nothing says it better than a Lucky Black Eyed Pea Salad. Packed
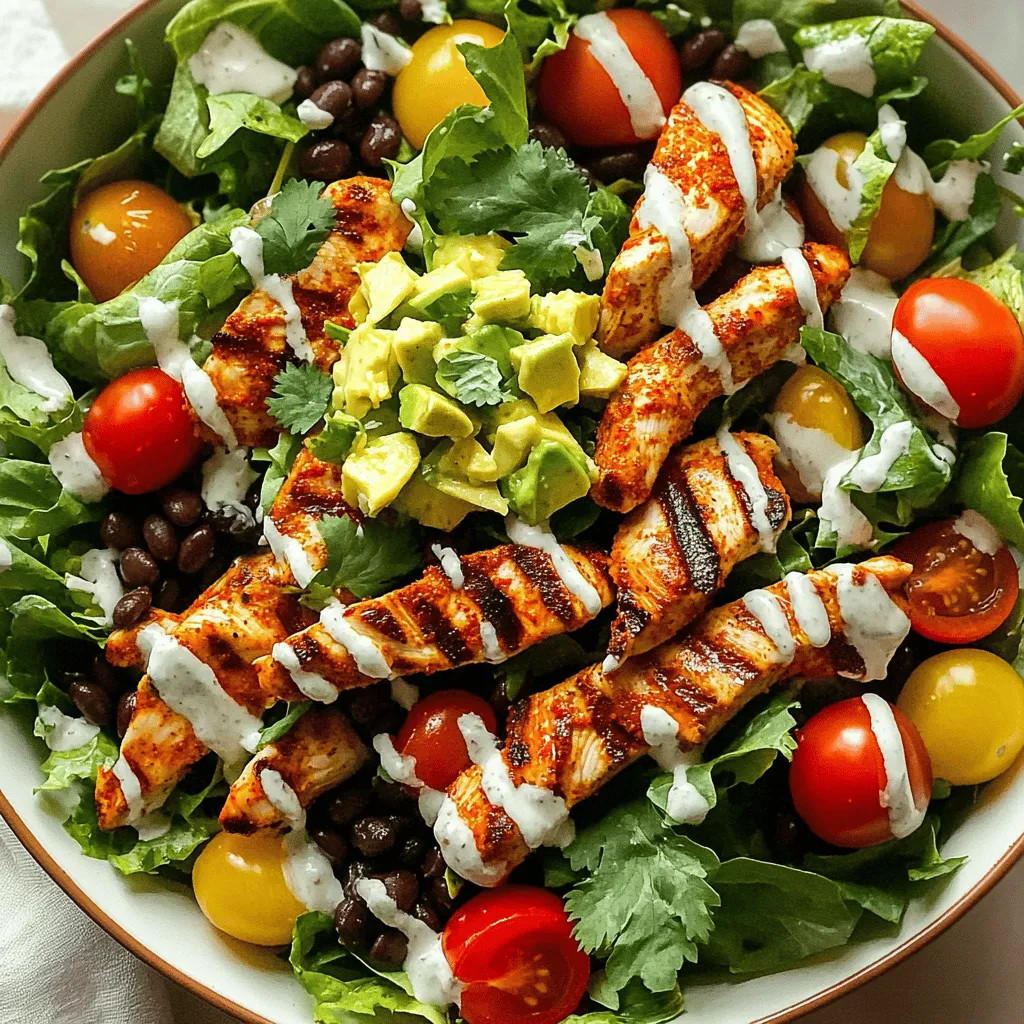
Spicy Southwest Chicken Salad Zesty and Fresh Meal
Looking for a fresh meal bursting with flavor? Try my Spicy Southwest Chicken Salad! This salad combines juicy grilled chicken, crunch salad greens, and zesty
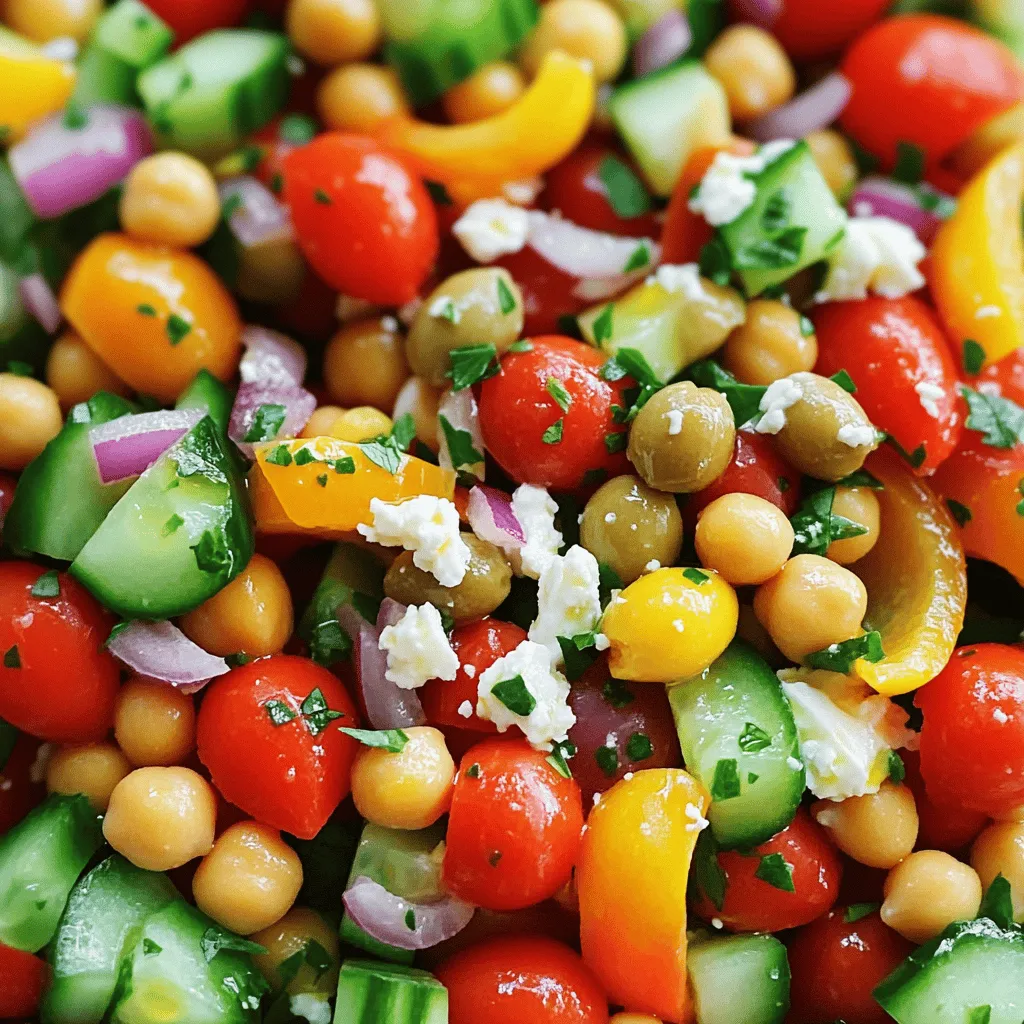
Greek Chickpea Salad Fresh and Flavorful Delight
Are you ready to whip up a fresh and tasty Greek Chickpea Salad? This vibrant dish is packed with protein-rich chickpeas, crunchy veggies, and creamy
![- 2 Honeycrisp apples, thinly sliced - 4 cups mixed salad greens (including arugula, spinach, and kale) - 1/2 cup crumbled feta cheese - 1/4 cup toasted walnuts, coarsely chopped - 1/4 cup dried cranberries - 3 tablespoons extra virgin olive oil - 2 tablespoons apple cider vinegar - 1 tablespoon honey - Salt and freshly ground pepper to taste Honeycrisp apples are juicy and sweet. They offer fiber and vitamins. Mixed greens like arugula, spinach, and kale are rich in nutrients. They support your bones and skin. Feta cheese adds protein and calcium for strong bones. Walnuts provide healthy fats and boost heart health. Dried cranberries add antioxidants, which help your immune system. Olive oil is a good fat that aids digestion. Apple cider vinegar may support blood sugar levels. Honey adds natural sweetness and has antibacterial properties. This salad is a healthy choice! When choosing Honeycrisp apples, look for bright color. The skin should be smooth and firm. Avoid apples with bruises or soft spots. A sweet scent often means the apple is ripe. Choose apples that feel heavy for their size. This usually means they are juicy. Fresh Honeycrisp apples will give your salad a crisp bite. Enjoy their unique flavor in your salad! Start by placing the mixed salad greens in a large bowl. Use arugula, spinach, and kale for great flavor and nutrition. These greens create a fresh base for your salad. You want a mix that is both crunchy and tender. This balance enhances the overall taste. Next, layer the Honeycrisp apple slices over the greens. Thin slices look nice and are easy to eat. Spread them out evenly, so each bite has apple flavor. Then, sprinkle crumbled feta cheese on top. Its creamy texture contrasts well with the crisp apples. Add toasted walnuts for crunch and dried cranberries for sweetness. Each ingredient adds its own special touch. In a small bowl, mix the olive oil, apple cider vinegar, honey, salt, and pepper. Whisk these together until they blend well. The dressing should be smooth and flavorful. This tangy dressing brings the salad together. Drizzle it over the salad just before serving. Gently toss everything with tongs. Be careful not to bruise the apple slices. Taste the salad and adjust the seasoning if needed. Check the [Full Recipe] for more detailed instructions on this tasty dish. To make the best dressing, use fresh ingredients. Measure out three tablespoons of olive oil. Then, add two tablespoons of apple cider vinegar. Next, mix in one tablespoon of honey. This balance of flavors is key. Whisk them together until the mixture is smooth. Taste it to see if you need more salt or pepper. Adjust as needed to suit your taste. Many people forget to wash greens before use. Rinse the salad greens well to remove dirt. After washing, dry them using a salad spinner or paper towels. This step keeps the salad from getting soggy. Also, cut the Honeycrisp apples just before serving. This keeps them crisp and fresh. Browning apples can spoil the look and taste. When tossing your salad, be gentle. Use tongs or two large spoons. Start from the bottom and lift up the greens. This technique mixes the ingredients without crushing them. If you toss too hard, you risk bruising the apples. Toss just before serving for the best texture. This way, everything stays fresh, and the flavors blend perfectly. For the full recipe, check out the earlier sections. {{image_4}} You can boost your Honeycrisp apple feta salad with protein. Grilled chicken adds flavor and makes it more filling. You can also use shrimp or chickpeas for a tasty twist. For a vegetarian option, try adding hard-boiled eggs. Each of these choices makes the salad hearty and satisfying. Mixing different nuts and fruits can change the salad's taste. Instead of walnuts, use pecans or almonds for a different crunch. You can also swap dried cranberries for raisins or chopped dates. These tweaks will keep your salad exciting and fresh. If you want a vegan version, skip the feta cheese and use avocado instead. It adds creaminess and healthy fats. For a gluten-free option, ensure your dressing is free from gluten. This way, everyone can enjoy this vibrant salad without worry. To keep your Honeycrisp Apple Feta Salad fresh, store it in an airtight container. This helps prevent wilting and keeps flavors bright. If you have dressing left, store it separately. This way, your salad won’t get soggy. Enjoy leftovers within two days for the best taste. To keep your Honeycrisp apples crisp, store them in the fridge. Apples like cool and humid places. Place them in a plastic bag with holes to allow airflow. Avoid keeping them near strong-smelling foods, as apples can absorb odors. This keeps their sweet, fresh flavor intact. To store feta cheese, place it in a container with a lid. Cover it with brine if possible. This keeps the cheese moist and flavorful. If you have crumbled feta, wrap it tightly in plastic wrap. Use it within a week for the best quality. For more details on making this salad, check the Full Recipe. Yes, you can make Honeycrisp Apple Feta Salad ahead of time. However, I suggest keeping the dressing separate until you are ready to serve. This helps keep the salad fresh and crisp. You can slice the apples and mix the greens. Store them together in an airtight container in the fridge. Just remember to add the feta, nuts, and dressing right before serving for the best taste. You can use several cheeses if you want to switch things up. Goat cheese adds a soft, creamy texture. Blue cheese gives a strong, tangy flavor. Parmesan works well, too, and adds a salty kick. Each cheese transforms the salad, giving you new flavors to enjoy. Feel free to try what you like best! To change the sweetness of the dressing, you can add or reduce honey. If you want it sweeter, add more honey, a teaspoon at a time. If you prefer less sweetness, use less honey or skip it altogether. You can also try using lemon juice to balance the flavors. This will give you a zesty taste without making it too sweet. This article covered how to create a Honeycrisp Apple Feta Salad. We explored the key ingredients, their health benefits, and tips for choosing the best apples. You learned step-by-step instructions for the salad and dressing. We discussed ways to avoid common mistakes and shared fun variations. In conclusion, enjoy experimenting with this dish. Each ingredient offers unique flavors and benefits. Make it your own, and enjoy the process! Keep your salad fresh and fun for everyone.](https://tossedflavors.com/wp-content/uploads/2025/05/a417833b-429f-4043-b239-c676b7a0c427.webp)
Honeycrisp Apple Feta Salad Fresh and Flavorful Dish
Are you ready to enjoy a fresh and flavorful dish that will brighten your meals? The Honeycrisp Apple Feta Salad is not only delicious but
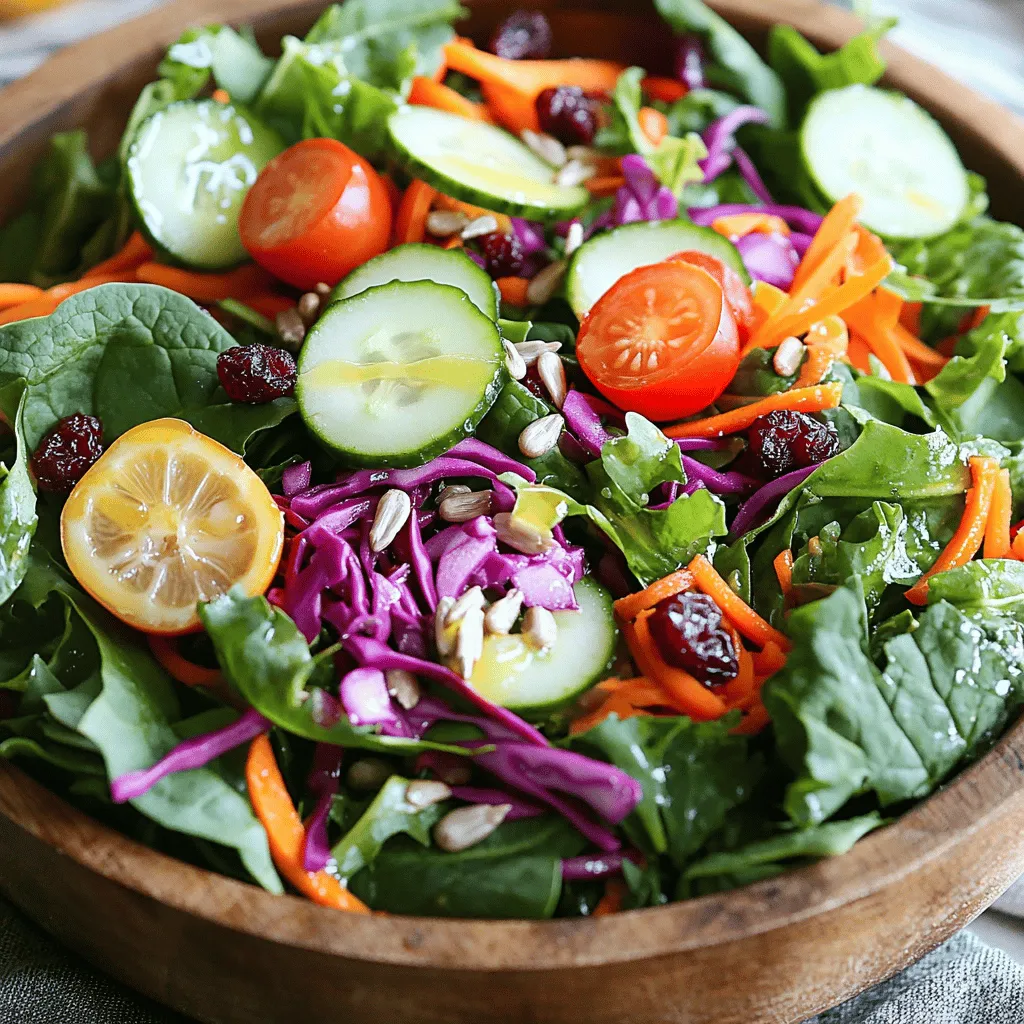
Crunchy Detox Salad Fresh and Healthy Delight
Ready to recharge your body with a vibrant Crunchy Detox Salad? Packed with fresh greens and colorful veggies, this salad offers a delicious way to

Cottage Cheese and Chickpea Salad Fresh and Nutritious
Looking for a fresh and nutritious meal that’s quick to make? Try my Cottage Cheese and Chickpea Salad! It’s packed with protein, fiber, and healthy