Salads
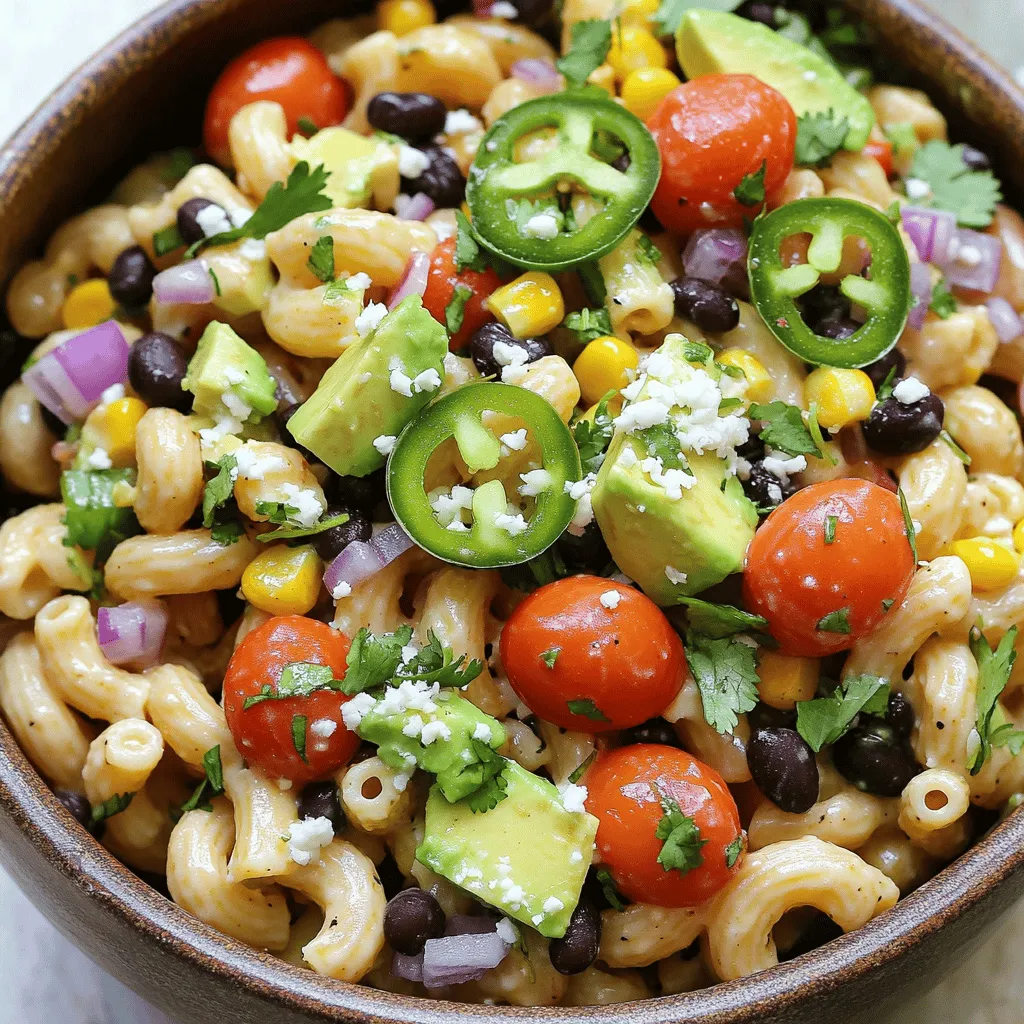
Mexican Macaroni Salad Flavorful and Simple Recipe
Are you ready to spice up your next potluck or family meal? This Mexican Macaroni Salad is packed with flavor and easy to make. Using
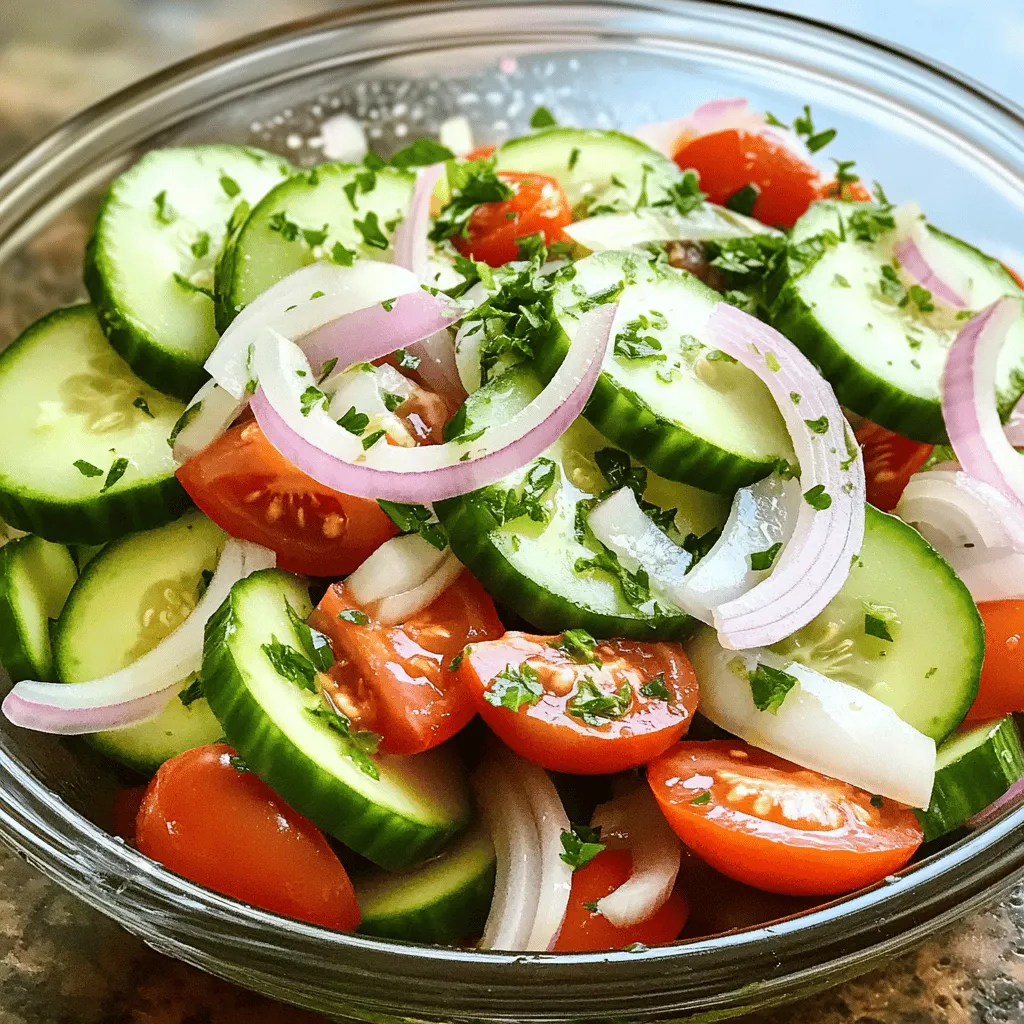
Marinated Cucumbers, Onions, and Tomatoes Delight
Looking to brighten up your meals? Marinated Cucumbers, Onions, and Tomatoes are the perfect fresh dish! This crunchy medley will add vibrant flavor to your
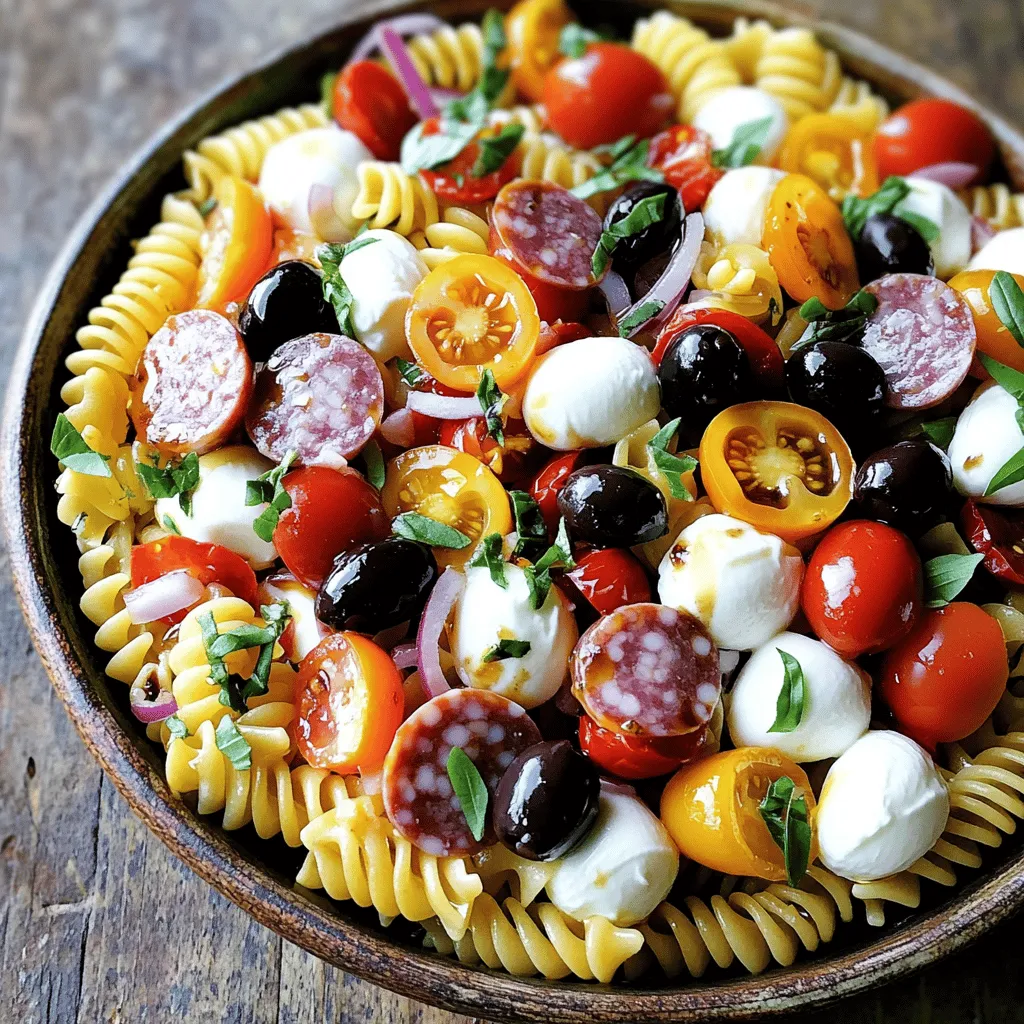
Easy Italian Antipasto Pasta Salad Flavorful Delight
Are you craving a dish that’s full of vibrant flavors and easy to make? Look no further! My Easy Italian Antipasto Pasta Salad will brighten
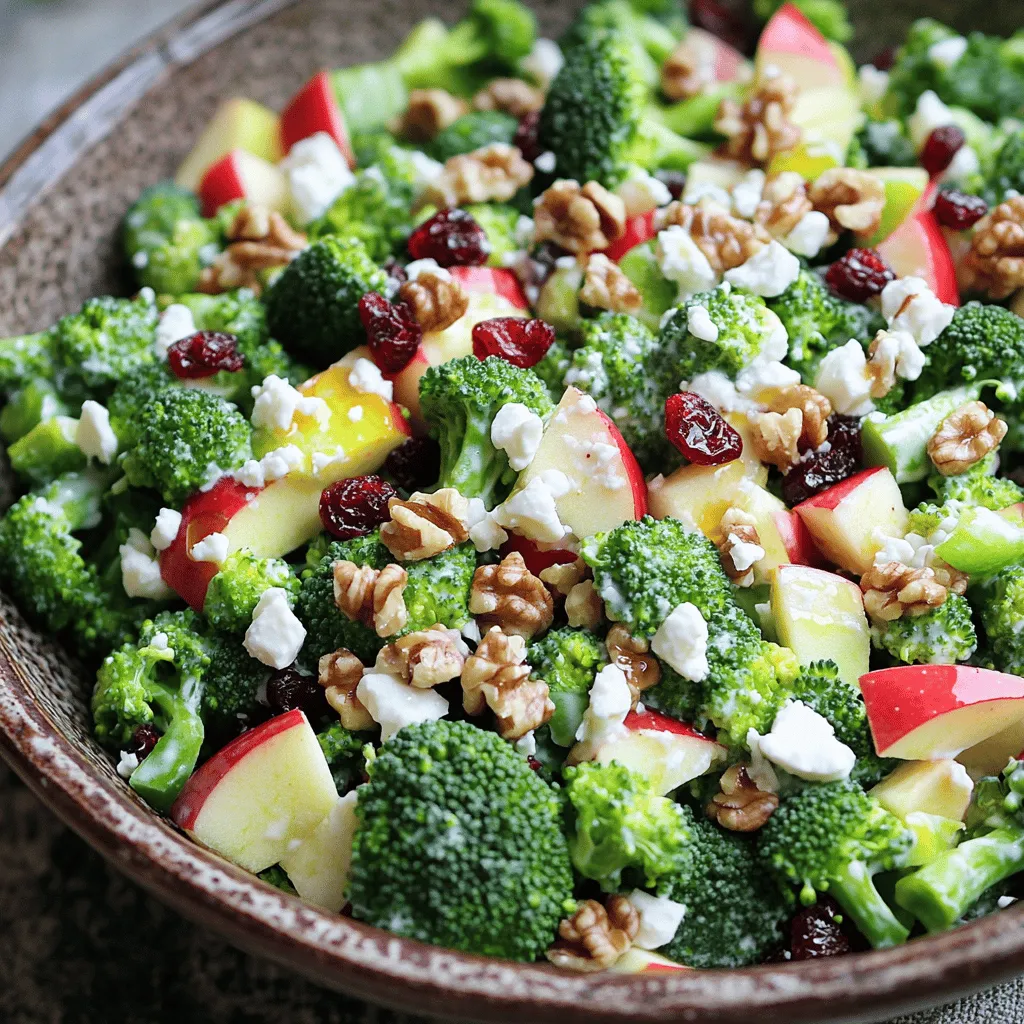
Honeycrisp Apple Broccoli Salad Healthy and Crisp Dish
If you’re looking for a refreshing and healthy dish, this Honeycrisp Apple Broccoli Salad is the answer! Juicy Honeycrisp apples combine with crunchy broccoli, and
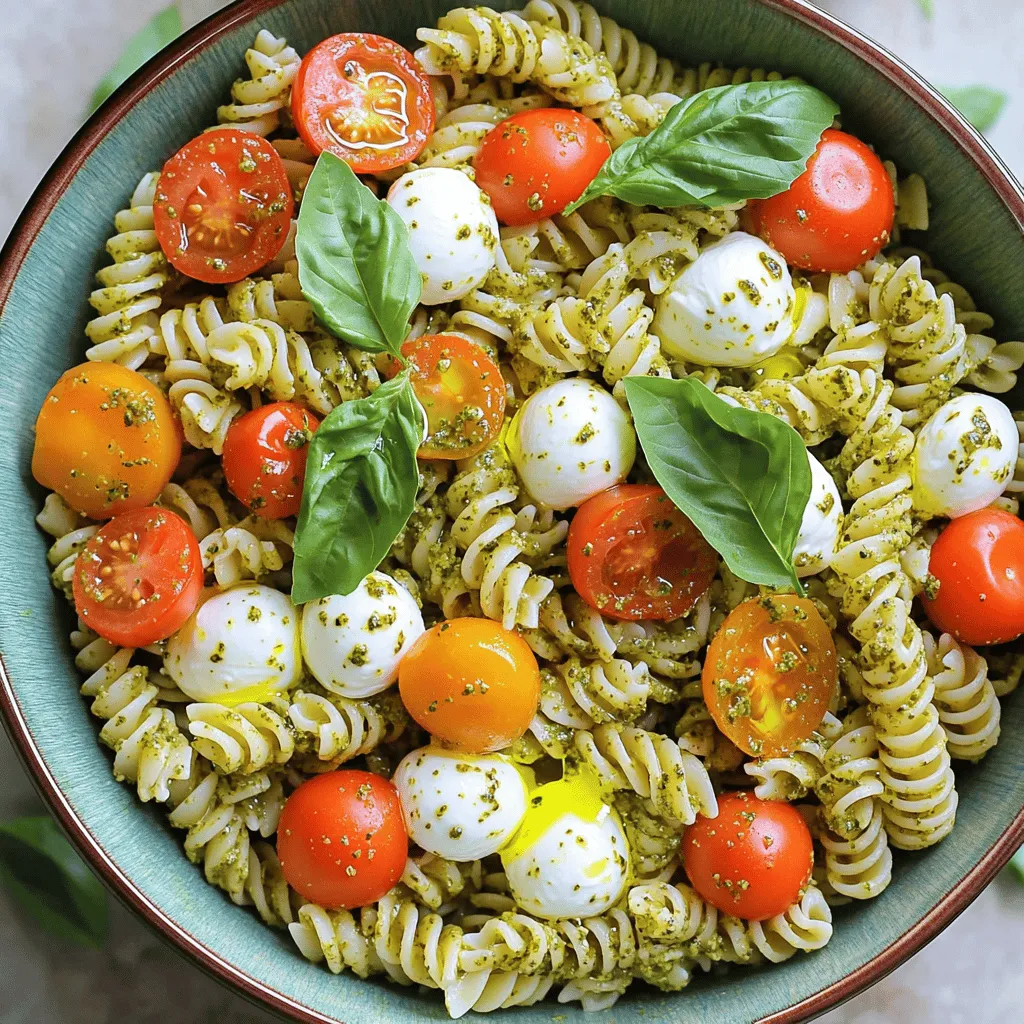
Light and Creamy Pesto Caprese Pasta Salad Delight
Craving a fresh, tasty, and easy-to-make dish? Look no further! My Light and Creamy Pesto Caprese Pasta Salad combines vibrant flavors with simple ingredients. With

Tropical Coleslaw Fresh and Flavorful Summer Side
Looking for a fresh and flavorful side dish this summer? Tropical coleslaw is your answer! This bright and zesty salad combines crunchy veggies with a

Olive Garden Salad Flavorful and Fresh Recipe Guide
If you’re craving the fresh, vibrant flavors of Olive Garden’s iconic salad, you’re in the right place! This Olive Garden Salad recipe guide will help
![- 4 large Yukon Gold potatoes - 1 cup sour cream - 1/2 cup mayonnaise - 1 tablespoon Dijon mustard - 1 teaspoon garlic powder - Salt and black pepper to taste - 1 cup shredded sharp cheddar cheese - 1/2 cup cooked crumbled turkey bacon - 1/4 cup green onions and parsley Loaded potato salad is packed with flavors and textures. First, Yukon Gold potatoes are the best choice for this dish. They are creamy and rich, making them perfect for salads. Next, I use sour cream and mayonnaise for the dressing. Sour cream gives a nice tang, while mayonnaise adds creaminess. Together, they create a smooth blend that coats every potato piece. To boost the flavors, I add Dijon mustard and garlic powder. The mustard brings a slight zing, while garlic powder adds depth. Don't forget to season with salt and black pepper. This step is key for enhancing the overall taste. Now, let’s talk about the exciting add-ins. Sharp cheddar cheese brings a robust flavor that pairs perfectly with the potatoes. For a bit of crunch and a savory touch, I like to include crumbled turkey bacon. It adds texture and richness. Lastly, fresh green onions and parsley give a pop of color and freshness. If you want the full recipe, you'll find all the steps to make this creamy delight. This loaded potato salad is sure to be a crowd-pleaser at any gathering! To start, you will need to boil and cool the potatoes. First, cut the Yukon Gold potatoes into 1-inch cubes. Place them in a large pot. Fill the pot with salted water until it covers the potatoes by an inch. Bring the water to a rolling boil over medium-high heat. After it boils, lower the heat and let the potatoes simmer. Cook them for about 12 to 15 minutes. You want them tender enough to pierce easily with a fork. Once done, drain the potatoes and let them cool completely. While the potatoes cool, make the dressing. In a spacious mixing bowl, combine the sour cream and mayonnaise. Add in the Dijon mustard, garlic powder, and a generous pinch of salt and pepper. Whisk until you achieve a smooth and creamy mix. This dressing is key to making your loaded potato salad flavorful and rich. Once the potatoes are cool, it's time to fold them into the dressing. Use a spatula or wooden spoon to carefully coat each piece of potato. Make sure all pieces are evenly covered without breaking them apart. Next, add the shredded sharp cheddar cheese, crumbled turkey bacon, sliced green onions, and chopped parsley. Gently fold these ingredients into the potato mix. Ensure everything is well distributed. Give it a taste and adjust the seasoning if needed. Now, cover the bowl and refrigerate it for at least one hour. This waiting time helps the flavors combine, making every bite delicious! For the complete recipe, refer to the Full Recipe section. To get the best potatoes for your salad, follow a few simple steps. Start with Yukon Gold potatoes. Their creamy texture works wonders. Aim to cook them for 12 to 15 minutes. To check if they are done, pierce a potato with a fork. If it slides in easily, the potatoes are ready. Drain them right away and let them cool completely. This cooling step helps keep them firm in the salad. The dressing makes your potato salad shine. You can adjust the taste based on what you like. For a tangy kick, add more Dijon mustard. If you want it creamier, mix in a bit more sour cream or mayo. You can also try different dressings. A ranch-style dressing adds a fun twist. Or, use a yogurt-based dressing for a lighter option. Feel free to experiment until you find your favorite! A great salad deserves a lovely presentation. Use a big, colorful bowl to serve your potato salad. This way, it stands out on the table. For garnishing, sprinkle extra cheddar cheese on top. Add more green onions and a touch of parsley for color. This simple touch makes your dish look even more delicious. You will impress everyone with this beautiful salad! For the complete recipe, check out the [Full Recipe]. {{image_4}} Healthier alternatives for loaded potato salad can make this dish even better. You can use Greek yogurt instead of sour cream. This swap keeps the creaminess but cuts some fat and calories. It also adds protein, making the salad more filling. For a vegetarian version, try plant-based bacon. There are many great options available now. These alternatives give you that savory flavor without using meat. You can enjoy the same delicious taste while sticking to a veggie diet. When it comes to flavor variations, consider adding different cheeses. Feta cheese brings a nice tang, while pepper jack adds some spice. Both work well to change the taste of your salad. You can also incorporate extra veggies like bell peppers or celery. These add crunch and color, making your salad even more fun. Seasonal variations can enhance your loaded potato salad too. During summer, add fresh corn or herbs. Sweet corn provides a burst of flavor, while herbs like basil or dill brighten the dish. In winter, roasted garlic or warm spices can give a cozy feel. Both options let you enjoy the salad year-round. For the full recipe, check out the detailed instructions to create this delightful dish. To keep your loaded potato salad fresh, store it in the fridge. It will stay good for about 3 to 5 days. Make sure to seal it well. Use a tight lid or plastic wrap to cover the bowl. This keeps out air and helps maintain its creamy texture. You might wonder, can you freeze potato salad? The answer is no, it is not great for freezing. Freezing can change the texture. The creamy dressing may separate when thawed. If you have extra, try to eat it fresh. If you do freeze it, here are steps to thaw and serve: 1. Move the salad to the fridge overnight to thaw. 2. Stir it well before serving. Add extra seasoning if needed. You can get creative with leftover potato salad. Here are some fun ways to reuse it: - Potato Salad Wraps: Spread it on a tortilla, roll it up, and enjoy. - Stuffed Peppers: Fill sweet bell peppers with the potato salad for a tasty treat. - Potato Salad Omelet: Mix it into eggs for a quick breakfast. Potato salad pairs well with grilled meats and fresh veggies. It makes a great side dish, too. Enjoy your leftovers in new and fun ways! For the full recipe, check out the Loaded Potato Salad section. For a creamy and tasty potato salad, I recommend using Yukon Gold potatoes. They have a buttery flavor and a smooth texture. Their waxy nature helps them hold their shape. Red potatoes are also good, as they remain firm and add color. You can even mix different types for fun flavors and textures. Yes, you can prepare Loaded Potato Salad ahead of time. Make it a day in advance for the best taste. Just mix everything and store it in the fridge. Cover it tightly to keep it fresh. This allows the flavors to blend beautifully. When you’re ready to serve, give it a quick stir and enjoy! Loaded Potato Salad can last up to 3-5 days in the fridge, if stored correctly. Always keep it in an airtight container. Before serving leftovers, check for any signs of spoilage. If it smells off or looks strange, it’s best to throw it away. Keeping food safety in mind helps you enjoy your salad worry-free. In this blog post, we explored how to make a delicious Loaded Potato Salad. We covered main ingredients, like Yukon Gold potatoes and sour cream, and added flavor with mustard and garlic powder. You can mix in toppings like cheese and turkey bacon for extra taste. Remember, you can customize the recipe and even make it healthier. Store leftovers properly for the best freshness. Now, you have everything you need to create a tasty dish that impresses everyone! Enjoy your cooking!](https://tossedflavors.com/wp-content/uploads/2025/05/82ab31a5-a42e-4f3d-a387-2e290b9ef51b.webp)
Loaded Potato Salad Flavorful and Creamy Delight
Are you ready to take your potato salad to the next level? My Loaded Potato Salad is a creamy, flavorful delight that everyone will love.
![- 2 cups fresh broccoli florets - 1 cup cherry tomatoes, halved - 1/2 cup shredded carrots - 1/4 cup red onion, thinly sliced - 1/2 cup sunflower seeds, toasted - 1/4 cup dried cranberries - 1/2 cup feta cheese, crumbled These main ingredients create a colorful and crunchy base for your Broccoli Bliss Salad. The fresh broccoli gives a nice crunch and many nutrients. Cherry tomatoes add a sweet and juicy burst. Shredded carrots bring a hint of sweetness and vibrant color. Red onions offer a tangy flavor. Sunflower seeds add crunch and healthy fats, while dried cranberries provide a touch of sweetness. Lastly, feta cheese adds creaminess and a salty kick. - 1/3 cup creamy Greek yogurt - 2 tablespoons extra virgin olive oil - 1 tablespoon apple cider vinegar - 1 teaspoon honey - Salt and freshly ground pepper to taste This dressing is creamy and tangy, perfect for the salad. Greek yogurt gives it a smooth texture and adds protein. Extra virgin olive oil brings healthy fats and richness. Apple cider vinegar adds a zesty taste, and honey balances it all with sweetness. You can add salt and pepper to make the flavors pop. - Extra sunflower seeds - Fresh parsley sprigs These garnishes are not just for looks. Extra sunflower seeds make the salad even crunchier. Fresh parsley adds a pop of color and a fresh taste. You can mix and match these ingredients to make the salad your own. For the complete details and steps to create this delightful dish, check out the Full Recipe. To start, we need to blanch the broccoli for the best texture. First, boil water in a pot. Add the broccoli florets and let them cook for 2-3 minutes. They should turn a bright green color. After that, drain the florets and put them into a bowl filled with ice water. This stops the cooking. Leave them in for a few minutes. Once cool, drain the water and dry the florets with a clean towel. In a large bowl, mix the cooled broccoli with the other ingredients. Add halved cherry tomatoes, shredded carrots, thinly sliced red onion, toasted sunflower seeds, dried cranberries, and crumbled feta cheese. Gently toss the salad to ensure all the veggies and toppings are evenly distributed. Next, we make the dressing. In a separate bowl, whisk together Greek yogurt, olive oil, apple cider vinegar, honey, and a pinch of salt and pepper. Whisk until the mixture is smooth and creamy. This dressing balances the flavors perfectly. Pour the dressing over the salad. Use gentle motions to toss everything together. This ensures that each ingredient gets a nice coating of the dressing. Be careful not to mash the ingredients. After mixing, cover the bowl with a lid or plastic wrap. Place the salad in the refrigerator for about 15-20 minutes. Chilling the salad helps the flavors blend together, making it taste even better. When ready to serve, give the salad a gentle toss again. Serve it in a large, colorful bowl. You can sprinkle extra sunflower seeds and cranberries on top for an appealing look. Add a few sprigs of fresh parsley for extra color if you like. This Broccoli Bliss Salad is perfect for any meal or gathering! For the full recipe, check out the details provided earlier. To make a great Broccoli Bliss Salad, start with fresh ingredients. Look for bright green broccoli florets. They should feel firm and not wilted. Check for yellow spots; they mean the broccoli is old. When you pick cherry tomatoes, choose ones that are smooth and shiny. The tomatoes should feel heavy for their size. For carrots, select ones that are crisp and vibrant. Fresh veggies make the salad taste better. Freshness is key in salad recipes. Fresh ingredients keep their crunch and flavor. When you use old produce, the salad loses its appeal. Always shop for the best quality. You can easily customize this salad to fit your taste. Adding protein is a great way to make it more filling. Try grilled chicken or chickpeas for a boost. You can also mix in some beans like black beans or kidney beans. This adds more texture and nutrients to your meal. Don't be shy about spicing up the dressing! Add fresh herbs like parsley or basil. You can also mix in spices like garlic powder or chili flakes for heat. This makes your salad exciting and new each time. Broccoli is a superfood packed with health benefits. It is low in calories but high in fiber. This helps you feel full and aids digestion. Broccoli contains vitamins A, C, and K, which are great for your body. The salad is also rich in minerals. For example, sunflower seeds add vitamin E, which helps keep your skin healthy. Dried cranberries bring antioxidants that fight free radicals. Together, these ingredients create a nutritious meal. For the full recipe, you can check the [Full Recipe]. {{image_4}} You can change the Broccoli Bliss Salad based on the season. In spring, add tender asparagus or peas. In summer, include juicy cucumbers or bell peppers. During fall, try roasted butternut squash or apples. Each season brings new flavors that make the salad more exciting. Using fresh, seasonal produce adds taste and nutrients. You might want to make this salad vegan or dairy-free. For a vegan dressing, swap Greek yogurt with avocado or tahini. This keeps it creamy while adding healthy fats. If you need gluten-free options, the salad is already gluten-free! Just ensure any added ingredients, like toppings, are also gluten-free. For a zesty kick, add spices like smoked paprika or chili flakes. This will wake up the salad and add depth. You can also throw in crunchy toppings like nuts or seeds. Almonds, walnuts, or pumpkin seeds offer great texture and flavor. These simple changes make the Broccoli Bliss Salad even more delightful. For the full recipe, check out [Full Recipe]. Store your Broccoli Bliss Salad in the refrigerator. Keep it in an airtight container. This helps lock in freshness. The salad tastes best when eaten within three days. You do not need to reheat this salad. It is best served cold. If you want to enjoy leftovers, simply take it out of the fridge. Give it a light toss to mix the flavors again. Store leftovers for up to three days for the best taste. Can you freeze this salad? I do not recommend it. Freezing changes the texture of the vegetables. If you want to prepare it ahead, refrigerate it instead. To maintain quality, use fresh ingredients when making the salad. For the full recipe, check out the Broccoli Bliss Salad section. You can store the Broccoli Bliss Salad in the fridge for about three days. For the best taste, eat it within this time. The fresh veggies stay crunchy, and the flavors remain bright. After three days, the salad may lose its crispness. Yes, you can make this salad ahead of time! Prepare the ingredients and dressing separately. Combine them just before serving. This way, the veggies stay fresh and crunchy. If you mix them too early, the salad can get soggy. You can add many fun toppings! Here are some ideas: - Grilled chicken for protein - Avocado slices for creaminess - Chickpeas for extra fiber - Croutons for crunch - Sliced almonds for a nutty flavor Yes, the Broccoli Bliss Salad is both gluten-free and vegetarian. It contains no gluten ingredients. The veggies, seeds, and yogurt dressing make it a wholesome choice. It’s perfect for anyone following these diets. Absolutely! If you want a different cheese, try goat cheese or mozzarella. Cheddar can also work for a sharper taste. Choose a cheese that you enjoy. Each will give the salad a unique twist. For the full recipe, refer to the earlier sections. The Broccoli Bliss Salad combines fresh veggies, nuts, and a creamy dressing for great taste. We explored how to prepare, mix, and chill this dish for the best flavors. Remember, you can customize it to fit your preferences or dietary needs. Fresh ingredients and the right storage help keep every bite delicious. Enjoy this salad as a healthy side or main dish!](https://tossedflavors.com/wp-content/uploads/2025/05/33aad621-fe8d-4424-9223-fa2b7be9d13b.webp)
Broccoli Bliss Salad Nutritious and Flavorful Delight
Are you ready to enjoy a salad that bursts with flavor and nutrition? The Broccoli Bliss Salad is your new go-to dish! It combines fresh
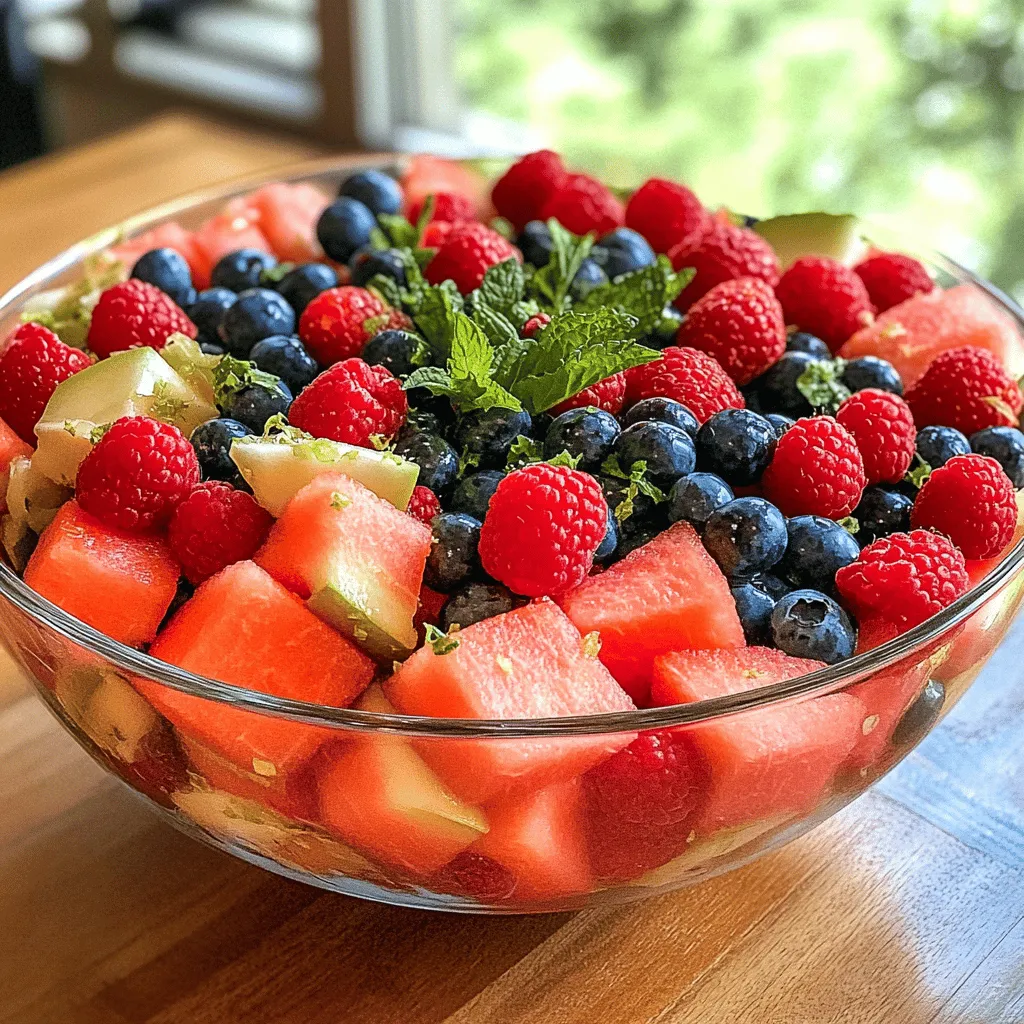
Berry Watermelon Fruit Salad Refreshing Summer Treat
Looking for a cool, refreshing treat this summer? This Berry Watermelon Fruit Salad is your answer! With juicy watermelon, sweet strawberries, and tangy blueberries, this