Salads
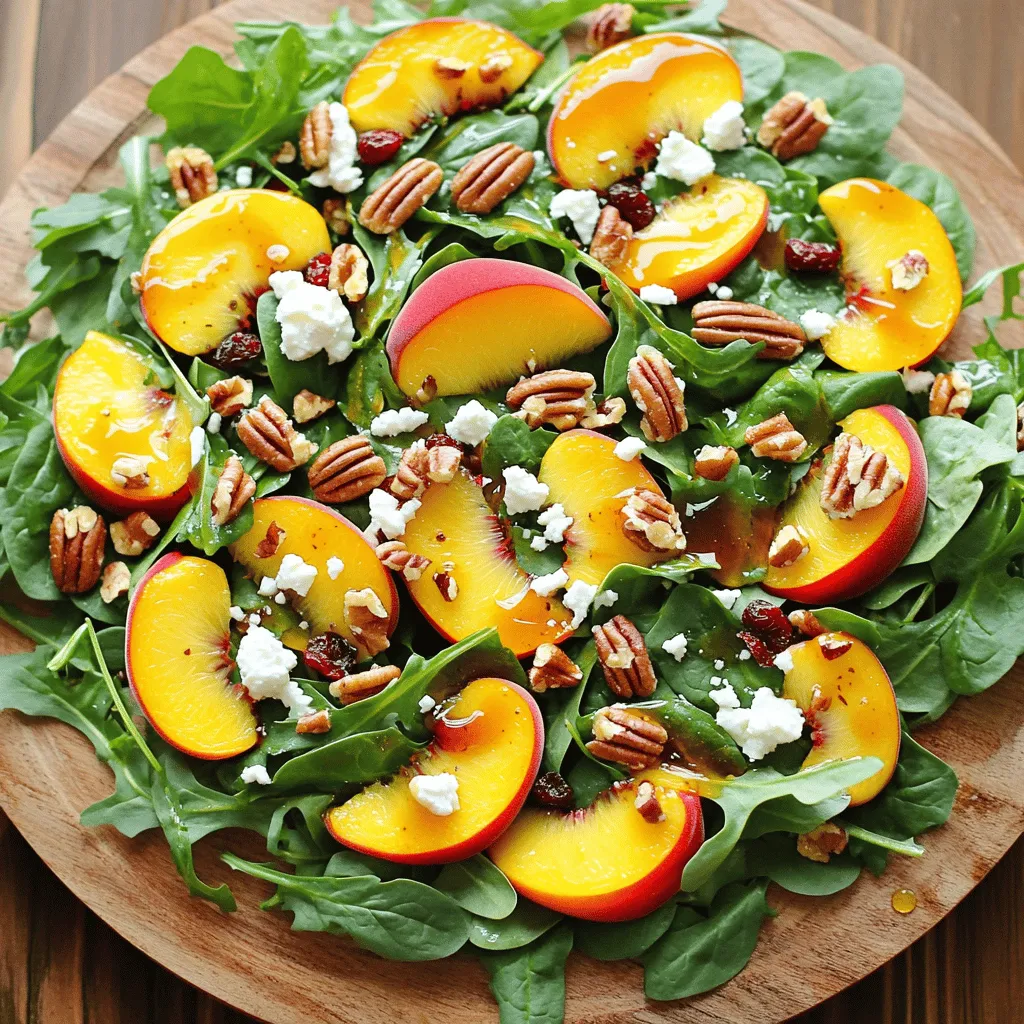
Millionaire Peach Salad Simple and Fresh Delight
Ready for a refreshing twist on summer salads? The Millionaire Peach Salad is a simple, fresh delight that balances sweet and savory flavors. With juicy
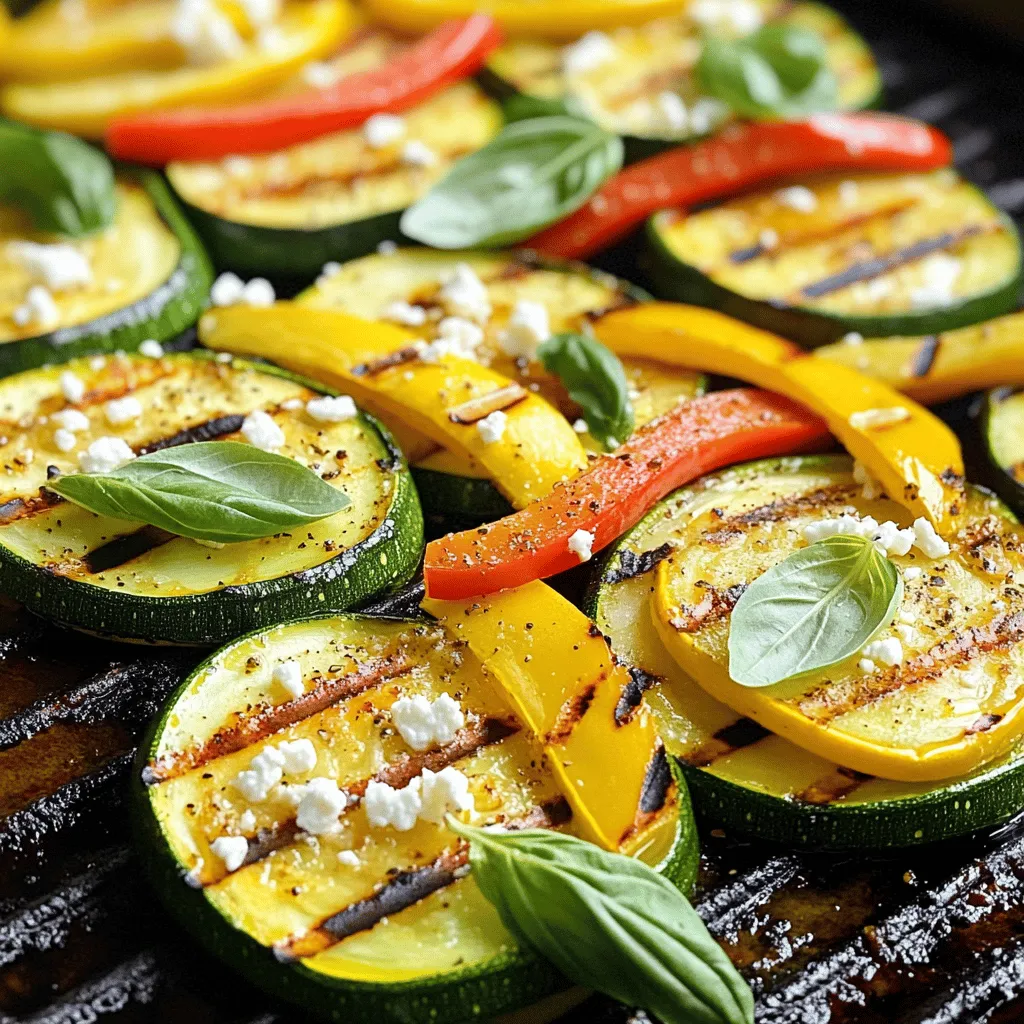
Grilled Zucchini and Squash Flavorful Summer Dish
Looking for a simple yet delicious summer dish? Grilled zucchini and squash are perfect for warm evenings! Packed with flavor and easy to make, these
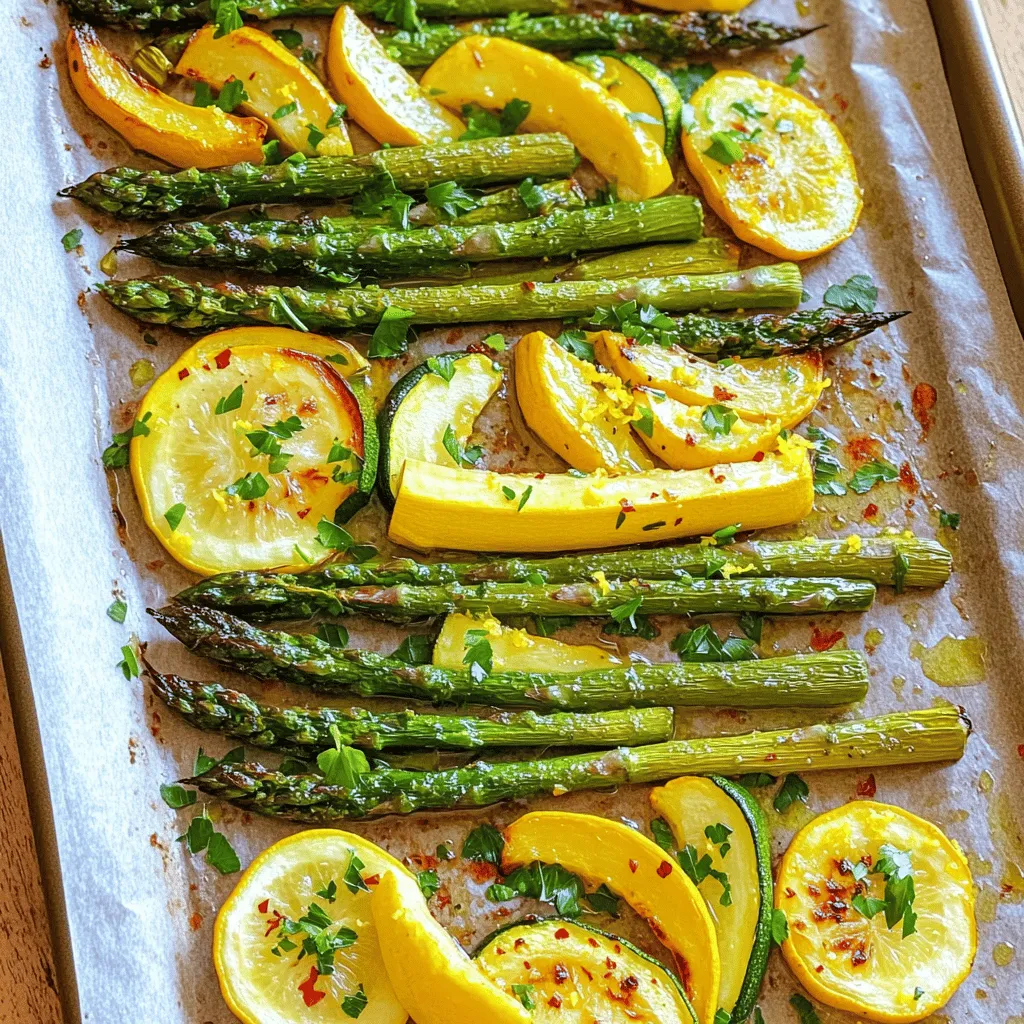
Flavorful Asparagus with Zucchini and Squash Dish
Are you ready to enjoy a colorful and tasty dish? This Flavorful Asparagus with Zucchini and Squash recipe brings fresh veggies to your table in
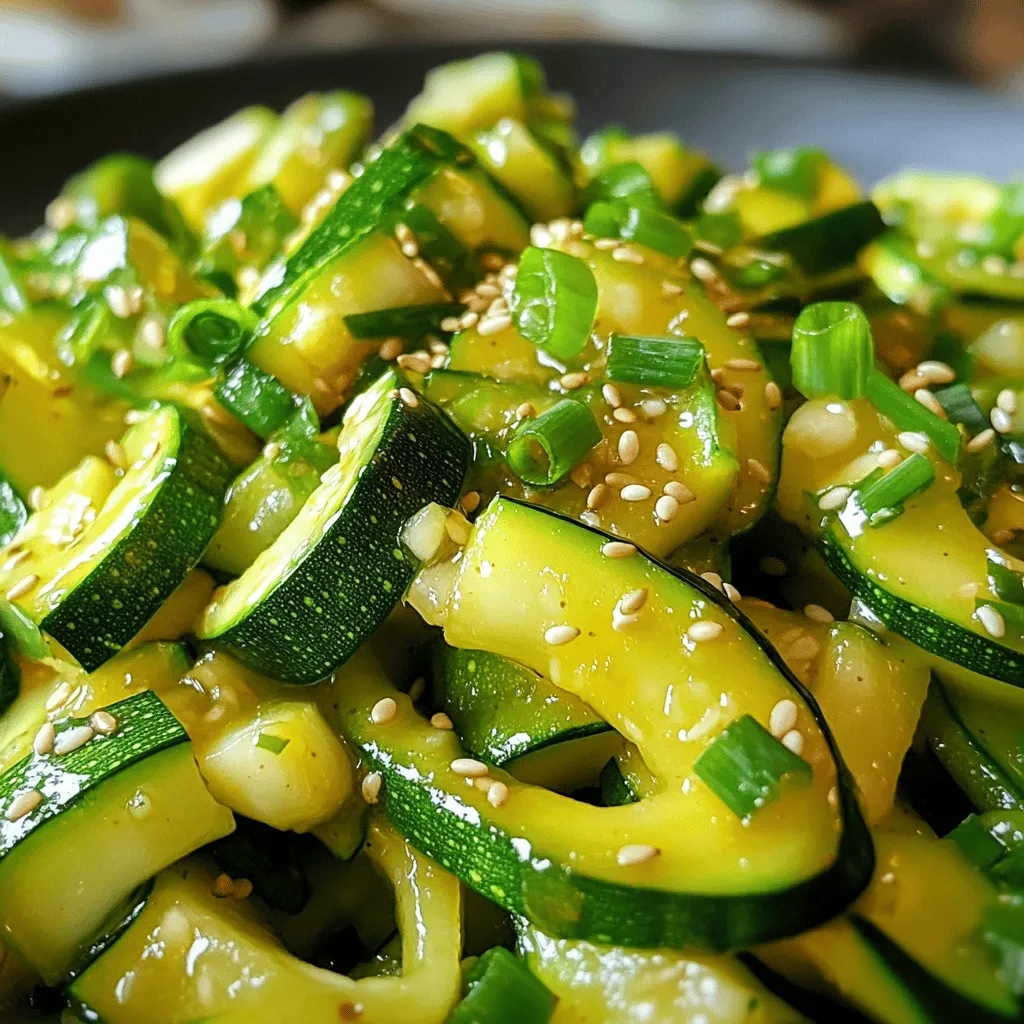
Korean Zucchini Side Dish Flavorful and Simple Recipe
Are you ready to savor a simple yet tasty Korean zucchini side dish? I’m excited to share my easy recipe that brings bright flavors to
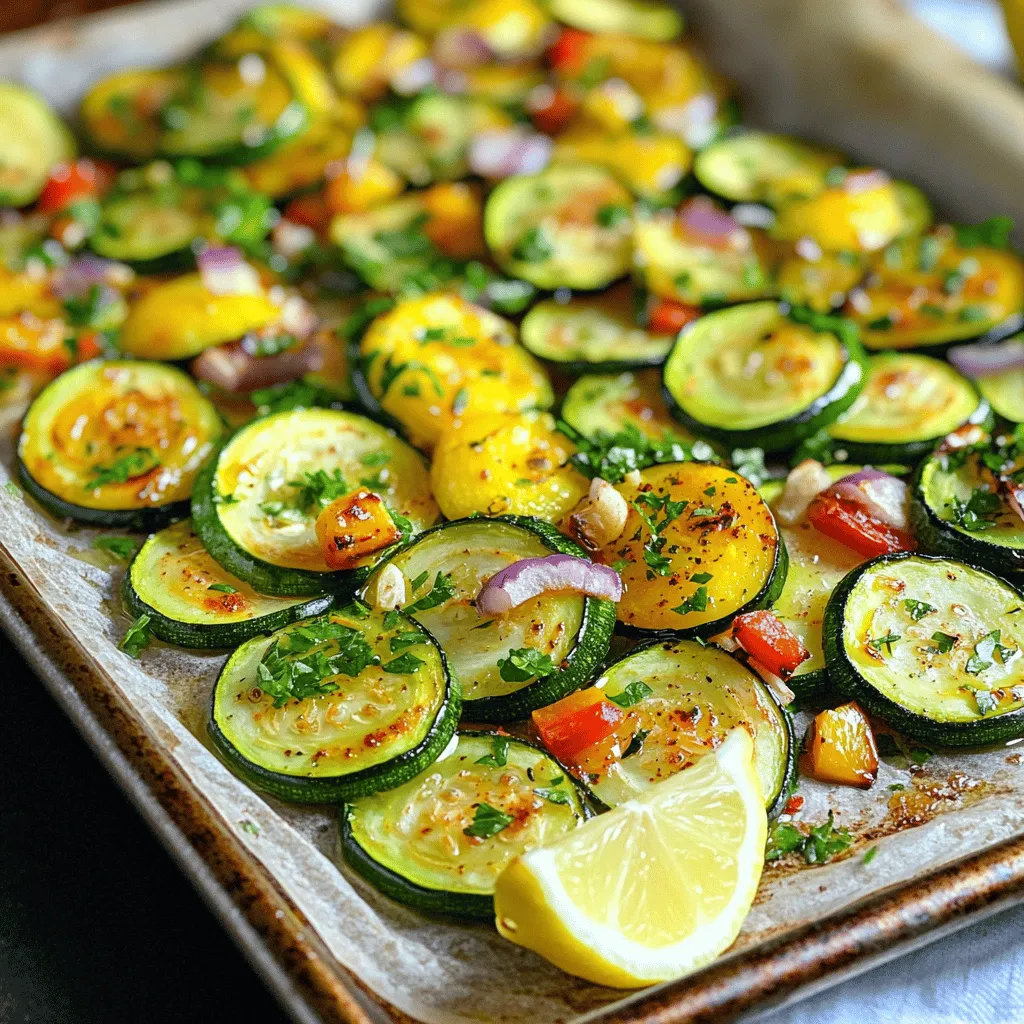
Roasted Zucchini and Squash Flavorful Side Dish
Looking for a quick and tasty side dish? Roasted zucchini and squash can brighten any meal! This dish is simple, fresh, and packed with flavor.

How To Make Quick-Pickled Red Onions Delightful Snack
Are you ready to spice up your meals with a burst of flavor? Quick-pickled red onions are a simple, tasty way to enhance your dishes.
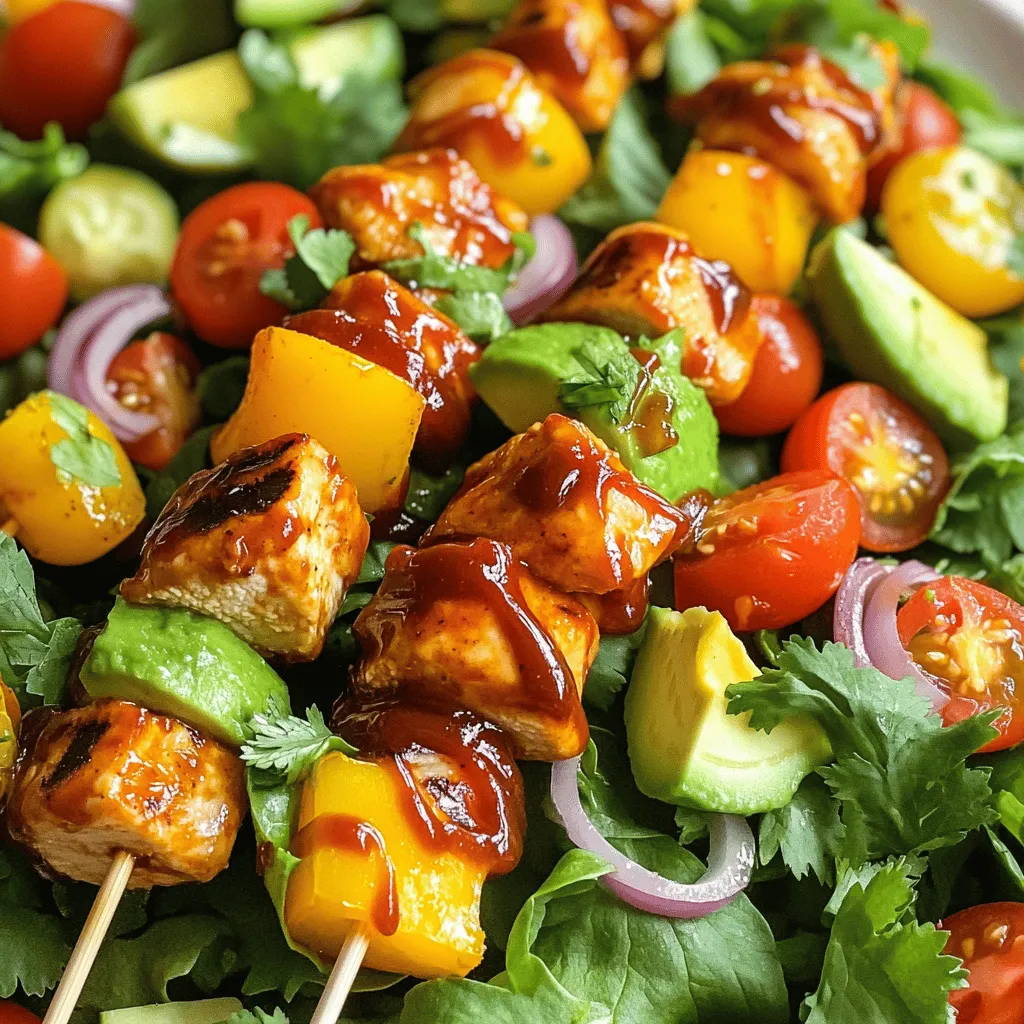
BBQ Chicken Skewer Salad Flavorful and Healthy Meal
If you’re craving a meal that’s both tasty and healthy, look no further! The BBQ Chicken Skewer Salad is a perfect mix of flavors and
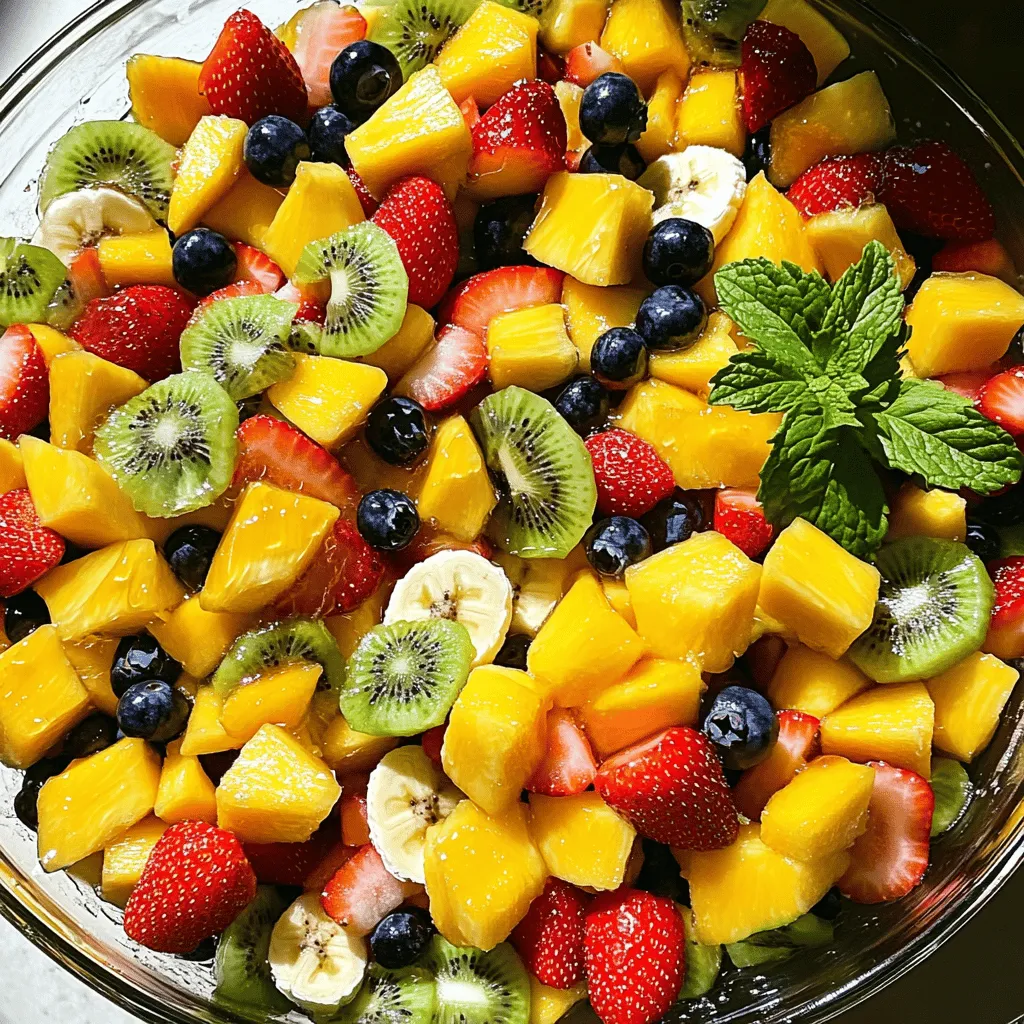
Breakfast Fruit Salad Fresh and Flavorful Recipe
Are you ready to brighten your morning with a fresh and tasty Breakfast Fruit Salad? This simple recipe combines vibrant fruits with a zesty honey-lime
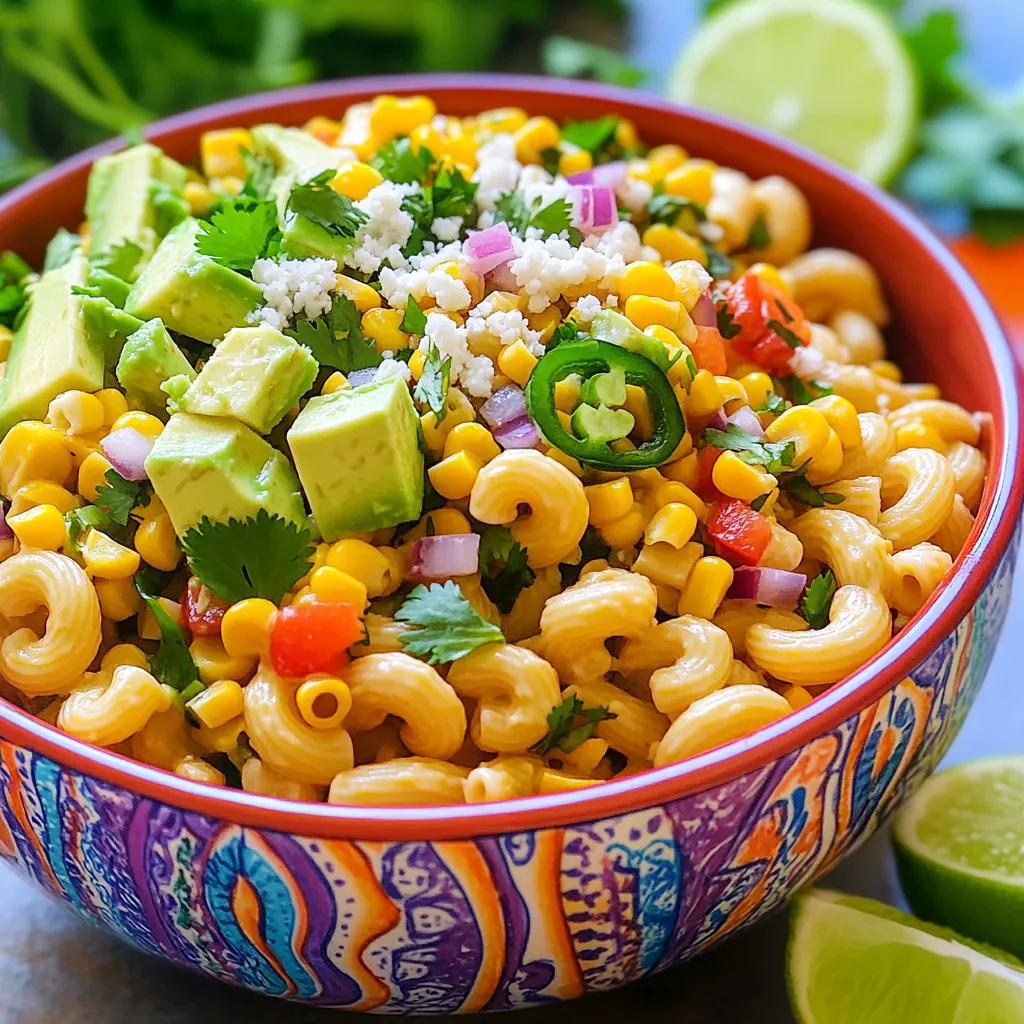
Mexican Street Corn Pasta Salad Flavorful Summer Dish
Summer is here, and it’s time for fresh, vibrant flavors! My Mexican Street Corn Pasta Salad brings the taste of street food right to your
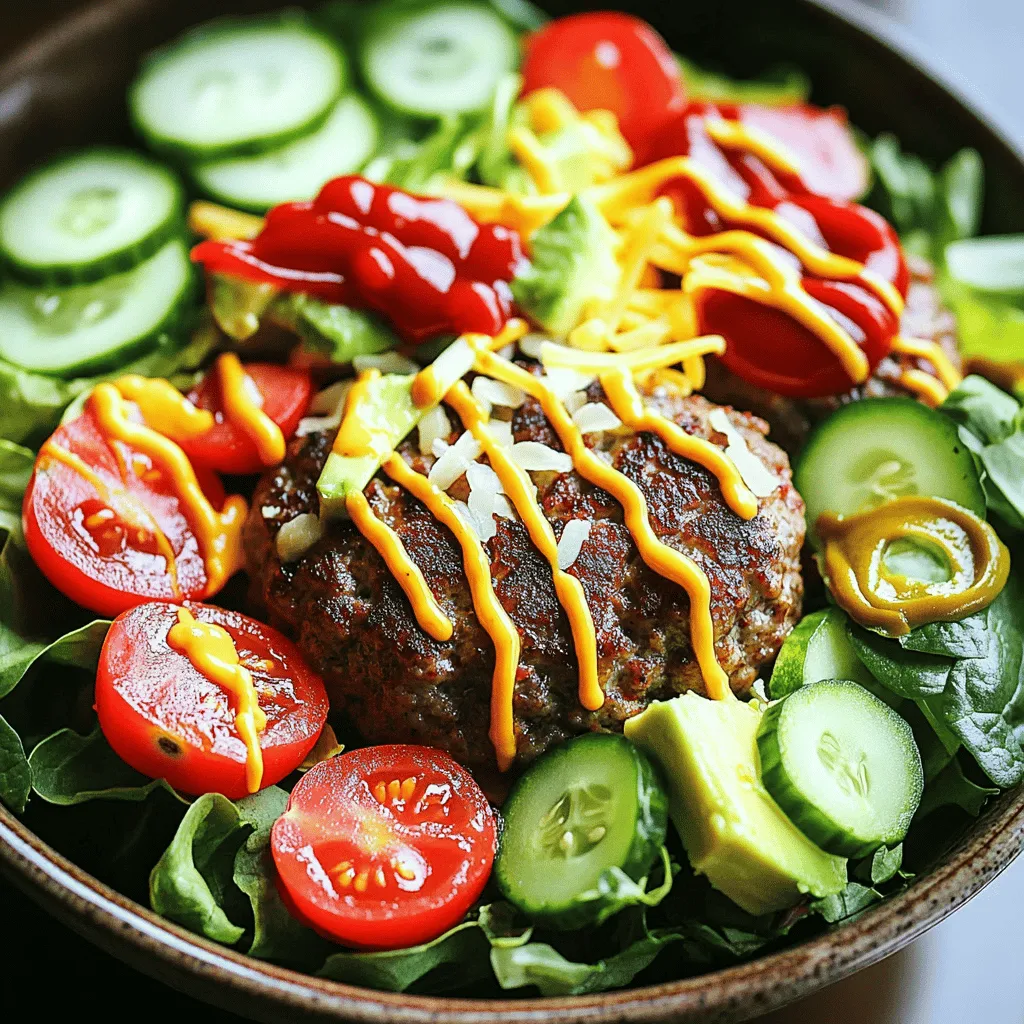
Burger Bowls Packed with Flavorful Ingredients
Are you craving a dish that brings all the joy of a burger without the bun? Burger bowls are here to save the day! Packed