Dinner
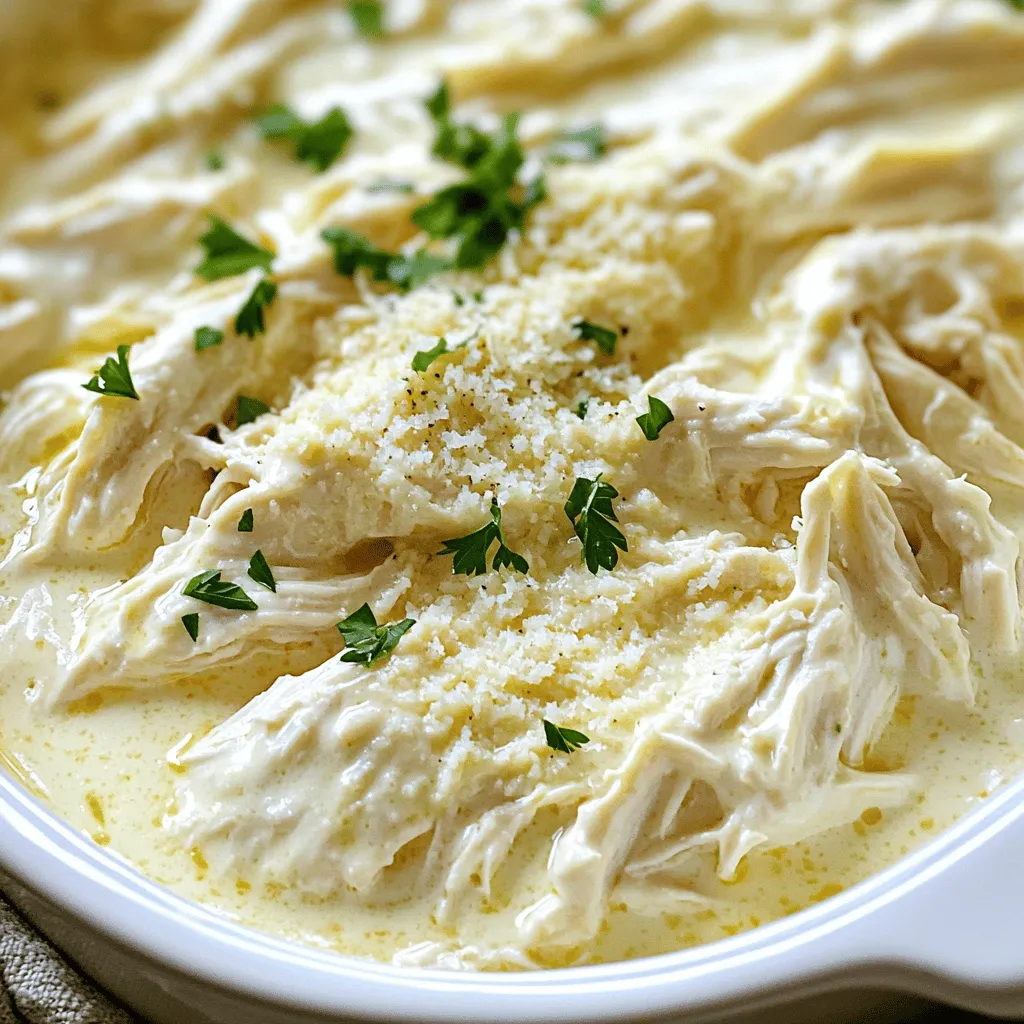
Savory 4 Ingredient Crockpot Garlic Parm Chicken Recipe
If you’re craving a quick, tasty meal, you’ll love this Savory 4 Ingredient Crockpot Garlic Parm Chicken Recipe. With just four simple ingredients, you can

Easy Chicken Taco Soup Simple and Tasty Delight
Are you ready to whip up a delicious meal in no time? My Easy Chicken Taco Soup is just what you need! This dish combines
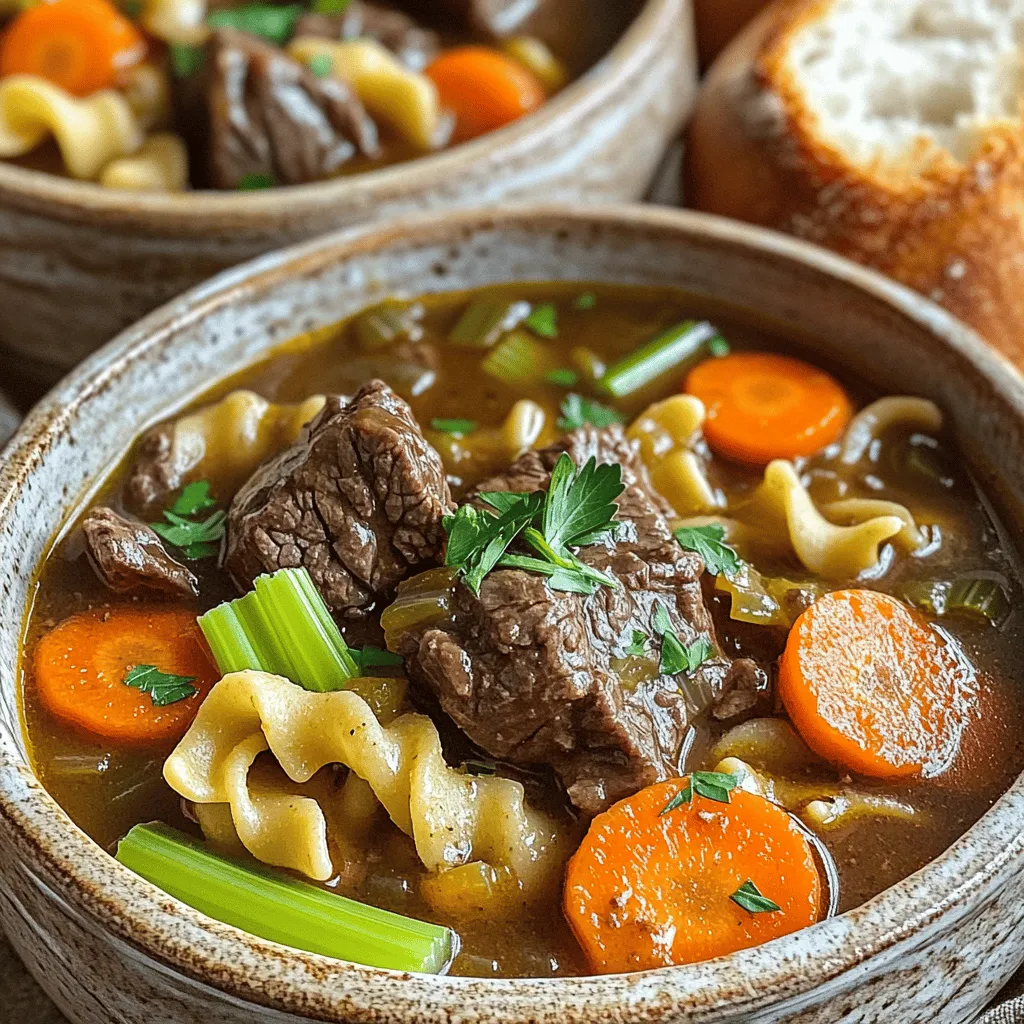
Savory Slow Cooker Beef & Noodles Comfort Meal
Are you ready to dive into a dish that offers warmth and comfort in every bite? My Savory Slow Cooker Beef & Noodles meal is
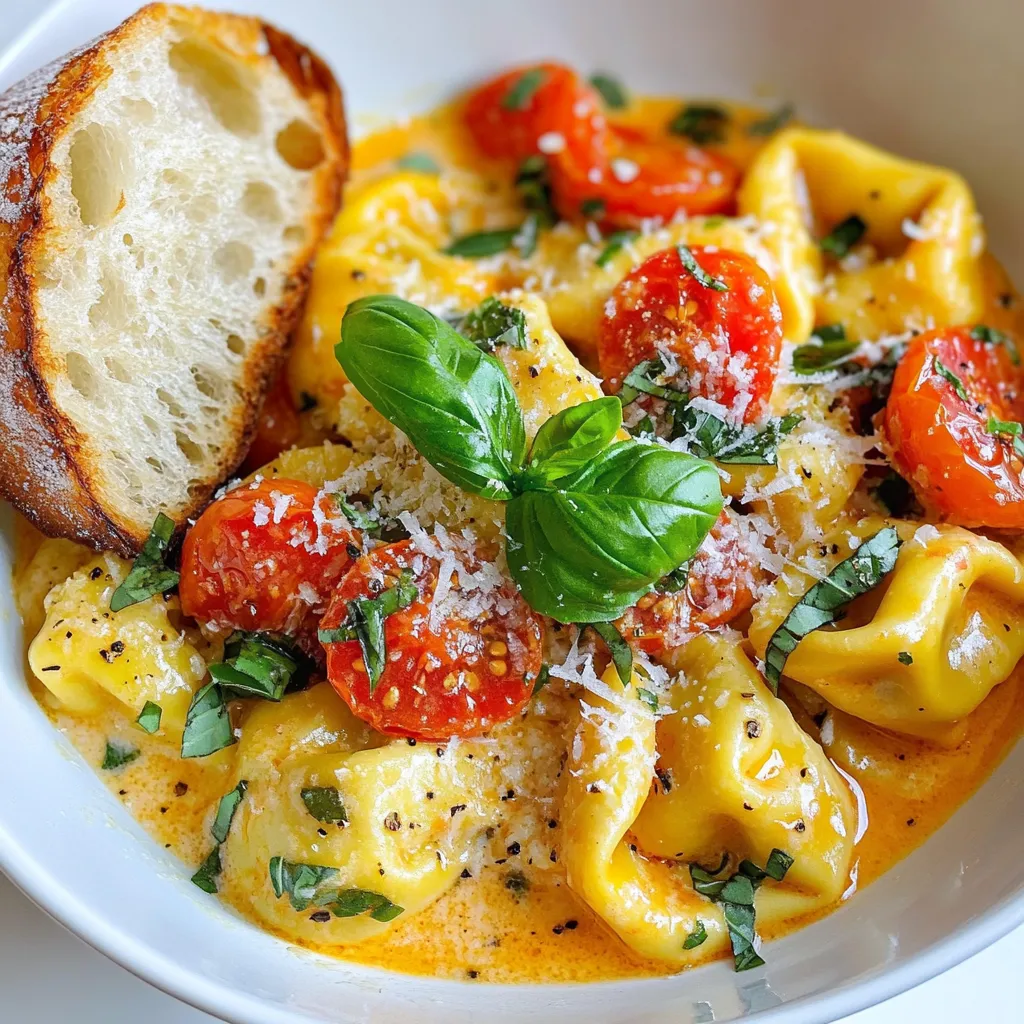
Creamy Tomato Basil Tortellini Quick and Flavorful Meal
Are you ready for a delicious and quick meal? My Creamy Tomato Basil Tortellini is perfect for busy nights. This dish combines rich flavors and

Creamy Hatch Chile Mac and Cheese Flavorful Dish
Craving a comforting bowl of mac and cheese? Imagine it loaded with the rich flavor of roasted Hatch chiles. This Creamy Hatch Chile Mac and
![- 8 oz (225g) fettuccine pasta - 1 can (15 oz) pureed pumpkin - 1 cup heavy cream - 2 tablespoons olive oil - 2 cloves garlic, minced - 1/2 cup grated Parmesan cheese - 1/4 cup fresh sage leaves, finely chopped - Salt and freshly ground black pepper, to taste - Crushed red pepper flakes (optional) - Chopped walnuts for garnish You may want to switch up the ingredients for your creamy pumpkin sage pasta. Here are some easy swaps: - Alternative pasta options: You can use penne, rotini, or gluten-free pasta if needed. - Dairy-free cream suggestions: Try coconut cream or cashew cream for a dairy-free option. - Substitute for fresh sage: Dried sage works in a pinch, but use less as it is stronger. Creating this dish is simple and fun. The creamy texture and warm flavors will make it a favorite for fall. For the complete recipe, check out the [Full Recipe]. To start, grab a large pot. Fill it with water and add a good amount of salt. This will help flavor the pasta. Bring the water to a rolling boil. It should bubble like crazy! Once the water is boiling, add 8 ounces of fettuccine pasta. Cook it for about 8 to 10 minutes. You want it to be al dente. This means it should still have a little bite to it. To check, taste a piece of pasta a minute or two before the time is up. Before draining, save about 1 cup of the starchy pasta water. This water will help make your sauce creamy later. Drain the pasta and set it aside. Now it’s time to make the sauce. Take a spacious skillet and heat 2 tablespoons of olive oil over medium heat. Let it warm up for a minute. Then, add 2 cloves of minced garlic. Sauté it for about 1 minute. You want it to smell amazing! Be careful not to burn the garlic. Next, add 1 can of pureed pumpkin to the skillet. Pour in 1 cup of heavy cream. Stir it all together well. You should see a lovely orange color forming. Bring this mixture to a gentle simmer. This helps all the flavors blend nicely. Now, it’s time to bring it all together. Add the cooked fettuccine to the skillet with the sauce. Toss it gently to coat the pasta in the creamy pumpkin sauce. If the sauce looks too thick, don’t worry! Just add some of that reserved pasta water a little at a time. Stir until you get your desired creamy consistency. Season the pasta with salt and freshly ground black pepper to taste. If you want a little kick, sprinkle in some crushed red pepper flakes. Serve your creamy pumpkin sage pasta warm. Enjoy all the flavors of fall in each comforting bite. For the complete recipe, check out the Full Recipe! To get the right thickness for your creamy pumpkin sauce, start with less heavy cream. You can always add more if needed. If the sauce is too thick, you can use the reserved pasta water. Just add a little at a time until it reaches your desired creaminess. For flavor enhancement, try adding a pinch of nutmeg. This spice pairs well with pumpkin. You can also add a squeeze of fresh lemon juice. This brightens the flavor and balances the creaminess. When using fresh sage, look for bright green leaves. The fresher the sage, the better the flavor. Chop the leaves finely before adding them to the sauce. This helps release their oils and enhances taste. If you don’t have fresh sage, you can use dried sage. Use about one-third of the amount, as dried herbs are more potent. Add it early in the cooking process to allow it to infuse the sauce. Pair your creamy pumpkin sage pasta with a crisp white wine. A Pinot Grigio or Sauvignon Blanc complements the flavors well. For side dishes, consider a simple green salad or crusty bread. They add nice texture and balance the meal. For an inviting presentation, serve the pasta in large, shallow bowls. Top with extra Parmesan cheese and some chopped walnuts. This adds a lovely crunch and visual appeal. {{image_4}} You can easily make this dish plant-based. Start by swapping heavy cream for coconut cream or a nut-based cream. These choices give you the same rich texture. Use nutritional yeast instead of Parmesan for a cheesy flavor without dairy. If you want to add protein, try chickpeas or lentils. They work well and add great texture. For those who want a protein boost, consider chicken, shrimp, or sausage. Chicken breast works best when diced and sautéed until golden. Shrimp cooks quickly and adds a nice touch. If you prefer sausage, use sweet or spicy varieties. Cook them first, then add your cooked pasta into the same skillet to mix flavors. This creates a delicious, hearty meal. You can boost flavor by adding vegetables. Spinach wilts nicely in the sauce. Mushrooms add an earthy taste. Simply stir them in when you cook the garlic. For cheese lovers, try mixing different cheeses. Goat cheese or feta can bring a tangy twist. Experimenting with flavors keeps each bite exciting. For the full recipe, check out the detailed instructions and ingredient list. To keep your creamy pumpkin sage pasta fresh, store it in an airtight container. Make sure to chill it before sealing. In the fridge, it stays good for about 3 to 4 days. If you want to save it for longer, freezing is a great option. Divide the pasta into smaller portions. Use freezer-safe bags or containers, and squeeze out excess air. It can last up to 3 months in the freezer while still tasting great. When reheating, I recommend using the stovetop. This method helps maintain the creamy texture. Just add a splash of water or broth to the pan, then gently heat it. Stir often to avoid sticking. If you prefer the microwave, use a microwave-safe bowl. Add a bit of water and cover with a lid or microwave-safe wrap. Heat in short bursts, stirring in between. This way, your pasta stays creamy and delicious. In the fridge, your creamy pumpkin sage pasta lasts about 3 to 4 days. If frozen, it will stay fresh for around 3 months. After that, the taste and texture might change. Always check for signs of spoilage before eating. If it smells off or has an unusual texture, it’s best to toss it out. Enjoy your pasta while it's fresh and flavorful! If you want a lighter option, try whole milk or half-and-half. For a dairy-free choice, use coconut cream or almond milk. You can also make a simple mix at home. Blend 2 tablespoons of melted butter with 1 cup of milk. This mix works well in many recipes. Yes! You can use any pasta shape you like. Penne, rigatoni, or even shells work great. Just remember, the sauce should coat the pasta well. Each shape will give a different bite and texture to your dish. To keep your sauce creamy, add pasta water slowly. Use the starchy water you saved when cooking pasta. This water helps thin out the sauce without losing flavor. If it still seems thick, stir in a little more heavy cream or milk. This blog post covered a delicious pasta recipe with pumpkin sauce. We explored each ingredient, cooking steps, and helpful tips. Remember, you can easily customize this dish with alternatives or add protein. Storing leftovers correctly ensures great taste for later meals. Enjoy experimenting with flavors and variations. You have all the tools to create a comforting meal. Happy cooking!](https://tossedflavors.com/wp-content/uploads/2025/08/80bd60ef-2df7-4961-94f4-1ed9c41725e1.webp)
Creamy Pumpkin Sage Pasta Comforting Fall Delight
Creamy Pumpkin Sage Pasta is the perfect dish for fall! Picture a warm bowl filled with smooth pumpkin, rich cream, and fragrant sage. This comforting
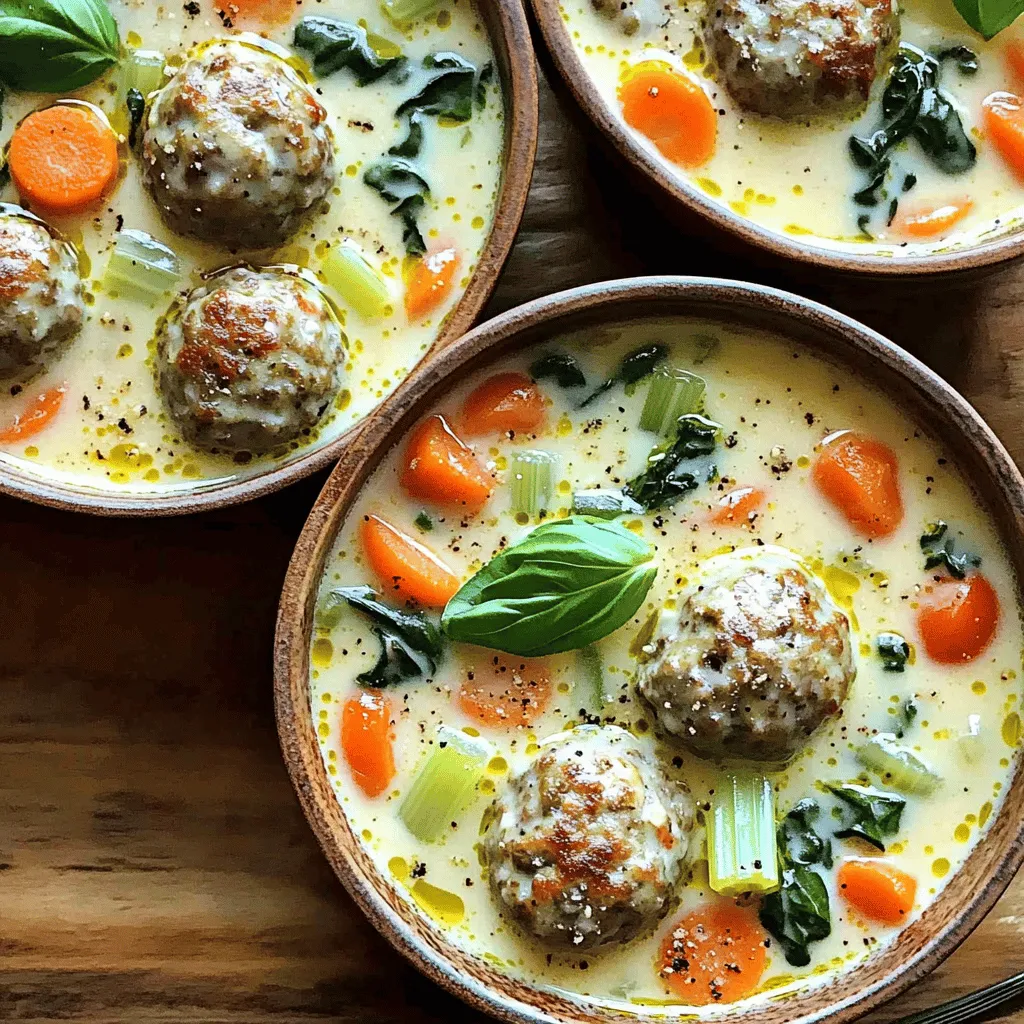
Creamy Italian Meatball Soup Comforting and Hearty Dish
Looking for a cozy dish that warms your soul? Let me introduce you to Creamy Italian Meatball Soup! Packed with savory meatballs, fresh veggies, and
. Roasted red pepper gouda soup lasts about 3 to 5 days in the fridge. Store it in an airtight container. Always let the soup cool before sealing it up. This helps keep the flavors fresh. You can use fresh red peppers, but roasting adds a deeper flavor. Roasting brings out the sweetness and adds a smoky taste. If you skip this step, your soup may lack depth. Roasted peppers blend smoothly into the soup, giving it a rich texture. This soup pairs well with several side dishes. Here are a few ideas: - Grilled cheese sandwiches - Crusty bread for dipping - A fresh green salad - Garlic bread for added flavor Yes, you can make this soup ahead of time. Prepare it up to the blending step. Store it in the fridge for up to 5 days. Reheat it gently before serving. If you make it too early, freeze it instead. Just remember to thaw it overnight in the fridge before reheating. Yes, this soup is gluten-free! All the ingredients are naturally gluten-free. However, always check labels when buying broth and other products. Some brands may add gluten. This soup is safe for those with gluten sensitivities or celiac disease. For a complete meal, enjoy it with gluten-free bread or crackers. For the [Full Recipe], check the earlier sections! This blog post covered everything you need for roasted red pepper Gouda soup. You learned about the ingredients, step-by-step cooking methods, and helpful tips. You can make it spicy or vegan too. Remember, proper storage and reheating keep the soup tasty. Try out these ideas and make this soup your own. Enjoy this delicious dish with family or friends!](https://tossedflavors.com/wp-content/uploads/2025/08/104c2438-90c1-4c58-b9fa-b2e2820fe417.webp)
Roasted Red Pepper Gouda Soup Flavorful Comfort Dish
Cozy up with a bowl of Roasted Red Pepper Gouda Soup, the ultimate comfort dish! This rich and creamy soup, packed with smoky flavors, will
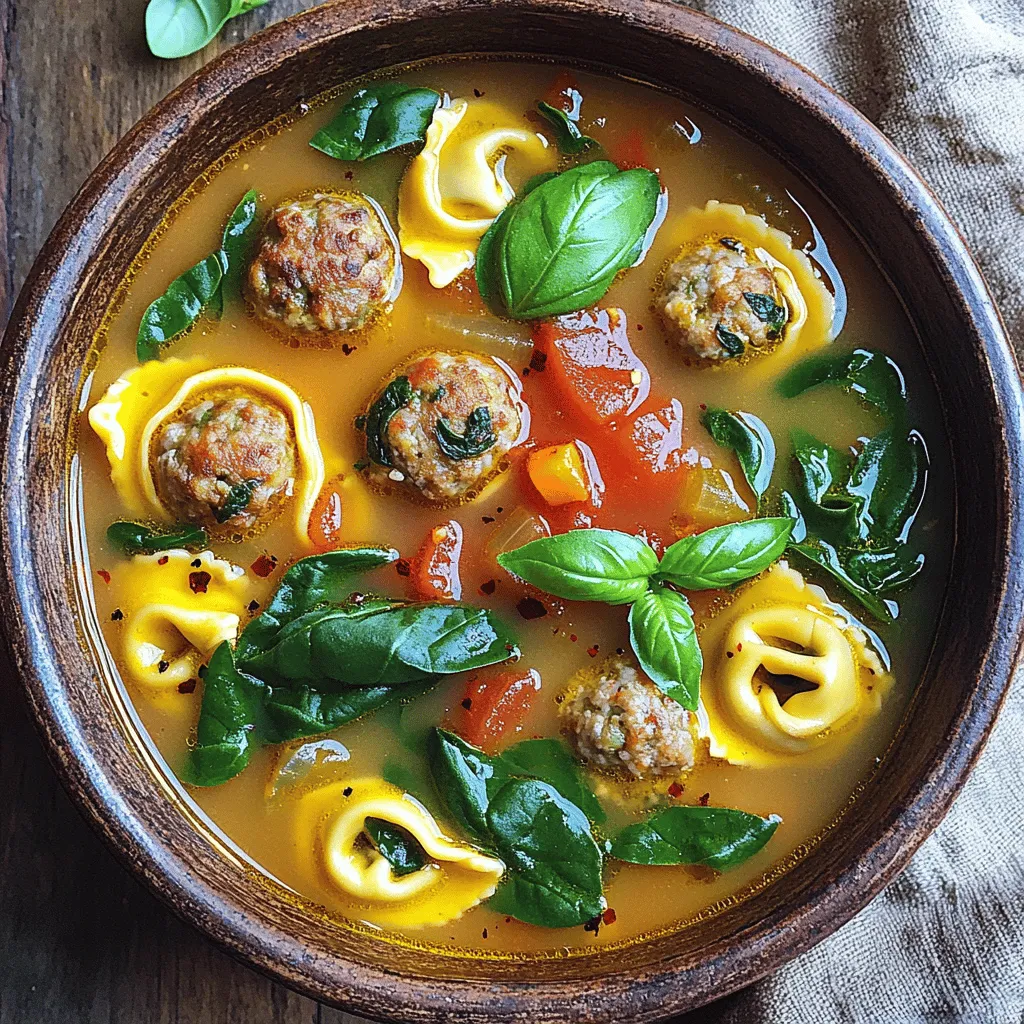
Meatball Tortellini Soup Flavorful Comfort Dish
When chilly days call for comfort, Meatball Tortellini Soup hits the spot! This hearty dish offers bold flavors, tender meatballs, and cheesy tortellini in every

Crispy Chicken Caesar Wraps Simple and Satisfying Meal
Looking for a simple yet delicious meal? Crispy Chicken Caesar Wraps are a perfect choice! In this guide, I’ll help you create a flavorful wrap