Dinner
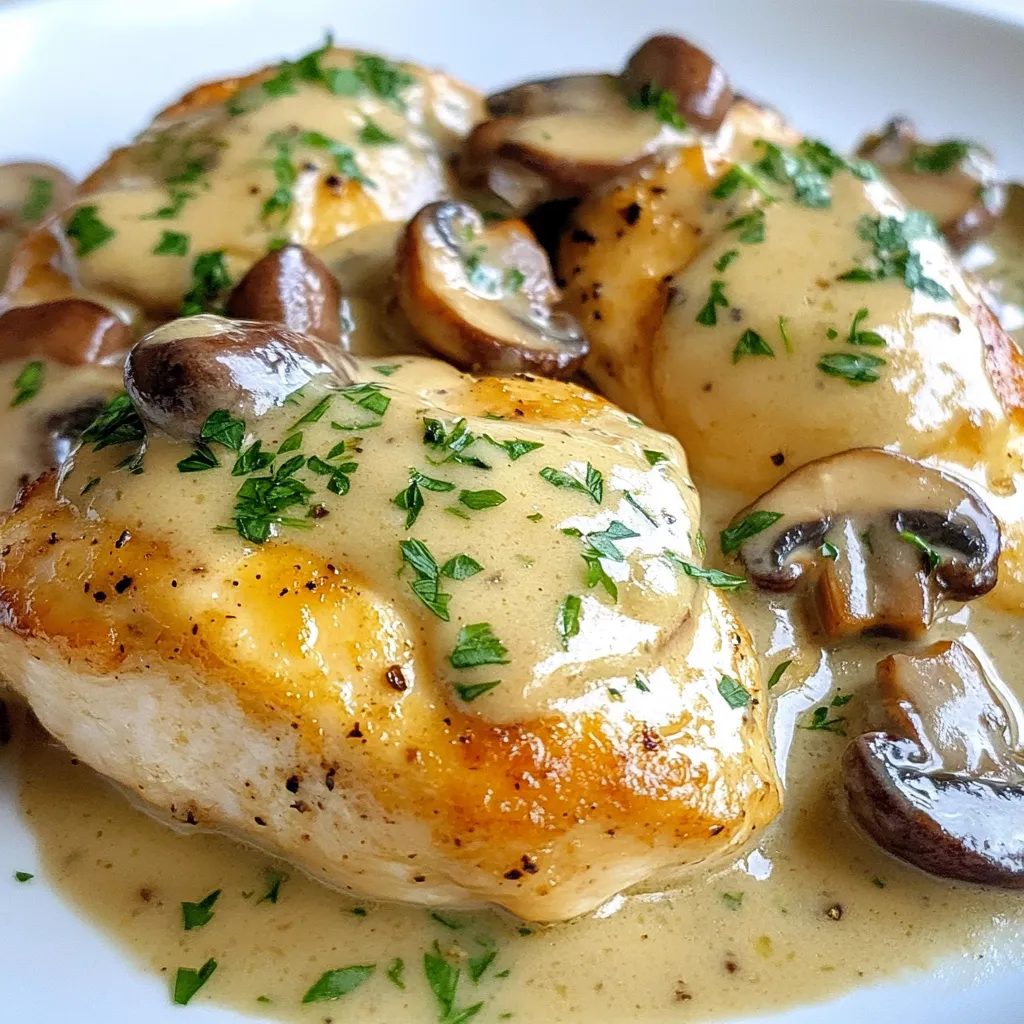
Creamy Mushroom Marsala Chicken Delightful Dinner Meal
Welcome to a delightful dinner that transforms your weeknight meal! This Creamy Mushroom Marsala Chicken is not just a dish; it’s an experience. Tender chicken
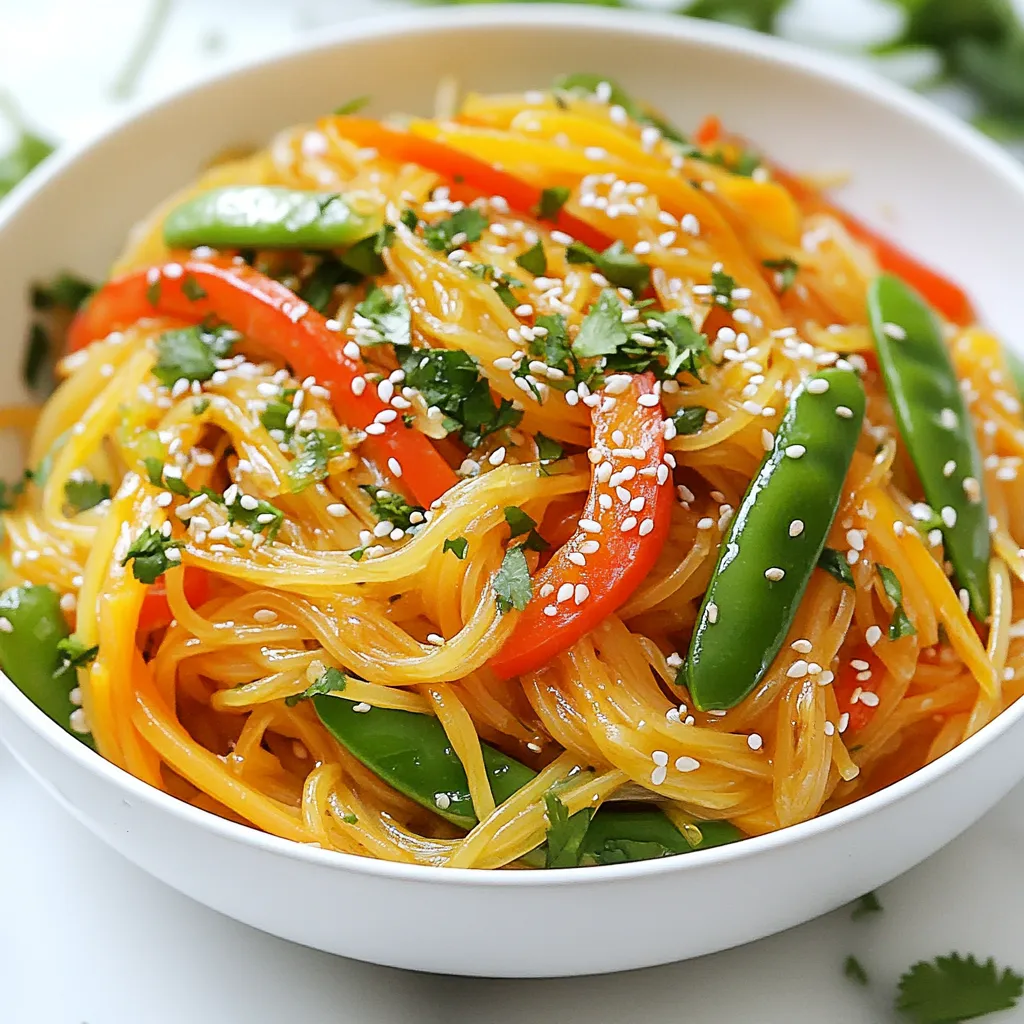
Savory Sesame Ginger Noodle Stir Fry Recipe Guide
Ready to whip up a delicious meal in just a few steps? My Savory Sesame Ginger Noodle Stir Fry is a quick and tasty option.
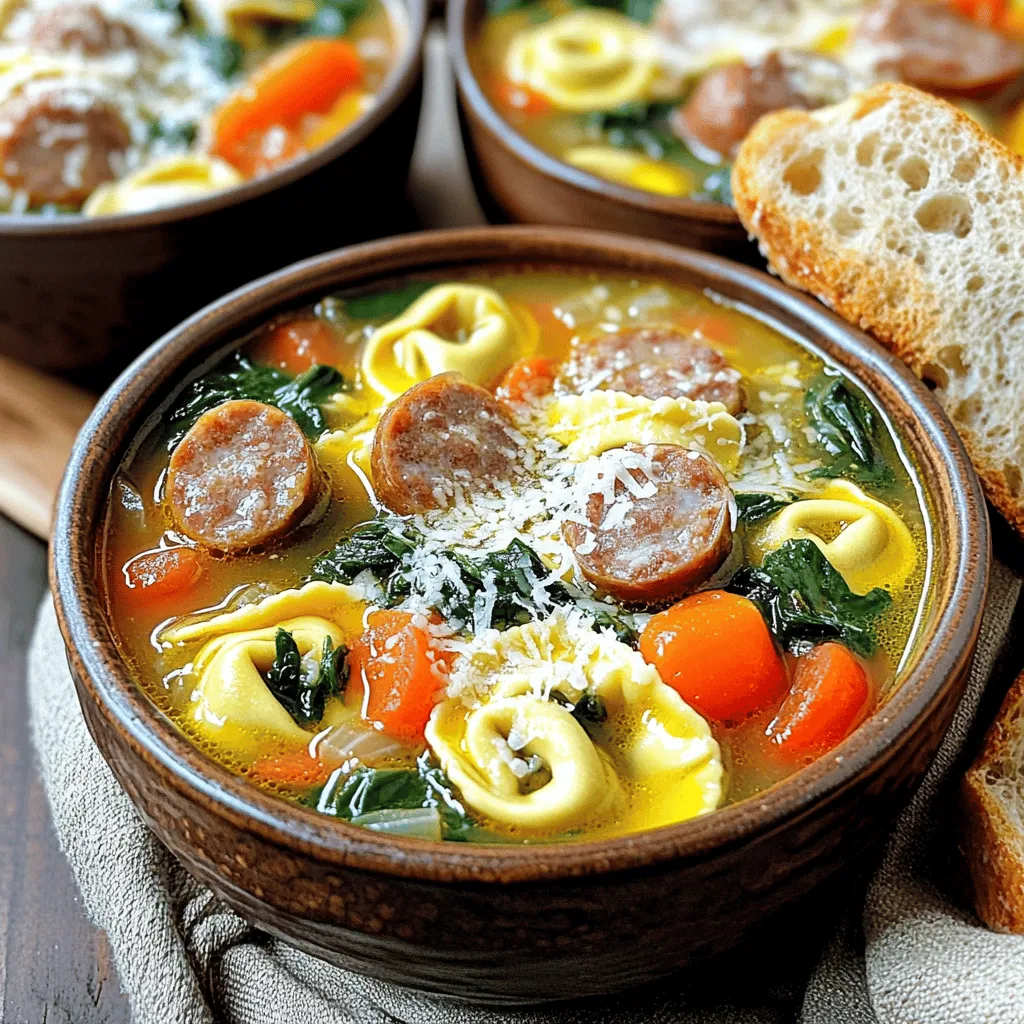
Autumn Sausage Tortellini Soup Flavorful Comfort Meal
As the leaves change and the air turns crisp, nothing warms the soul like a bowl of Autumn Sausage Tortellini Soup. This dish combines hearty
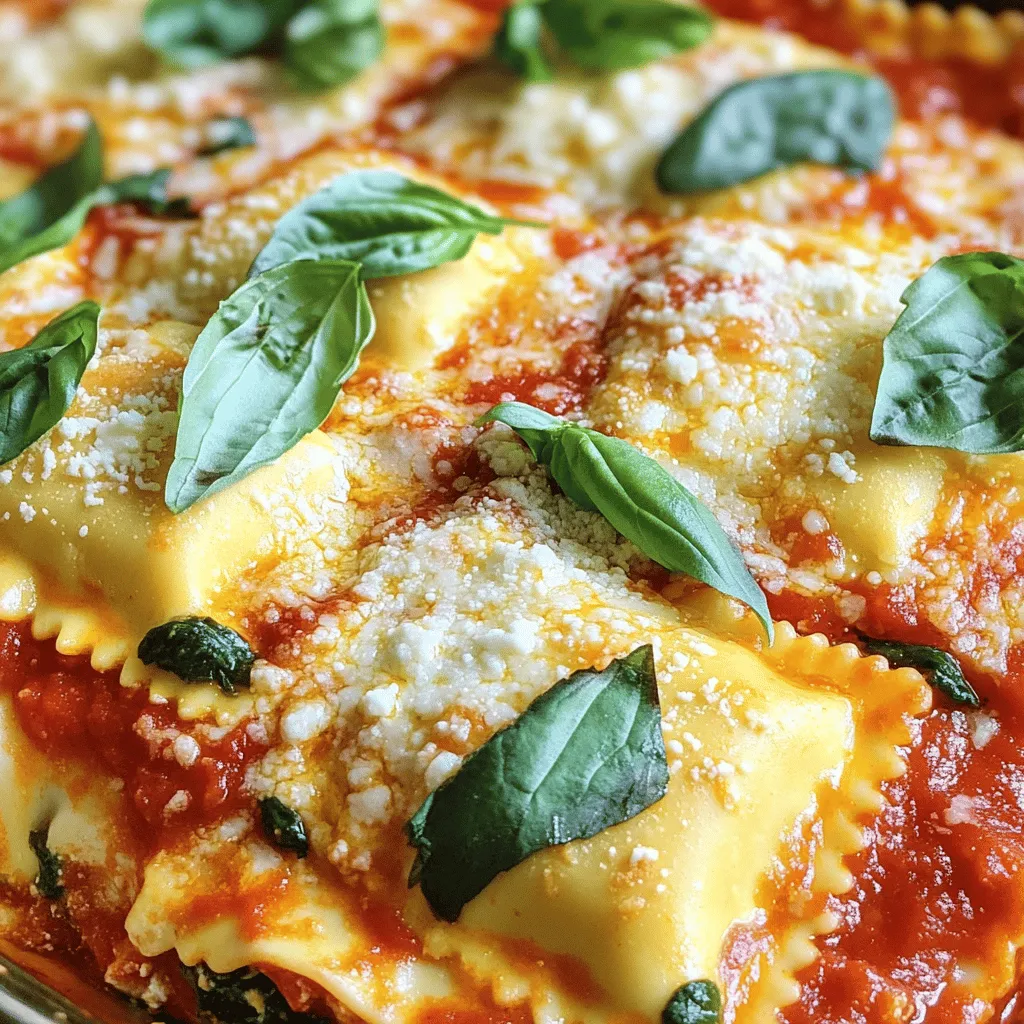
Crockpot Ravioli Lasagna Easy and Flavorful Recipe
Are you ready for a meal that’s both easy and packed with flavor? This Crockpot Ravioli Lasagna is your perfect solution. With just a few

Caribbean Jerk Chicken Tacos Bold and Flavorful Meal
Are you ready to spice up your taco night? These Caribbean Jerk Chicken Tacos bring bold, vibrant flavors straight to your table. With juicy chicken
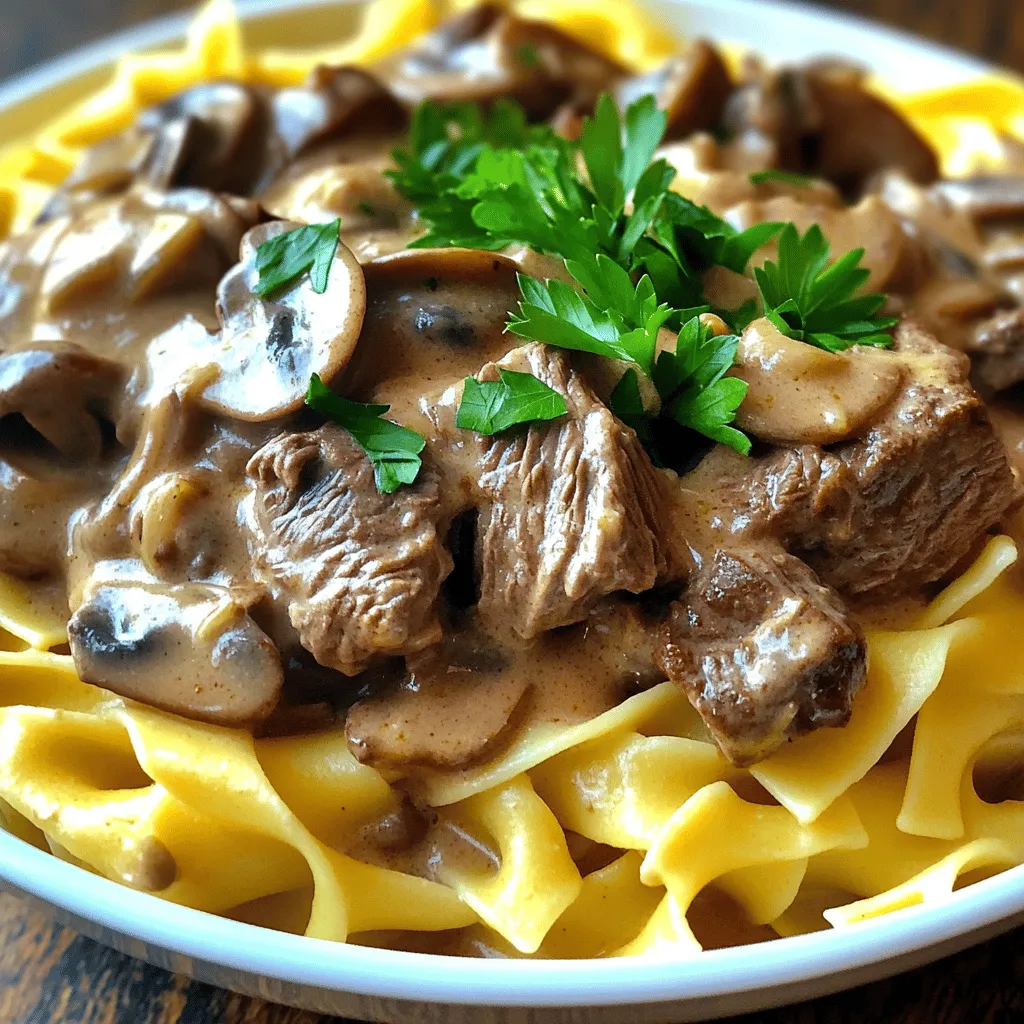
Savory Slow Cooker Beef Stroganoff Recipe Delight
Welcome to my kitchen! Today, I’m excited to share my Savory Slow Cooker Beef Stroganoff Recipe Delight. This dish is a cozy classic that combines

Easy Shrimp Tacos Simple and Flavorful Delight
Craving a quick meal that bursts with flavor? These Easy Shrimp Tacos are your answer! I’ll guide you through simple steps, so you can make

Slow Cooker Honey Garlic Chicken Flavorful and Easy Dish
If you’re looking for a simple yet delicious dinner, try Slow Cooker Honey Garlic Chicken. This dish is full of flavor and easy to make.
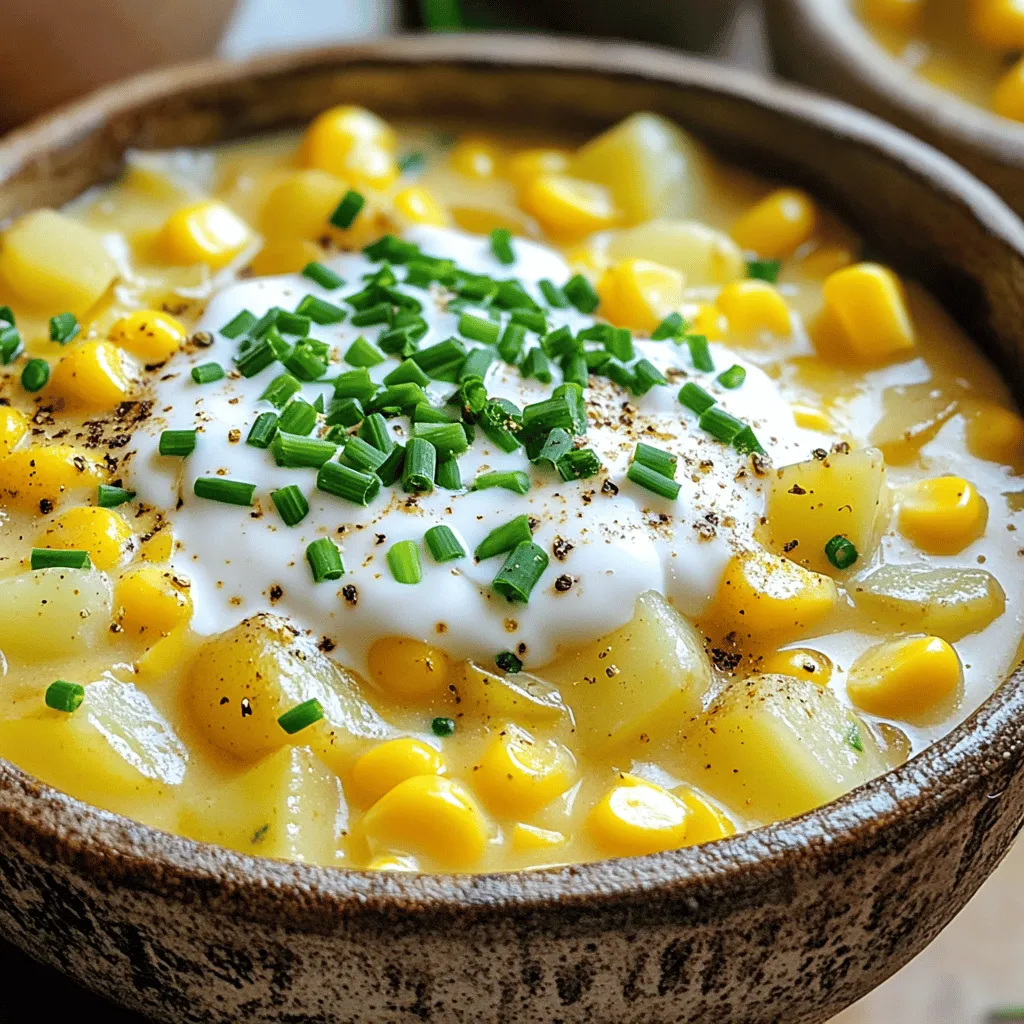
Creamy Corn Chowder Flavorful Comfort Food Recipe
Craving a warm, cozy dish that hits the spot? Look no further! My Creamy Corn Chowder is here to warm your heart and fill your

Slow Cooker Beef Stew Rich and Hearty Comfort Meal
Looking for a warm and cozy meal? I’ve got the perfect solution: Slow Cooker Beef Stew! This hearty dish combines tender beef and rich flavors