Dinner

One Pot Creamy Pesto Pasta Delightful Meal Ready Fast
Are you ready to whip up a tasty meal in no time? This One Pot Creamy Pesto Pasta is your answer! With just a few
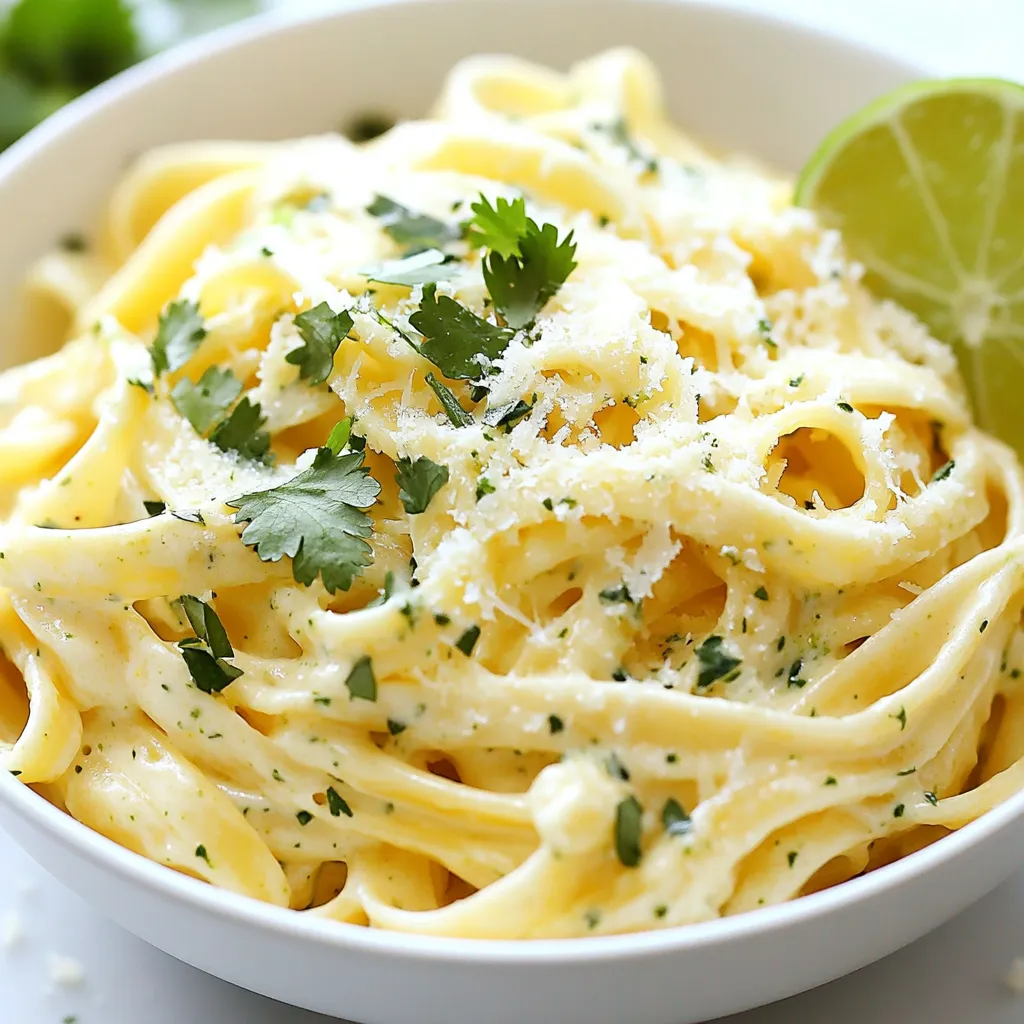
Creamy Cilantro Lime Pasta Flavorful and Easy Dish
If you’re looking for a quick and tasty meal, Creamy Cilantro Lime Pasta is the answer! This dish is rich, tangy, and packed with fresh
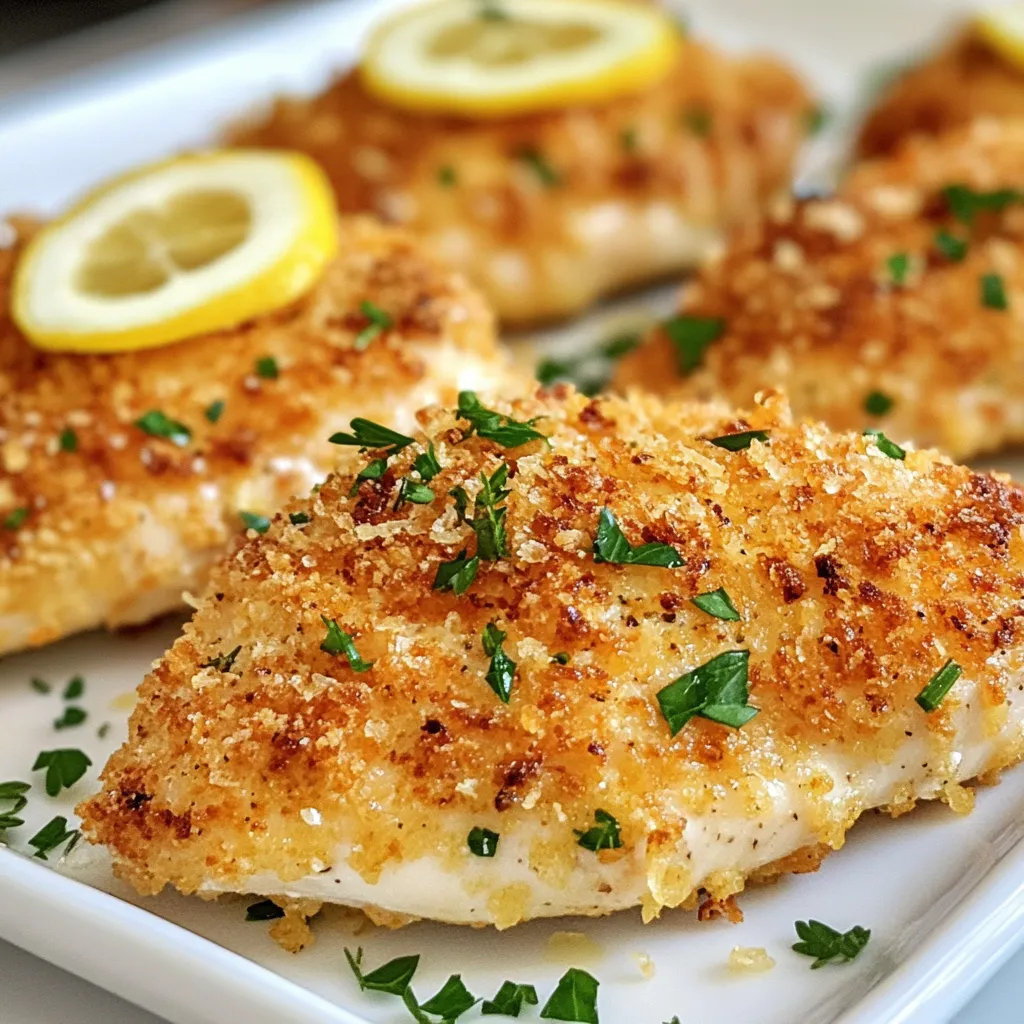
Crispy Parmesan Crusted Chicken Easy and Tasty Meal
Are you ready to impress with dinner? My Crispy Parmesan Crusted Chicken is an easy and tasty meal that anyone can make. With just a
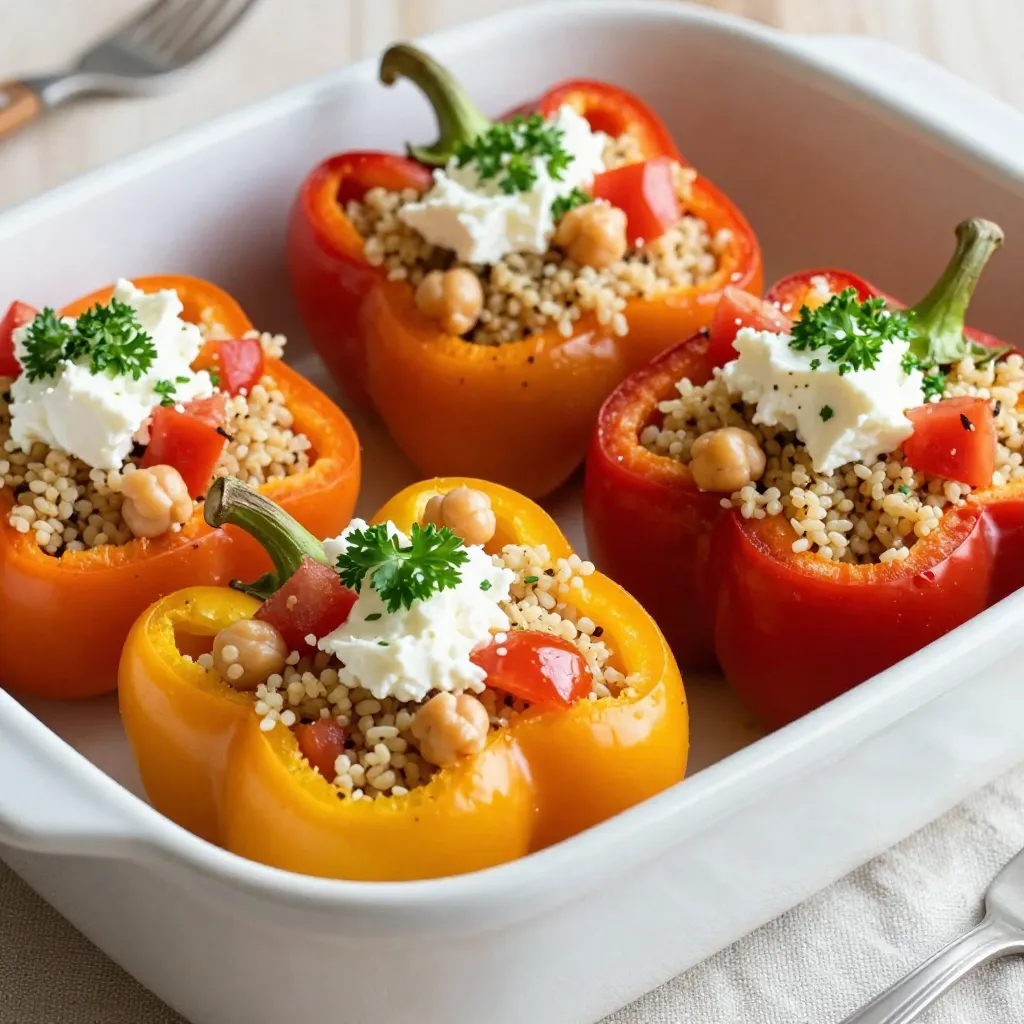
Greek Stuffed Bell Peppers Savory and Filling Dish
Are you craving a dish that’s both savory and filling? Look no further than Greek stuffed bell peppers! This flavorful meal combines healthy ingredients like

Buffalo Cauliflower Tacos Flavorful and Easy Recipe
Craving a tasty twist on taco night? Buffalo Cauliflower Tacos are quick, packed with flavor, and a hit for everyone! In this easy recipe, you’ll
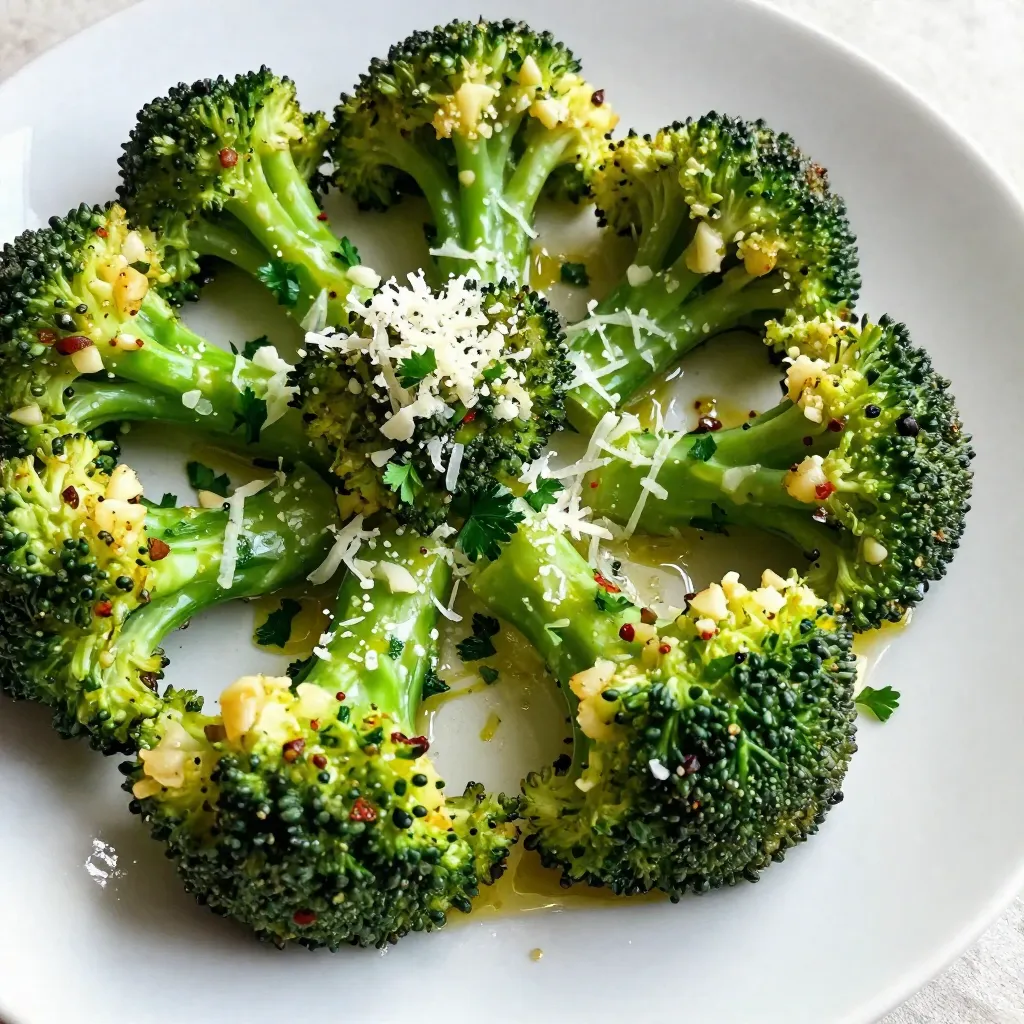
Garlic Parmesan Roasted Broccoli Savory Side Dish
Looking to elevate your dinner table? Try my Garlic Parmesan Roasted Broccoli. With its crispy edges and savory flavor, it’s the perfect side dish to
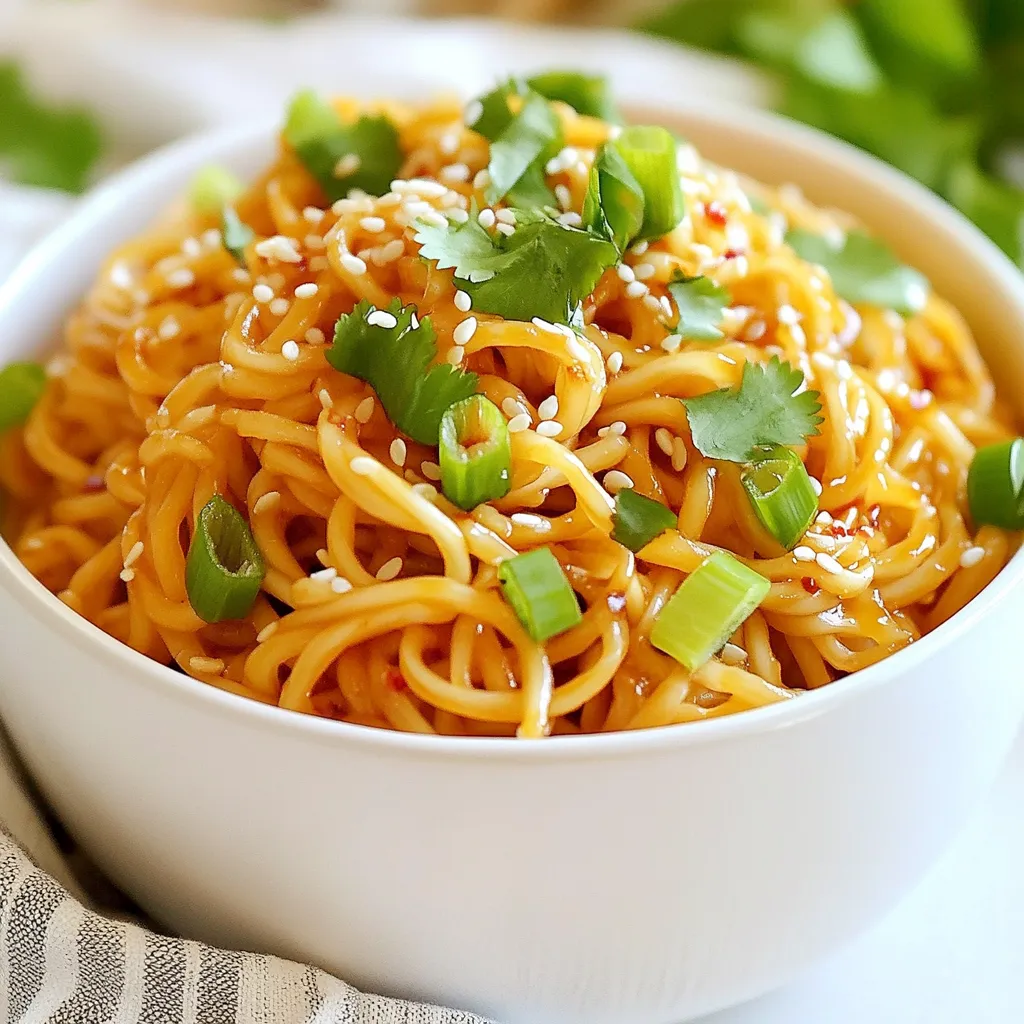
Flavorful Sweet Chili Garlic Noodles Quick and Easy Recipe
Craving a quick and tasty meal? You’ll love these Sweet Chili Garlic Noodles! This easy recipe packs bold flavors that are ready in no time.

Caprese Stuffed Chicken Breast Flavorful Dinner Delight
Are you ready to elevate your dinner game? Caprese Stuffed Chicken Breast is the perfect blend of fresh flavors that will delight your taste buds.
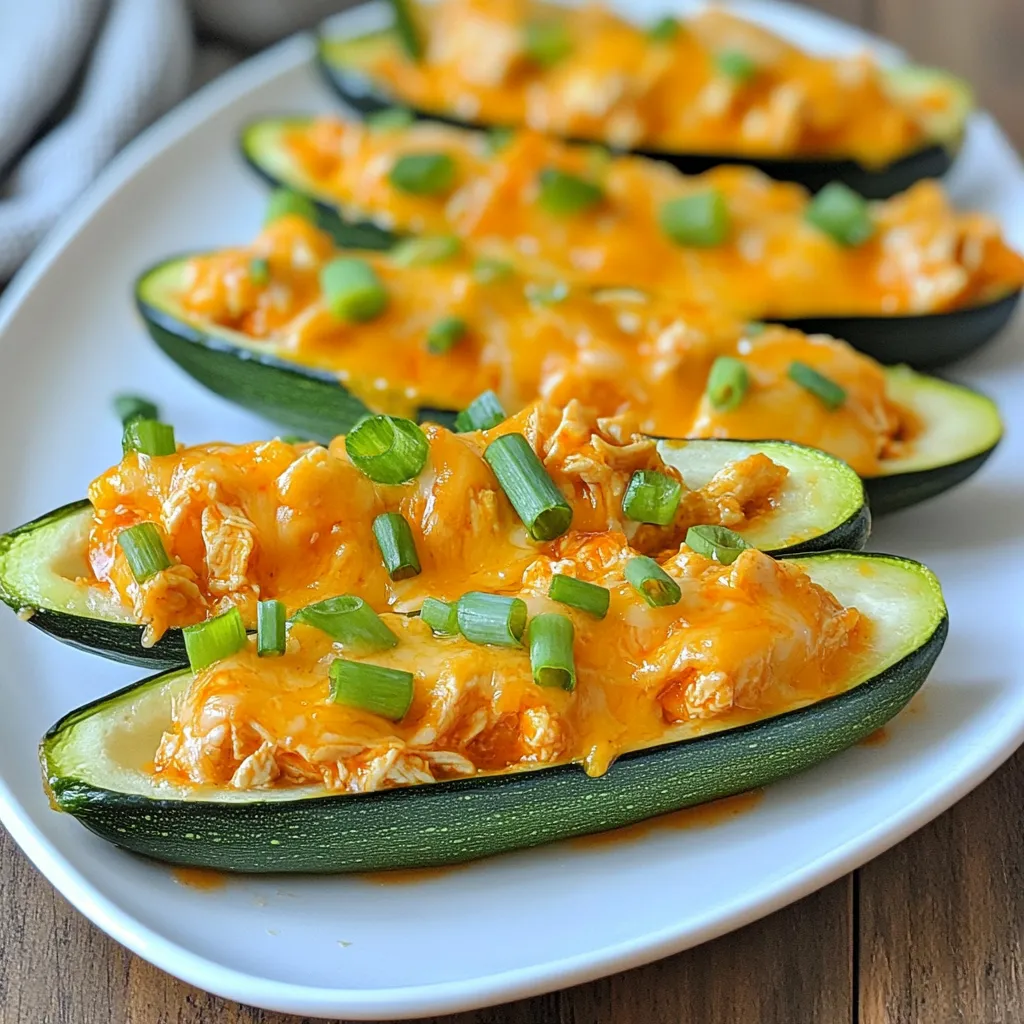
Buffalo Chicken Stuffed Zucchini Boats Flavor Boost
Are you ready to take your weeknight dinners to the next level? My Buffalo Chicken Stuffed Zucchini Boats are not just a tasty meal; they
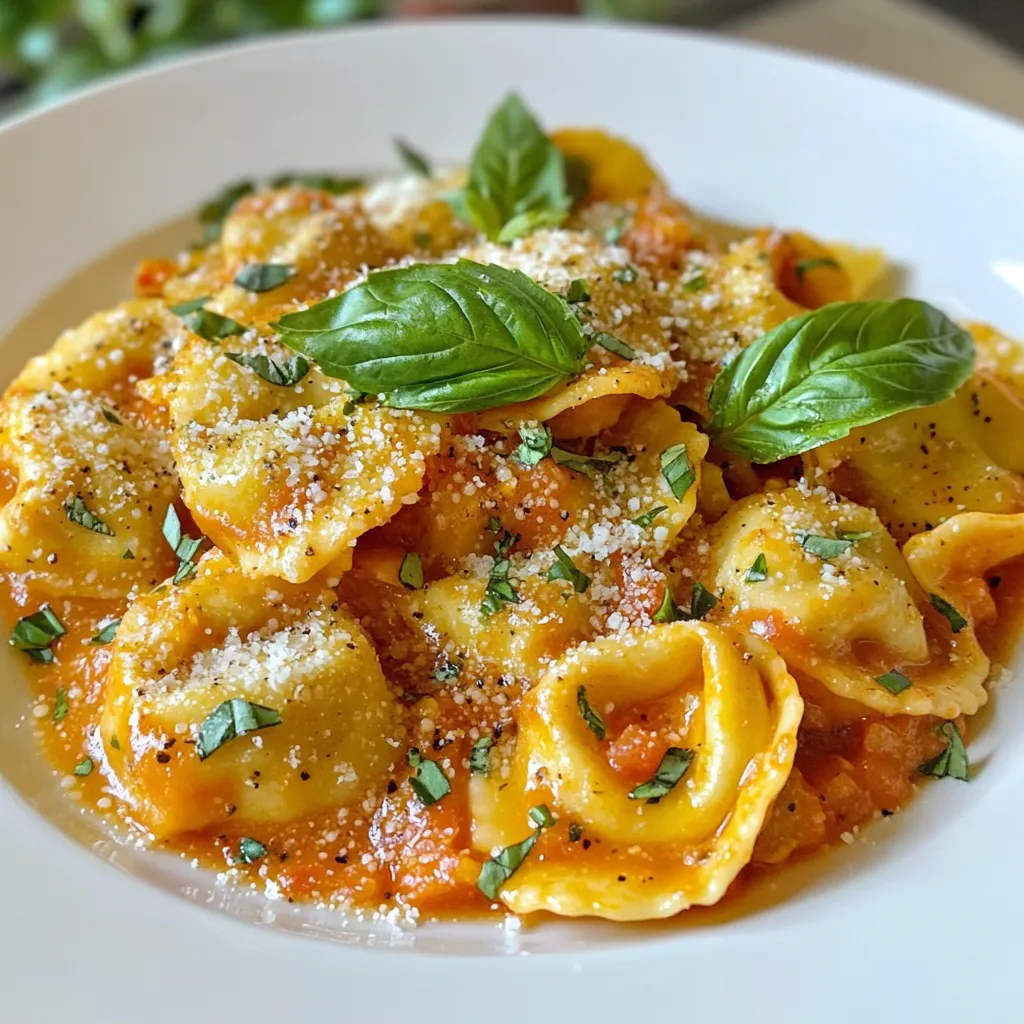
Creamy Tomato Basil Tortellini Flavorful Dinner Idea
Looking for a tasty dinner idea that’s quick and easy? You’re in the right spot! My Creamy Tomato Basil Tortellini is packed with flavor and