Dinner

Philly Cheesesteak Sloppy Joes Flavorful Comfort Dish
Are you ready to spice up your dinner routine? Philly Cheesesteak Sloppy Joes bring the flavors of Philly right to your kitchen. This tasty twist

Best Smothered Chicken and Rice Recipe Cozy Dinner
Are you ready for a cozy dinner that warms your heart? This Best Smothered Chicken and Rice Recipe does just that! With tender chicken, rich

Marry Me Chicken Pasta Recipe Savory and Simple Delight
Welcome to my kitchen, where I’ll share my Marry Me Chicken Pasta Recipe. This dish is a perfect blend of creamy sauce and juicy chicken.
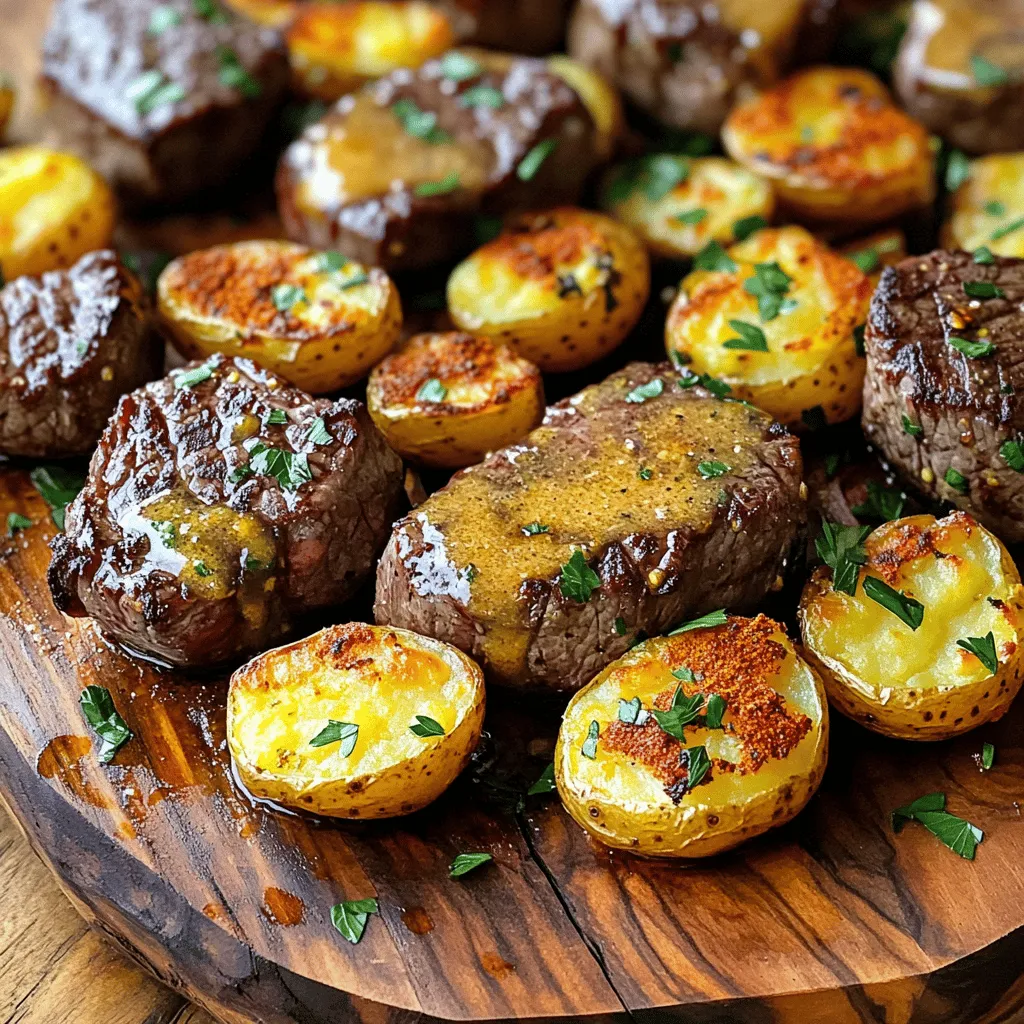
Garlic Butter Steak Bites And Potatoes Quick Recipe
Are you ready to impress your family or friends with a quick, delicious meal? This Garlic Butter Steak Bites and Potatoes recipe is a game-changer!
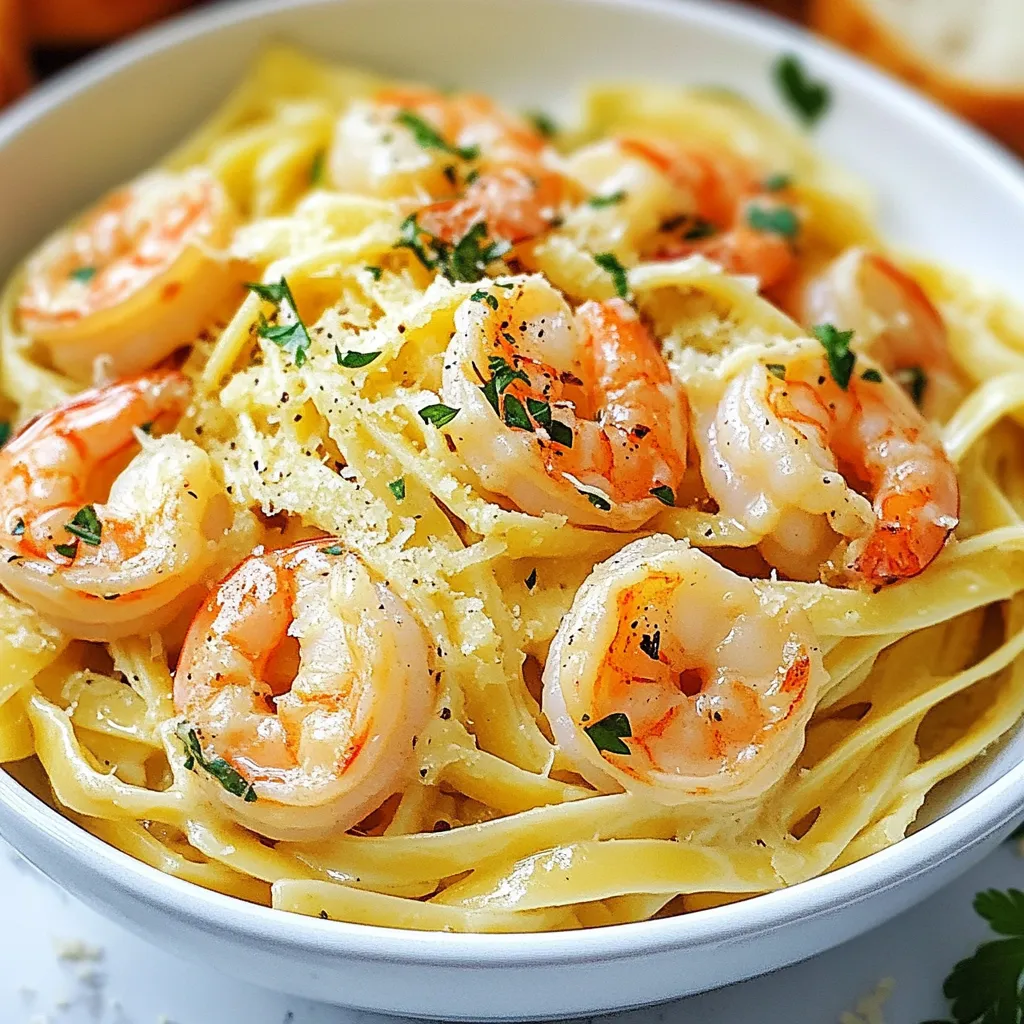
Creamy Garlic Shrimp Pasta Quick and Easy Delight
Are you craving a quick and easy dinner that brings rich flavors to your table? You’ve come to the right place! In this post, I’ll
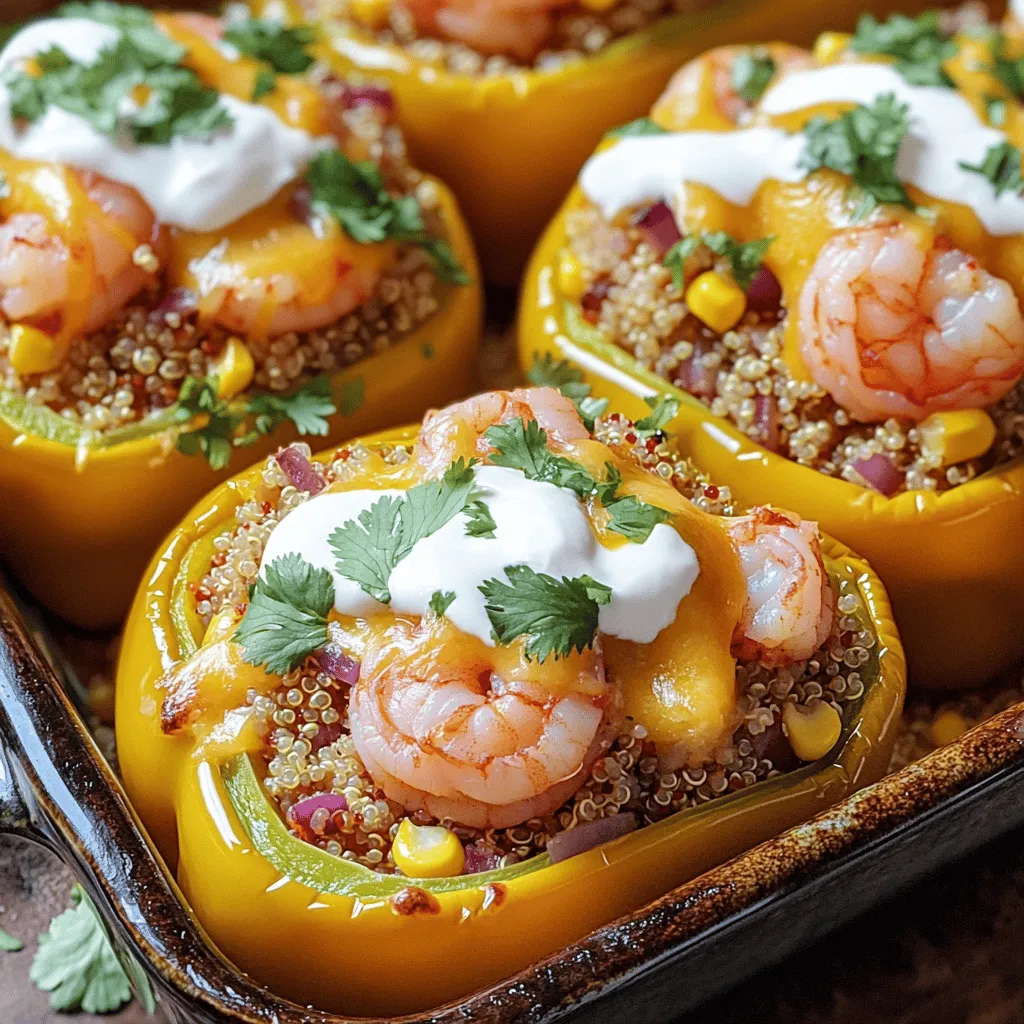
Firecracker Shrimp-Stuffed Peppers with Creamy Drizzle
Get ready for a flavor explosion with my Firecracker Shrimp-Stuffed Peppers! This dish pairs sweet bell peppers with spicy shrimp and creamy drizzle, making it

Crispy Crust Pizza-Parmesan Chicken Bake Delight
Are you ready to enjoy a tasty dish that combines all your favorite flavors? This Crispy Crust Pizza-Parmesan Chicken Bake is the perfect blend of
![When making orange beef stir fry, you need fresh and tasty ingredients. Here’s what you'll use: - Beef flank steak preparation - 1 lb beef flank steak, thinly sliced against the grain - Marinade ingredients - 1 cup fresh orange juice (preferably freshly squeezed for optimal flavor) - 2 tablespoons soy sauce - 1 tablespoon cornstarch - Fresh vegetables and herbs - 2 tablespoons vegetable oil - 1 red bell pepper, cut into thin strips (julienned) - 1 yellow bell pepper, cut into thin strips (julienned) - 1 cup snap peas, trimmed - 3 green onions, chopped (separating the white and green parts) - 2 cloves garlic, finely minced - 1 inch piece fresh ginger, grated - Zest of 1 orange - Sesame seeds, for garnish Each ingredient plays a role in the taste. The beef adds richness, while the orange juice gives a bright flavor. The fresh veggies bring crunch and color. This mix makes a meal that looks good and tastes even better. You can find the full recipe in the previous section. To start, you need to prepare the marinade. In a bowl, mix fresh orange juice, soy sauce, and cornstarch. Add the sliced beef flank steak to the bowl. Stir so each piece is well coated. Let the beef marinate for at least 15 minutes. This lets the flavors soak into the meat, making it taste amazing. Next, heat a large skillet or wok over high heat. Add one tablespoon of vegetable oil. Once the oil starts to shimmer, add the beef in a single layer. Sear the beef for 2 to 3 minutes. You want it browned but not fully cooked. After that, remove the beef from the pan and set it aside. This step locks in flavor and keeps the beef juicy. Now, it’s time for the vegetables. In the same skillet, add the second tablespoon of vegetable oil. Toss in minced garlic, grated ginger, and the white parts of green onions. Stir-fry for about 30 seconds, making sure not to burn the garlic. Then, add julienned red and yellow bell peppers with snap peas. Stir-fry these for 3 to 4 minutes. You want them soft but still crunchy for the best texture. Finally, return the beef to the skillet. Add half of the orange zest for extra flavor. Toss everything together and stir-fry for another 2 to 3 minutes. Make sure everything is heated through. Now, taste your stir-fry. Adjust the seasoning if needed. If you want a stronger flavor, add a bit more soy sauce. Once everything is done, it’s time to serve. Garnish with the remaining orange zest and chopped green parts of the green onions. Sprinkle sesame seeds on top for a nice finish. Enjoy your Orange Beef Stir Fry! For the complete recipe, check out the [Full Recipe]. - High heat cooking methods: Always use high heat when cooking stir fry. This helps seal in the juices of the beef. It also gives your veggies a nice crunch. A hot pan cooks food quickly and evenly. - Importance of ingredient prep: Prep all your ingredients before you start cooking. Cut your beef and veggies ahead of time. This keeps the cooking process smooth. When everything is ready, you can focus on cooking and not searching for items. - Possible alternative vegetables: If you don't have snap peas or bell peppers, try broccoli or carrots. These veggies work well and add flavor. You can also use zucchini or mushrooms for a different taste. - Replacing flank steak for other proteins: If you prefer chicken or tofu, you can swap those in. Just keep the marinade the same. Both chicken and tofu can absorb the orange flavor nicely. {{image_4}} You can easily change the flavor of your Orange Beef Stir Fry. Adding spices or sauces makes it fun. Try adding red pepper flakes for heat. A splash of hoisin sauce adds sweetness. You can even toss in some soy sauce for a deeper taste. Experimenting with citrus flavors is also a great idea. Use lime or lemon juice to give a zesty kick. You can mix orange juice with other fruit juices too. Pineapple juice can bring a sweet twist. Don't be afraid to try new things! Making your stir fry gluten-free is easy. Just switch regular soy sauce for tamari. Tamari is a gluten-free option, and it tastes great. You can also use coconut aminos. It gives a similar flavor and is a great choice for those with allergies. If you are on a low-carb diet, swap out the beef for chicken or tofu. You can also use zucchini noodles instead of rice. This will keep the dish light and healthy. The flavors will still shine through, making it a delicious meal for everyone. Check out the Full Recipe for more details on how to make this dish. To keep your Orange Beef Stir Fry fresh, use airtight containers. Glass or plastic containers work great. Make sure they seal tightly to keep air out. Store your stir fry in the fridge if you plan to eat it within a few days. If not, freeze it for longer storage. It can last up to three months in the freezer. To reheat, I suggest using a skillet. Heat it on medium and add a splash of water or broth. This helps keep the beef and vegetables juicy. Stir gently for about five to seven minutes. You can also use the microwave. Heat it in short bursts of one minute, stirring in between. Aim for a temperature of 165°F to ensure it’s hot throughout. Can I use frozen beef for this recipe? Yes, you can use frozen beef. Just be sure to thaw it first. Thawing helps the meat cook evenly. You can leave it in the fridge overnight or use the microwave's defrost setting. After thawing, slice the beef thinly against the grain for the best texture. How do I make it spicier? To add heat, try these tips: - Add red pepper flakes for a kick. - Mix in sliced jalapeños or serrano peppers. - Use a spicy soy sauce or sriracha. Start with a small amount, then adjust to your taste. You want the spice to enhance the flavor, not overpower it. Breakdown of calories and key nutrients This Orange Beef Stir Fry serves four. Each serving has about: - Calories: 350 - Protein: 25g - Carbs: 30g - Fat: 15g It’s a good source of vitamin C and protein, thanks to the orange juice and beef. Dietary considerations for a balanced meal This dish is colorful and filled with nutrients. The veggies add fiber and vitamins. Pair it with brown rice or quinoa for extra whole grains. You can also add more vegetables to boost the fiber content. For a low-carb option, enjoy it alone or with cauliflower rice instead. For the complete recipe, check out the Full Recipe. This blog post covered how to make a tasty orange beef stir fry. You learned about preparing the flank steak, making the marinade, and cooking the beef and veggies. I shared tips for perfect stir-frying and ingredient swaps to suit your taste. You can customize flavors and find variations for special diets. Finally, I included storage tips for leftovers and answered common questions. With these steps, you can create a delicious dish that suits your needs. Enjoy your cooking and happy eating!](https://tossedflavors.com/wp-content/uploads/2025/05/315eae18-cc28-4d4e-bd36-b1a69b31c786.webp)
Orange Beef Stir Fry Flavorful and Quick Recipe
Looking for a quick and tasty dinner idea? Try my Orange Beef Stir Fry! This dish packs bold flavors and is easy to whip up
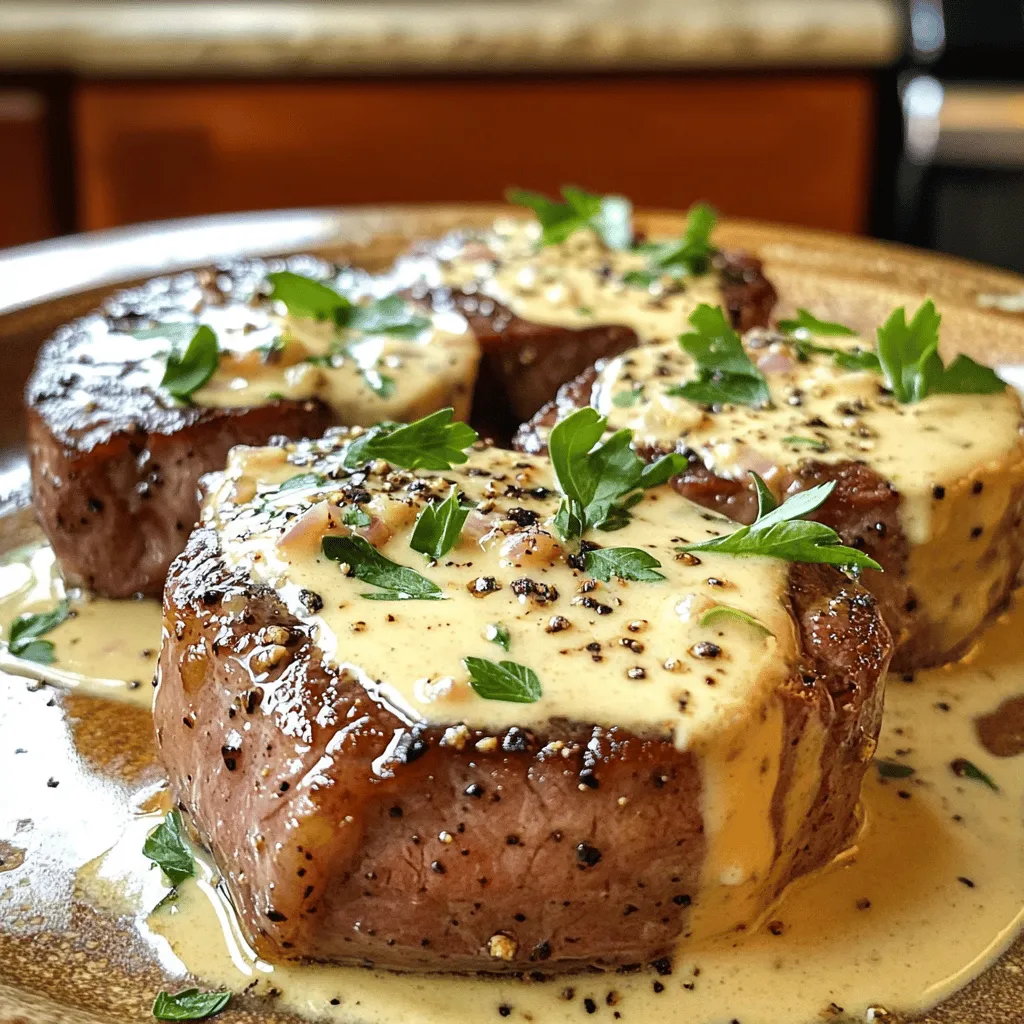
Savory Beef Tenderloin with Pepper Cream Sauce
Craving a delicious meal that’s simple yet impressive? This Savory Beef Tenderloin with Pepper Cream Sauce is your answer! In just a few easy steps,

Rustic Comfort Chicken Paprikash Easy and Hearty Meal
Are you ready to dig into a warm, hearty dish that shines with rustic charm? Rustic Comfort Chicken Paprikash is not just another meal; it’s