Dinner
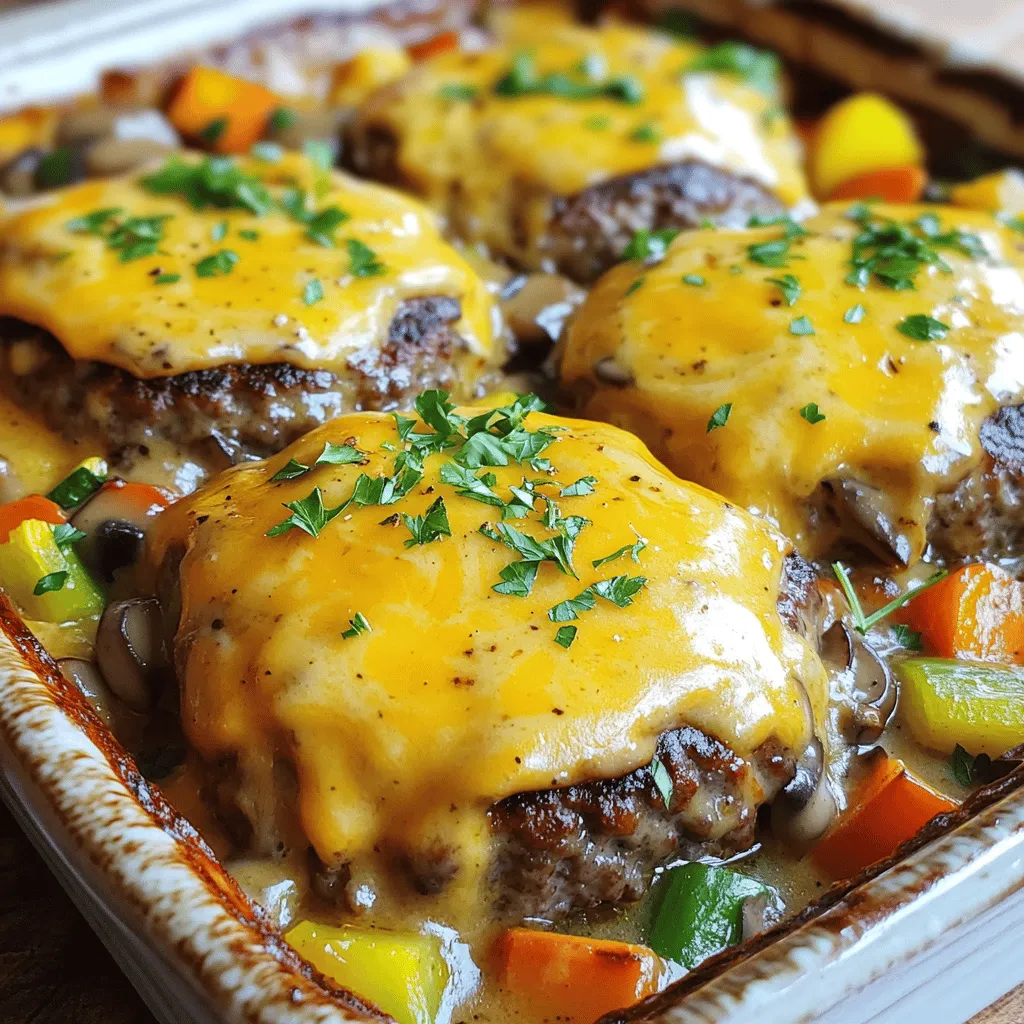
Amish Hamburger Steak Bake Comforting Family Meal
Are you looking for a cozy family dinner that warms the heart? Let me introduce you to the Amish Hamburger Steak Bake! This simple yet
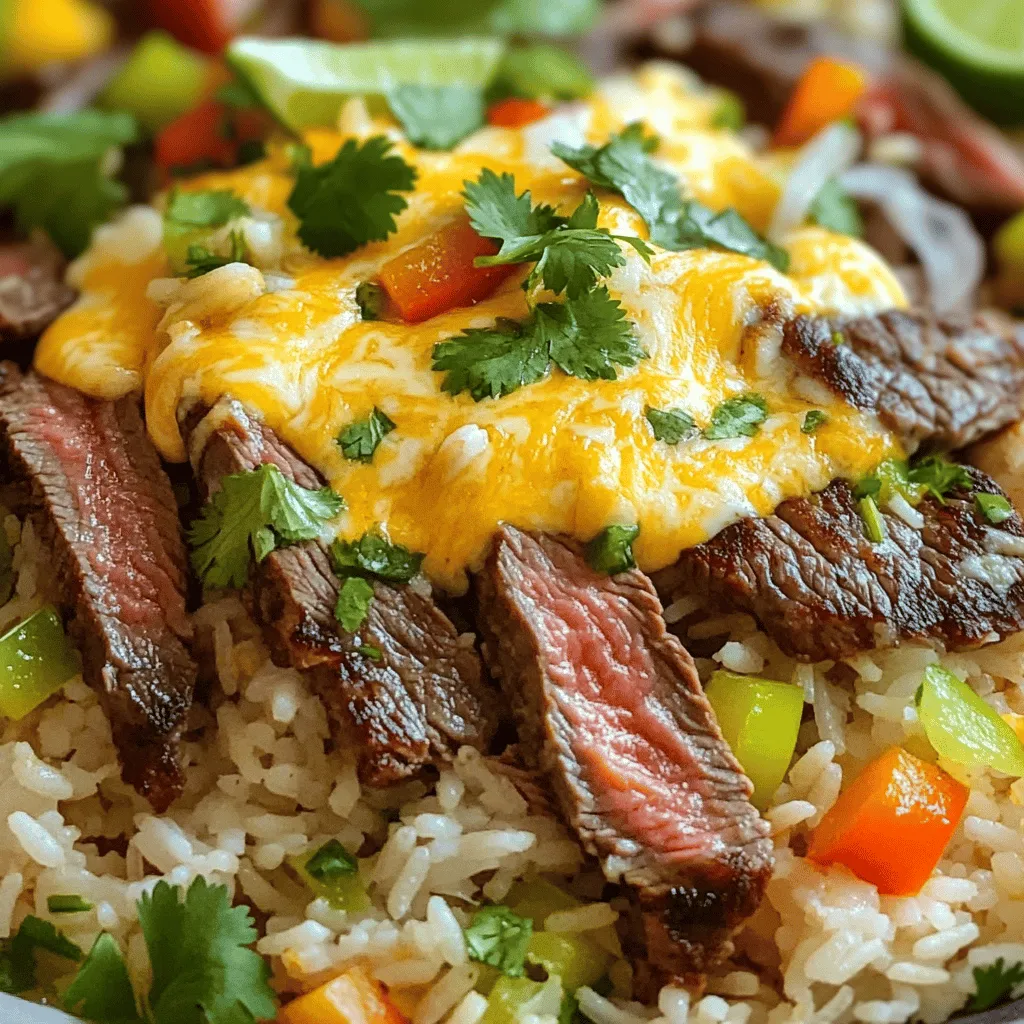
Savory Steak & Queso Rice Satisfying Dinner Delight
Looking for a dinner that packs a punch in flavor? Let me introduce you to my Savory Steak & Queso Rice. This dish combines tender
![Let's gather everything we need for these creamy garlic mushroom stuffed shells. Here's the list of ingredients: - 20 large jumbo pasta shells - 2 cups fresh mushrooms (button and cremini) - 1 tablespoon olive oil - 4 cloves garlic, minced - 1 cup ricotta cheese - 1 cup shredded mozzarella cheese, divided - 1/2 cup grated Parmesan cheese - 1/4 cup fresh parsley, finely chopped - 1 cup spinach, wilted and roughly chopped - 1 teaspoon dried Italian herbs (oregano, basil, thyme) - Salt and freshly ground black pepper to taste - 2 cups marinara sauce Each ingredient plays a key role in creating the rich flavors and creamy texture of the dish. The jumbo shells serve as a perfect vessel for the filling. The mix of button and cremini mushrooms adds depth. Garlic brings a bold taste that pairs well with the creamy cheeses. Ricotta and mozzarella create a rich and smooth filling. Fresh parsley and spinach add brightness and color. The dried herbs enhance the overall flavor profile, while the marinara sauce adds a lovely tang that ties it all together. This combination of ingredients makes the creamy garlic mushroom stuffed shells a delightful dish. For further preparation steps, check the Full Recipe. - Cook jumbo pasta shells until al dente. - Drain and set aside to cool. - Warm olive oil in a skillet. - Sauté mushrooms for 5 minutes. - Add minced garlic and sauté for 1 additional minute. - Combine the sautéed mixture with cheeses and herbs. - Season with salt and pepper. - Mix thoroughly until well combined. - Fill each shell with the creamy mushroom mixture. - Arrange in a greased baking dish. - Pour marinara sauce over the stuffed shells. - Sprinkle with remaining mozzarella. - Cover with foil and bake for 20 minutes. - Remove foil and bake for an additional 10-15 minutes. This recipe is easy to follow. I love how the flavors blend and create magic! Check out the Full Recipe for all the details you need. If you want to make this dish vegan, swap the cheese. Use vegan ricotta and vegan mozzarella. You can find these at most grocery stores. They melt well and taste great. For mushrooms, try different kinds. Shiitake or portobello will add unique flavors. Mix them with the button and cremini for a fun twist. When cooking pasta shells, follow these tips. Boil them in salted water for the best flavor. Make sure to cook them al dente. This helps them hold up when stuffed. After draining, rinse them with cold water. This stops the cooking. For sautéing, always use medium heat. This keeps the garlic from burning. Stir often to keep the flavors bright. To make your dish even better, add herbs and spices. Fresh basil or thyme can boost the taste. A pinch of red pepper flakes adds a nice kick. If you want a twist, try different sauces. A creamy Alfredo sauce works well. You can also add a touch of pesto for an herby note. Experiment and find your favorite flavors! For the full recipe, click here: [Full Recipe]. {{image_4}} You can make these stuffed shells even heartier. Adding cooked chicken or sausage boosts flavor and protein. Shredded rotisserie chicken works well. You can also use spicy Italian sausage for a kick. Ground turkey or beef is another great choice. Brown the meat first, then mix it with the mushroom filling. Cheese makes this dish rich and creamy. While ricotta, mozzarella, and Parmesan are classic, you can explore other options. Try goat cheese for a tangy twist. Aged cheddar adds depth, while creamy feta can enhance flavor. Mixing different cheeses can balance the taste, too. Combine mozzarella with a sharp cheese for a delightful contrast. Feel free to get creative with veggies! Bell peppers or zucchini can enhance the filling. Chop them finely and sauté with the mushrooms. You can also add other greens apart from spinach. Kale or Swiss chard works well. Just make sure to wilt them first for the best texture. For the full recipe, check out the Creamy Garlic Mushroom Stuffed Shells 🧄. To keep your Creamy Garlic Mushroom Stuffed Shells fresh, let them cool first. Place leftovers in an airtight container. This helps keep the flavors intact. You can store them in the fridge for up to three days. I recommend using glass or BPA-free plastic containers for best results. When you’re ready to enjoy your leftovers, the best way to reheat them is in the oven. Preheat the oven to 350°F (175°C). Cover the dish with aluminum foil to keep moisture in. This helps the cheese stay creamy and the pasta soft. Heat for about 20 minutes, or until warmed through. You can also microwave them, but the oven gives better flavor. To freeze your stuffed shells, let them cool completely. Arrange the shells in a single layer on a baking sheet. Freeze them for about an hour until solid. Then, transfer the shells to a freezer-safe container or a zip-top bag. Make sure to remove as much air as possible to avoid freezer burn. They can last up to three months in the freezer. When you’re ready to eat, thaw them overnight in the fridge. Bake from frozen at 375°F (190°C) for about 35-40 minutes. Enjoy the deliciousness anytime! For the full recipe, check out the entire process. It takes about 20 minutes to prep and 30 minutes to cook. You will spend 50 minutes in total to make this dish. Yes, you can make these stuffed shells ahead of time. Prepare the filling and stuff the shells. Then, cover and refrigerate them up to a day before baking. These stuffed shells pair well with a simple green salad or garlic bread. You can also serve them with steamed broccoli or a fresh vegetable medley for balance. Yes, this recipe is great for meal prep. You can batch cook and store the shells in the fridge. Just reheat in the oven before serving. This blog post covered how to make Creamy Garlic Mushroom Stuffed Shells. We went through the ingredients you need, from jumbo pasta shells to fresh herbs. I shared step-by-step instructions, including cooking techniques and filling variations. You can swap ingredients, add proteins, or choose different cheeses for new flavors. Storing and reheating your leftovers was also discussed. I hope this guide inspires you to try making this tasty dish at home! Enjoy your cooking!](https://tossedflavors.com/wp-content/uploads/2025/05/6bfa516a-73ee-435a-8779-e34ca382fc3b.webp)
Creamy Garlic Mushroom Stuffed Shells Delightful Dish
Are you ready to elevate your dinner game with a comforting dish? Creamy Garlic Mushroom Stuffed Shells are packed with flavors and are easy to
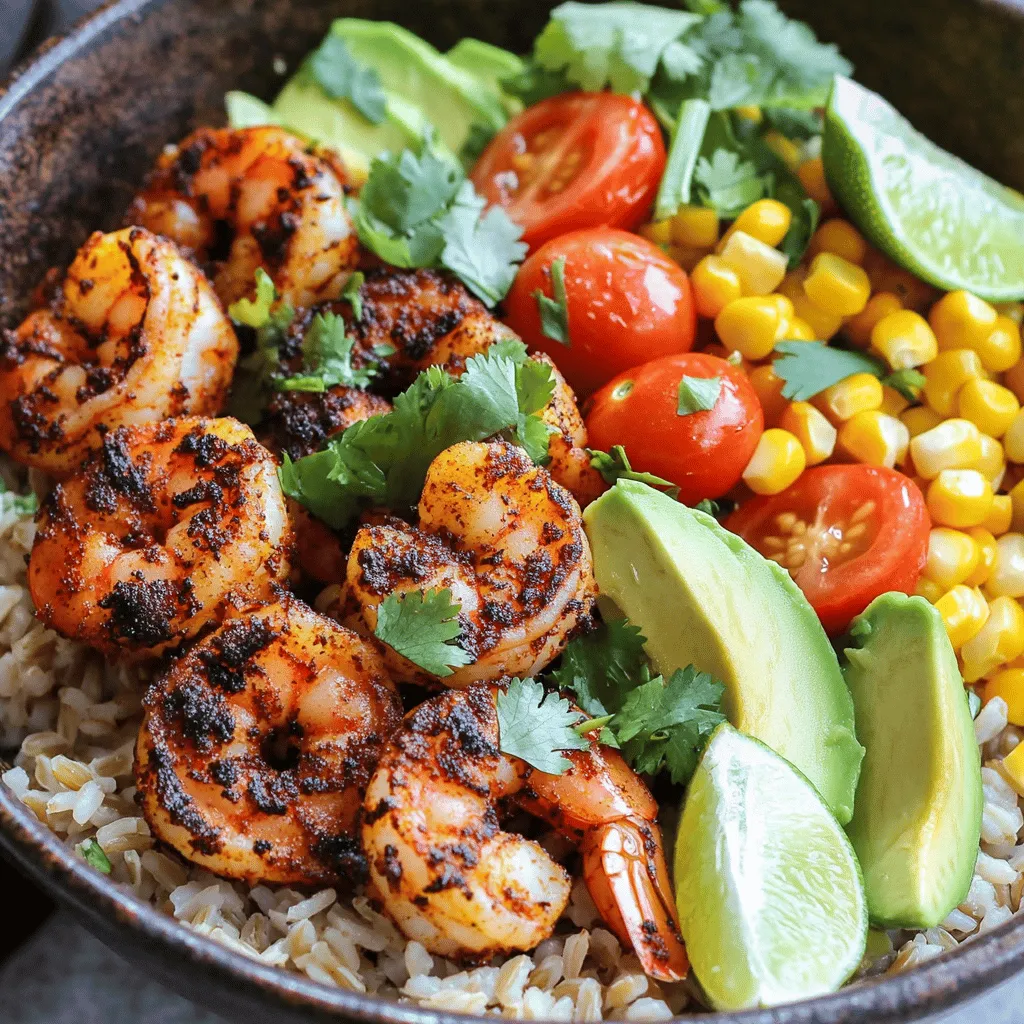
Blackened Shrimp Bowls Flavorful and Simple Recipe
Craving a meal that packs a punch in flavor yet takes little time to make? Let me introduce you to my Blackened Shrimp Bowls, a
![For the Easy Marry Me Chicken Pasta, you'll need some simple ingredients. Here’s the list: - 2 boneless, skinless chicken breasts - 8 oz fettuccine or penne pasta - 1 cup heavy cream - 1 cup cherry tomatoes, halved - 1 cup fresh spinach - 1/2 cup grated Parmesan cheese - 2 cloves garlic, minced - 1 tablespoon olive oil - 1 teaspoon Italian seasoning - Salt and freshly cracked pepper to taste - Fresh basil leaves for garnish These ingredients come together to create a dish that is rich and flavorful. The chicken provides protein, while the pasta offers a satisfying base. The heavy cream and cheese blend to form a creamy sauce that pairs perfectly with the tomatoes and spinach. Each bite bursts with flavor and freshness. For the full recipe, you can follow the detailed instructions to bring this dish to life. Enjoy cooking! To start, fill a large pot with water and add salt. Bring this water to a rolling boil. Once boiling, add 8 oz of fettuccine or penne pasta. Cook the pasta for about 8 to 10 minutes. You want it to be al dente, which means it should be firm to the bite. To check, taste a piece of pasta a minute or two before the time is up. When it’s done, save 1/2 cup of pasta water. Then, drain the rest well and set it aside. While the pasta cooks, it's time for the chicken. Take 2 boneless, skinless chicken breasts and season both sides with salt, pepper, and 1 teaspoon of Italian seasoning. Heat 1 tablespoon of olive oil in a large skillet over medium heat. Place the chicken in the skillet and cook for about 5 to 7 minutes on each side. The chicken should be nicely browned and reach an internal temperature of 165°F. After cooking, remove the chicken from the skillet and let it rest for a few minutes. This resting step is key! It keeps the juices inside the chicken when you slice it. Now, let’s make the sauce. In that same skillet, add 2 cloves of minced garlic. Sauté for about one minute until it smells great. Next, toss in 1 cup of halved cherry tomatoes. Cook these for around 3 minutes until they soften and burst. This creates a lovely base for your sauce. Lower the heat and pour in 1 cup of heavy cream. Stir it in until smooth. Then, add 1 cup of fresh spinach, stirring gently until it wilts. The creaminess and color from the spinach will make your sauce pop! Once the chicken has rested, slice it into thin strips. Add the sliced chicken back into the skillet along with the drained pasta. Toss everything together so the flavors mix well. If the dish looks too thick, use the reserved pasta water to loosen it up. Gradually add the water until you get the right consistency. Finally, sprinkle in 1/2 cup of grated Parmesan cheese and stir well until it melts and makes everything creamy and cheesy. Now it’s time to serve! Use a large, shallow bowl to dish out the pasta and chicken. For a beautiful finish, drizzle any extra sauce over the top. Garnish with fresh basil leaves. This not only adds color but also a lovely aroma. A sprinkle of extra Parmesan cheese can make it even more appealing. Enjoy the love this dish inspires! For the full recipe, check out the details above. To ensure chicken is perfectly cooked, use a meat thermometer. The internal temperature should reach 165°F. This ensures it's safe to eat and juicy. Sear the chicken on medium heat. This browns the outside while locking in moisture. To avoid overcooked pasta, set a timer. Boil the pasta until it's al dente, which usually takes 8-10 minutes. Remember to reserve half a cup of pasta water before draining. This helps if you need to adjust the sauce's thickness later. Adding extra flavors can elevate your dish. Fresh herbs like basil or parsley work well. You can also use spices such as red pepper flakes for a kick. Consider adding a splash of lemon juice for brightness. Using different types of cheese can change the taste. Try adding mozzarella for a stretchier texture or goat cheese for a tangy flavor. Both will make your dish more exciting. For creative serving ideas, use a large, shallow bowl. This allows for a beautiful display of the pasta and chicken. Drizzle leftover sauce artfully over the top. To make your dish visually appealing, garnish with whole basil leaves and a sprinkle of Parmesan. This adds color and freshness, making the plate pop. Enjoy the love this dish inspires! {{image_4}} If you need a gluten-free option, try using gluten-free pasta. There are many brands available that taste great. You can find options made from rice, quinoa, or chickpeas. Each brings a unique flavor and texture. For a dairy-free version, use coconut cream instead of heavy cream. Nutritional yeast can replace Parmesan cheese for a cheesy flavor without dairy. To make your Marry Me Chicken Pasta even better, add more vegetables. Broccoli, bell peppers, or zucchini work well. You can toss in these veggies while cooking the chicken. If you grow your own vegetables, use what’s in season. Fresh produce adds flavor and nutrition. If you want to switch up the protein, use shrimp or turkey instead of chicken. Both cook quickly and add great taste. For a vegetarian option, try chickpeas or tofu. Cook the tofu until golden for a nice texture. You can also go plant-based by using lentils or tempeh. These options keep the dish hearty and filling. For the [Full Recipe], check the ingredients and instructions to create your own version of this dish! To keep your Marry Me Chicken Pasta fresh, store it in an airtight container. This helps prevent moisture loss and keeps flavors intact. Make sure to let the pasta cool down to room temperature before sealing it. Place the container in the refrigerator for up to three days. If you want to enjoy it later, consider freezing it. In the freezer, it lasts for about two months. Just remember to label your container with the date! When it’s time to enjoy your leftovers, choose safe reheating methods. You can use the microwave or the stovetop. If using the microwave, cover the dish with a microwave-safe lid. Heat in short intervals, stirring in between to ensure even warmth. To keep the creaminess of the sauce, add a splash of milk or extra cream while reheating. This will help revive the smooth texture. On the stovetop, place the pasta in a skillet over low heat. Stir in a bit of reserved pasta water to bring the sauce back to life. Enjoy your delicious meal once again! Marry Me Chicken Pasta is a creamy dish that combines chicken and pasta. The name comes from the idea that this dish is so good, it might make someone want to propose! It features tender chicken, rich cream, and vibrant veggies. The balance of flavors makes it a hit for romantic dinners or family meals. Yes, you can prepare this dish in advance. Cook the chicken and pasta first, then store them separately in the fridge. Make the sauce and combine everything just before serving. This keeps the pasta from getting mushy. You can keep the cooked chicken and pasta for up to three days. Absolutely! Marry Me Chicken Pasta works great for meal prep. Portion it into containers for easy lunches or dinners. When reheating, add a splash of water or cream to maintain creaminess. Pair it with a simple salad or garlic bread for a complete meal. Yes, you can! If you want a different protein, use shrimp or turkey. For a vegetarian option, try tofu or chickpeas. You can also use mushrooms for a hearty feel. Each option brings its own flavor and keeps the dish exciting. This recipe for Marry Me Chicken Pasta covers ingredients, cooking steps, and storage tips. It ensures you create a rich and tasty dish. Remember to adjust flavors and use fresh veggies for variety. Store leftovers properly and reheat for a delicious meal later. With these steps, you can whip up an impressive dinner that everyone will love. Enjoy making this dish and feel proud of your cooking skills!](https://tossedflavors.com/wp-content/uploads/2025/05/5fa728ba-7203-43b2-ba24-ca91726b77d9.webp)
Easy Marry Me Chicken Pasta Flavorful and Quick Dish
Looking for a quick and tasty dish that can win anyone’s heart? Try this Easy Marry Me Chicken Pasta! With creamy sauce, tender chicken, and
![To create delicious Greek Chicken Orzo Power Bowls, gather these ingredients: - 1 lb chicken breast, diced - 1 cup orzo pasta - 1 cup cherry tomatoes, halved - 1 cucumber, diced - 1/2 red onion, thinly sliced - 1 cup baby spinach or arugula - 1/2 cup feta cheese, crumbled - 1/4 cup Kalamata olives, pitted and halved - 3 tablespoons olive oil - Juice of 1 lemon - 1 teaspoon dried oregano - Salt and pepper to taste - Fresh parsley, chopped (for garnish) You can make this meal your own. Here are some optional ingredients: - Grilled bell peppers for added sweetness - Avocado for creaminess and healthy fats - Chickpeas for extra protein and fiber - Fresh herbs like dill or mint for added freshness - Red pepper flakes for some heat Each ingredient plays a role in flavor and health: - Chicken: This lean protein keeps you full and helps build muscle. - Orzo: This pasta adds a comforting texture and offers carbs for energy. - Cherry tomatoes: They provide sweetness and are rich in vitamins. - Cucumber: This adds crunch and hydration with low calories. - Red onion: It gives a sharp taste and is full of antioxidants. - Spinach/Arugula: These greens add vitamins and minerals, boosting nutrition. - Feta cheese: This adds creaminess and calcium for bone health. - Kalamata olives: They bring a briny flavor and healthy fats. - Olive oil: This heart-healthy fat enhances taste and helps absorb nutrients. - Lemon juice: This brightens the dish and adds vitamin C. - Dried oregano: This herb adds a classic Greek flavor and has anti-inflammatory properties. When you mix these ingredients, you create a meal that's tasty and packed with nutrients. For the full recipe, check out the detailed instructions. Start by boiling a large pot of salted water. Once it boils, add the orzo pasta. Cook it for about 8 to 10 minutes. You want it to be firm, or al dente. After cooking, drain the orzo and place it in a mixing bowl. This will be the base of your power bowl. Next, take 1 pound of diced chicken breast. In a medium bowl, mix the chicken with 1 tablespoon of olive oil, lemon juice, and dried oregano. Don't forget to add salt and pepper! Make sure you coat the chicken well. Heat a skillet over medium heat and add the marinated chicken. Cook it for 7 to 10 minutes. Stir it often until it’s golden and cooked through. While the chicken cooks, chop your veggies. Dice 1 cucumber, halve 1 cup of cherry tomatoes, and thinly slice 1/2 of a red onion. Also, get 1 cup of baby spinach or arugula ready. All these will add freshness and crunch to your bowl. Now it’s time to put everything together! In the bowl with the orzo, add the cooked chicken, chopped tomatoes, cucumber, red onion, baby spinach, and 1/4 cup of Kalamata olives. Crumble 1/2 cup of feta cheese on top. Drizzle 2 tablespoons of olive oil over the mix. Season with salt and pepper to taste. Gently toss everything until well combined. This colorful blend is your Greek Chicken Orzo Power Bowl. To make your orzo just right, start with salted water. Bring it to a boil first. Add the orzo and cook it until it's al dente. This means it should still have a slight bite. Drain the orzo and let it cool in a big bowl. For the chicken, marinating is key. Use lemon juice, olive oil, and oregano to add flavor. Sauté the chicken over medium heat. Cook until it's golden brown and fully cooked through. This usually takes about 7-10 minutes. For an extra flavor boost, add more herbs. Fresh parsley or dill can brighten the dish. You can also mix in more lemon juice for zest. If you like heat, try adding red pepper flakes. Kalamata olives add a nice salty punch, so don’t skip them. You can also toss in a pinch of smoked paprika for depth. Lastly, using good-quality feta cheese makes a big difference. When serving, make each bowl beautiful. Layer the orzo and chicken, then add the veggies on top. Arrange everything in sections for a colorful look. A sprinkle of chopped parsley on top adds a nice touch. You can also serve with lemon wedges on the side. This not only looks great but gives a fresh squeeze when eating. Remember, we eat with our eyes first! Check out the Full Recipe for more details on assembling. {{image_4}} You can easily make a vegetarian version of Greek Chicken Orzo Power Bowls. Instead of chicken, use chickpeas or grilled vegetables. These options add protein and flavor. For chickpeas, use one can, drained and rinsed. For grilled vegetables, try zucchini, bell peppers, or eggplant. Just toss them with olive oil and herbs before grilling. This will keep the dish hearty and satisfying. If you need a gluten-free option, swap orzo for quinoa or rice. Both grains work well and keep the meal filling. For a dairy-free version, leave out the feta cheese. You can use dairy-free cheese or avocado for creaminess. This still gives the bowl a rich taste without dairy. To boost protein, consider adding grilled shrimp or tofu. Both options are great choices and add different flavors. You can also mix in nuts or seeds for added crunch. Sunflower seeds or walnuts work well. They add nutrients and texture to your meal. Feel free to customize your bowl based on what you enjoy. For the full recipe, check out the Greek Chicken Orzo Power Bowls above! To keep your Greek Chicken Orzo Power Bowls fresh, store leftovers in airtight containers. This helps prevent moisture loss and keeps flavors intact. Make sure to separate the chicken from the orzo if possible. This keeps the orzo from getting too soggy. Leftovers can last in the fridge for about three days. Always check for any signs of spoilage before eating. Reheat your bowls gently to keep the chicken moist. I find the best method is using the microwave. Place your bowl in the microwave and cover it with a damp paper towel. Heat in short bursts, about 30 seconds at a time. Stir between intervals to ensure even heating. If you prefer, you can also reheat on the stove. Just add a splash of water to a pan, and warm over low heat. Stir until everything is heated through. To maintain freshness, consider these tips: - Use glass containers: They help reduce odors and keep food fresh. - Cool completely before sealing: This prevents condensation inside the container. - Label containers with dates: This makes it easy to track how long they've been stored. - Freeze for longer storage: If you want to keep leftovers for weeks, freeze individual portions. They can last up to three months in the freezer. For more details on preparing this dish, check out the Full Recipe. To make these bowls vegan, swap chicken with chickpeas or tofu. Cook the chickpeas or tofu as you would the chicken. Use vegetable broth instead of chicken broth to cook the orzo. You can also add more veggies, like bell peppers or zucchini, to boost flavor and nutrition. Yes, you can prepare these bowls in advance. Cook the orzo and chicken ahead of time. Store them separately in airtight containers. Chop the veggies and keep them in the fridge. Assemble the bowls just before serving to keep everything fresh. These bowls pair well with a light salad or some warm pita bread. You can also serve a side of tzatziki sauce for dipping. This adds a nice creamy texture and enhances the flavors. To make a simple dressing, mix 3 tablespoons of olive oil, juice of 1 lemon, and a pinch of salt and pepper. You can add a teaspoon of dried oregano for extra flavor. Whisk the ingredients together until blended. Drizzle this dressing over your bowls for a tasty finish. For the full recipe, check out the [Full Recipe]. Greek Chicken Orzo Power Bowls are simple and tasty. We covered the ingredients, cooking steps, and tips for the best flavor. You can easily customize your bowl to fit your diet. Learning to store and reheat leftovers helps minimize waste. I hope you feel inspired to make this dish. Enjoy healthy eating with these easy and fun bowls. Happy cooking!](https://tossedflavors.com/wp-content/uploads/2025/05/70839b64-80e1-4530-87c4-ef6c533680bb.webp)
Greek Chicken Orzo Power Bowls Flavorful and Healthy Meal
Looking for a meal that combines flavor, health, and ease? Greek Chicken Orzo Power Bowls are the answer! Packed with protein, fresh veggies, and zesty
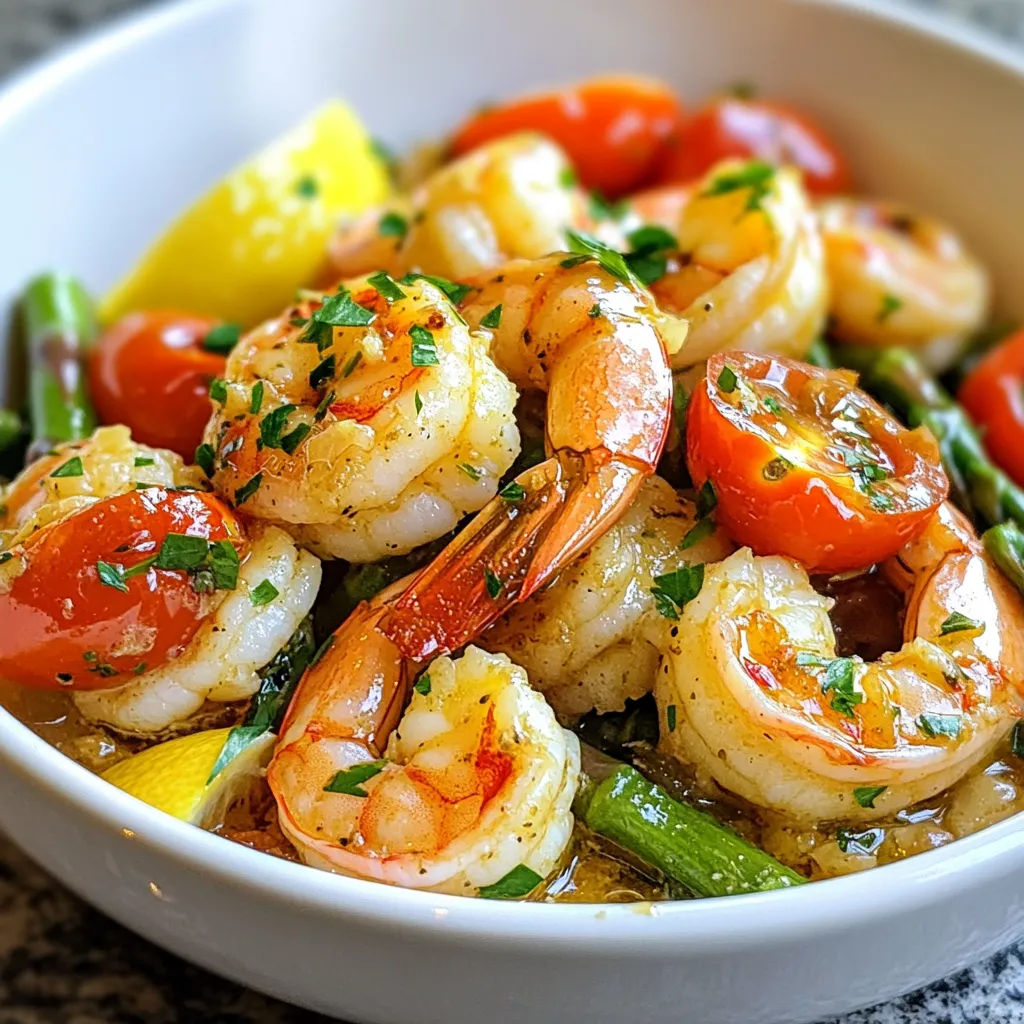
Garlic Butter Shrimp Skillet Quick and Tasty Meal
If you’re craving a quick and tasty meal, then this Garlic Butter Shrimp Skillet is for you! Packed with flavor and easy to make, it
![For my Creamy Parmesan Italian Sausage Ditalini Soup, you will need: - 1 tablespoon extra virgin olive oil - 1 pound Italian sausage (choose mild or spicy, with casings removed) - 1 small onion, finely diced - 2 cloves garlic, minced - 2 medium carrots, diced into small cubes - 2 celery stalks, diced - 4 cups low-sodium chicken broth - 1 can (14.5 oz) diced tomatoes, drained - 1 cup heavy cream - 1 cup ditalini pasta - 1 cup fresh spinach, roughly chopped - 1 cup freshly grated Parmesan cheese - 1 teaspoon dried oregano - 1 teaspoon dried basil - Salt and freshly ground black pepper, to taste - Fresh parsley, chopped, for garnish You can make this soup your own. Here are some optional ingredients: - Red pepper flakes for heat - Fresh herbs like thyme or rosemary - Additional vegetables, such as zucchini or bell peppers - Different pasta shapes, like macaroni or shells I know some folks have special diets. Here are some easy swaps: - For a vegetarian option, use plant-based sausage. - For gluten-free, choose gluten-free pasta or skip it altogether. - For a lighter version, use half-and-half instead of heavy cream. For the full recipe, check out the [Full Recipe]. 1. Gather your ingredients. You need: - 1 tablespoon extra virgin olive oil - 1 pound Italian sausage - 1 small onion - 2 cloves garlic - 2 medium carrots - 2 celery stalks - 4 cups low-sodium chicken broth - 1 can (14.5 oz) diced tomatoes - 1 cup heavy cream - 1 cup ditalini pasta - 1 cup fresh spinach - 1 cup freshly grated Parmesan cheese - 1 teaspoon dried oregano - 1 teaspoon dried basil - Salt and freshly ground black pepper - Fresh parsley for garnish 2. Dice the onion, carrots, and celery into small pieces. Mince the garlic. This helps them cook evenly in the soup. 1. Heat the olive oil in a large pot over medium heat until it shimmers. 2. Add the Italian sausage, breaking it into smaller pieces. Cook it for 5-7 minutes until it's browned all over. 3. Add the diced onion, carrots, and celery to the pot. Sauté for 5 minutes until the veggies soften and the onion turns clear. 4. Stir in the minced garlic and cook for 1 more minute, just until it smells great. 5. Carefully pour in the chicken broth, then add the drained diced tomatoes, oregano, and basil. Stir and bring it to a gentle simmer. 6. Add the ditalini pasta and cook according to the package, usually 8-10 minutes, until it's al dente. 7. Lower the heat a little, then mix in the heavy cream. Stir gently to combine everything. 8. Add the fresh spinach and Parmesan cheese. Stir until the spinach wilts and the cheese melts. Taste and add salt and pepper as needed. 9. Serve the soup hot in bowls. Garnish with fresh parsley and more Parmesan if you like. - Serve with crusty bread for dipping. - A sprinkle of red pepper flakes adds heat. - Pair with a light salad for a complete meal. For the full recipe, refer to the section above. To make your soup super creamy, use heavy cream. It adds richness and depth. Stir it in slowly after cooking the pasta. This keeps the cream from curdling. For extra creaminess, add more Parmesan cheese. The cheese melts and thickens the soup. If you want more flavor, try adding a splash of white wine before the cream. This gives it a nice touch. Choosing the right sausage is key. I recommend Italian sausage for its great taste. You can pick mild or spicy based on your preference. The casing must be removed before cooking. This helps the sausage blend well with the other ingredients. For a twist, try using chicken sausage or turkey sausage. They add a different flavor while keeping it lighter. Cooking time can vary based on your stove and pot size. Always keep an eye on your soup as it cooks. The pasta usually takes about 8-10 minutes to become tender. If you like it softer, cook it a bit longer. When you add the spinach, let it wilt but don’t overcook it. This keeps its bright green color and nutrients. For the best results, taste as you go. Adjust the seasonings if needed to make it just right. For the full recipe, check out the [Full Recipe]. {{image_4}} You can enjoy this soup without meat. To make it vegetarian, swap out the Italian sausage. Use plant-based sausage or mushrooms for a hearty texture. For a vegan version, replace the heavy cream with coconut milk or a nut-based cream. Add extra veggies like zucchini or bell peppers for more flavor. This keeps the soup rich and satisfying. If you want a low-carb meal, skip the ditalini pasta. Instead, use cauliflower rice or zucchini noodles. These options keep the soup light while still adding bulk. You can also add more greens like kale or Swiss chard. They add nutrients and flavor without extra carbs. Want some heat? Choose spicy Italian sausage instead of mild. You can also add red pepper flakes or diced jalapeños for an extra kick. For a smoky flavor, try a dash of smoked paprika. Adjust the spice to your taste, and enjoy a warm and spicy bowl of soup. To keep your Creamy Parmesan Italian Sausage Ditalini Soup fresh, cool it first. Once cool, pour it into an airtight container. This helps keep out air and moisture. Store it in the fridge if you plan to eat it within three days. For longer storage, freezing is best. When you want to enjoy the soup again, reheat it gently. Pour the soup into a pot and warm it over low heat. Stir often to prevent sticking. You can also use the microwave. Heat it in a bowl, stirring every minute, until warm. Add a splash of cream to bring back the creaminess. To freeze your soup, use freezer-safe containers. Leave space at the top for expansion. It can last up to three months in the freezer. When ready to eat, thaw it in the fridge overnight. Reheat as mentioned above. This soup freezes well, so you can enjoy it later. For the full recipe, check the main article. Yes, you can make this soup ahead of time. It tastes even better the next day! Just cool it and store it in the fridge. When ready to eat, reheat it on the stove over low heat. Stir often to keep it smooth. You may want to add a splash of cream if it thickens too much during storage. If you can't find ditalini, use small pasta shapes like elbows or orzo. These shapes hold the soup well and add great texture. You can even use rice if you want a different twist. Just adjust the cooking time based on what you choose. To make this soup gluten-free, swap out ditalini for gluten-free pasta. You can also check that your chicken broth is gluten-free. Most brands are safe, but it’s always best to read the label. This way, you can enjoy the creamy goodness without worry. This post covered key ingredients for a tasty soup, including options for dietary needs. I shared simple steps to make the soup, from prep to serving tips. You learned helpful tricks for the creamiest version and explored various tasty adaptations. I also gave advice on storage and reheating, answering common questions along the way. Remember, cooking is fun and with these tips, you can enjoy a soup that fits your taste. Dive in and create your own delicious bowl!](https://tossedflavors.com/wp-content/uploads/2025/05/45e50d44-ab5f-4d7f-9caf-65a4ebc4296c.webp)
Creamy Parmesan Italian Sausage Ditalini Soup Recipe
Looking for a warm, comforting soup that’s packed with flavor? This Creamy Parmesan Italian Sausage Ditalini Soup is just what you need. With rich ingredients
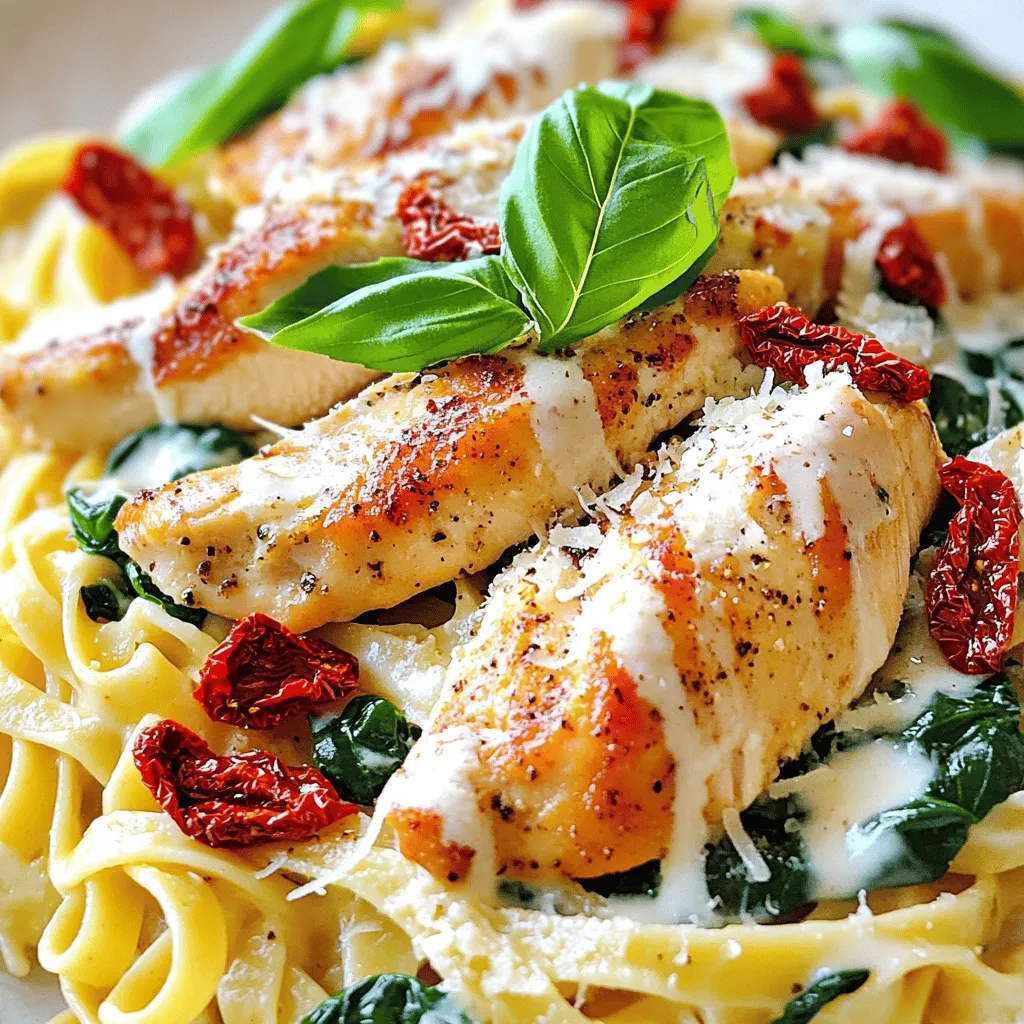
Marry Me Chicken Pasta Delicious and Simple Recipe
Looking for a dish that will impress? Let me introduce you to Marry Me Chicken Pasta. This easy recipe combines tender chicken, rich cream sauce,
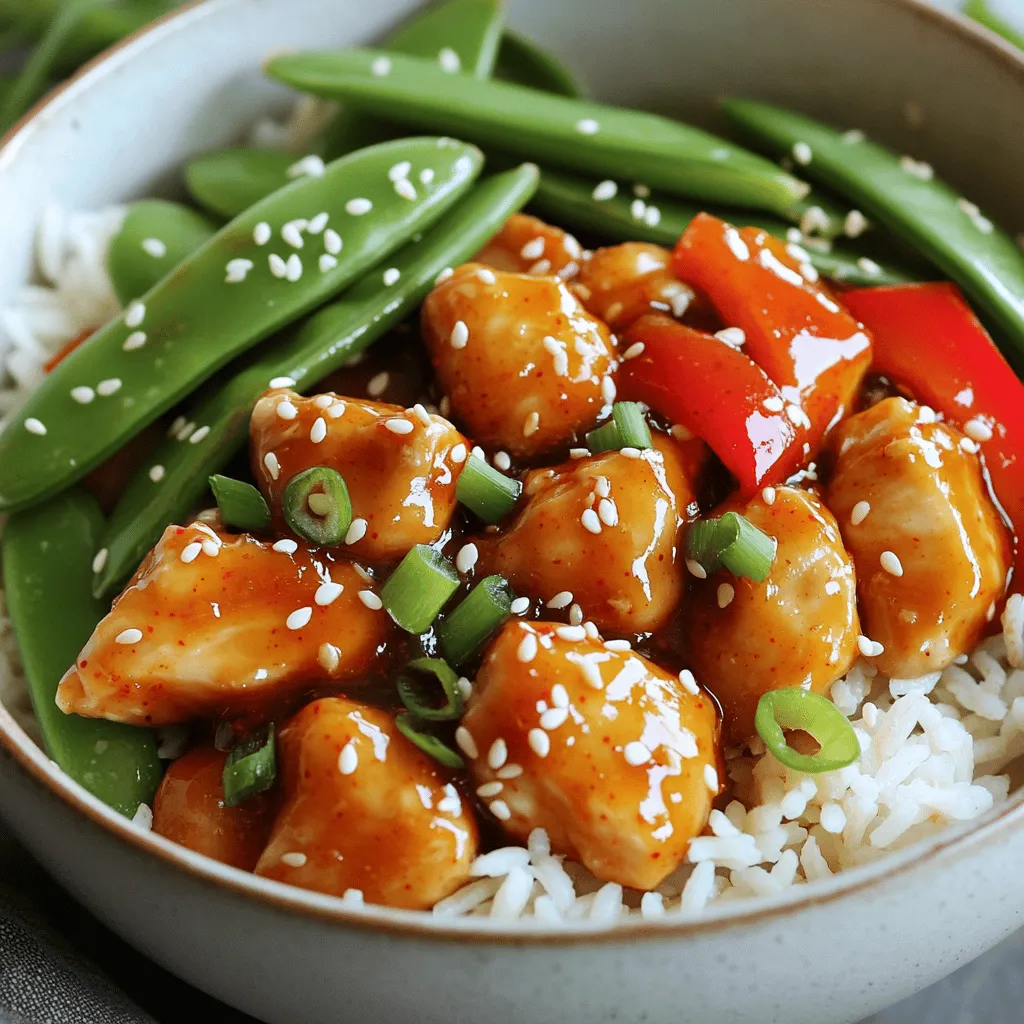
Sweet Chili Chicken Bowl Flavorful and Easy Recipe
Are you ready to spice up your dinner routine? The Sweet Chili Chicken Bowl is flavorful, easy, and perfect for busy nights. With juicy chicken,