Dinner
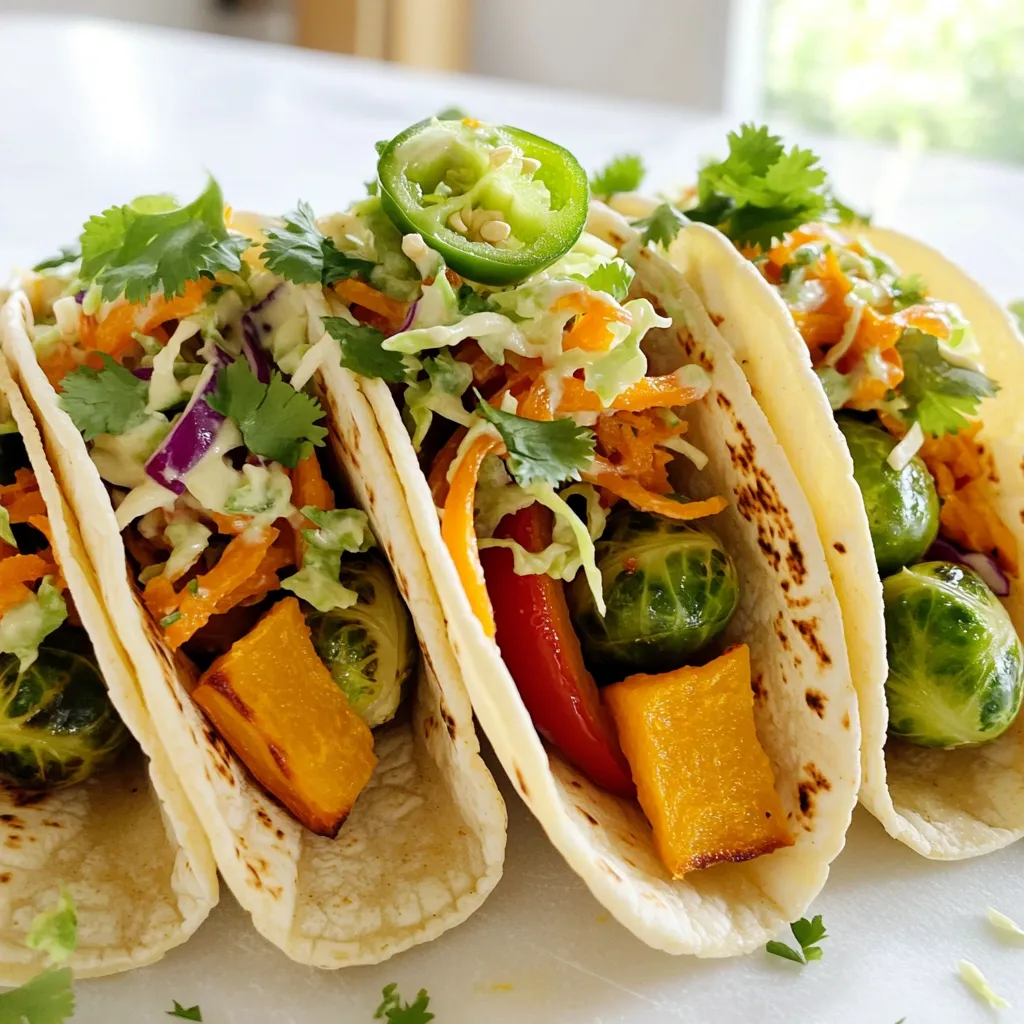
Fall Veggie Tacos with Chili Lime Slaw Delight
Get ready to savor the season with my Fall Veggie Tacos with Chili Lime Slaw Delight! These tacos celebrate rich fall flavors packed with colorful
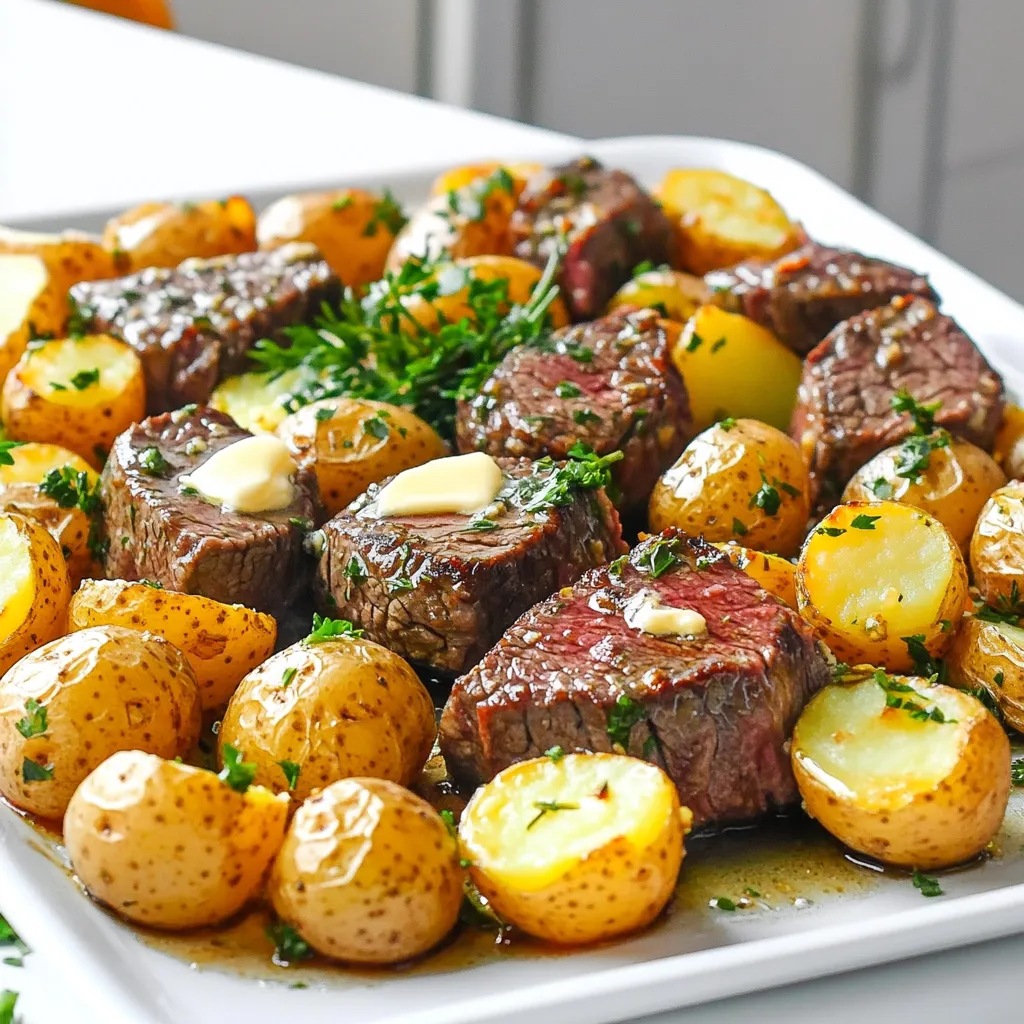
Sheet-Pan Garlic Butter Steak and Potatoes Delight
Get ready to savor a dish that’s a breeze to make and packed with flavor! In this blog post, I’ll show you how to create

Spicy Sesame Noodle Bowls Quick and Flavorful Meal
Looking for a quick and tasty meal? Spicy Sesame Noodle Bowls are your answer. In just a few easy steps, you can enjoy bold flavors
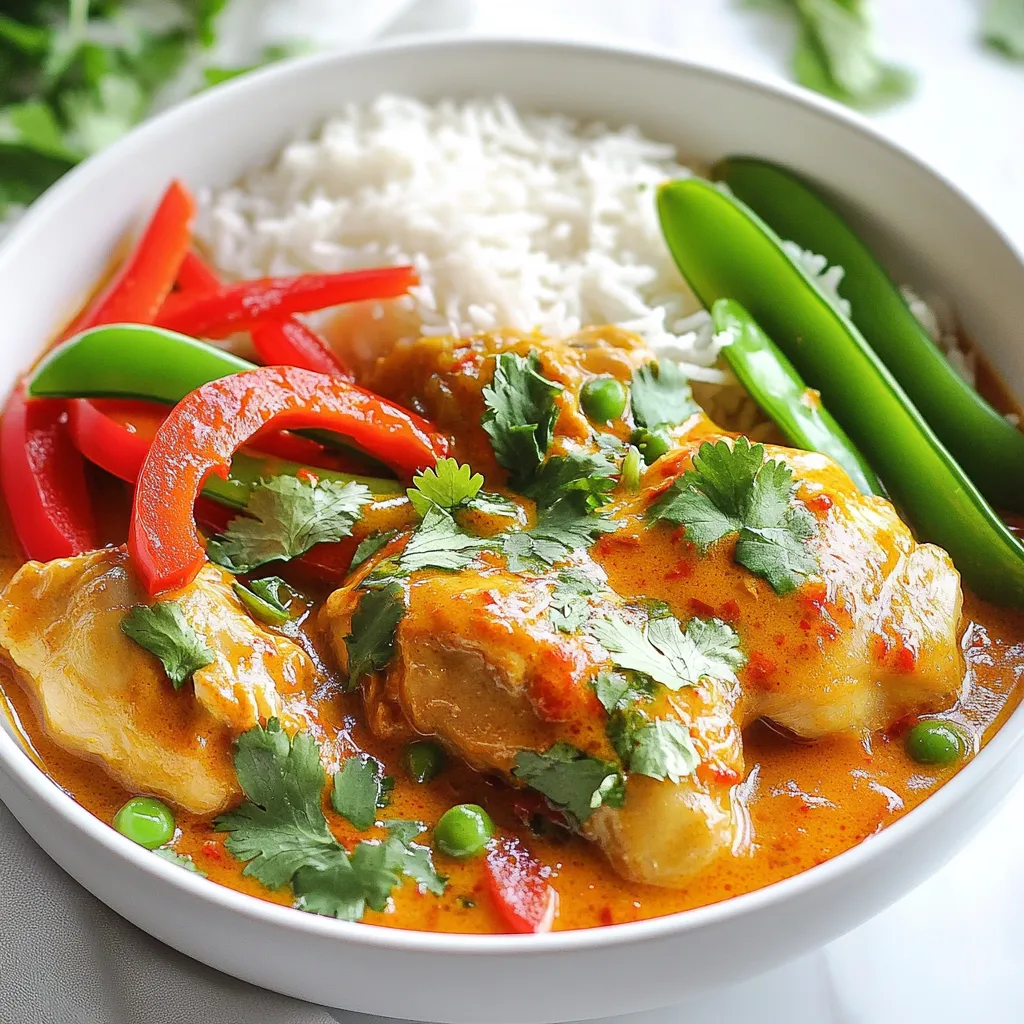
Slow Cooker Thai Coconut Chicken Curry Delightful Dish
Are you ready to transform your dinner routine? Slow Cooker Thai Coconut Chicken Curry is packed with bold flavors and is super easy to make.
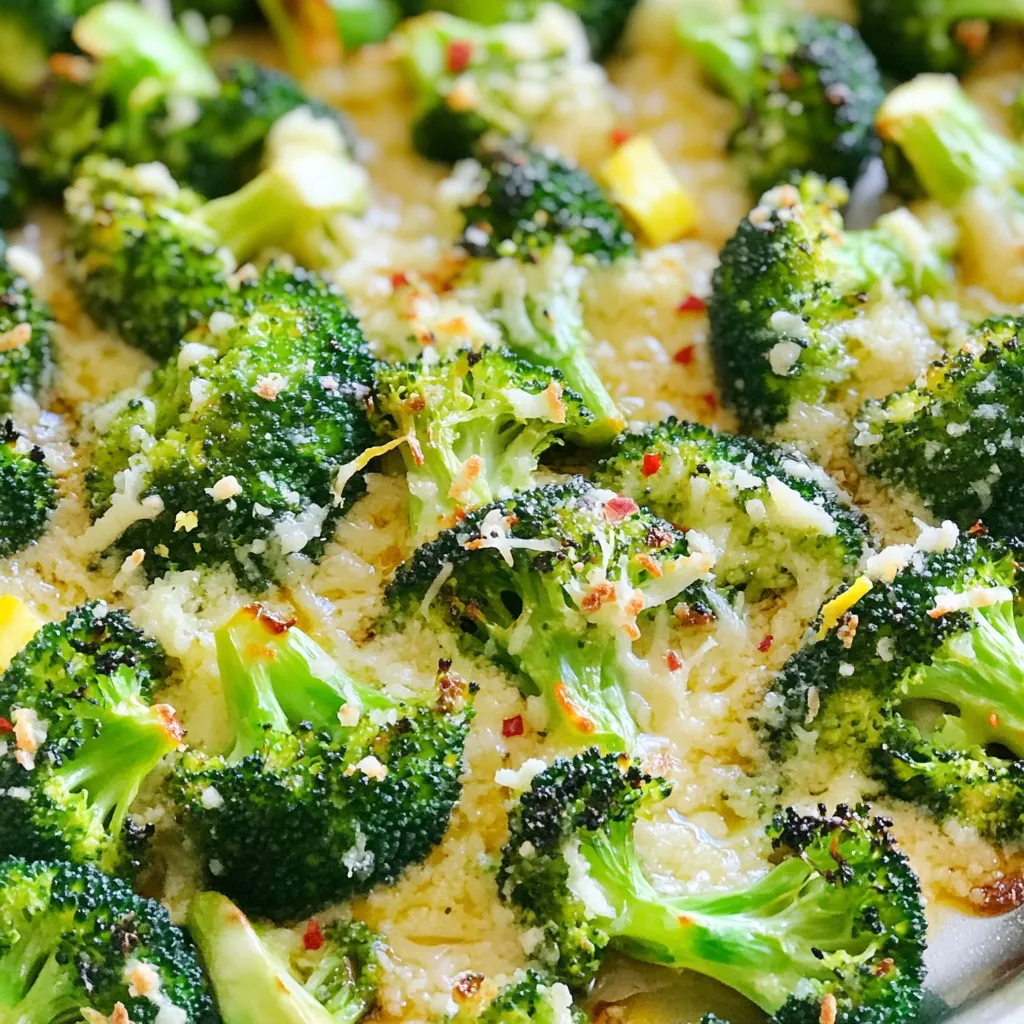
Garlic Parmesan Roasted Broccoli Flavorful Side Dish
Looking for a tasty side dish that’s easy to make? Garlic Parmesan roasted broccoli is your answer! With just a few fresh ingredients, you can
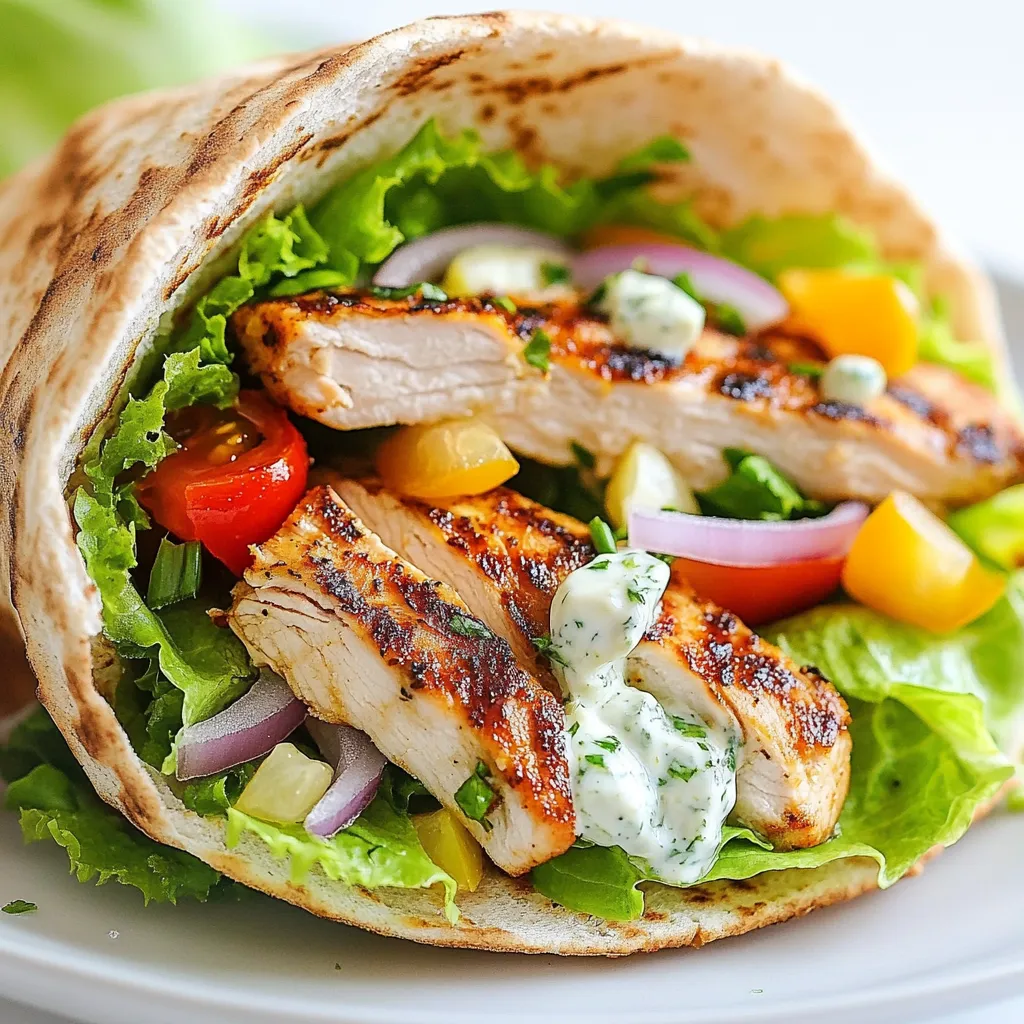
Greek Chicken Pita Pockets Flavorful and Easy Meal
Are you ready to take your dinner game to the next level? These Greek Chicken Pita Pockets are packed with flavor and super easy to

Pesto Chicken Flatbread Savory and Simple Meal
If you’re looking for an easy yet delicious meal, try my Pesto Chicken Flatbread! With just a few simple ingredients, you can create a savory
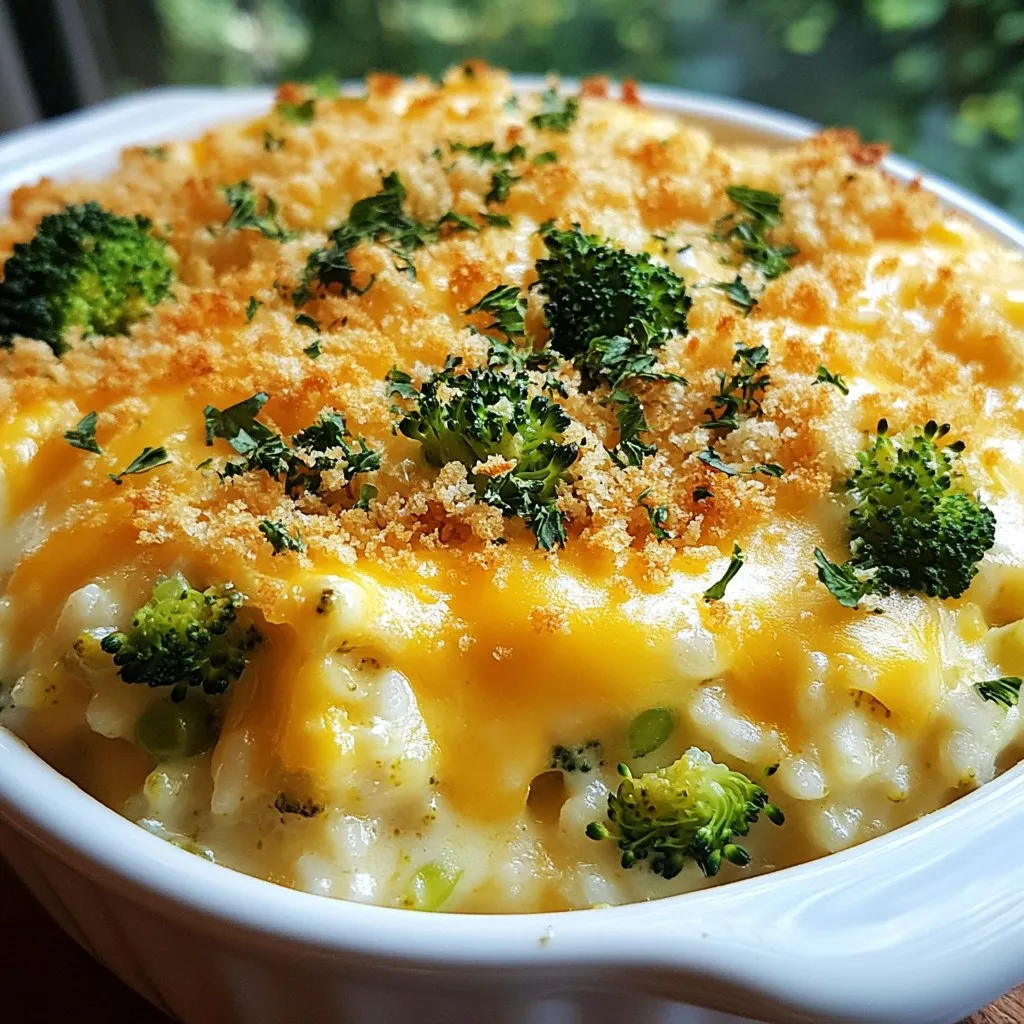
Cheesy Broccoli Rice Casserole Simple and Comforting Dish
If you crave comfort food, look no further than Cheesy Broccoli Rice Casserole. This dish combines creamy cheese, tender broccoli, and hearty rice for a
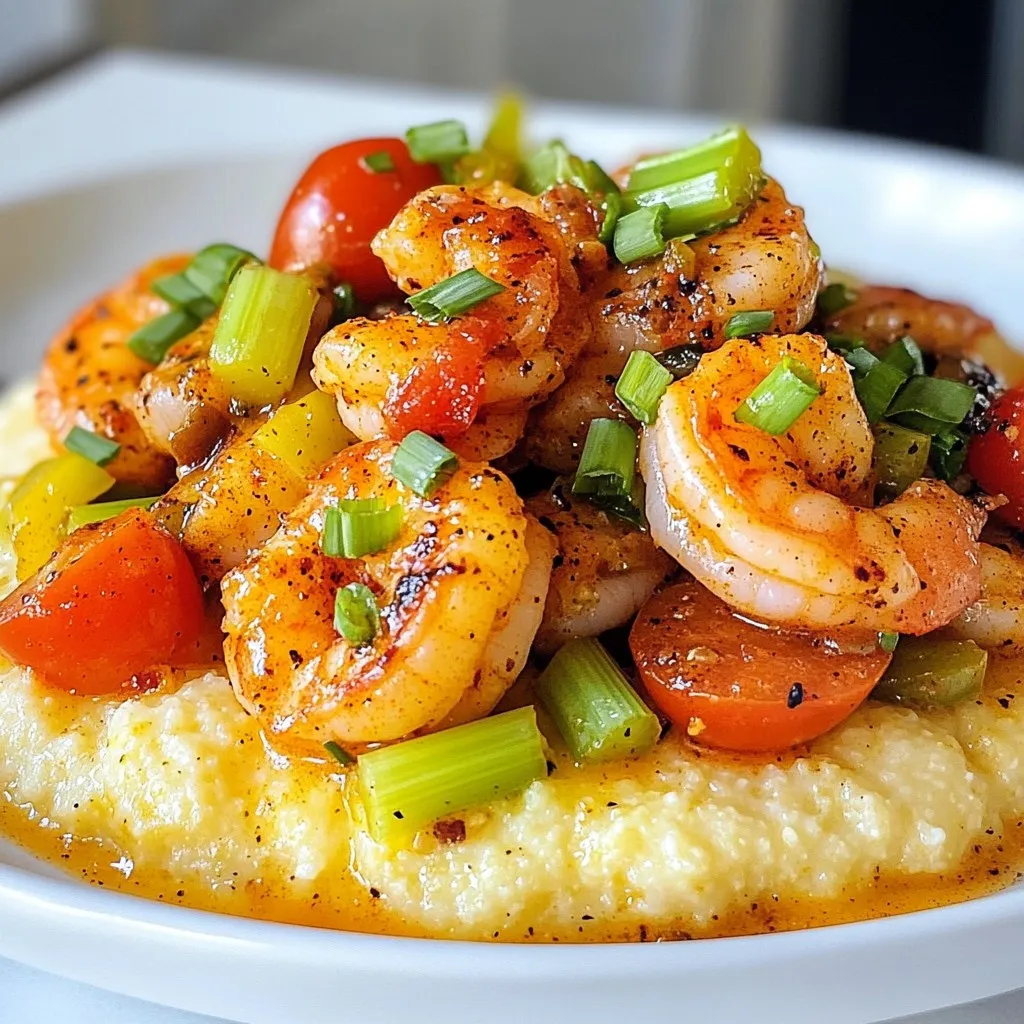
Cajun Shrimp and Grits Flavorful Southern Delight
Are you ready to dive into the rich flavors of Cajun cuisine? This blog post on Cajun Shrimp and Grits: Flavorful Southern Delight will guide
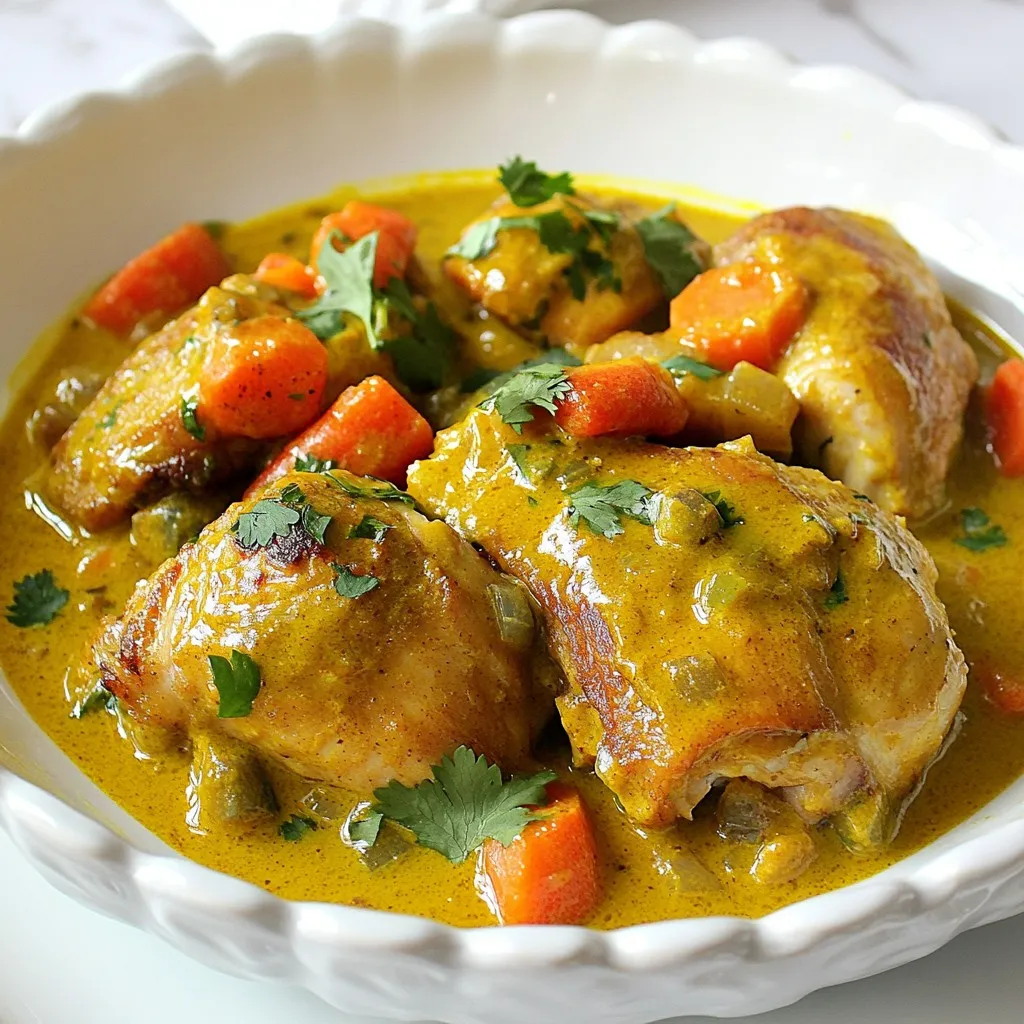
Jamaican Curry Chicken Flavorful Recipe for Home Cook
Are you ready to spice up your dinner routine? Jamaican Curry Chicken is rich in flavor and perfect for home cooks like you. In this