Dinner
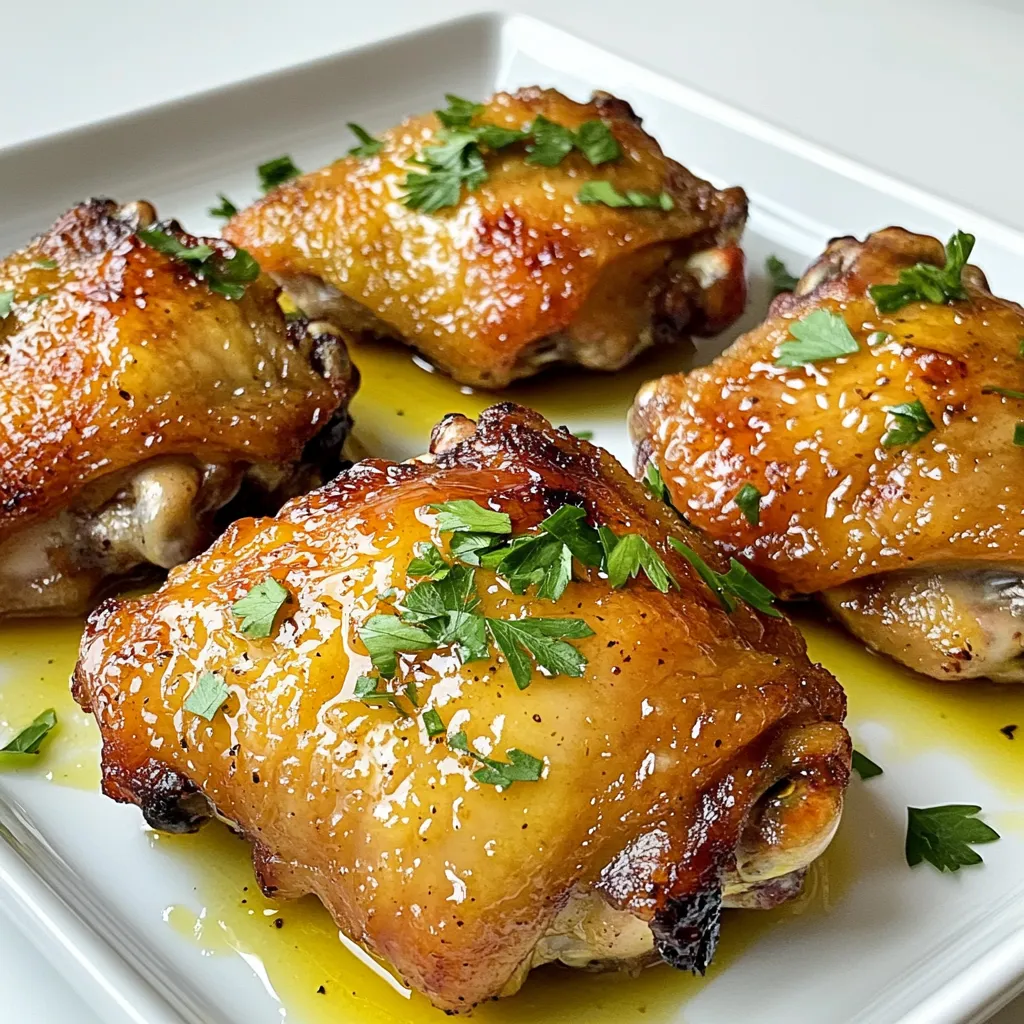
Honey Mustard Chicken Thighs Juicy and Flavorful Dish
Looking for a dish that bursts with flavor and is easy to make? Honey Mustard Chicken Thighs offer juicy meat paired with a sweet and
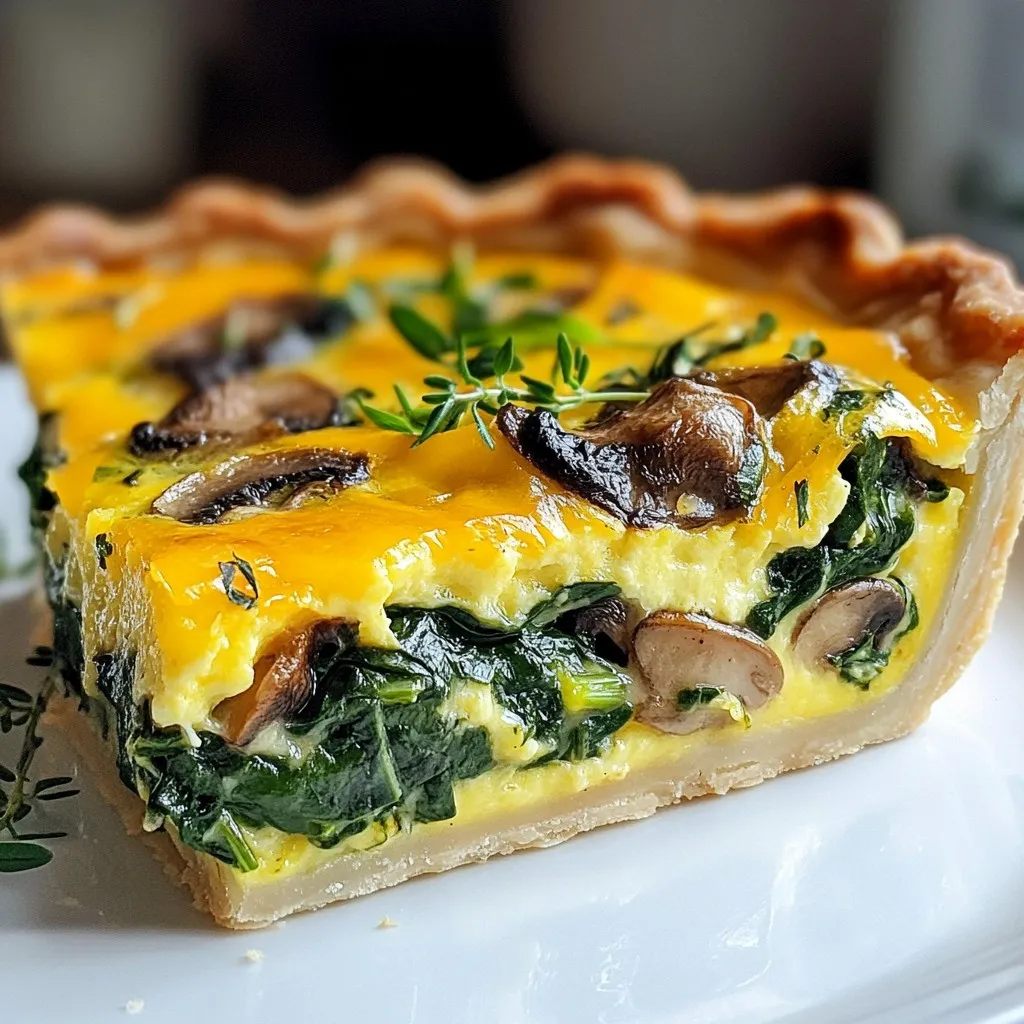
Spinach Mushroom Quiche Flavorful and Simple Recipe
Looking for a simple and tasty dish? This Spinach Mushroom Quiche is perfect for you! Packed with fresh spinach, savory mushrooms, and creamy cheese, it’s

Minute Teriyaki Shrimp Fried Rice Flavorful Delight
Are you ready to whip up a tasty, quick meal? My Minute Teriyaki Shrimp Fried Rice is a flavorful delight that you can make in

Honey Lime Chicken Fajitas Flavorful and Fresh Meal
Are you ready to spice up your dinner routine? Honey Lime Chicken Fajitas bring bright flavors and fresh ingredients to your table. This meal is
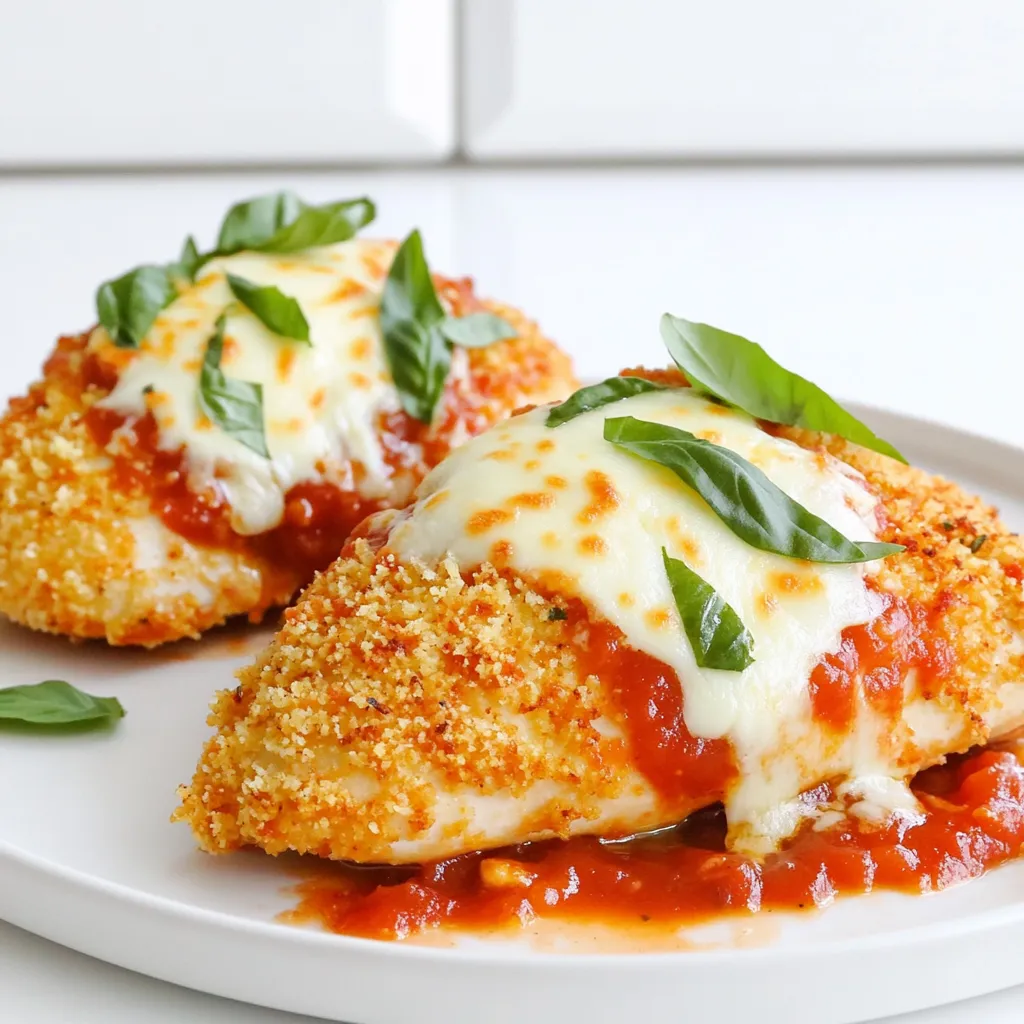
Chicken Parmesan Air Fryer Crispy Delight Recipe
Are you ready to take your Chicken Parmesan to the next level? This Chicken Parmesan Air Fryer Crispy Delight Recipe offers that perfect crunch with
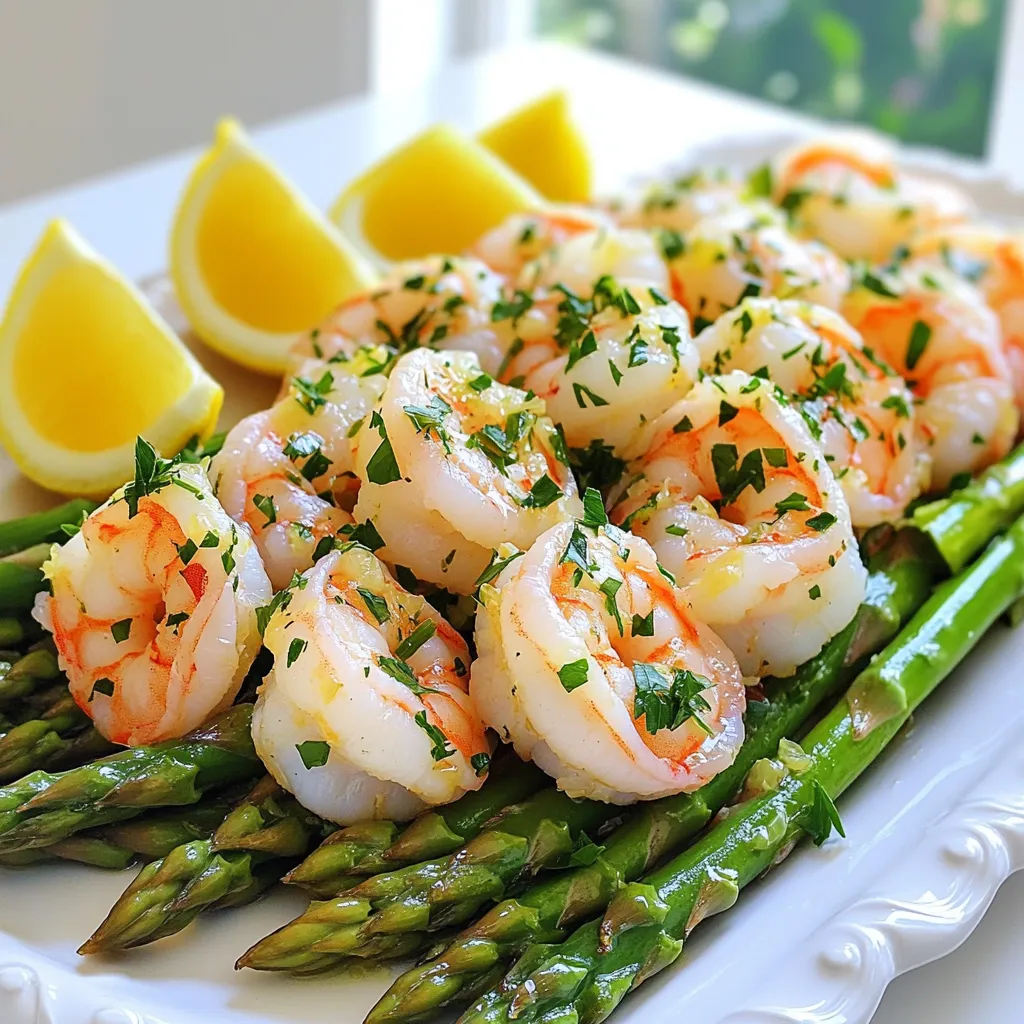
Lemon Garlic Shrimp & Asparagus Sheet Pan Delight
Are you looking for a quick and tasty meal? This Lemon Garlic Shrimp & Asparagus Sheet Pan Delight is just what you need! With simple
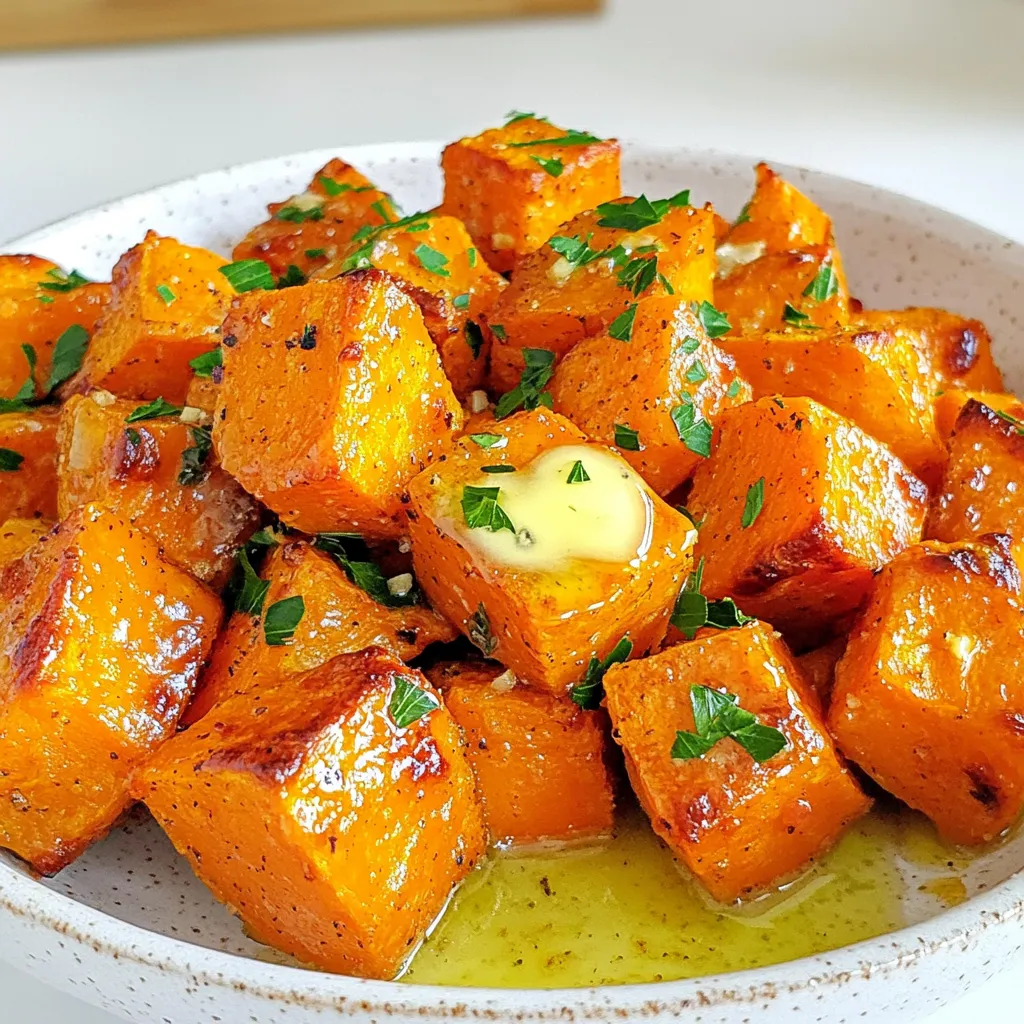
Garlic Butter Roasted Sweet Potatoes Flavorful Delight
If you’re craving a sweet and savory dish, these Garlic Butter Roasted Sweet Potatoes are for you. With just a few simple ingredients, you can
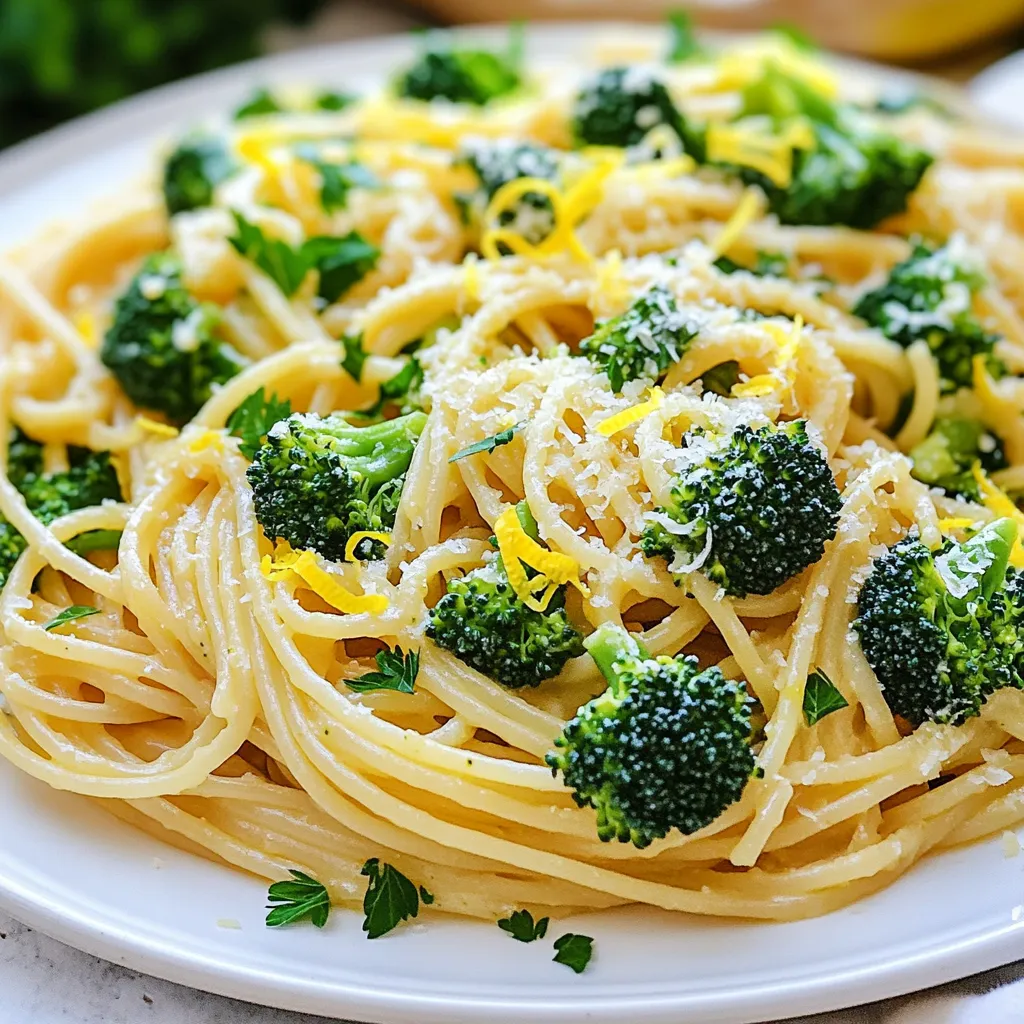
Lemon Garlic Broccoli Pasta Easy and Flavorful Meal
Are you ready to enjoy a delicious and easy meal? Lemon Garlic Broccoli Pasta is the perfect choice! This dish combines the fresh flavors of
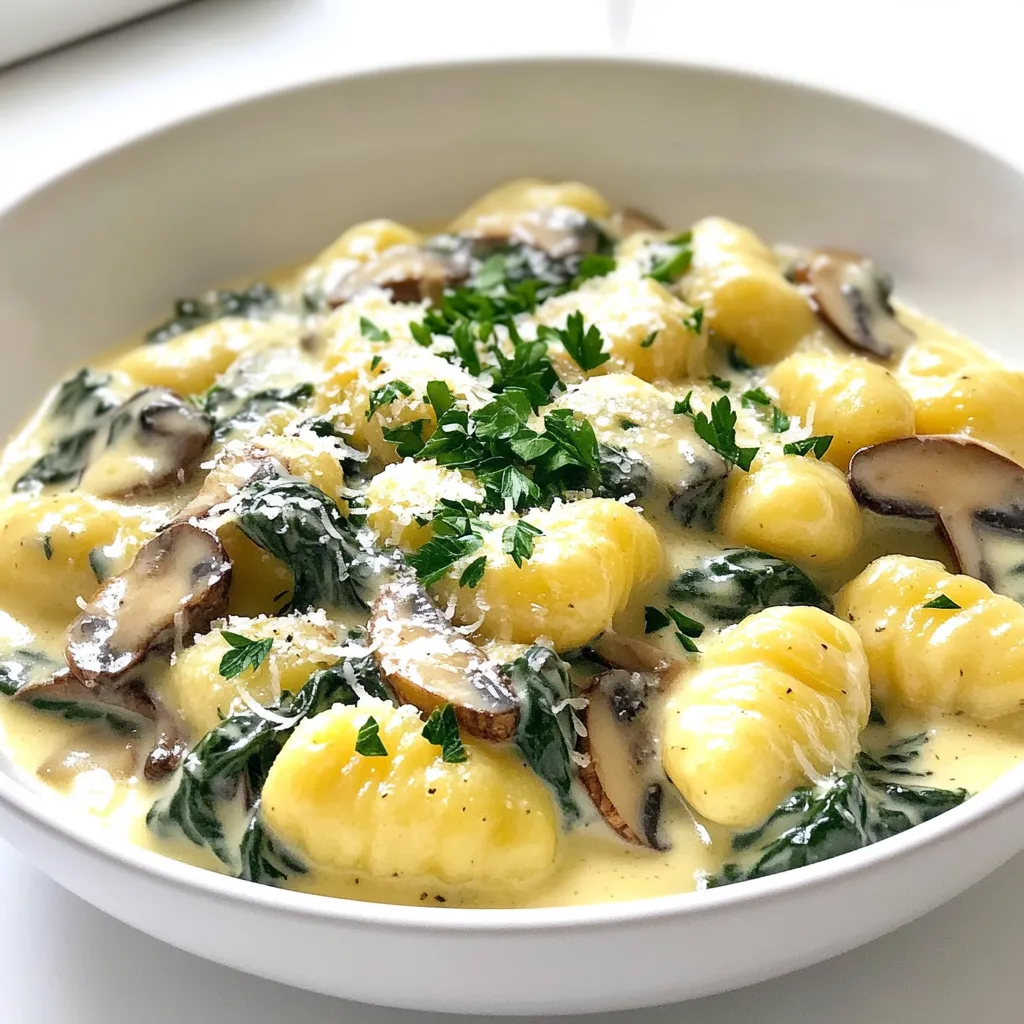
Creamy Spinach Mushroom Gnocchi Delicious Dinner Idea
Looking for a quick, tasty dinner idea? Creamy Spinach Mushroom Gnocchi checks all the boxes! This dish combines soft potato gnocchi with fresh spinach, savory

Garlic Herb Chicken and Brussels Sprouts Sheet Pan Delight
Are you ready to elevate your weeknight dinners? This Garlic Herb Chicken and Brussels Sprouts Sheet Pan Delight is easy, tasty, and healthy! In just