Dinner
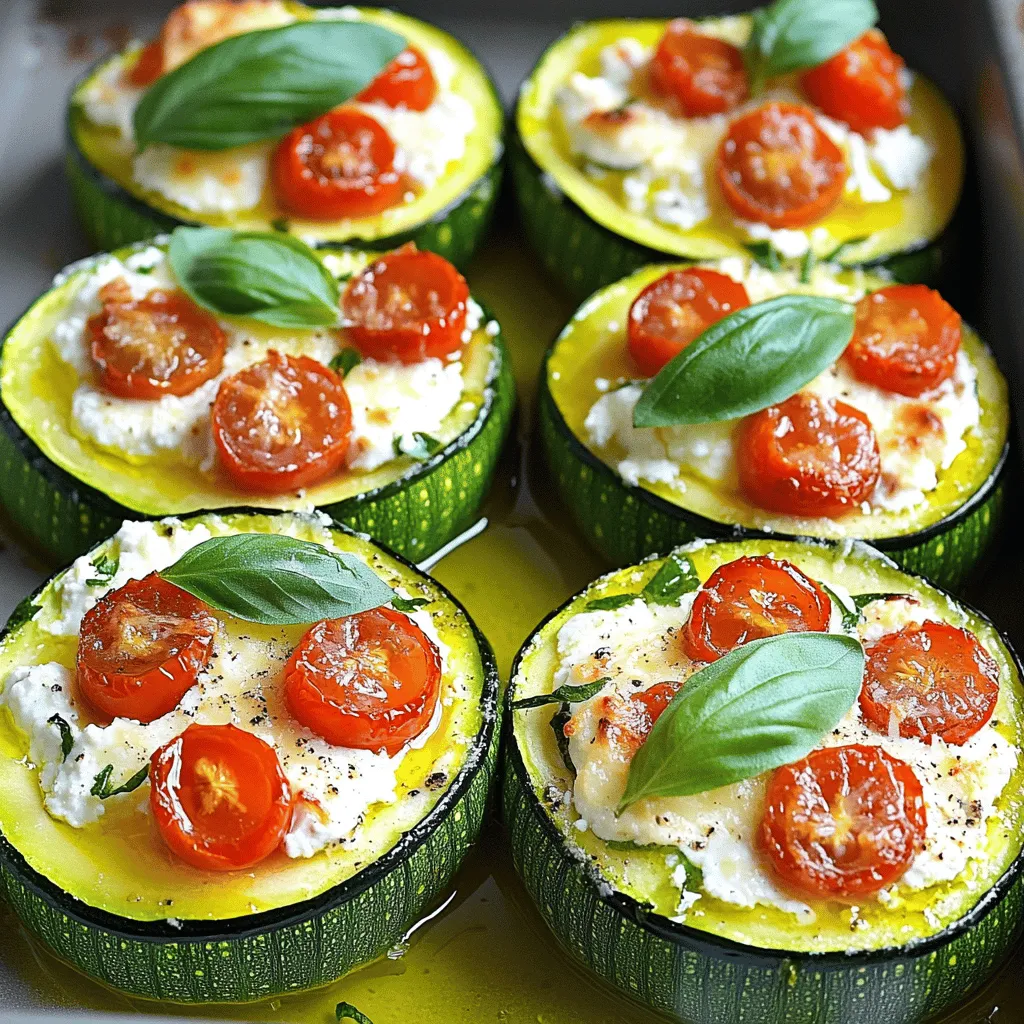
Low-Carb Ricotta-Stuffed Zucchini Easy Dinner Delight
Looking for a quick and healthy dinner? Try my Low-Carb Ricotta-Stuffed Zucchini! This dish combines fresh zucchini with creamy ricotta and savory herbs for a
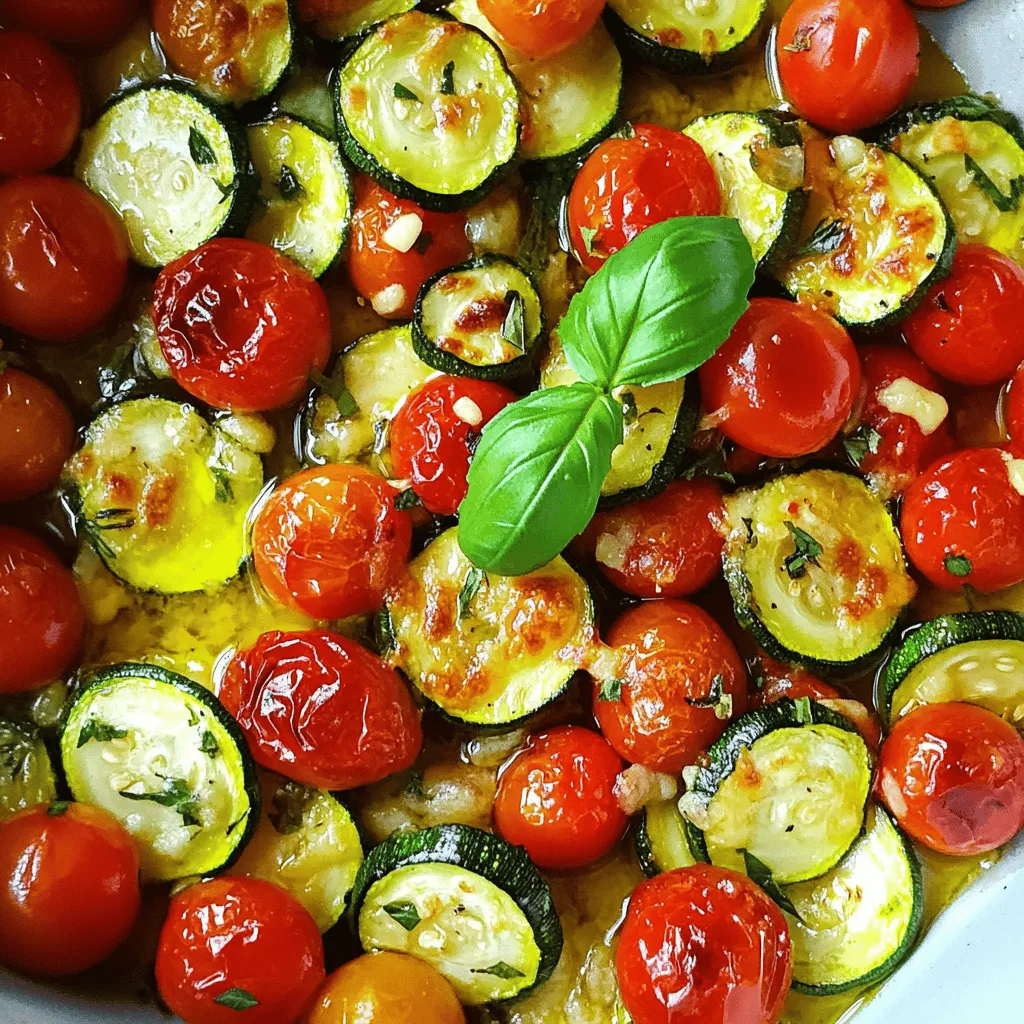
Roasted Parmesan Zucchini and Tomatoes Flavor Boost
Are you ready to elevate your veggie game? In this blog, I’ll show you how to make Roasted Parmesan Zucchini and Tomatoes that bursts with

Crispy Parmesan Chicken Simple and Flavorful Meal
Looking for a meal that’s both crispy and full of flavor? You’ve found it! My Crispy Parmesan Chicken is quick to make and delicious to
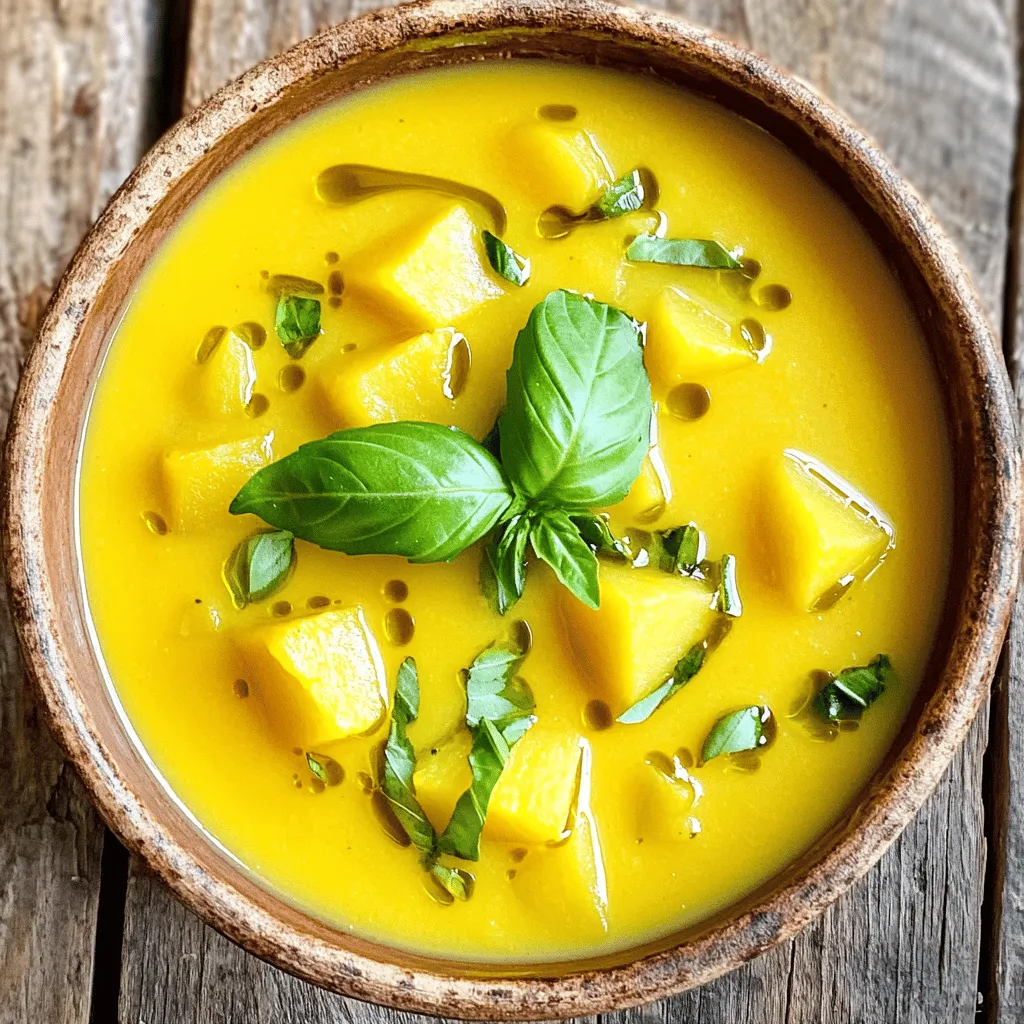
Creamy Yellow Squash Soup Velvety and Nourishing Dish
Are you ready to indulge in a bowl of creamy goodness? This Creamy Yellow Squash Soup is velvety and nourishing, perfect for cozy days or
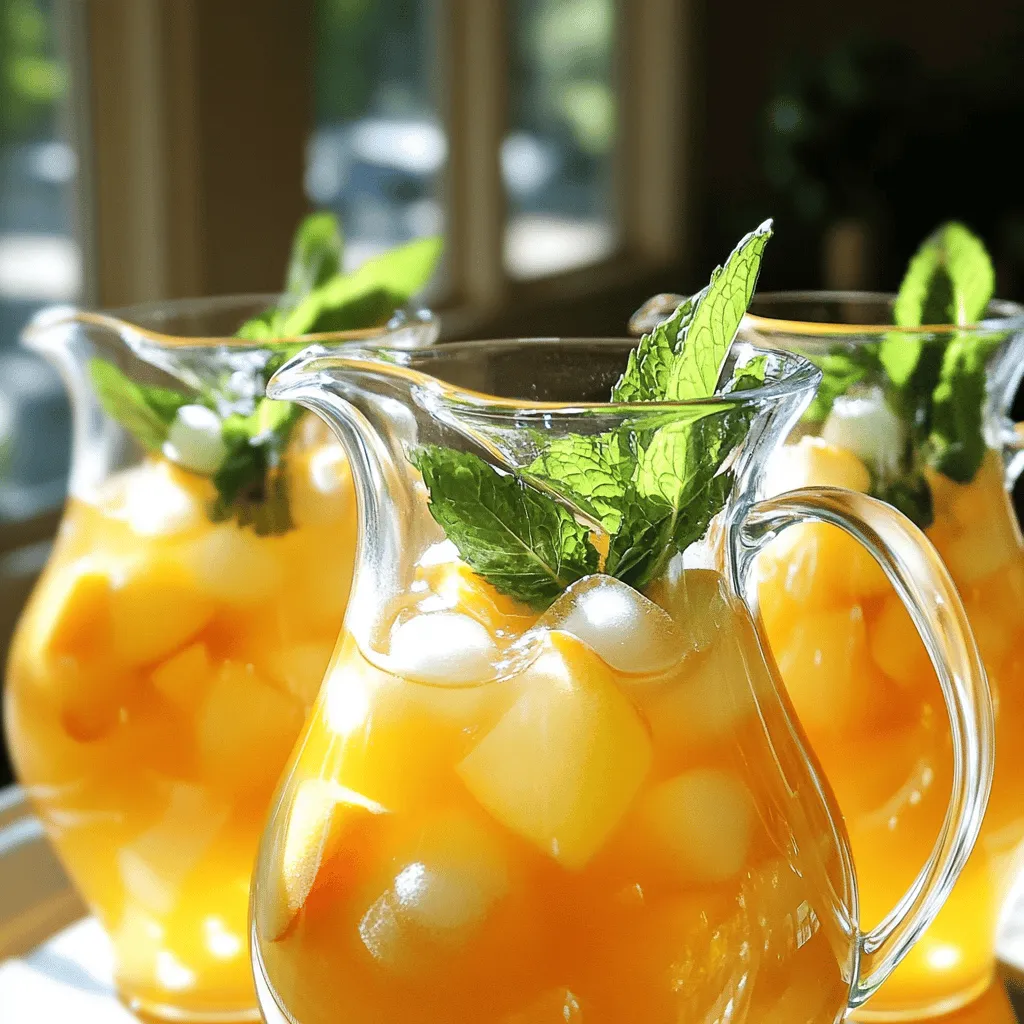
Easy Peach Tea Refreshing and Simple Recipe Guide
Are you ready to sip on something refreshing this summer? This Easy Peach Tea recipe is your go-to! With just four ripe peaches and a
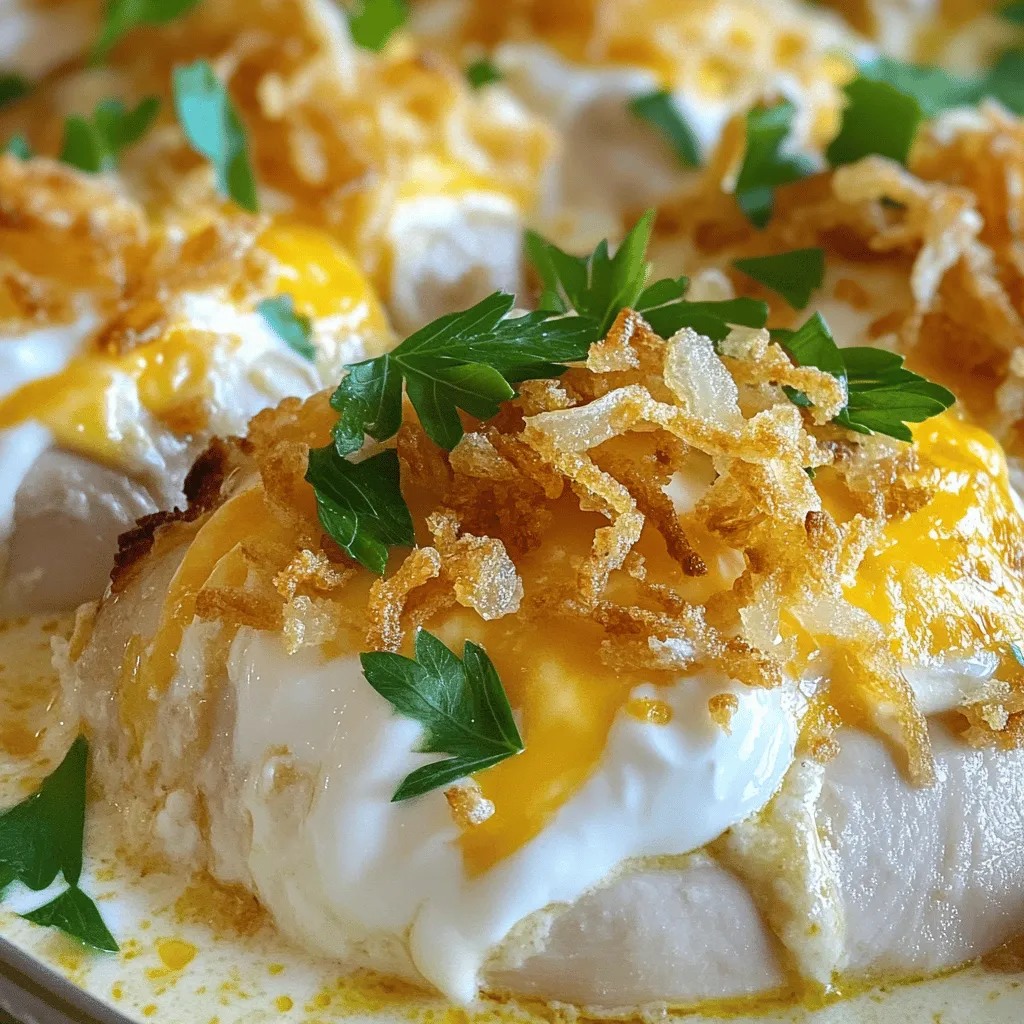
Million Dollar Chicken Bake Simple and Tasty Delight
Are you ready to impress your family with a dish that tastes like a million bucks? The Million Dollar Chicken Bake is simple yet bursting
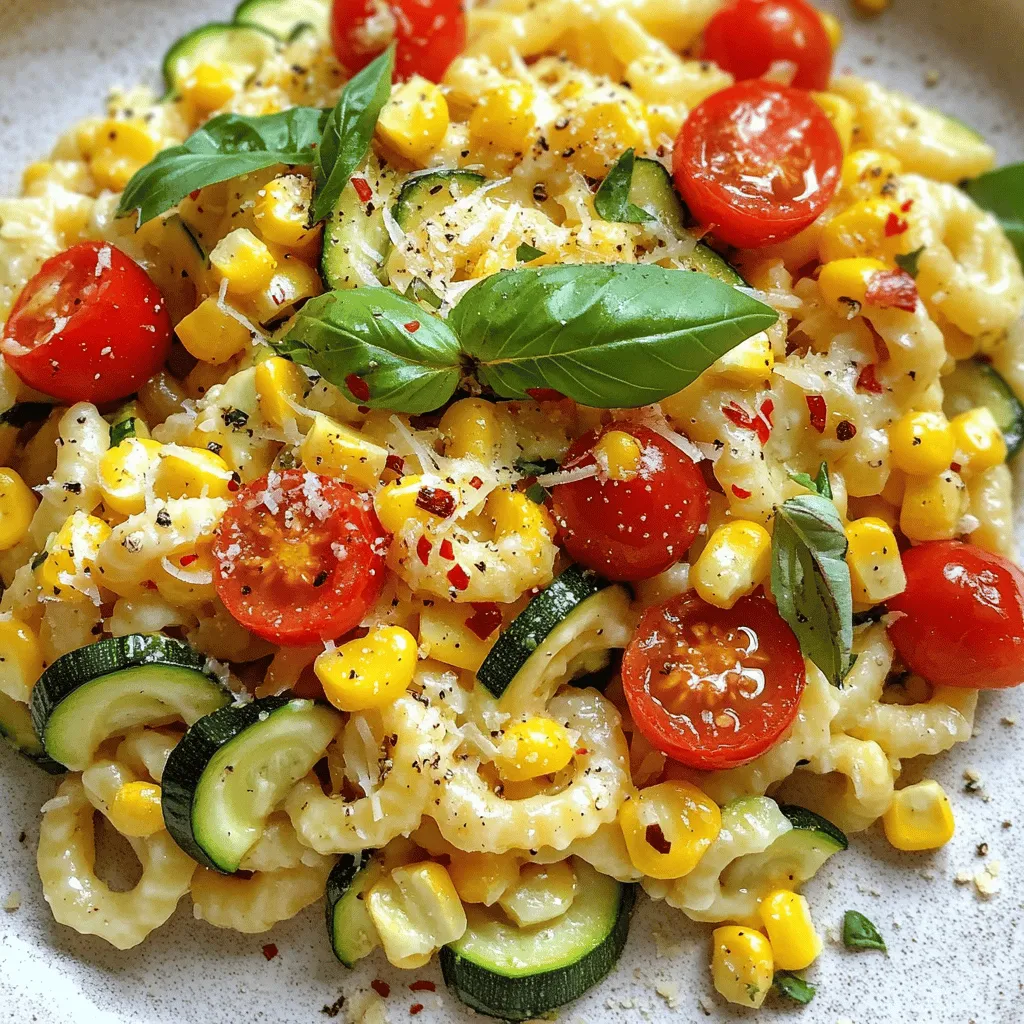
Summer Cavatelli with Corn, Tomatoes, and Zucchini Delight
Looking for a fresh and vibrant dish for summer? Dive into my recipe for Summer Cavatelli with Corn, Tomatoes, and Zucchini Delight! This colorful pasta
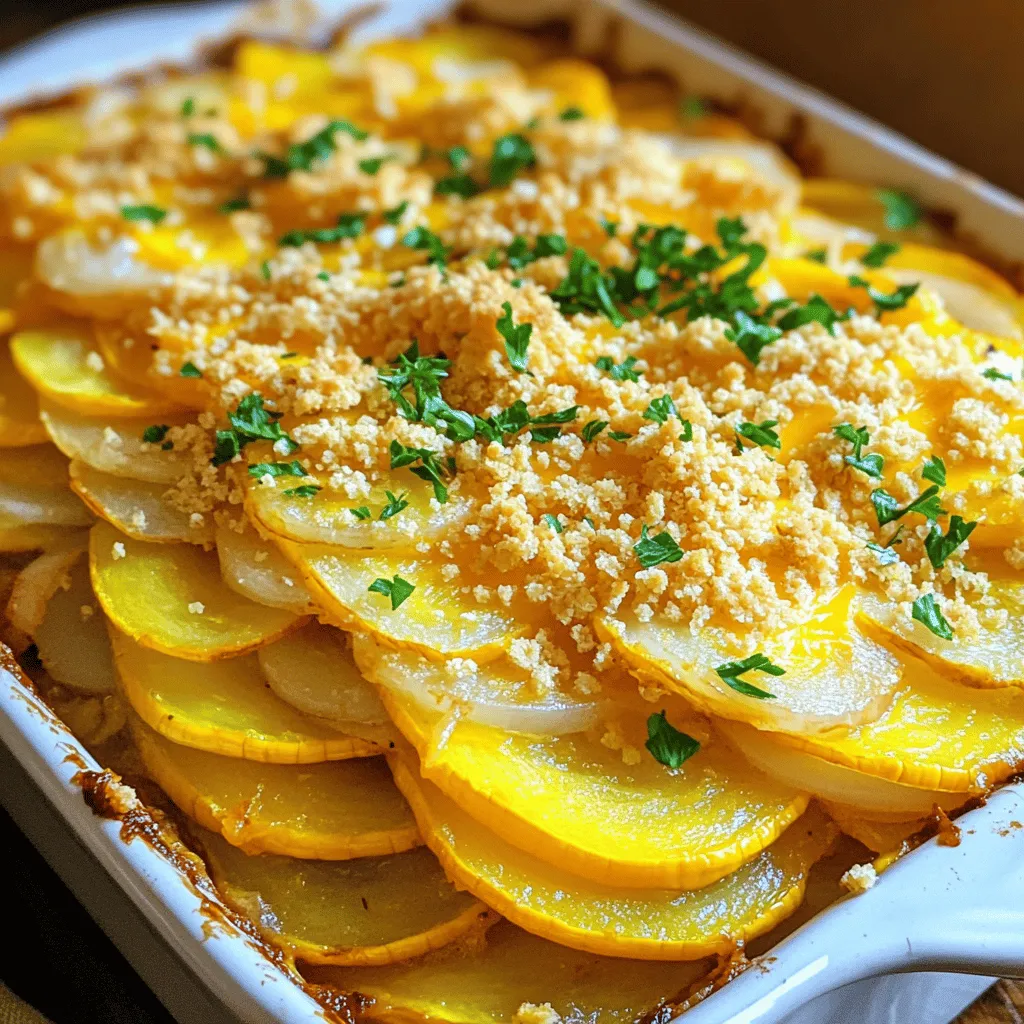
Kentucky Squash Casserole Simple and Tasty Recipe
Looking for a simple and tasty dish that showcases the best of summer squash? You’re in the right place! This Kentucky Squash Casserole recipe combines
![- Zucchini and Yellow Squash I love using zucchini and yellow squash in this dish. They add a nice texture. Their mild flavor lets the other ingredients shine through. - Diced Bell Peppers and Onions Diced bell peppers bring color and crunch. I use red, green, or yellow for a vibrant look. The onions add sweetness and depth to the mix. - Cheeses and Eggs The cheese melts beautifully, creating a creamy taste. I often use cheddar for its sharp flavor. Eggs bind the casserole, making it rich and filling. - Ground Cumin and Smoked Paprika Ground cumin gives warmth to the dish. Smoked paprika adds a hint of smokiness. These spices make the casserole pop with flavor. - Chili Powder, Salt, and Pepper Chili powder brings heat, but you can adjust it. Salt enhances all the flavors. Black pepper adds a nice kick that complements the dish. - Fresh Cilantro or Parsley Fresh herbs add color and brightness. I like cilantro for its bold taste, but parsley works too. It makes the dish look fresh and inviting. - Additional Cheese for Topping Topping the casserole with more cheese creates a bubbly crust. It adds extra flavor and richness. You can never have too much cheese! For the full recipe, check out the detailed instructions. 1. Preheat Oven and Prepare the Skillet Start by preheating your oven to 375°F (190°C). This ensures a nice bake. While your oven heats, grab a large skillet and add a splash of olive oil. 2. Sauté Onions and Garlic Heat the skillet over medium heat. Add the finely diced onion and minced garlic. Sauté for about 3-4 minutes. You want the onions to turn clear and fragrant. 3. Add Bell Peppers and Squash Next, toss in the diced bell peppers. Cook for an additional 2-3 minutes. Stir occasionally until they soften. Then, add in the sliced zucchinis and yellow squash. Cook for about 5-6 minutes until they are just tender but still colorful. 4. Mix Eggs and Cream with Seasonings In a large bowl, whisk together the eggs and heavy cream. Ensure they mix well. Then, add the diced tomatoes, ground cumin, smoked paprika, chili powder, salt, and black pepper. Mix thoroughly for even seasoning. 5. Transfer to Casserole Dish and Top with Cheese Gently fold the sautéed veggies into the egg mixture. Add half of the shredded cheddar cheese, mixing well. Now, transfer this mixture into a greased 9x13 inch casserole dish. Spread it evenly. Top with the remaining shredded cheese for a cheesy crust. 6. Determine Baking Time and Temperature Place the casserole in the oven. Bake for 25-30 minutes. Look for the cheese to bubble and turn golden brown. This means your dish is ready to enjoy! For the full recipe and more details, check the [Full Recipe]. To get the best texture in your casserole, avoid overcooking your veggies. Cook them just until they are tender but still firm. This keeps their color bright and their taste fresh. For cheese, I recommend using a mix of cheddar and Monterey Jack. Cheddar gives a strong flavor, while Monterey Jack adds creaminess. Mixing these will make your dish rich and tasty. You can boost flavor by adding spices and fresh herbs. Try using cumin and smoked paprika for warmth. Fresh cilantro or parsley adds a nice touch, too. If you prefer more heat, adjust the chili powder to fit your taste. Start with one teaspoon, then add more if you want extra spice. When serving, consider offering individual portions. This makes it easy for guests to enjoy. Garnish with fresh herbs, and maybe add a dollop of sour cream or avocado. For a pretty look, arrange the casserole with a sprinkle of additional cheese on top. This can create an inviting golden crust that draws people in. {{image_4}} Gluten-Free Options This Tex-Mex Keto squash casserole is naturally gluten-free. Use fresh ingredients and avoid any processed sauces that may contain gluten. Check labels when buying cheese or other packaged items. Dairy-Free Alternatives For a dairy-free option, swap the cheese and cream. Use almond milk or coconut milk instead of heavy cream. Nutritional yeast can add a cheesy flavor. Vegan cheese works well, too. Other Vegetables to Include Feel free to mix in other vegetables. Spinach, mushrooms, or cauliflower can add great flavor and nutrients. Just chop them small so they cook evenly. Using Different Cheeses You can experiment with different cheeses. Monterey Jack or pepper jack adds a nice kick. Cream cheese can add a creamy texture. Try a blend for extra flavor. Incorporating Different Spices Add more spices to make it your own. Cumin and coriander can enhance the flavor. A pinch of cayenne pepper adds heat for spice lovers. Adding Protein Options For more protein, add cooked ground beef or turkey. Shredded chicken is also a great choice. This makes the dish heartier and more filling. You can explore more options and find the Full Recipe for detailed steps on making this delicious dish. Enjoy experimenting with your Tex-Mex Keto squash casserole! To store your Tex-Mex Keto Squash Casserole, let it cool first. Use an airtight container. Place it in the fridge within two hours of cooking. This keeps it fresh and safe. - How Long Can It Last? In the fridge, the casserole lasts about 3 to 5 days. Always check for any signs of spoilage before eating. If it looks or smells off, throw it away. You can freeze the casserole for later. Cut it into portions for easy use. Wrap each piece tightly in plastic wrap. Then, place them in a freezer bag. - Tips for Freezing and Reheating Make sure to label your bags. Note the date and contents. When you want to eat it, take it out of the freezer. Let it thaw in the fridge overnight for best results. - Best Practices for Maintaining Flavor To keep flavors fresh, avoid freezing with toppings. You can add fresh cheese when you reheat it. When it's time to enjoy your casserole, you have options. You can use the oven or the microwave. - Oven vs. Microwave For the oven, preheat it to 350°F (175°C). Put the casserole in for about 20 to 25 minutes. This method keeps the texture nice and firm. If using the microwave, heat it in bursts of one to two minutes. Stir in between to warm it evenly. - Maintaining Texture and Flavor If you use the microwave, cover it lightly with a paper towel. This helps keep moisture in. If using the oven, you can cover it with foil to avoid drying out. Enjoy your tasty meal again! You can easily make this casserole vegetarian. Just leave out the eggs and cream. For a vegan option, use plant-based alternatives. Replace the heavy cream with coconut milk or cashew cream. Use a vegan cheese that melts well. You can also add more veggies, like mushrooms or spinach, for added flavor and texture. Yes, using pre-cooked ingredients can save time. You can find pre-cooked squash or bell peppers in stores. Just make sure they are not overly soft. If you use canned tomatoes, drain them well to avoid excess moisture. Adjust your cooking time, as pre-cooked items may need less time in the oven. Pair this casserole with a simple salad for freshness. A side of avocado slices adds creaminess. You can also serve it with a dollop of sour cream or guacamole. For drinks, try a light beer or a refreshing iced tea. These sides enhance the Tex-Mex flavors and make for a complete meal. You can find the Full Recipe with detailed instructions and tips online. This blog post shared a simple recipe for a delicious Tex-Mex keto squash casserole. We covered the main ingredients like zucchini, bell peppers, and cheeses. I provided step-by-step cooking tips to help you get the best texture and flavor. You can customize this dish with different vegetables or spices to fit your taste. Remember, proper storage is key for leftovers. With these insights, you can make a tasty and satisfying meal at home. Enjoy creating your own version of this comforting dish!](https://tossedflavors.com/wp-content/uploads/2025/07/038efa6f-755a-4418-9e18-023a0de765b2.webp)
Tex-Mex Keto Squash Casserole Flavorful and Simple
Are you ready to enjoy a tasty meal that fits your keto diet? This Tex-Mex Keto Squash Casserole is packed with flavor and easy to
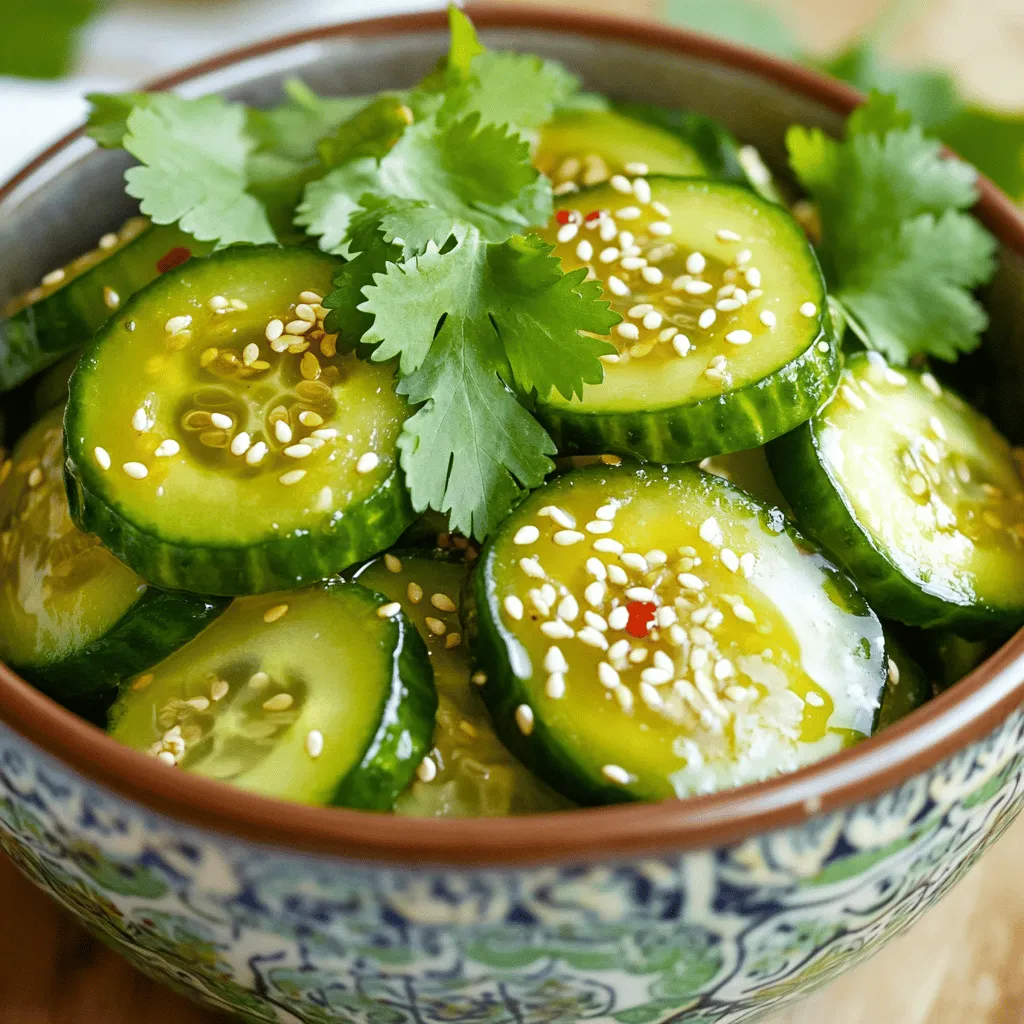
Savory Asian Pickled Cucumbers Quick and Easy Recipe
Are you ready to elevate your meals with a burst of flavor? This quick and easy recipe for savory Asian pickled cucumbers will do just