Desserts
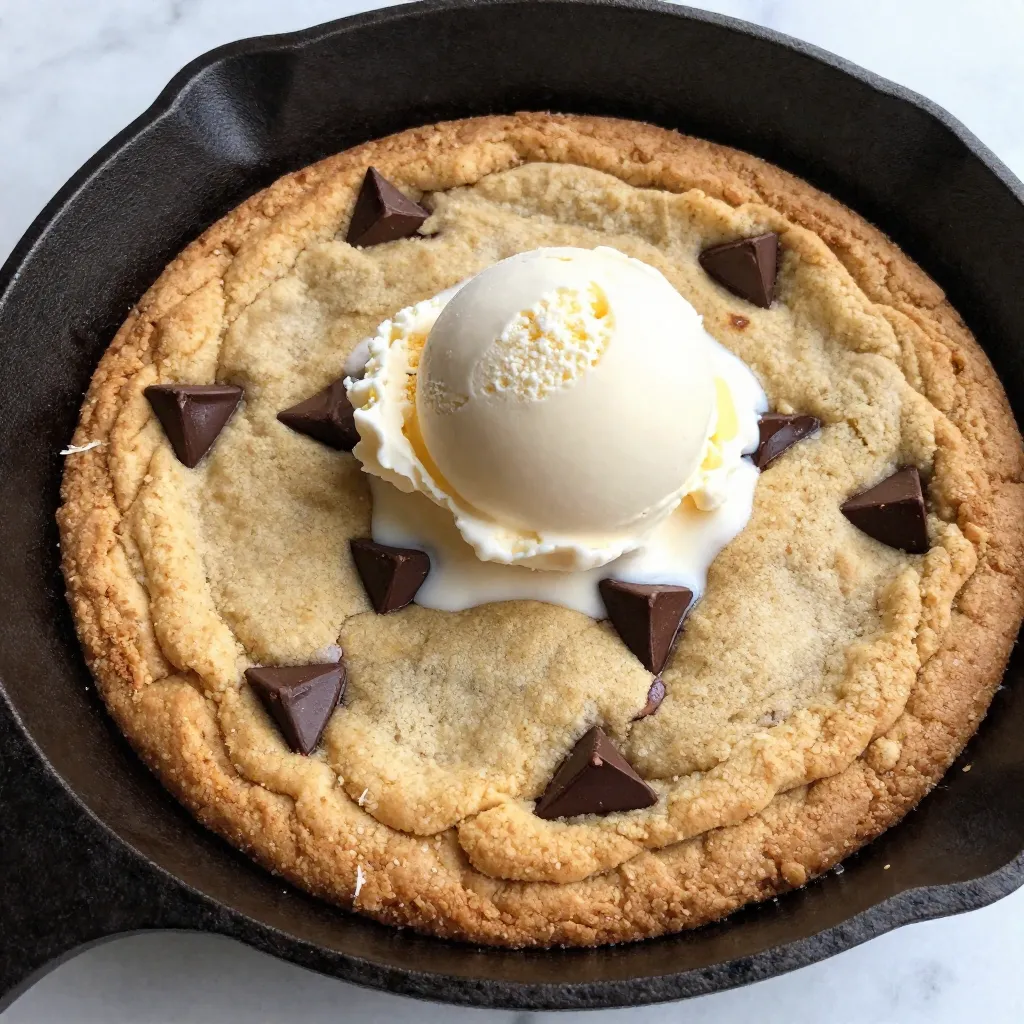
Chocolate Chip Cookie Skillet Delightfully Gooey Treat
Craving a sweet, gooey treat that warms your heart? Let me introduce you to the Chocolate Chip Cookie Skillet! This easy dessert combines all your
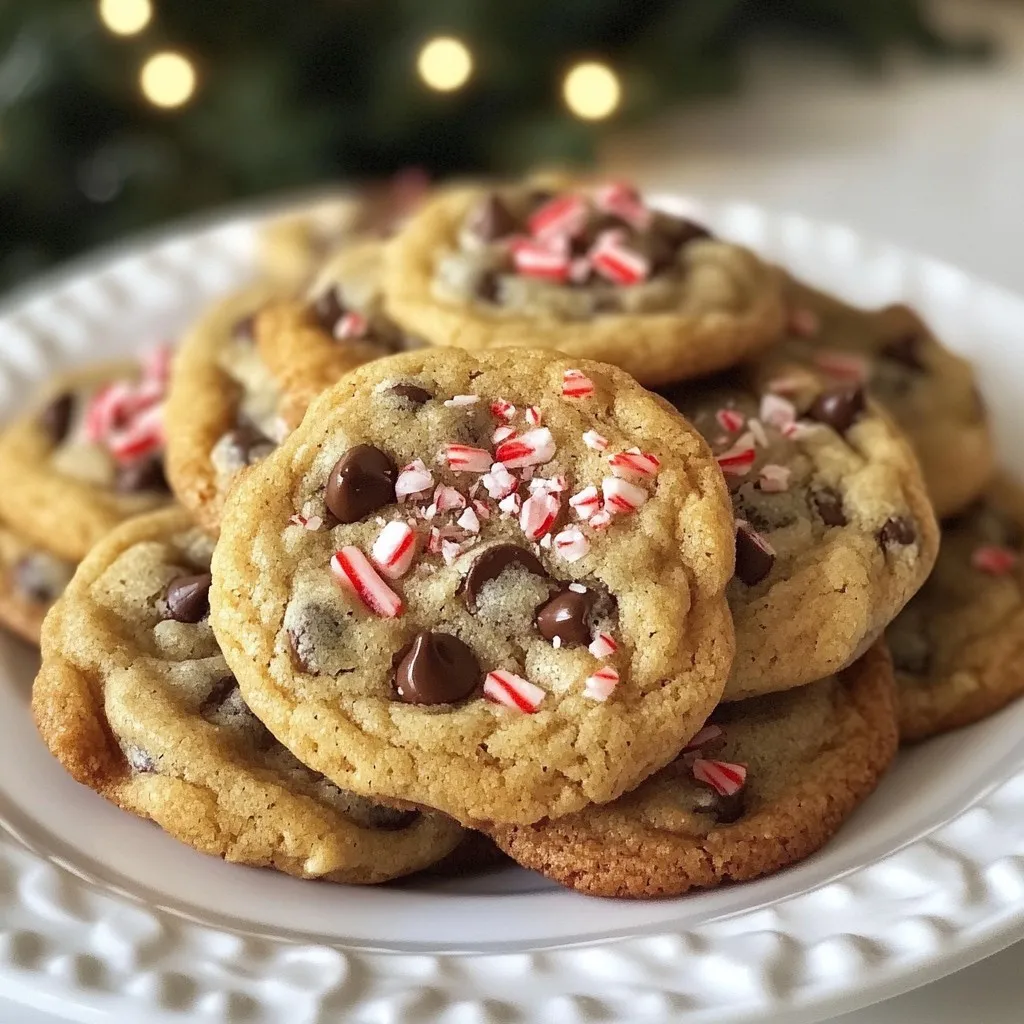
Peppermint Chocolate Chip Cookies Delightful Holiday Treat
If you love festive treats that bring joy, you’ll adore these Peppermint Chocolate Chip Cookies! With rich chocolate and cool peppermint, they capture the spirit
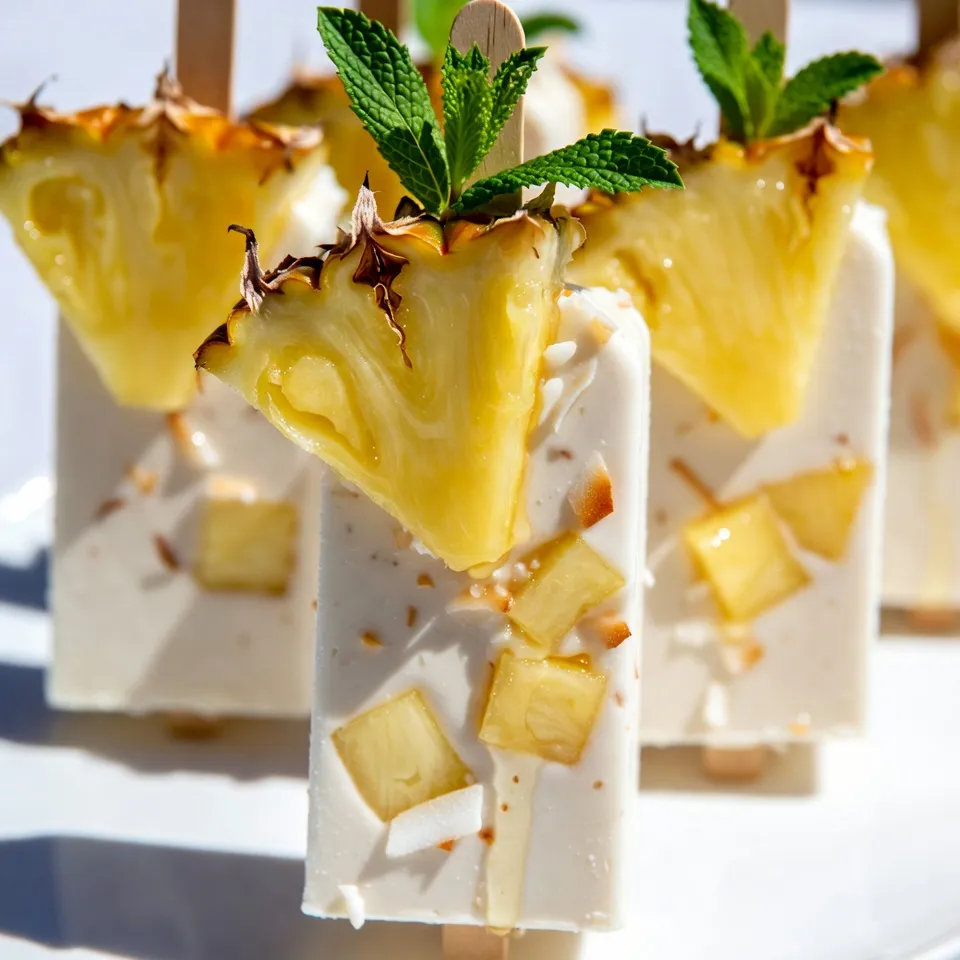
Coconut Pineapple Popsicles Sweet and Refreshing Treat
Craving a sweet and refreshing treat? Coconut Pineapple Popsicles are the perfect solution! Made with coconut milk and fresh pineapple, these popsicles are easy to
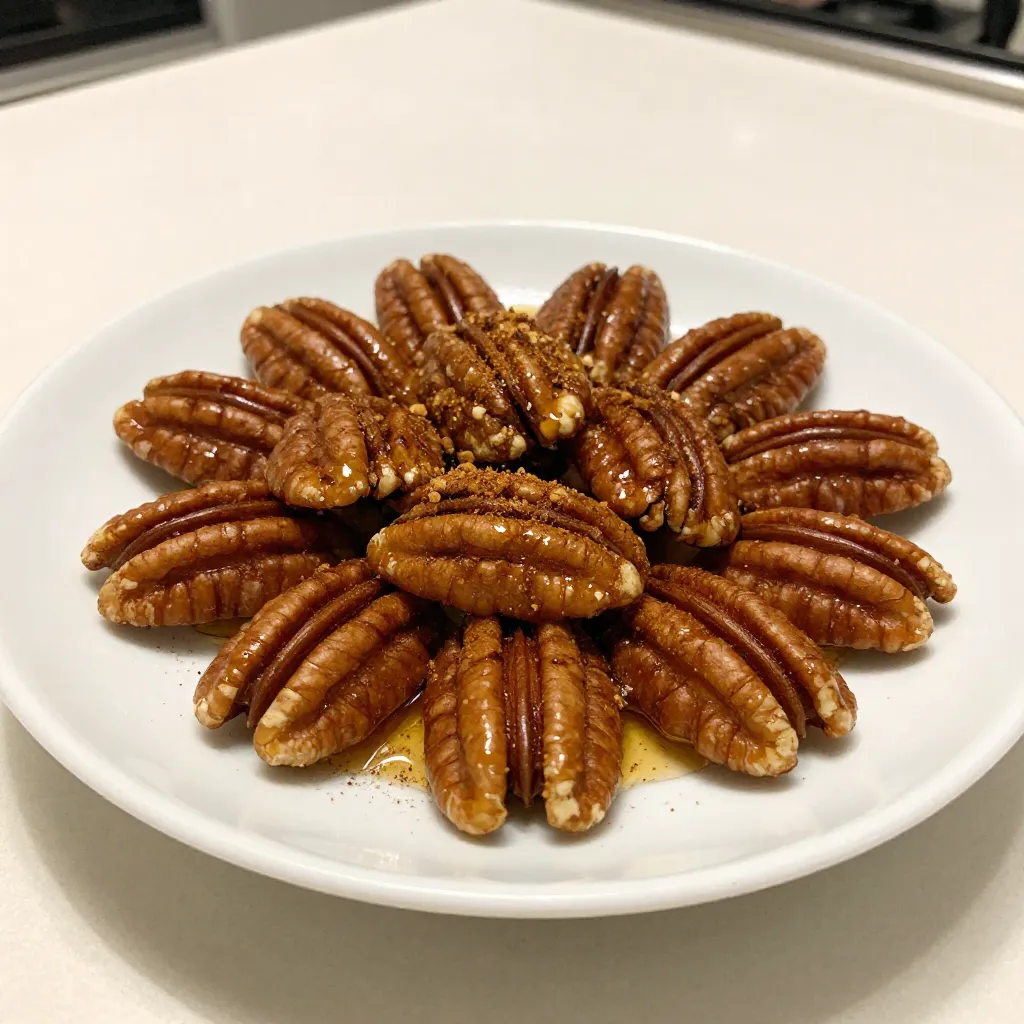
Maple Cinnamon Roasted Pecans Irresistible Snack Joy
Are you ready to discover a snack that will make your taste buds dance? Maple Cinnamon Roasted Pecans are the perfect mix of sweet and
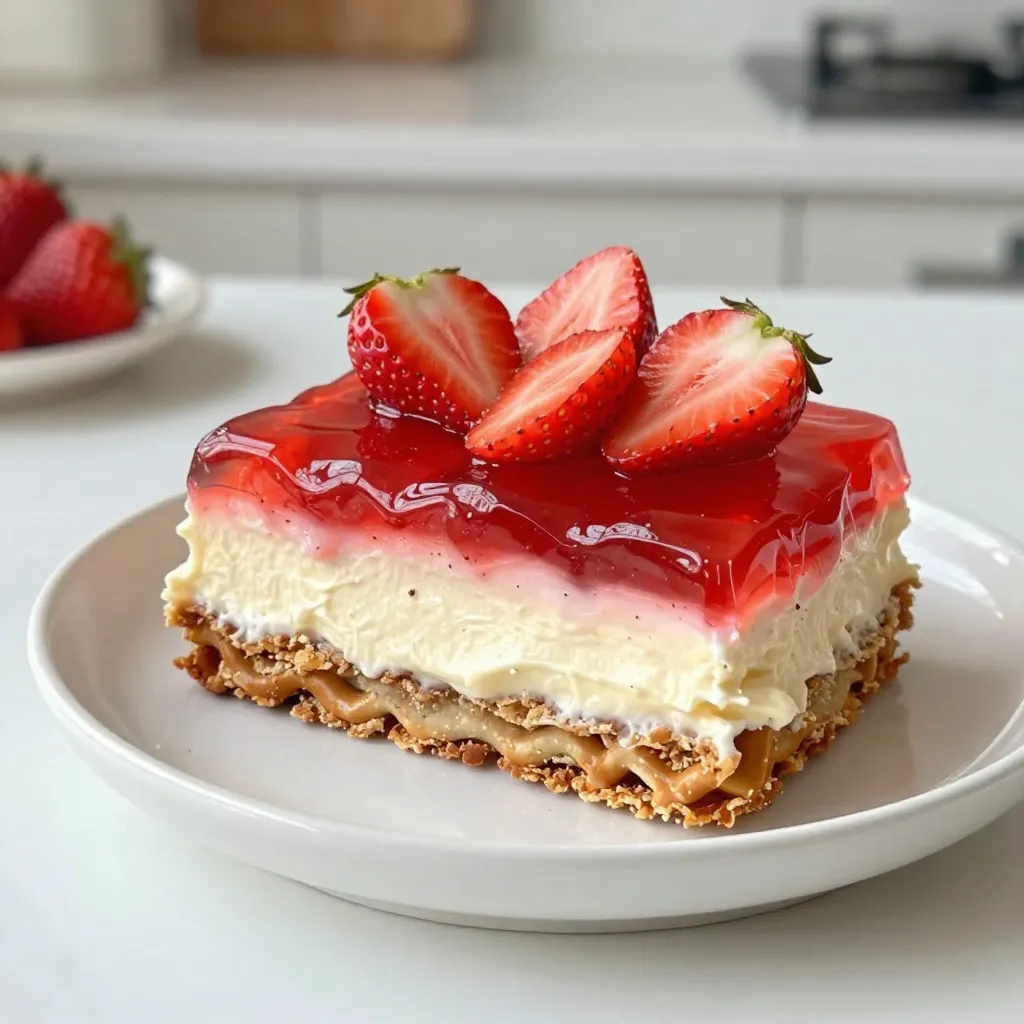
Strawberry Pretzel Salad Delightful and Easy Recipe
Are you ready to impress your friends and family with a refreshing dessert? Strawberry Pretzel Salad is a sweet and salty treat that’s simple to
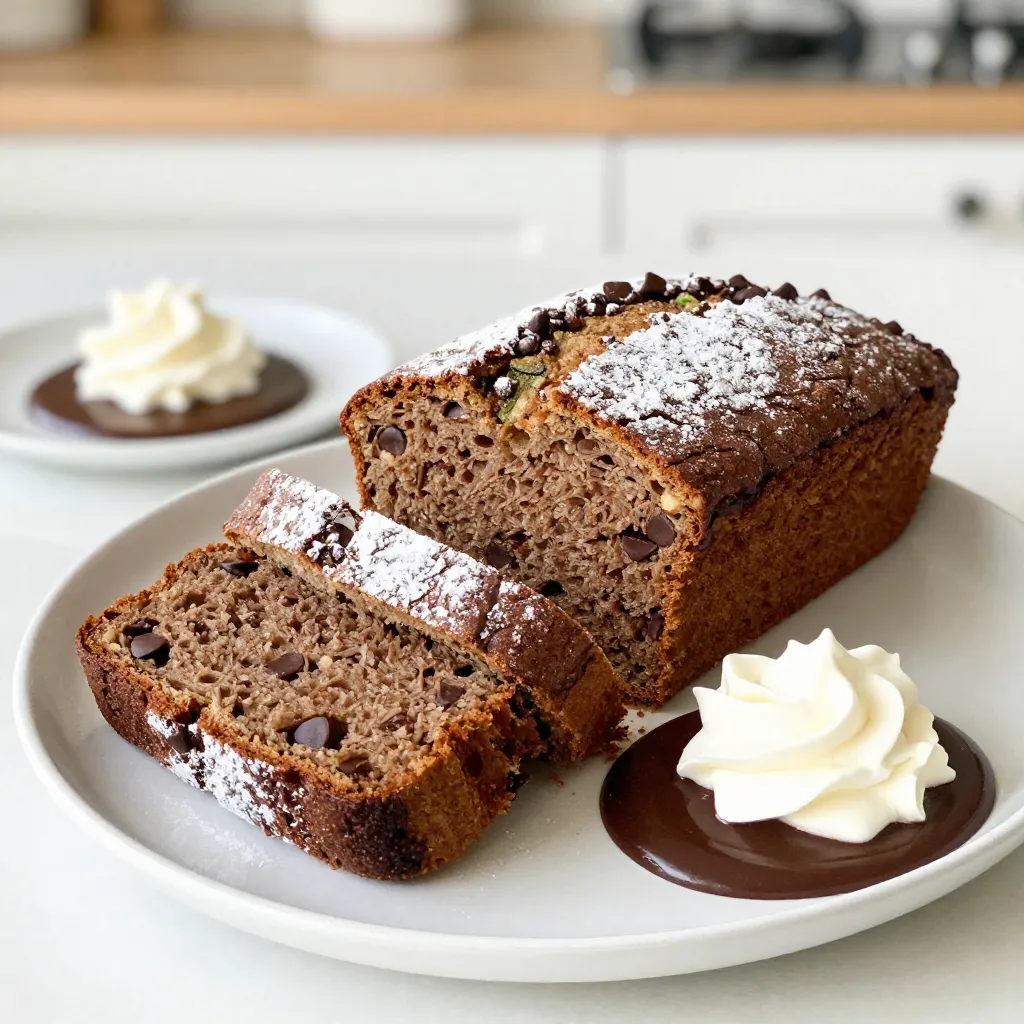
Chocolate Chip Zucchini Bread Simple and Tasty Recipe
Are you ready to make a delicious treat that combines veggies and chocolate? In this post, I’ll guide you through a simple and tasty Chocolate
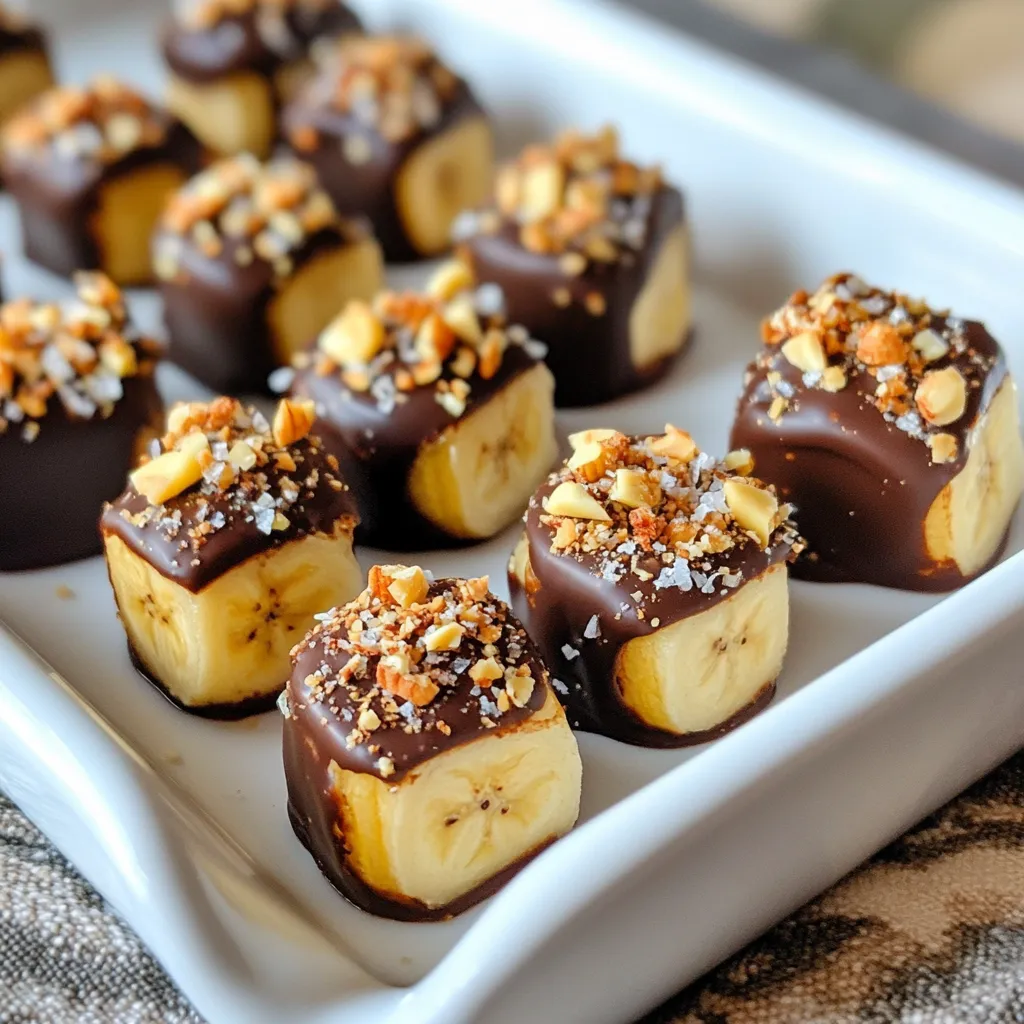
Chocolate Covered Banana Bites Easy and Tasty Treat
Looking for a quick and delicious treat? You’ll love my easy chocolate-covered banana bites! With just a few simple ingredients and steps, you can whip
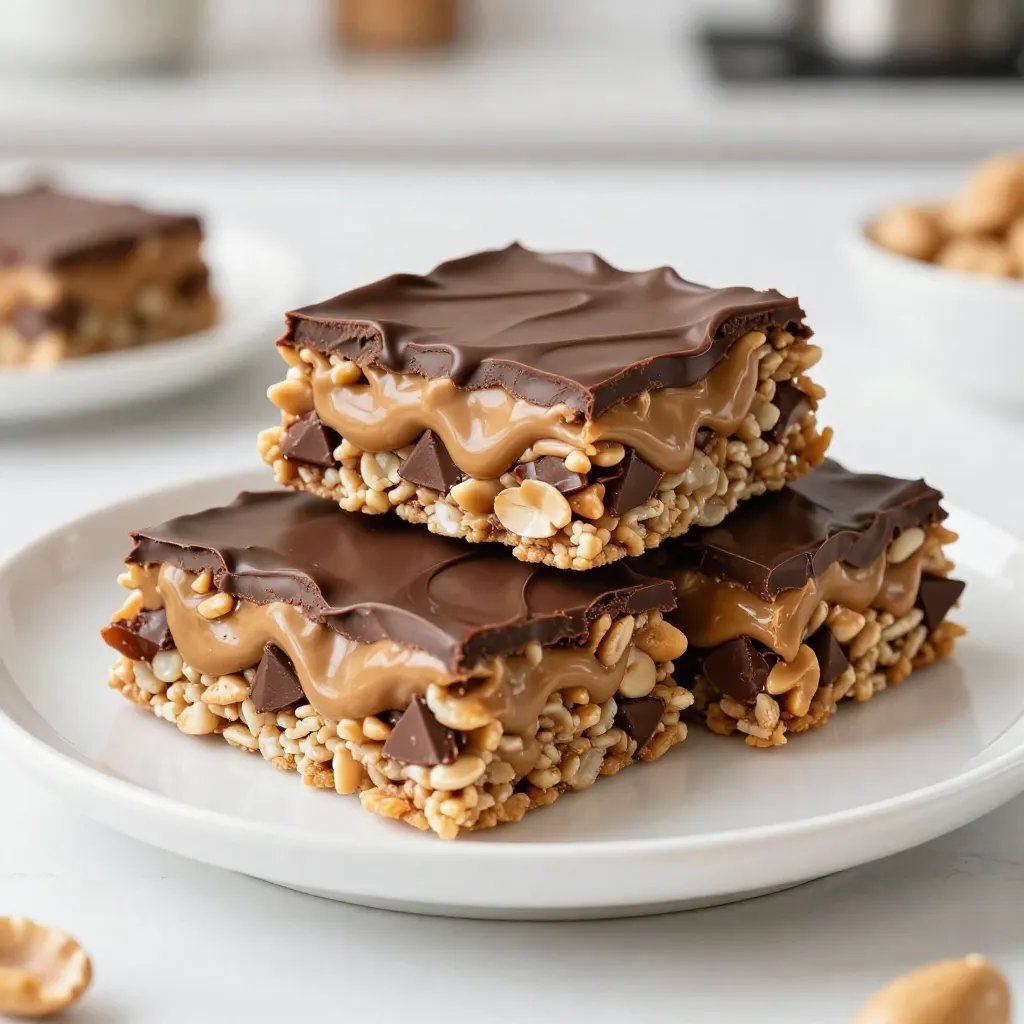
Peanut Butter Chocolate Rice Krispie Treats Delight
Are you ready to whip up a delicious treat? My Peanut Butter Chocolate Rice Krispie Treats Delight will please your sweet tooth and impress your

Triple Chocolate Fudge Cookies Irresistibly Decadent Treat
If you’re craving a treat that’s rich and chocolaty, look no further! My Triple Chocolate Fudge Cookies are the ultimate indulgence, combining semi-sweet, dark, and

No-Bake Chocolate Mint Bars Easy and Delicious Treat
Craving a sweet treat but don’t want to turn on the oven? You’re in luck! These No-Bake Chocolate Mint Bars are a simple, delicious way