Desserts
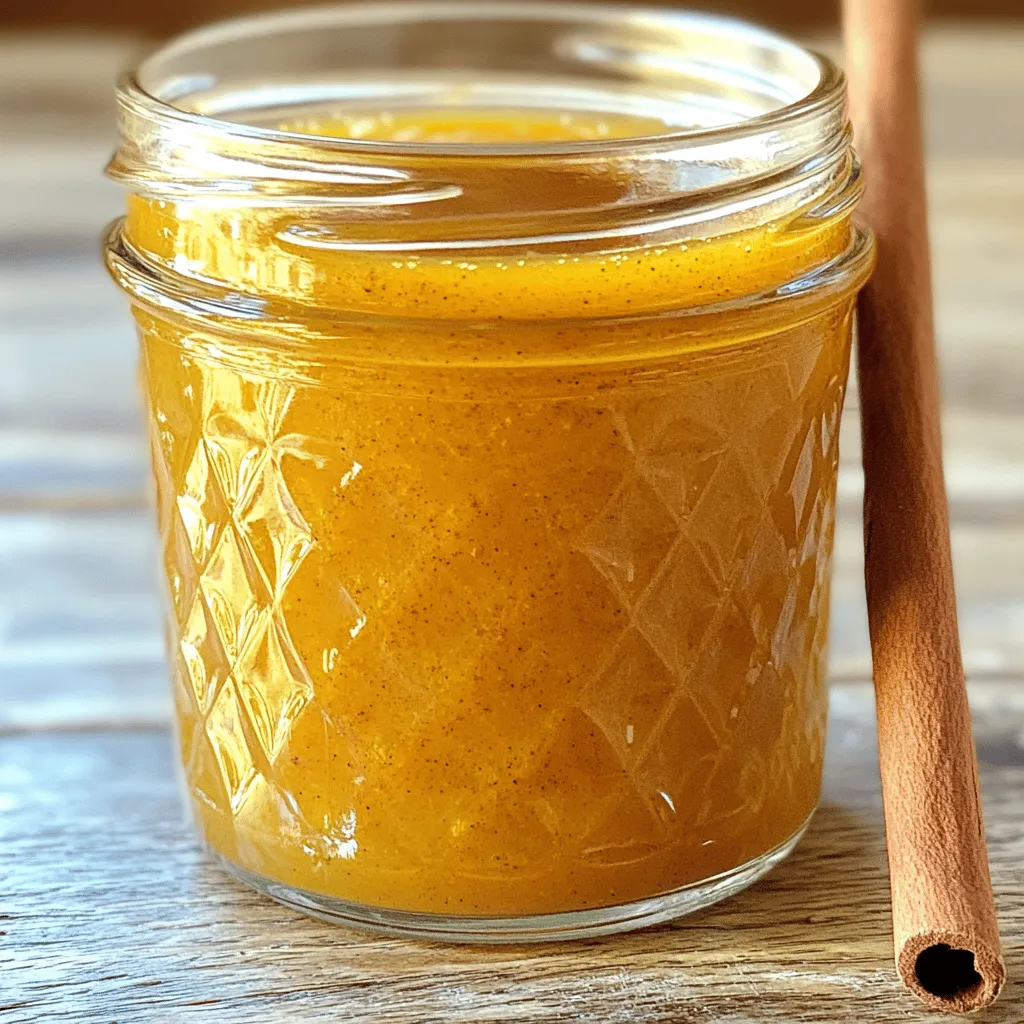
Homemade Pumpkin Spice Syrup Flavorful and Easy Recipe
Ready to bring fall flavors to your kitchen? Making your own Homemade Pumpkin Spice Syrup is simple and fun! This easy recipe will help you
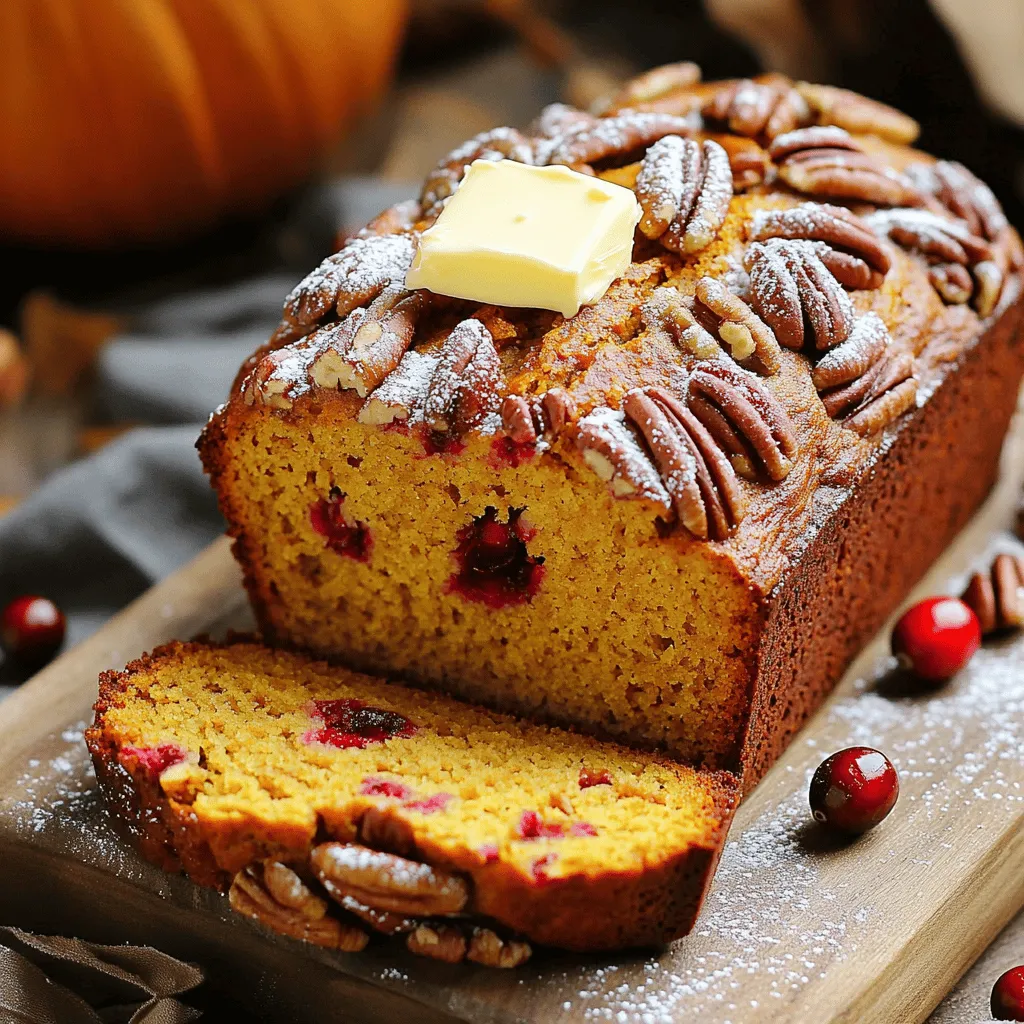
Cranberry Pecan Pumpkin Bread Simple and Tasty Recipe
Looking for a tasty fall treat? Look no further! My Cranberry Pecan Pumpkin Bread is simple to make and full of flavor. It’s perfect for
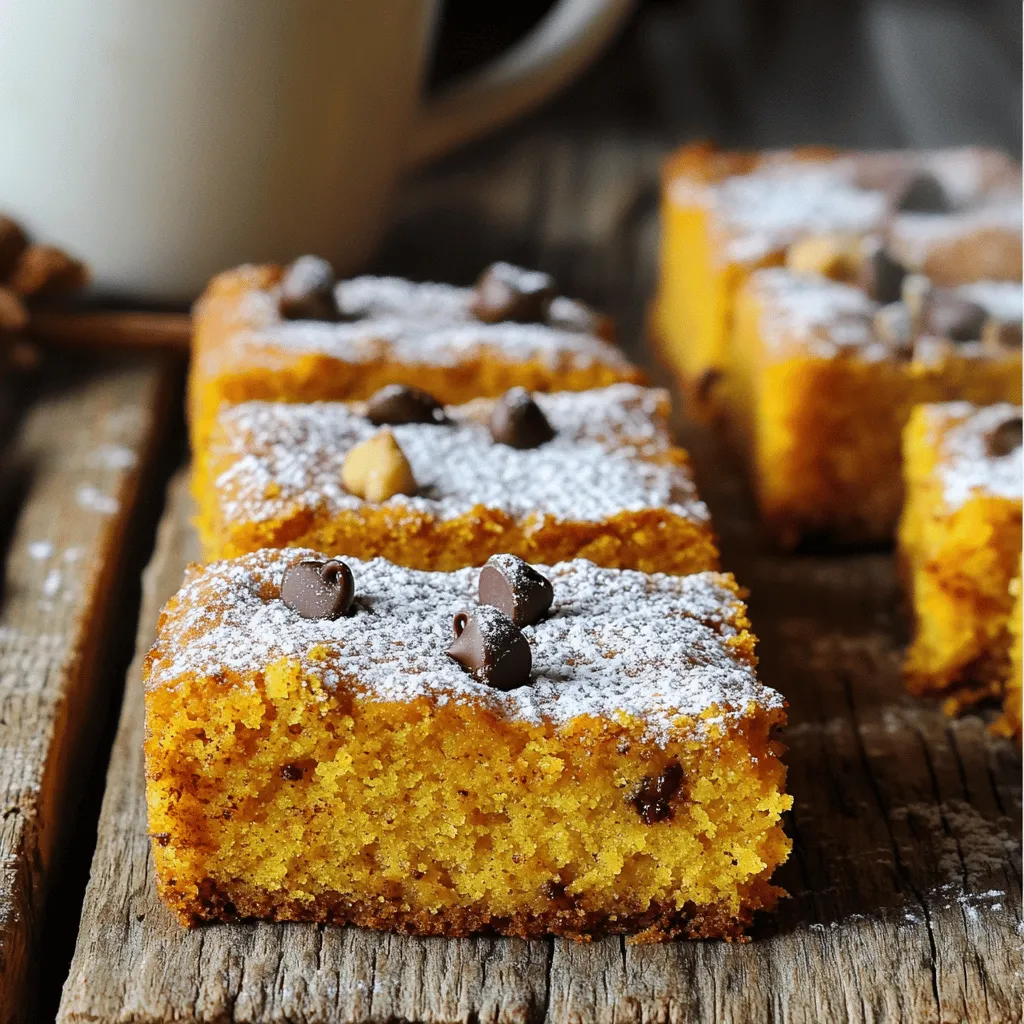
Pumpkin Coffee Cake Wholesome and Easy to Make
Are you ready to bake something wholesome and delicious? My Pumpkin Coffee Cake is not only easy to make, but it’s packed with fall flavors
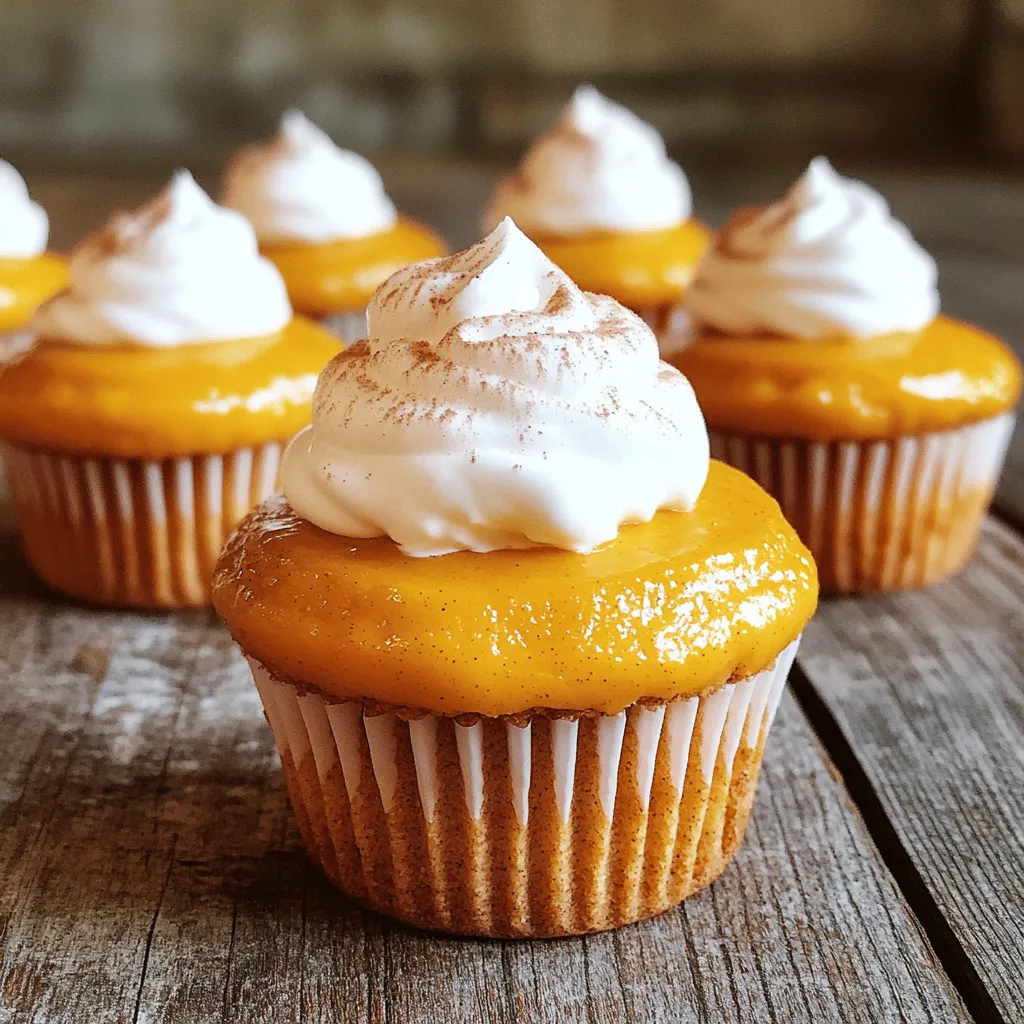
Pumpkin Cheesecake Cupcakes Delicious Fall Treats
Get ready to indulge in fall’s favorite treat: Pumpkin Cheesecake Cupcakes! These mini delights combine the rich flavor of pumpkin with creamy cheesecake and a
![- 1 cup cold brew coffee - 1 cup heavy cream - 1 teaspoon pumpkin puree - 2 tablespoons powdered sugar - 1/2 teaspoon vanilla extract - 1/2 teaspoon pumpkin pie spice - Ice cubes - Extra pumpkin pie spice for garnish - Cinnamon stick for presentation The ingredients for this drink make it special. Each one adds a unique flavor. Cold brew coffee gives a smooth base. Heavy cream creates a rich and creamy topping. Pumpkin puree brings a warm, autumn taste. I love using powdered sugar because it melts easily. The vanilla extract adds sweetness and depth. Pumpkin pie spice ties everything together with cozy warmth. Ice cubes keep the drink cool and refreshing. For extra flair, you can add a sprinkle of pumpkin pie spice on top. A cinnamon stick makes a lovely garnish too. It adds a nice touch to your drink’s look. This recipe is simple to follow. You can find the full recipe in the previous section. Enjoy making this drink! - Brew a strong batch of cold brew coffee. I suggest using coarsely ground coffee for the best flavor. - Chill the coffee in the refrigerator. This step is key for a refreshing drink. - Combine heavy cream, pumpkin puree, powdered sugar, vanilla extract, and pumpkin pie spice in a mixing bowl. - Whip until soft peaks form. Be gentle; you want it airy and fluffy, not too stiff. - Fill a glass with ice cubes. This keeps your drink cold and refreshing. - Pour chilled coffee over the ice. Watch the beautiful layers form. - Spoon pumpkin cream on top. It should sit nicely on the coffee for that perfect look. For the full recipe, you can refer back to the top section to ensure you have all the ingredients and steps to make this delightful drink. Enjoy your homemade Pumpkin Cream Cold Brew! To avoid over-whipping the cream, stop when soft peaks form. If you whip too long, it can turn into butter. You want it to be light and airy. Achieving the right fluffiness is key to a great drink. Use a hand mixer or whisk, but be gentle. This will give you the perfect pumpkin cream. Adjust sweetness levels based on your taste. Start with two tablespoons of powdered sugar. If you like it sweeter, add more. You can also experiment with different spices. Try adding nutmeg or cinnamon for a twist. Each spice adds a unique flavor that makes this drink special. For the best glassware, use a tall, clear glass. This shows off the layers of coffee and cream. A clear straw also helps to see the drink better. For decorative garnishes, sprinkle extra pumpkin pie spice on top. You can also add a cinnamon stick as a stirrer. This gives your drink a nice touch and looks great! {{image_4}} You can swap regular cream for almond or oat milk. This makes the drink lighter and dairy-free. To make the pumpkin cream, use coconut cream instead of heavy cream. This keeps the rich flavor while being vegan. Both options add a new taste to the drink. Want to mix it up? You can add chocolate syrup or caramel to your drink. This gives it a sweet twist that many love. You can also infuse extra spices like nutmeg or ginger for a unique flavor. A little cinnamon can create a warm, inviting taste that feels like fall. If you want to serve friends, you can easily scale the recipe. Just double or triple the ingredients for more servings. For larger batches, adjust the ratios of cream and coffee. This way, everyone can enjoy a cup of this delightful drink. For the full recipe, check out the [Full Recipe]. Keep leftover pumpkin cream in the fridge. Use an airtight container to seal it well. This helps prevent it from absorbing other odors. The cream stays fresh for up to three days. If it starts to separate, just give it a quick whisk. Store leftover cold brew in a sealed pitcher. This keeps it fresh for about one week. If you want to save it longer, you can freeze it in ice cube trays. This way, you can add coffee cubes to future drinks without watering them down. To make cold brew, start with coarsely ground coffee. Use a ratio of 1 cup of coffee to 4 cups of cold water. Combine them in a large jar, then stir well. Let it steep for 12 to 24 hours in the fridge. After steeping, strain the mix through a coffee filter or a fine sieve. This gives you a strong, smooth coffee. Store it in the fridge for up to two weeks. You can use store-bought pumpkin spice cream. However, homemade cream offers fresh flavor and control over sweetness. Store-bought may have extra ingredients you might not want. Making it yourself allows you to adjust the spice mix and sweetness to your taste. Plus, it adds a personal touch to your drink. To adapt this recipe for a vegan diet, use plant-based cream. Almond or coconut cream works well. Replace heavy cream with a vegan alternative like oat milk or cashew cream. Use maple syrup instead of powdered sugar for sweetness. This way, you can enjoy the flavors without dairy. Serve this drink in a tall glass to show off the layers. Fill the glass with ice cubes first. Pour the cold brew carefully over the ice. Spoon the pumpkin cream on top gently. Finish with a sprinkle of extra pumpkin pie spice. For a fun touch, add a cinnamon stick as a stirrer. This enhances the experience and looks great in photos. You learned how to create a delicious copycat Pumpkin Cream Cold Brew. We covered key ingredients, step-by-step instructions, and tips for the best results. Don't forget the optional garnishes to make your drink shine. Experiment with flavors and adjust the recipe to fit your taste. Remember to store leftovers properly for later enjoyment. This drink can be a fun way to enjoy fall flavors any time. Happy brewing!](https://tossedflavors.com/wp-content/uploads/2025/08/b0912ef8-9a25-4cd3-883b-1d49af260bd3.webp)
Copycat Starbucks Pumpkin Cream Cold Brew Delight
Love the flavors of fall? You’re in for a treat with my Copycat Starbucks Pumpkin Cream Cold Brew Delight! This creamy, spiced drink is a
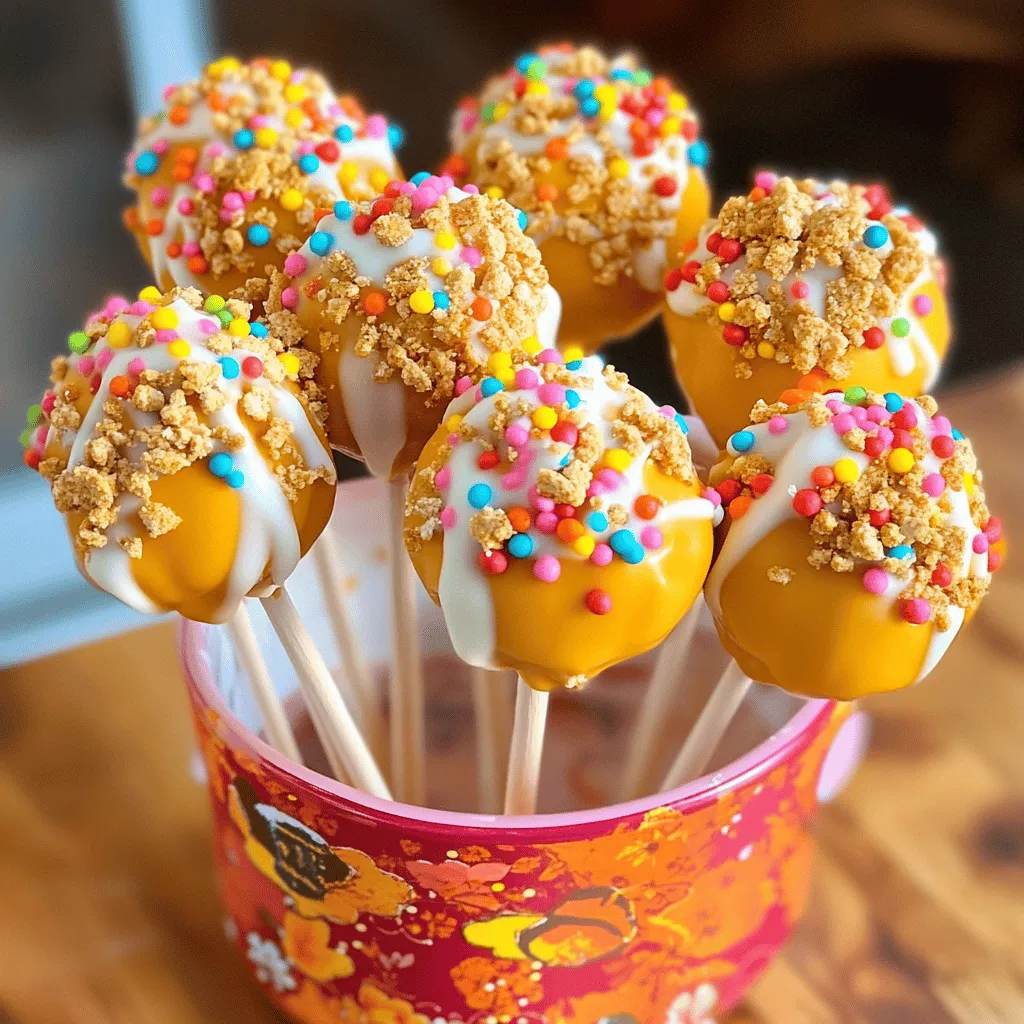
Pumpkin Pie Cake Pops Tasty and Festive Treats
Are you ready to take your fall treats to the next level? These Pumpkin Pie Cake Pops blend the classic flavors of pumpkin pie with
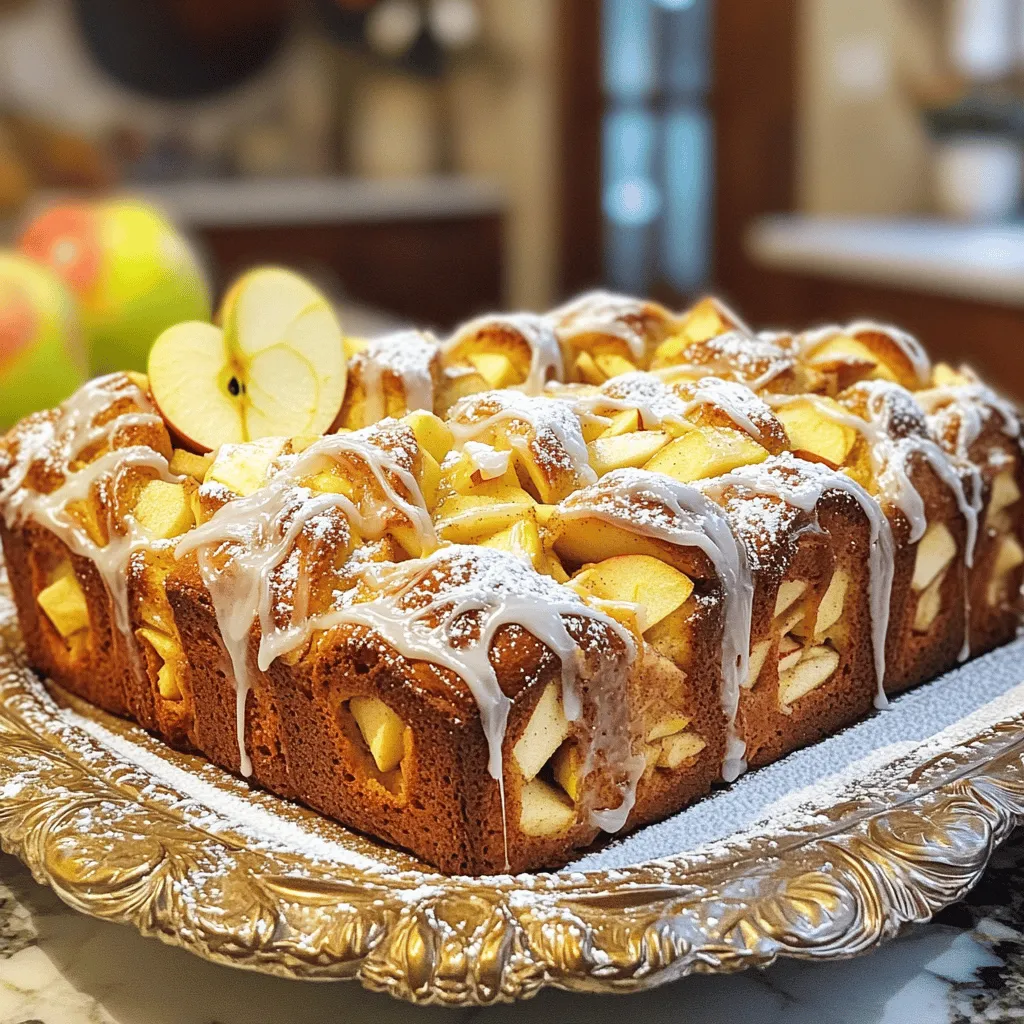
Easy Amish Apple Fritter Bread Delightful and Simple Recipe
If you love warm, sweet treats, you’re in for a real delight! Today, I’ll share my easy recipe for Amish Apple Fritter Bread. This dish
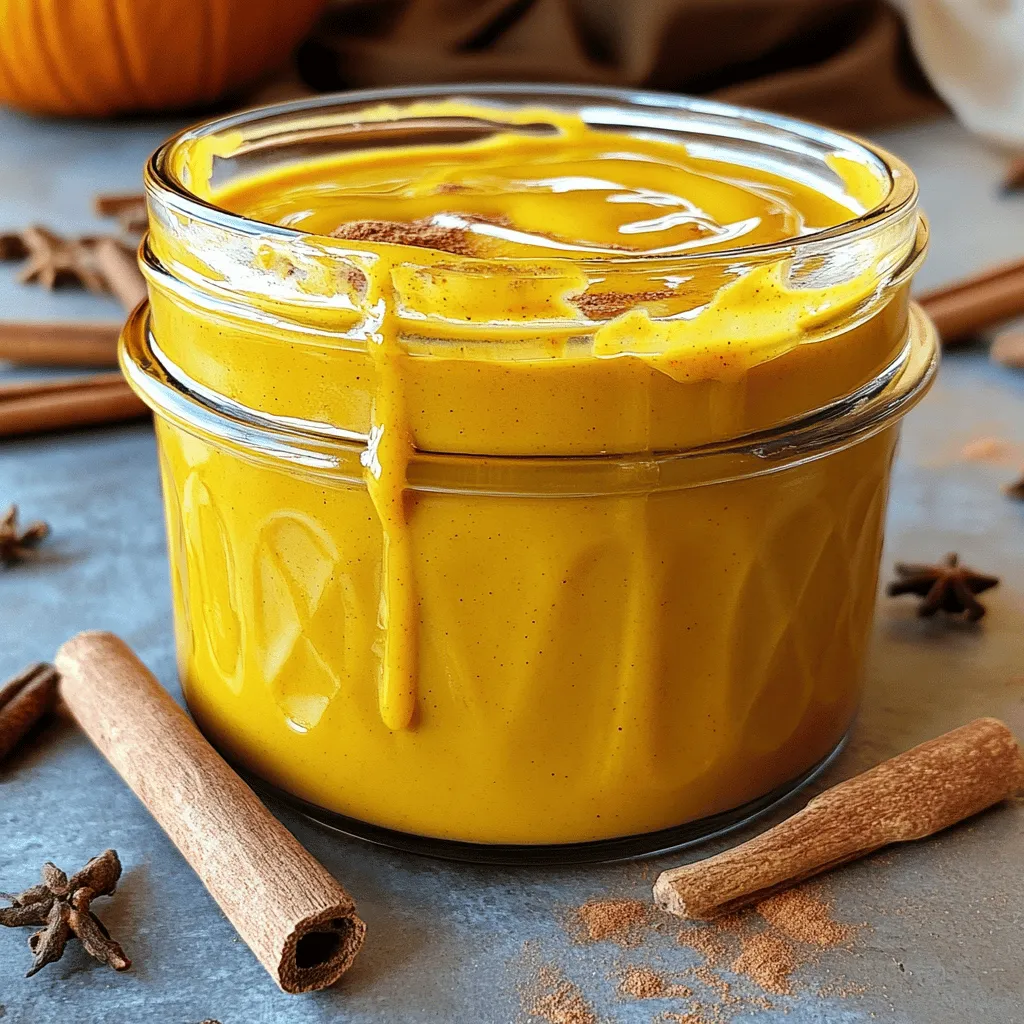
Easy Pumpkin Spice Sauce Simple and Tasty Recipe
Are you ready to bring the cozy taste of fall into your kitchen? Today, I’m sharing an easy pumpkin spice sauce recipe that’s both simple
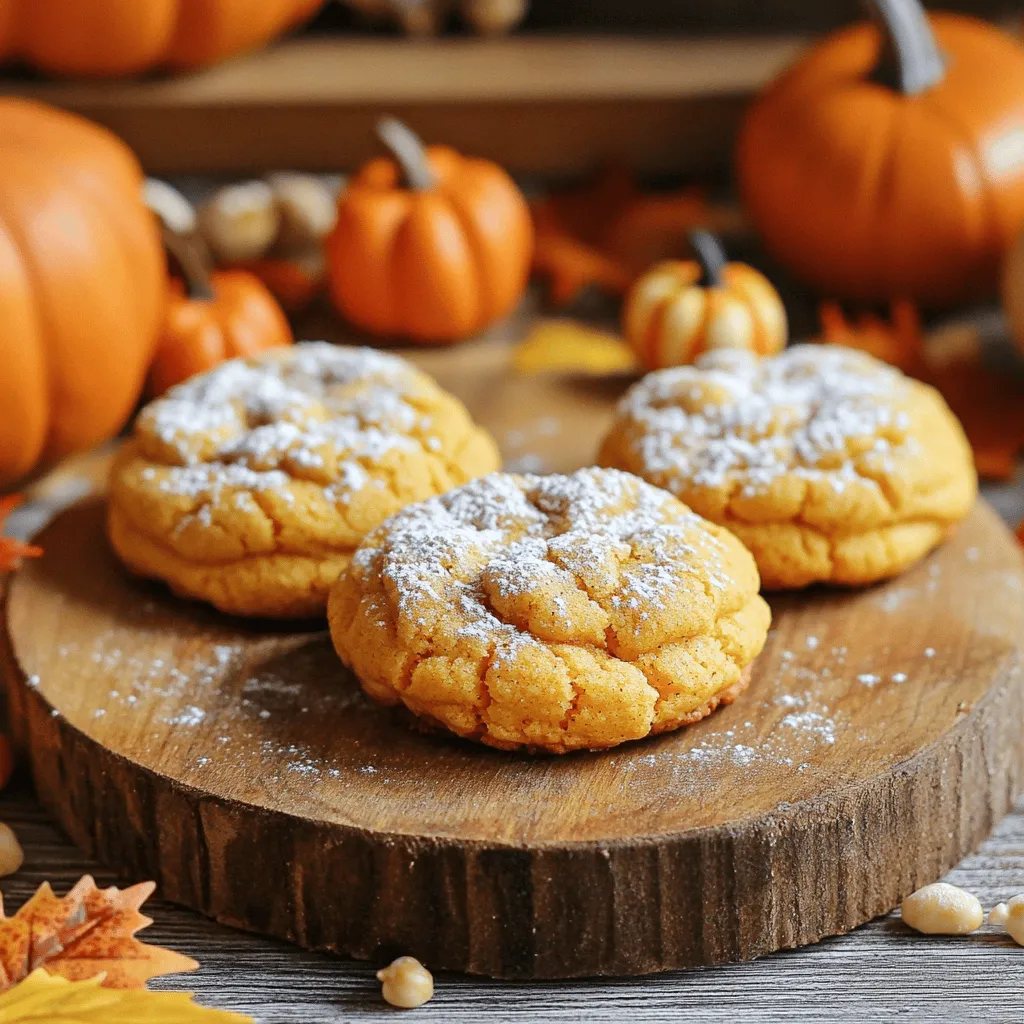
Chewy Maple Pumpkin Cookies Perfectly Sweet Delight
Get ready to delight your taste buds with my Chewy Maple Pumpkin Cookies! These soft, sweet treats bring together warm spices and maple syrup in
![- 2 cups graham cracker crumbs - 1/2 cup unsalted butter, melted - 1 can (14 oz) sweetened condensed milk - 1 cup heavy whipping cream - 1/4 cup powdered sugar - 2 large apples, peeled, cored, and diced (preferably Granny Smith) - 1/2 cup caramel sauce - 1 teaspoon vanilla extract - 1/2 teaspoon ground cinnamon - 1/4 cup chopped nuts (walnuts or pecans) for garnish When I create a no bake caramel apple cake, I always choose the best ingredients. Each one plays a key role in making this dessert shine. For the crust, graham cracker crumbs add a sweet and crunchy base. The melted butter keeps the crumbs together and adds richness. Using sweetened condensed milk gives a smooth sweetness to the cream filling. Heavy whipping cream is essential for a light and fluffy texture. Powdered sugar helps stabilize the whipped cream, adding just the right amount of sweetness. I prefer Granny Smith apples. Their tartness contrasts well with the sweet caramel. A dash of cinnamon and vanilla extract enhances the flavors, making the dessert even more delicious. For a little crunch, I love to sprinkle chopped nuts on top. They add texture and make the cake look pretty. You can find all these ingredients in your local grocery store. Check the Full Recipe for additional tips on ingredient sourcing. You can swap ingredients if needed. For a gluten-free crust, use gluten-free graham crackers. Coconut cream can replace heavy whipping cream for a dairy-free option. If you want less sweetness, try using less sweetened condensed milk. I suggest using brands that focus on quality. For graham crackers, I like Nabisco or Honey Maid. For butter, any unsalted brand will work well. For sweetened condensed milk, Eagle Brand is a trusted choice. Choose heavy cream with a high fat content, like Land O'Lakes. For caramel sauce, Smucker’s is a reliable option. To start, gather your graham cracker crumbs and melted butter. In a medium bowl, combine the crumbs and butter. Stir until the crumbs feel wet, like sand. Next, take a 9-inch springform pan. Press the crumb mixture firmly into the bottom. Make sure it is even. Place the pan in the refrigerator for about 15 minutes. This helps the crust set. Now, let’s make the cream filling. In a separate bowl, use a hand mixer to whip the heavy cream. Beat it on medium speed until soft peaks form. Gradually add the powdered sugar as you mix. Keep beating until you see stiff peaks. This is what gives the filling a fluffy texture. In another bowl, mix the sweetened condensed milk, vanilla extract, and ground cinnamon. Whisk until it’s smooth. Gently fold the whipped cream into this mixture. Do this in two parts to keep it light and airy. Now for the fun part—layering the cake! Start by spooning half of the cream mixture onto your chilled crust. Spread it out evenly with a spatula. Next, add half of the diced apples on top. Drizzle some caramel sauce over the apples for extra sweetness. Repeat this layering process. Add the rest of the cream mixture, then the remaining apples. Finish by drizzling more caramel sauce on top. Once done, cover the cake with plastic wrap or a lid. Refrigerate it for at least four hours, or overnight if you can wait. This helps the cake firm up nicely. For the full recipe, check the detailed instructions provided. To get the best texture for your No Bake Caramel Apple Cake, focus on the cream. Start by chilling your mixing bowl and beaters before whipping. This simple step helps the cream whip faster and increases volume. When you whip the cream, stop as soon as you see soft peaks. Overwhipping can make it grainy. When folding the whipped cream into the condensed milk mixture, do it gently. Use a spatula to cut down through the middle, then lift and turn. This keeps air in the cream, making your cake light and fluffy. Fold in two parts to ensure even mixing without deflating the cream. For a stunning presentation, slice the cake into wedges and place them on dessert plates. Add a drizzle of caramel on top of each slice for extra flair. You can garnish with thin apple slices and a dollop of whipped cream. This not only looks nice but also adds a fresh touch. When choosing drinks, pair the cake with apple cider or a light tea. Both options complement the cake’s flavors and enhance the experience. A cold glass of milk also works well for a classic touch. Many people make the mistake of skipping the chilling time. This step is key for the cake to set properly. If you cut too soon, the layers may not hold together. Another common issue is overwhipping the cream. This can lead to a dense texture that is not pleasant. Always keep an eye on the cream as it whips. Lastly, be careful with the caramel. Too much can make the cake overly sweet. Always drizzle lightly and taste as you go. For the full recipe, check out [Full Recipe]. {{image_4}} You can change the taste of your caramel apple cake in fun ways. Adding spices, like nutmeg or allspice, gives it warmth. You can also try extracts, like almond or maple, for a twist. Different apples can change the flavor too. Granny Smith apples are tart, but you can use sweet ones like Fuji or Honeycrisp for a different taste. Each apple brings its own unique flavor and texture to the cake. You can easily make this cake fit special diets. For a gluten-free version, use gluten-free graham cracker crumbs. They will still give you that great crust. If you need dairy-free options, replace heavy cream with coconut cream. You can also use almond milk in place of condensed milk. These swaps keep the cake rich and creamy without dairy. Change the cake for the seasons to keep it fresh. In fall, add pumpkin puree to the cream mixture. It pairs well with spices and gives a cozy flavor. You might also toss in chopped pecans for a nice crunch. In summer, using mixed berries can lighten the cake. Strawberries, blueberries, or raspberries add a bright and refreshing taste. Each season offers a chance to try new flavors. To store leftover cake, first, cover it well. Use plastic wrap or a tight lid. This keeps the cake fresh and prevents it from drying out. I like to place the cake in a springform pan. This way, you can easily slice it later. If you have a large piece, you can cut it into smaller slices for easy access. To freeze the no-bake cake, wrap it tightly in plastic wrap. Then, place it in a freezer-safe container. Make sure it’s airtight to prevent freezer burn. To thaw, take the cake out and place it in the fridge for a few hours. This gentle thawing helps keep the texture smooth. You can also let it sit at room temperature for about 30 minutes before serving. In the fridge, the cake lasts about 5 days. If you freeze it, it can last up to 2 months. Just remember to label the container with the date. This way, you will know when you made it. Enjoying this dessert is easy, whether fresh or frozen! For the complete recipe to make this delicious cake, check out the Full Recipe. Yes, you can make this cake ahead of time. In fact, this dessert tastes better when chilled overnight. Making it a day before gives the flavors time to blend. Just cover it tightly in the fridge to keep it fresh. I recommend using Granny Smith apples. They add a nice tartness that balances the sweet caramel. Other options like Honeycrisp or Fuji can work too. Just pick apples that are firm and crisp for the best texture. To make this cake more decadent, try adding chocolate. You can drizzle melted chocolate on top or mix chocolate chips into the cream filling. Adding more caramel sauce also boosts the richness. You could even layer in some crushed toffee for extra crunch. Yes! You can swap graham cracker crumbs with crushed nuts or oats for a healthier crust. Use low-fat cream and less sugar in the filling. You can also add more fruit to balance flavors. These changes keep the taste great but cut down on calories. Absolutely! You can use a cookie crust made from Oreos or a nut crust made from almonds or pecans. A gluten-free option is to use gluten-free graham crackers or ground nuts. Each crust adds its unique flavor and texture to the cake. This cake combines simple steps and delicious flavors. You learned about the key ingredients, from graham crackers to apples. I shared tips to get the best texture and avoid common mistakes. You can personalize this dessert with many variations, including seasonal ones. Whether you serve it now or save it for later, it will be a hit. Try it out and make this cake your own!](https://tossedflavors.com/wp-content/uploads/2025/08/34e2ef00-c5a6-4863-9893-f51fd2f581a7.webp)
No Bake Caramel Apple Cake Easy and Delicious Dessert
Are you looking for a dessert that’s easy to make and oh-so-delicious? Look no further! My No Bake Caramel Apple Cake combines the sweet tastes