Desserts
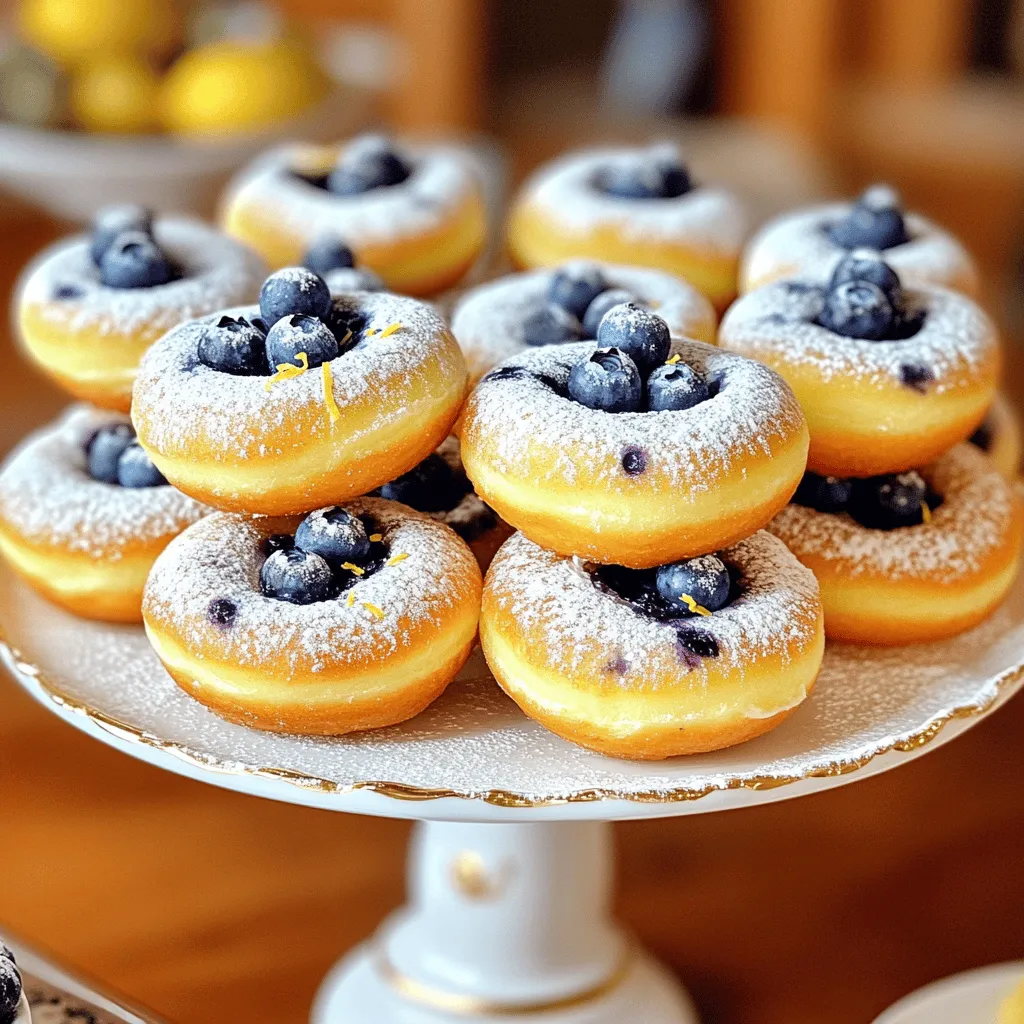
Blueberry Cake Donuts Delightful and Easy Treat
If you love sweet treats that are both simple and delicious, you’ll adore these Blueberry Cake Donuts. They’re soft, flavorful, and packed with juicy blueberries.
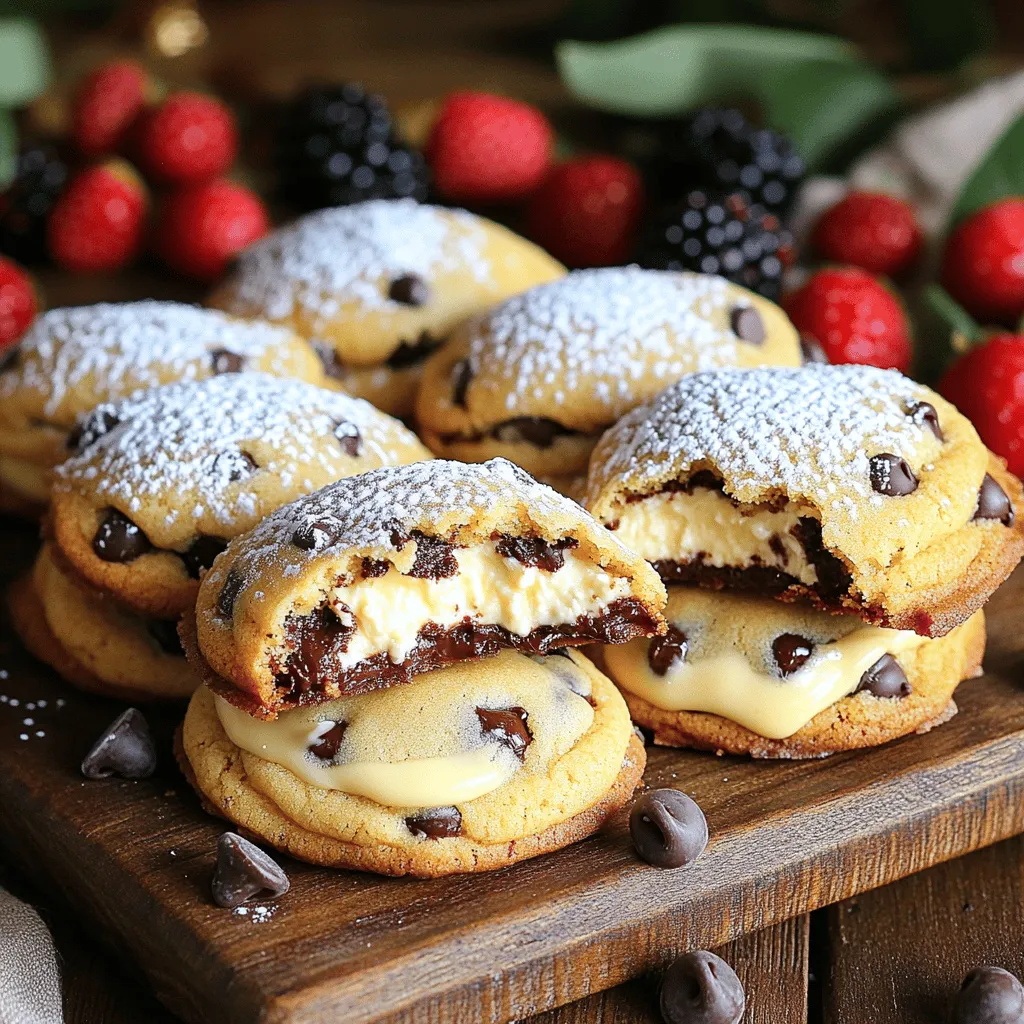
Cheesecake Stuffed Chocolate Chip Cookies Delight
Are you ready to elevate your cookie game? Cheesecake Stuffed Chocolate Chip Cookies Delight combines the gooey pleasure of sweet cookies with rich cheesecake filling.
![When making a Triple-Chocolate Trifle, you will need some key ingredients. Each one adds to the rich and creamy delight of this dessert. Here’s what you’ll need: - 1 cup dark chocolate pudding - 1 cup milk chocolate pudding - 1 cup white chocolate pudding - 2 cups whipped cream (store-bought for ease or homemade for a special touch) - 1 package chocolate cake mix (prepared as per the package instructions and cooled) - 1 cup chocolate chips (select semi-sweet or dark based on your taste) - 1 cup chocolate shavings (to make it look fancy) - Optional: fresh berries (like raspberries or strawberries) or mint leaves for a pretty garnish These ingredients come together to create layers of flavor and texture. Each chocolate pudding brings a unique taste. The whipped cream adds lightness. The chocolate cake provides a sturdy base. Feel free to mix and match with the optional garnishes for a personal touch. For the full recipe with instructions, check the [Full Recipe]. 1. Baking the cake: Start by baking the chocolate cake mix as the package says. Use your favorite chocolate cake mix for the best taste. Make sure to follow the steps carefully. The cake should bake until it’s springy to the touch. 2. Cooling and cutting the cake: Once the cake is done, take it out and let it cool. This is important! If the cake is hot, the layers will not hold well. When it’s cool, cut it into small cubes. You can also crumble it for a different texture. 1. First layer with chocolate cake cubes: In a big trifle dish or individual cups, start with the cake cubes. Spread them evenly across the bottom. This is the base of your trifle. 2. Adding pudding and whipped cream layers: Next, spoon a layer of dark chocolate pudding over the cake. Make sure it covers the cake fully. After pudding, add a layer of whipped cream. Use a spatula to smooth it out nicely. 3. Final assembly of the trifle: Repeat the layers! Add another layer of cake, then milk chocolate pudding, followed by whipped cream. Finish with one more layer of cake and top it with white chocolate pudding. For the final touch, add a big layer of whipped cream on top. Sprinkle chocolate chips and shavings to make it look fancy. 1. Importance of chilling the trifle: Place your trifle in the fridge. Let it chill for at least 2 hours. Chilling helps the layers bond together and makes the flavors pop. 2. Garnishing before serving: Just before serving, add fresh berries or mint leaves on top. This gives a bright look and a fresh taste to your dessert. Enjoy every bite of your triple-chocolate trifle! For the detailed recipe, check the Full Recipe. To make your triple-chocolate trifle shine, use different types of chocolate. Each chocolate adds its own flavor and richness. Dark chocolate offers a bold taste, while milk chocolate is sweet and creamy. White chocolate provides a smooth finish. You can mix and match to find your favorite combination! When it comes to whipped cream, you have a choice. Store-bought whipped cream is quick and easy. It saves time, especially when you’re in a hurry. But homemade whipped cream gives a personal touch. It is fresher and can be sweeter. Making it at home is a fun task too! Serving your trifle in individual glasses makes it special. It looks fancy and is easy to grab. Plus, each person gets their own treat! You can also layer the ingredients in clear cups. This way, everyone can see the beautiful layers of chocolate. For garnishing, think outside the box! Use chocolate shavings for an elegant look. Fresh berries add a pop of color and taste. Mint leaves give a refreshing twist. You can even drizzle chocolate sauce on top for extra flair! One common mistake is layering too thickly. If your layers are too thick, they can slide and mix together. Make sure each layer is even and manageable. This keeps the trifle looking neat and distinct. Another mistake is not chilling long enough. Chilling is key to setting the layers. If you don’t chill it for at least two hours, the trifle won’t hold its shape. The flavors also blend better when chilled. So, be patient and let it rest! For the full recipe, refer to the section above. Enjoy creating your delightful dessert! {{image_4}} You can easily change up the flavors in your trifle. Try using flavored puddings like vanilla or caramel. These add a fun twist to the classic chocolate taste. You can also add a splash of liqueur for a grown-up treat. Flavored liqueurs, like coffee or hazelnut, can enhance the chocolate flavors. Just be careful with the amounts; a little goes a long way! Making this trifle fit your diet is simple. For a gluten-free option, choose a chocolate cake mix that is gluten-free. Many brands offer tasty mixes that work well. If you need dairy-free choices, you can find plant-based puddings and whipped creams. Almond or coconut milk puddings can add great flavor. You can switch up your trifle for different seasons. For winter holidays, add peppermint flavor to your layers. You can use crushed candy canes or peppermint extract. In the fall, try pumpkin spice pudding for a cozy touch. During summer, mix in fresh fruits like peaches or tropical fruits. This adds color and flavor that brightens up your dessert. For the full recipe, refer to the [Full Recipe]. Enjoy crafting your unique version of this delightful dessert! To keep your triple-chocolate trifle fresh, store it in the fridge. Use an airtight container or cover it well with plastic wrap. This helps prevent drying out and allows the flavors to mix nicely. Your trifle can stay fresh for about 3 to 4 days in the fridge. After this time, the texture may change, and the flavors might fade. Can you freeze a trifle? Yes, but it’s tricky. Freezing can change the texture of the whipped cream and pudding. If you plan to freeze it, only freeze the cake layers. Store the puddings and whipped cream separately. When you’re ready, thaw the cake in the fridge overnight. To reassemble, layer the thawed cake with fresh pudding and whipped cream. This keeps your trifle’s taste and look at their best. Got leftover trifle? Repurpose it into a delicious parfait! Layer leftovers in a cup with fresh fruit or yogurt. This adds a new twist and makes a fun snack. You can also mix flavors for a unique treat. Try adding a scoop of ice cream to your trifle for a chocolate sundae spin. The options are endless! To make homemade chocolate pudding, you need simple ingredients. Here’s what you need: - 2 cups milk - 1/2 cup sugar - 1/3 cup cocoa powder - 1/4 cup cornstarch - 1/4 teaspoon salt - 1 teaspoon vanilla extract - 2 tablespoons butter 1. In a pot, mix the cocoa, sugar, cornstarch, and salt. 2. Gradually add milk and stir until smooth. 3. Cook over medium heat, stirring often. 4. Once it thickens, remove from heat. 5. Stir in butter and vanilla. 6. Let it cool before using. This pudding adds a rich taste to your triple-chocolate trifle! Yes! You can prepare the trifle a day ahead. Just follow these tips: - Layer the trifle as usual. - Cover it tightly with plastic wrap. - Chill it in the fridge overnight. This gives the flavors time to meld, making it even tastier! Transporting a trifle can be simple. Here are some ideas: - Use a trifle dish with a lid. - If you don’t have a lid, cover it with plastic wrap. - Alternatively, use individual cups for easy serving. This way, your dessert stays intact and looks great! To keep your layers separate, try these techniques: - Make sure each layer is set before adding the next one. - Use thicker layers of whipped cream between puddings. - Chill the trifle for a couple of hours before serving. This helps maintain those beautiful layers in your dessert! This post covered making a delicious chocolate trifle. We discussed ingredients and step-by-step instructions. You learned tips to perfect your trifle and avoid common mistakes. There are also variations to fit your taste and dietary needs. In closing, making a chocolate trifle is rewarding and fun. You can impress friends and family with your creation. Enjoy this treat, and let your creativity shine!](https://tossedflavors.com/wp-content/uploads/2025/05/f2dbc961-f332-4df2-87d6-a645ef5996a4.webp)
Triple-Chocolate Trifle Delightful Dessert Recipe
Get ready to indulge your sweet tooth with my Triple-Chocolate Trifle Delightful Dessert Recipe! With rich layers of dark, milk, and white chocolate puddings, plus
![To make a delightful carrot cake, gather these ingredients: - 2 cups all-purpose flour - 2 cups granulated sugar - 1 teaspoon baking soda - 1 teaspoon baking powder - 1 teaspoon ground cinnamon - 1/2 teaspoon ground nutmeg - 1/2 teaspoon salt - 1 cup vegetable oil - 4 large eggs - 3 cups finely grated carrots - 1 cup crushed pineapple, well-drained - 1/2 cup chopped walnuts (optional) - 1/2 cup raisins (optional) For the creamy cinnamon butter, you will need: - 1/2 cup unsalted butter, softened to room temperature - 1/4 cup powdered sugar - 1 teaspoon ground cinnamon You can customize your carrot cake with these fun options: - Add 1/2 cup of shredded coconut for a tropical twist. - Swap walnuts for pecans or almonds for a new flavor. - Use diced apples or pears instead of pineapple for a unique touch. This list of ingredients will help you create a carrot cake with cinnamon butter that is perfect for any celebration. Feel free to explore different variations to suit your taste! For the full recipe, check out the detailed steps above. First, preheat your oven to 350°F (175°C). Take two 9-inch round cake pans. Grease the pans lightly with butter or oil. Dust them with flour to stop the cakes from sticking. In a large bowl, mix the dry ingredients. Whisk together 2 cups of all-purpose flour, 2 cups of granulated sugar, 1 teaspoon of baking soda, 1 teaspoon of baking powder, 1 teaspoon of ground cinnamon, 1/2 teaspoon of ground nutmeg, and 1/2 teaspoon of salt. Make sure there are no lumps. In a different bowl, whisk together 1 cup of vegetable oil and 4 large eggs. Mix until it is smooth and even. This will add moisture to your cake. Now, slowly add the dry mix to the wet mix. Stir gently until just combined. It’s important not to overmix. This keeps your cake soft and fluffy. Next, fold in 3 cups of finely grated carrots and 1 cup of well-drained crushed pineapple. If you like, add 1/2 cup of chopped walnuts and 1/2 cup of raisins for extra texture and flavor. Divide the batter evenly between the prepared pans. Smooth the tops with a spatula. Bake in the oven for 30 to 35 minutes. Check with a toothpick; it should come out clean. After baking, let the cakes cool in the pans for about 10 minutes, then move them to a wire rack to cool completely. While the cakes cool, prepare the cinnamon butter. In a small bowl, beat together 1/2 cup of softened unsalted butter, 1/4 cup of powdered sugar, and 1 teaspoon of ground cinnamon. Mix until creamy and smooth. Once the cakes are cool, it’s time to assemble. Spread a layer of cinnamon butter between the two cake layers. Use the rest to frost the top and sides of the cake. Smooth it out for a nice finish. For the full recipe, check [Full Recipe]. Enjoy! To make your carrot cake truly shine, follow these tips: - Use fresh carrots for the best flavor. - Grate them finely to ensure even mixing. - Don't skimp on the cinnamon; it adds warmth. - Measure your flour correctly to avoid a dense cake. - Room-temperature eggs blend better and help the cake rise. Mistakes can happen, but you can avoid them: - Overmixing the batter leads to a tough cake. - Make sure your baking powder and soda are fresh. - Let the cakes cool fully before frosting to avoid melting. - Don't rush the baking time; check for doneness with a toothpick. How you serve the cake matters. Here are some ideas: - Use a cake stand for a lovely display. - Add chopped walnuts on top for crunch and style. - A light dusting of cinnamon sugar gives it a festive look. - Serve each slice with a dollop of cinnamon butter for extra flair. - Use colorful plates to make your cake pop in photos! For the complete process and tips, refer to the Full Recipe for Carrot Cake Delight with Cinnamon Butter. {{image_4}} To make this carrot cake gluten-free, swap the all-purpose flour for a gluten-free blend. Look for a blend with xanthan gum for the best texture. This change keeps your cake moist and flavorful. Always check the labels for gluten-free certification. You can customize your cake by adding different nuts or fruits. Try pecans for a buttery crunch or almonds for a unique taste. Dried fruits like cranberries or apricots can add sweetness. Just remember to chop them well and fold them into the batter gently. For a vegan carrot cake, replace eggs with flax eggs. To make one flax egg, mix one tablespoon of ground flaxseed with three tablespoons of water. Let it sit for a few minutes to thicken. Use plant-based oil instead of vegetable oil and choose a dairy-free butter for the cinnamon butter. This way, you can enjoy the cake without eggs or dairy. After you enjoy your carrot cake, store leftovers in an airtight container. This keeps the cake moist and fresh. If you leave it out, it can dry out quickly. For best results, place the cake in the fridge if you won't eat it within two days. It can last up to a week when stored properly. Freezing carrot cake is easy and helps preserve its taste. First, let the cake cool completely. Then, wrap each layer tightly in plastic wrap. After that, place the wrapped layers in a freezer bag or a container. This can keep your cake fresh for up to three months. When you're ready to enjoy it, let it thaw overnight in the fridge. To reheat your carrot cake, take it out of the fridge and let it sit at room temperature for about 30 minutes. This helps the cake warm evenly. You can reheat slices in the microwave for about 10-15 seconds. If you want to warm the whole cake, set your oven to 350°F (175°C) and heat it for about 10 minutes. Be sure not to overheat it, or the cake may dry out. Enjoy your cake with a fresh spread of cinnamon butter! To make carrot cake moist, use fresh ingredients. Grate the carrots finely to release their natural juices. Adding crushed pineapple helps too. The oil in the recipe keeps the cake soft. Don’t overmix the batter; this can dry it out. Bake it at the correct temperature for the right time. Yes, you can substitute some ingredients. Use whole wheat flour for a healthier option. You can swap granulated sugar with brown sugar for a deeper flavor. If you need a dairy-free option, try using coconut oil instead of butter. Applesauce can replace some oil for moisture. Homemade carrot cake lasts about 3 to 5 days when stored in the fridge. Cover it well to keep it fresh. If you want to keep it longer, freeze it for up to three months. Just wrap it tightly in plastic wrap and foil. Carrot cake pairs well with many flavors. Cream cheese frosting is a classic choice. You can also serve it with vanilla ice cream or whipped cream. For drinks, try pairing it with chai tea or a glass of milk. Yes, many bakeries offer carrot cake with cinnamon butter for delivery. Check local bakeries or online cake shops. Some grocery stores may also have it in their bakery section. Always read reviews to find the best options. If you're looking for a specific recipe, check out the Full Recipe for a homemade touch. You now have all you need to make a delicious carrot cake. We covered every step, from the right ingredients to mixing and baking. You learned tips to avoid common mistakes and how to store your leftovers. Each variation allows you to customize your cake to fit your taste. With this guide, I hope you feel excited to bake your carrot cake masterpiece. Enjoy every bite of your creation!](https://tossedflavors.com/wp-content/uploads/2025/05/d0030a45-ee81-46bd-8a64-5761671153ce.webp)
Carrot Cake with Cinnamon Butter Perfect for Celebrations
Carrot cake is a delight, and adding cinnamon butter takes it to a new level. This sweet treat is perfect for any celebration. Picture a

Easy Chocolate Mousse Cups Simple and Delectable Treat
Craving something sweet and creamy? You’re in the right place! These Easy Chocolate Mousse Cups are simple to make and taste heavenly. With just a
![- 2 ripe bananas - 1 cup rolled oats - 1/4 cup chia seeds - 1/4 cup almond butter (or peanut butter) - 1/4 cup honey or maple syrup - 1 teaspoon pure vanilla extract - 1/2 teaspoon baking powder - 1/2 teaspoon ground cinnamon - A pinch of salt - 1/2 cup chopped walnuts or pecans (optional) - 1/2 cup dark chocolate chips (optional) To make Chia Banana Bread Energy Bites, you need simple ingredients. Ripe bananas give our bites natural sweetness and moisture. Rolled oats add texture and fiber. Chia seeds bring protein and healthy fats. Almond butter is creamy and rich but feel free to use peanut butter. For sweetening, honey or maple syrup works well. Both add flavor and stickiness. The vanilla extract enhances the taste, while cinnamon brings warmth. A pinch of salt balances the sweetness. You can add walnuts for crunch or dark chocolate chips for a sweet twist. These optional ingredients boost the flavor and texture. You can mix and match to fit your taste. For the full recipe, you can check out [Full Recipe]. 1. Preheat your oven to 350°F (175°C). This step is key for even baking. 2. Line a baking sheet with parchment paper. This helps to avoid sticking later. 3. In a large bowl, mash the ripe bananas well. Then, mix in almond butter and honey. 4. Add one teaspoon of pure vanilla extract for a nice flavor boost. 1. In a separate bowl, combine rolled oats, chia seeds, baking powder, ground cinnamon, and a pinch of salt. This mix brings the energy bites together. 2. Gradually add the dry mix to the wet mix. Stir gently until everything is just combined. Be careful not to over-mix. 3. If you want extra crunch, fold in chopped walnuts or dark chocolate chips. These are optional but add great flavor. 4. Using your hands or a cookie scoop, shape the mixture into small balls, about one inch in diameter. Space them evenly on the baking sheet. 1. Bake the bites in your preheated oven for 12-15 minutes. Look for golden brown edges to know they’re done. 2. Once baked, let them cool on the baking sheet for about 5 minutes. This helps them firm up. 3. Carefully transfer the bites to a wire rack to cool completely. This keeps them from getting soggy. For the full recipe, refer to the section above. To create the best chia banana bread energy bites, focus on texture. Use ripe bananas. They should be soft and sweet. This will help your bites be moist and tasty. When mixing, combine wet and dry ingredients gently. Over-mixing can lead to tough bites. Keep the mixture thick but not dry. Common mistakes include not using enough ripe bananas. This can make your bites dry. Also, be careful with your baking time. If you bake too long, you lose that soft texture. Check your bites at 12 minutes. They should be golden, not brown. For serving, arrange your energy bites in a fun way. Use a rustic bowl and line it with parchment paper. This adds charm and keeps them fresh. You can also sprinkle chia seeds on top for a decorative touch. Want to showcase your energy bites? Create a tiered display. This draws attention and makes them look fancy. You can also pair them with fresh fruit or yogurt. This adds color and flavor to your snack spread. For storage, keep any extras in an airtight container in the fridge. They stay fresh for up to a week. Enjoy your healthy snack! Try the Full Recipe to get started. {{image_4}} You can easily make this recipe fit your needs. For gluten-free options, choose certified gluten-free rolled oats. This keeps your energy bites safe for those with gluten issues. If you want a vegan version, swap honey for maple syrup. This keeps the sweetness but fits a plant-based diet. You can also use almond butter or peanut butter as your base. To change up the taste, try different nut butters. Cashew butter or sunflower seed butter will add new flavors. Each nut butter brings its unique twist. Adding spices can also make a big difference. Try a pinch of nutmeg or ginger for warmth. You can also add extracts like almond or coconut for a fun twist. Want to pack in more nutrition? Add superfoods like hemp seeds or flaxseeds. They boost the protein and omega-3 content. You can customize your bites for specific diets. If you need more protein, add a scoop of protein powder. This makes your energy bites a great post-workout snack. For the full recipe, check out the earlier section. To keep your Chia Banana Bread Energy Bites fresh, use an airtight container. Glass or plastic containers work well. Make sure the lid seals tightly to keep air out. Store them in the fridge for best results. This cool environment helps maintain flavor and texture. Chia Banana Bread Energy Bites last for about one week in the fridge. If you freeze them, they can last up to three months. To check for spoilage, look for changes in color or smell. If they seem dry or hard, it's time to toss them. For best taste, enjoy them fresh! Can I freeze these energy bites? Yes, you can freeze these energy bites. Place them in a single layer on a baking sheet. Once frozen, transfer them to a zip-top bag. They will stay fresh for up to three months. This makes them a great on-the-go snack! How many energy bites should I eat per serving? A good serving size is about three energy bites. This gives you a nice boost of energy without overdoing it. Adjust based on your hunger or activity level. Listen to your body! What are the health benefits of chia seeds and bananas? Chia seeds are rich in fiber, protein, and omega-3 fatty acids. They help with digestion and keep you full. Bananas provide potassium and natural sugars for quick energy. Together, they make a nutritious snack. Can I replace oats with another grain? Yes, you can use other grains like quinoa or buckwheat. Just make sure they are cooked and cooled. This gives you a different texture and taste. What other sweeteners can I use instead of honey or maple syrup? You can use agave nectar, coconut sugar, or stevia. Each sweetener has its unique flavor. Choose one that fits your taste and dietary needs. Can I make these energy bites without an oven? Absolutely! You can make these without an oven. Simply roll the mixture into balls and chill them in the fridge. This helps them firm up nicely. What’s the best method for mashing bananas? To mash bananas, use a fork or a potato masher. Start with ripe bananas for the best flavor. Aim for a smooth consistency with a few small lumps for texture. These Chia Banana Bread Energy Bites are a simple and fun treat. You learned about the best ingredients, preparation steps, and tips for success. We explored variations to fit your needs and preferences. Storing them properly ensures they stay fresh. Remember, you can customize the flavors and textures to your mood. Enjoy these healthy bites as a snack or energy boost. They are perfect for kids and adults alike. Now, get in the kitchen and start creating!](https://tossedflavors.com/wp-content/uploads/2025/05/b79735c8-bdfc-40db-b365-742d9ab2026b.webp)
Chia Banana Bread Energy Bites Healthy Snack Idea
Looking for a healthy snack that’s easy to make and delicious? Try my Chia Banana Bread Energy Bites! These bites pack the goodness of ripe
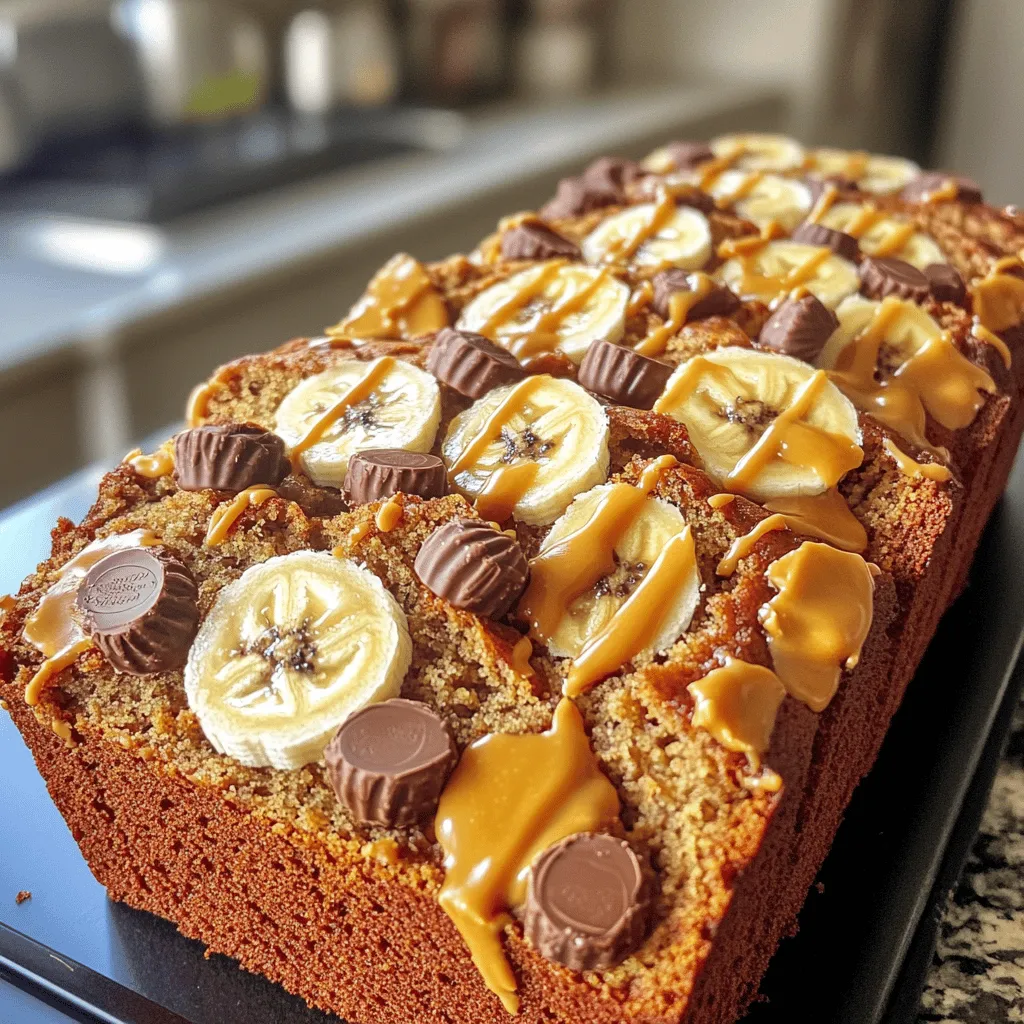
Reese’s Peanut Butter Banana Bread Irresistible Delight
Are you ready to take your banana bread game to the next level? This Reese’s Peanut Butter Banana Bread is an irresistible delight that blends

Bakery Style Chocolate Chip Cookies Delightful Recipe
If you’re craving warm, chewy cookies that taste like they came straight from a bakery, you’re in the right place! In this delightful recipe, I’ll
![To make Oreo brownie cookies, gather these simple ingredients: - 1 cup unsalted butter, melted - 1 1/4 cups granulated sugar - 1 cup packed brown sugar - 2 large eggs, at room temperature - 2 teaspoons pure vanilla extract - 1 cup all-purpose flour - 3/4 cup unsweetened cocoa powder - 1 teaspoon baking powder - 1/2 teaspoon fine sea salt - 1 cup semi-sweet chocolate chips - 12 Oreo cookies, crushed (plus extra for garnish) These ingredients create a rich and chewy cookie. The butter and sugars make the base sweet and soft. The cocoa powder gives that deep chocolate flavor, while the Oreos add crunch and fun. To whip up these tasty cookies, you will need: - Mixing bowls - Whisk or electric mixer - Baking sheet - Parchment paper - Spatula - Cookie scoop or spoon - Wire rack Having these tools handy makes the process smooth and easy. If you’re missing an ingredient, don’t worry! Here are some swaps: - Use coconut oil instead of melted butter for a dairy-free option. - For a gluten-free version, replace all-purpose flour with a gluten-free blend. - You can swap brown sugar for coconut sugar for a healthier touch. - If you want less sugar, cut down on granulated sugar and add more cocoa powder. These swaps keep your cookies delicious while meeting your needs! For the full recipe, check the details provided. Start by preheating your oven to 350°F (175°C). This step is key for even baking. While the oven warms up, line a baking sheet with parchment paper. This helps with easy cleanup and keeps your cookies from sticking. In a large mixing bowl, add 1 cup of melted butter, 1 1/4 cups of granulated sugar, and 1 cup of packed brown sugar. Whisk these ingredients together until smooth and creamy. Next, add 2 large eggs, one at a time. Beat well after each egg. Finally, stir in 2 teaspoons of pure vanilla extract. Make sure everything is well mixed. In another bowl, sift together 1 cup of all-purpose flour, 3/4 cup of unsweetened cocoa powder, 1 teaspoon of baking powder, and 1/2 teaspoon of fine sea salt. Gradually add this dry mix to the wet ingredients. Stir gently until just combined. Be careful not to overmix, as this can make the cookies tough. Now, fold in 1 cup of semi-sweet chocolate chips and 12 crushed Oreo cookies. Use a spoon or cookie scoop to drop tablespoons of dough onto the baking sheet. Space them about 2 inches apart. For extra flair, press a few crushed Oreos onto the tops of the cookies before baking. Bake for 10-12 minutes. The edges should be set, while the centers stay soft. Once done, let the cookies rest on the baking sheet for about 5 minutes. Then, transfer them to a wire rack to cool completely. Enjoy your delicious cookies! For the full recipe, check out the section above. To get those soft, chewy Oreo brownie cookies, focus on your baking time. Bake for just 10-12 minutes. You want the edges set but the centers still soft. This underbaking keeps the cookies chewy and moist. Another key is to let the cookies rest on the baking sheet for about 5 minutes after baking. This helps them firm up without losing that gooey center. Keep an eye on your cookies while they bake. Every oven is different. Start checking them at 10 minutes. If they look slightly shiny in the middle, they are ready. Remove them while they still look a bit undercooked. If you bake them too long, they will harden as they cool. To keep your cookies fresh, store them in an airtight container. Place a slice of bread in the container to keep them soft. The bread adds moisture, helping the cookies stay chewy. If you want to save them for later, freeze the cookies. Just wrap them well in plastic wrap and place them in a freezer bag. They will stay fresh for up to three months. {{image_4}} You can make these cookies even better by adding nuts. Chopped walnuts or pecans work well. Add about half a cup to the dough. You can also mix in other treats, like peanut butter chips or caramel bits. These add fun flavors and textures to your cookies. If you need a gluten-free version, swap the all-purpose flour for a gluten-free blend. Look for a blend that contains xanthan gum. This helps with texture. You can also use almond flour, but you may need to adjust the amount. Start with about 3/4 cup and see how the dough feels. To make these cookies vegan, replace the eggs with flax eggs. Mix one tablespoon of ground flaxseed with three tablespoons of water. Let it sit for five minutes to thicken. For butter, use coconut oil or a plant-based butter. These swaps help keep the cookies soft and chewy. Enjoy the rich flavors without eggs or dairy! For the full recipe, check out the [Full Recipe]. You can find pre-made Oreo brownie cookies from several brands. Popular options include: - Oreo - Little Debbie - Entenmann's - Pepperidge Farm These brands offer tasty treats that often mimic homemade flavors. When you want a quick dessert, these options are great. Prices for pre-made Oreo brownie cookies vary based on brand and store. Here are a few price ranges: - Local grocery stores: $3 to $5 per pack - Online retailers: $4 to $8 per pack, depending on shipping costs Quality can also differ. Some brands may use fewer preservatives, resulting in better taste. Always check the ingredient list. Customer reviews can help you decide which pre-made cookies to buy. Many people appreciate the rich flavor of Oreo brownie cookies. They often mention: - Soft texture - Rich chocolate taste - Sweetness balance Look for products with high ratings. Reviews can guide you to the best options. Yes, you can use other cookies. Try chocolate sandwich cookies or your favorite treats. Each type adds a unique taste. Just remember to crush them into small pieces. This helps mix flavors well throughout the dough. Experiment with flavors you enjoy! Store these cookies in an airtight container. This keeps them soft and chewy. You can keep them at room temperature for up to a week. For longer storage, put them in the fridge. You can also freeze them. Just thaw before serving. They taste great even after freezing! Pair these cookies with milk for a classic combo. You can also serve them with ice cream. Try a scoop of vanilla or chocolate. Whipped cream adds a nice touch too. For a fun twist, sprinkle crushed Oreos on top of your ice cream. It’s a treat everyone will love! To make gluten-free Oreo brownie cookies, swap all-purpose flour for gluten-free flour. Many brands work well, so pick your favorite. Ensure the cookies you use are gluten-free. Check the packaging carefully. Follow the same steps in the recipe, and you’ll get delicious cookies without gluten! We covered a lot about making Oreo brownie cookies. You learned about the best ingredients, equipment, and substitutes. Step-by-step, I showed how to mix, bake, and cool your cookies. I shared tips for texture and storage, plus fun variations. You can even find pre-made options with great reviews. Enjoy experimenting with these cookies! Each bite offers a blend of flavors that delights. With practice, your cookies will impress everyone. Baking can be fun and rewarding!](https://tossedflavors.com/wp-content/uploads/2025/05/4f8d1bb1-9808-4f91-835e-be4b88d45e40.webp)
Oreo Brownie Cookies Deliciously Soft and Chewy Treat
Get ready to indulge in the best of both worlds with Oreo Brownie Cookies! Imagine soft, chewy cookies packed with rich brownie flavor and crunchy
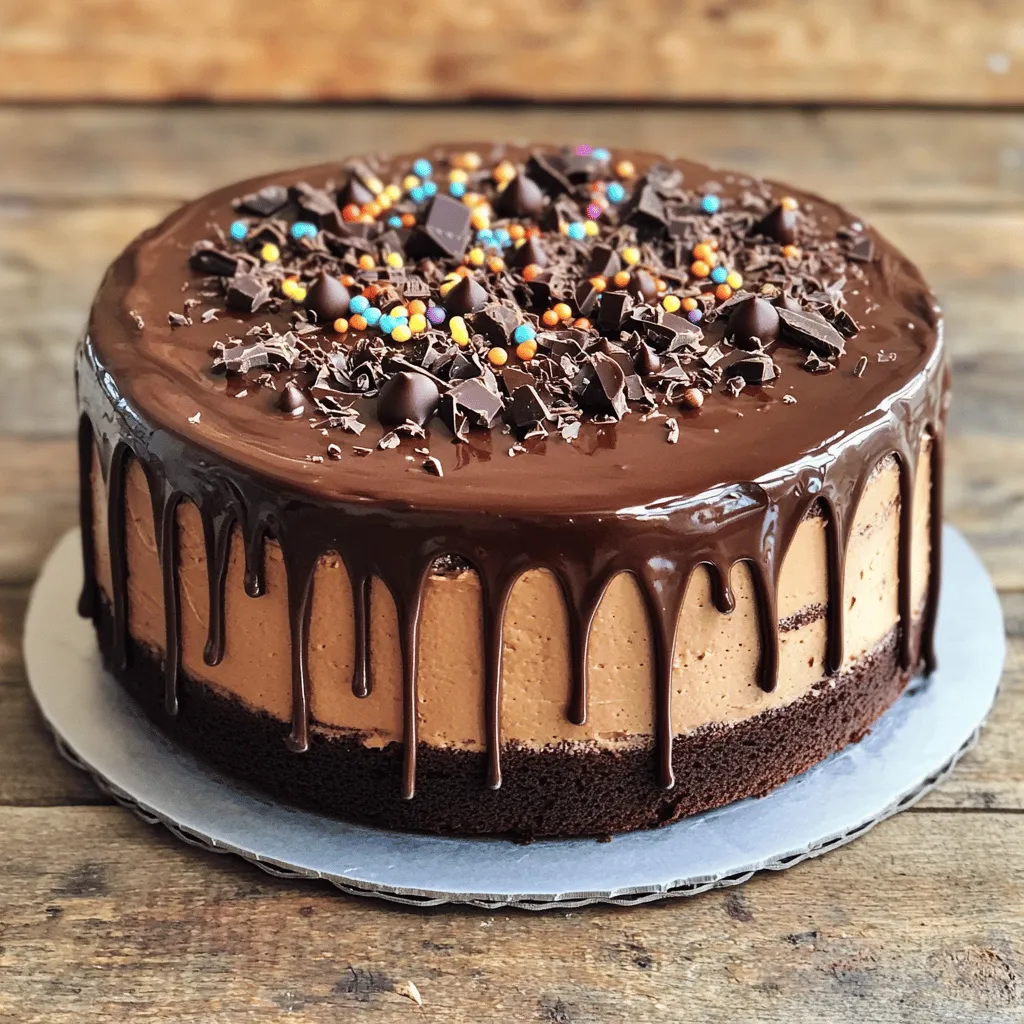
Chocolate Drip Cake Recipe for Delicious Perfection
Are you ready to impress your friends and family with a stunning Chocolate Drip Cake? This blog post provides a simple, step-by-step recipe that makes