Desserts
Cheesecake Crescent Rolls Casserole Easy and Delicious
Get ready to impress your family and friends with my easy and delicious Cheesecake Crescent Rolls Casserole! This dish combines the creamy goodness of cheesecake
No Bake Almond Butter Cookies Easy and Tasty Treat
Looking for an easy and tasty treat? These No Bake Almond Butter Cookies are just what you need! With just a few simple ingredients like
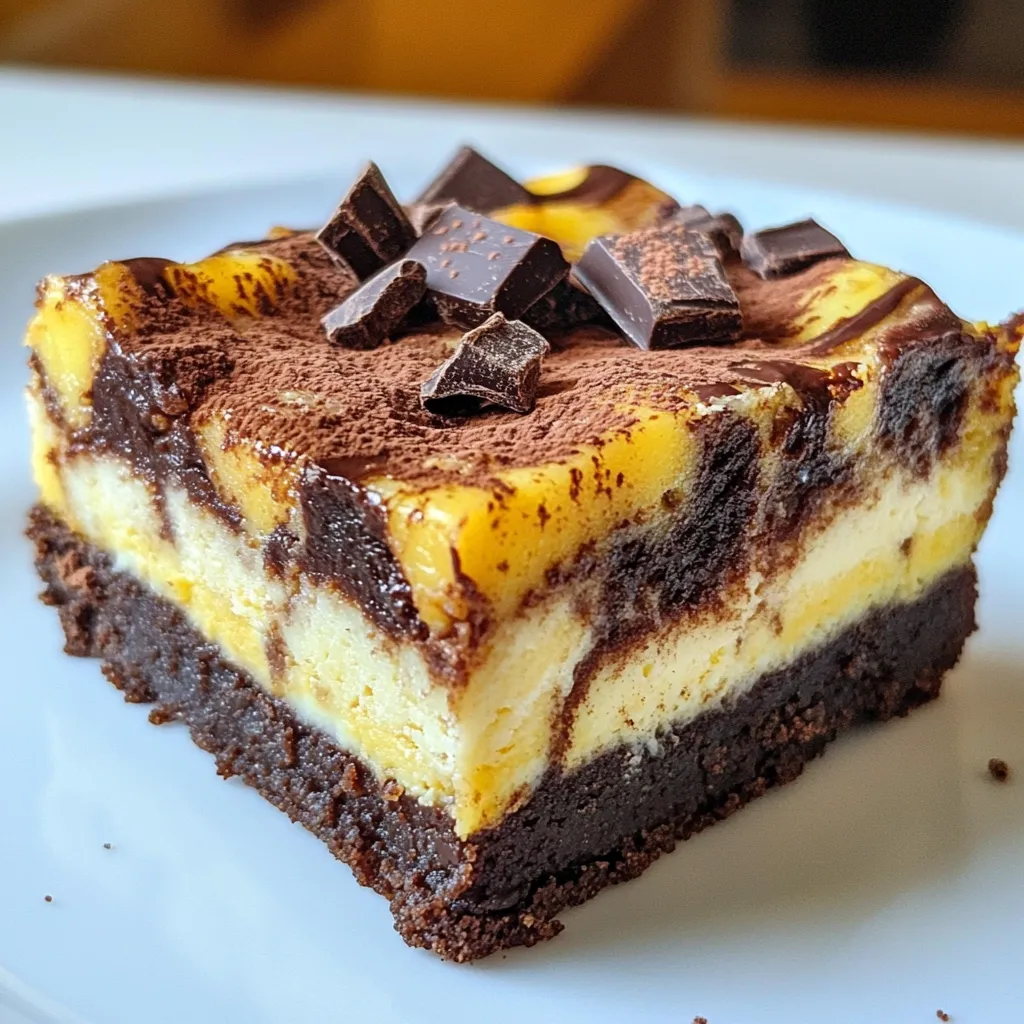
Pumpkin Cheesecake Swirl Brownies Irresistible Treat
Get ready to satisfy your sweet tooth with my Pumpkin Cheesecake Swirl Brownies! These moist, fudgy brownies combine rich chocolate with velvety pumpkin cheesecake, creating

Buttery Cinnamon Roll Doughnuts Irresistible Delight
If you love the warm, sweet smell of cinnamon rolls, get ready for a treat! Buttery Cinnamon Roll Doughnuts combine the best of both worlds
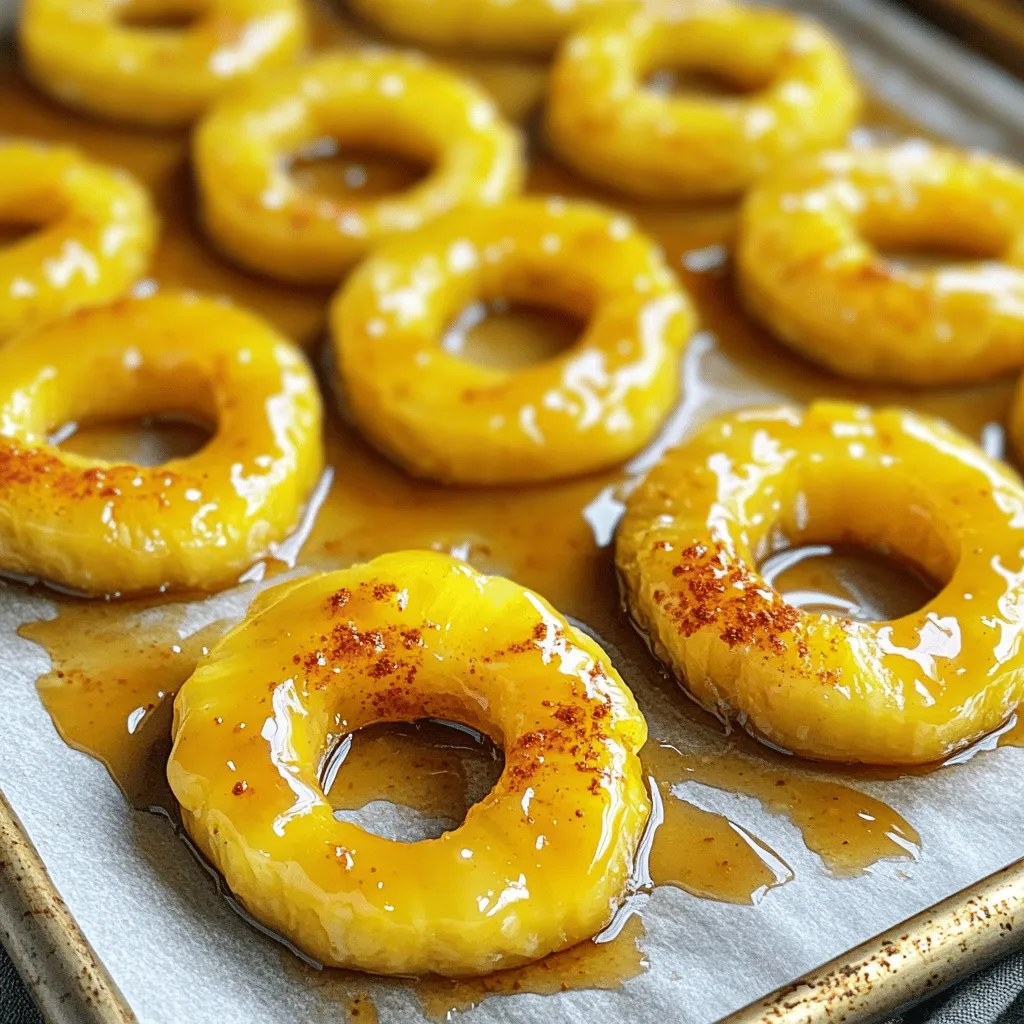
Pineapple Cowboy Candy Tasty and Easy Homemade Treat
Are you ready to transform your kitchen into a candy wonderland? Pineapple Cowboy Candy is a sweet and spicy treat that’s easy to make at
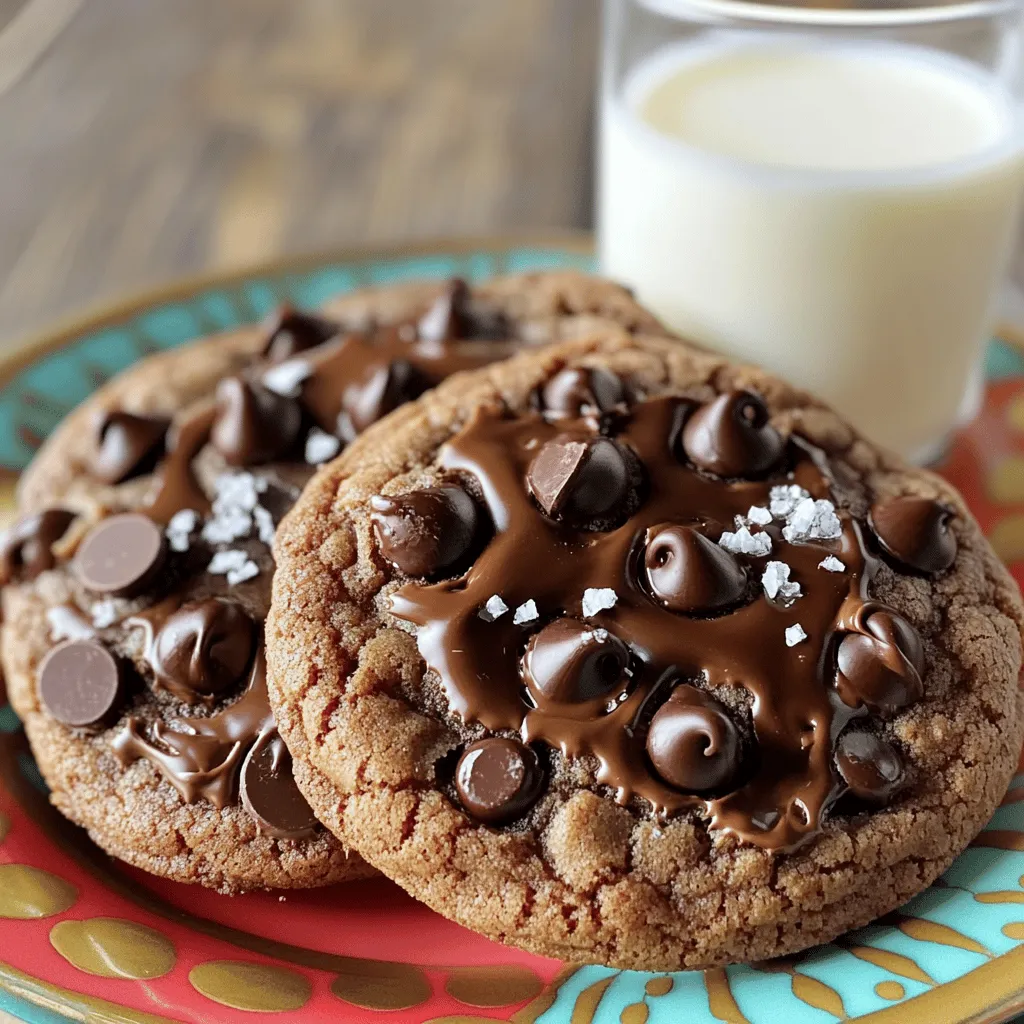
Chocolate Sugar Cookies Delightful and Simple Recipe
Looking for a sweet treat that’s both easy and delicious? You’ve come to the right place! In this post, I’ll share my simple recipe for

Raspberry Cookies Delightful Treat for Sweet Lovers
If you love sweet treats, raspberry cookies will be your new favorite! These cookies mix tart, juicy raspberries with creamy white chocolate for a delightful
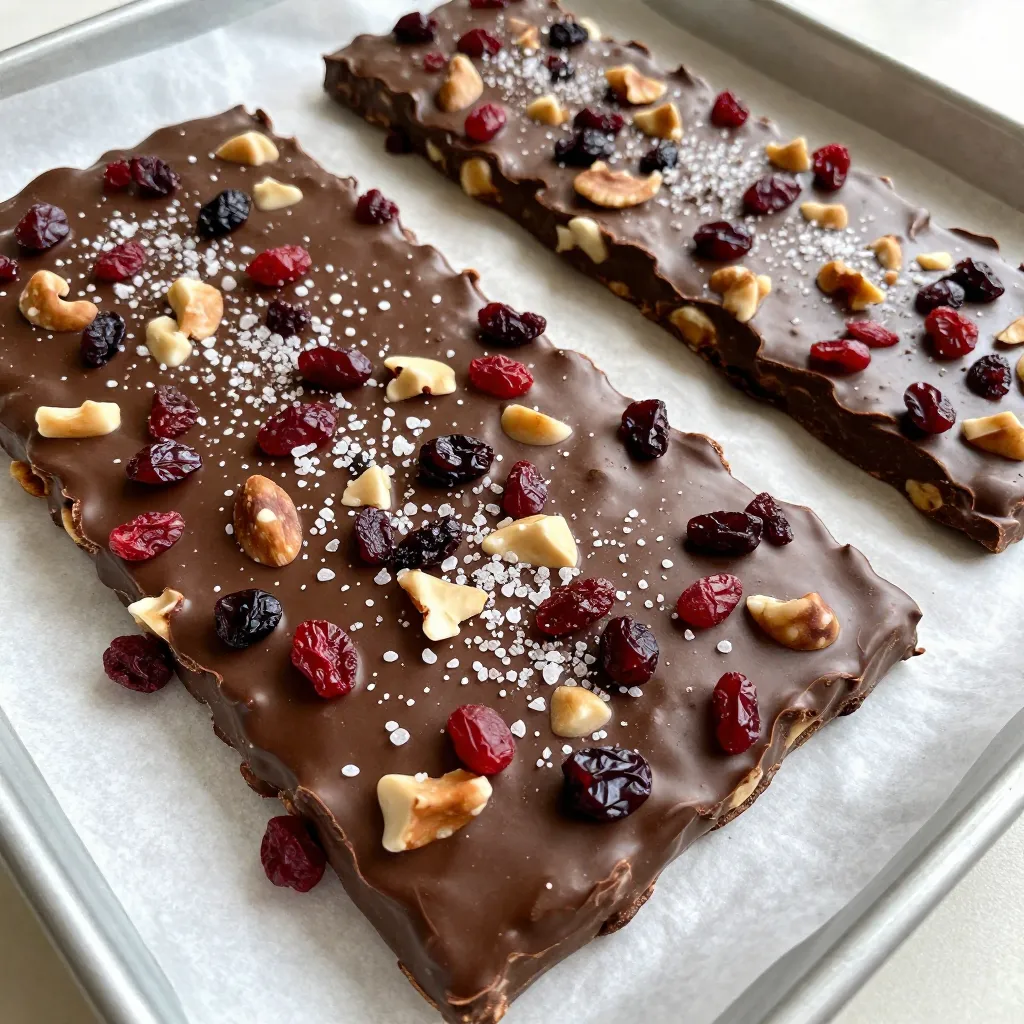
Dark Chocolate Sea Salt Bark Irresistible Snack Treat
If you’re looking for a quick, satisfying snack, Dark Chocolate Sea Salt Bark hits the spot. This treat combines rich dark chocolate with a splash
![To make this tasty treat, you need the following cake ingredients: - 1 cup crushed chocolate sandwich cookies (like Oreos) - 1 cup all-purpose flour - 1 teaspoon baking powder - 1/2 teaspoon baking soda - 1/4 teaspoon salt - 1/2 cup unsalted butter, softened - 1 cup granulated sugar - 2 large eggs - 1 teaspoon pure vanilla extract - 1/2 cup buttermilk, at room temperature For the toppings and garnishes, gather these: - 1 cup whipped cream (store-bought or homemade) - Additional crushed cookies for garnish When choosing chocolate sandwich cookies, I recommend using classic Oreos. They provide a rich flavor and great crunch. If you prefer something unique, try flavored varieties like mint or peanut butter. For butter, always use unsalted butter. It gives you control over salt levels. As for cream, heavy whipping cream works best for a rich and fluffy texture. It whips up beautifully and adds a lovely finish to your jars. Make sure your ingredients are fresh for the best taste and texture. Enjoy creating your Cookies and Cream Cake Jar Delight! 1. Preheat and Grease the Cake Pan: Start by preheating your oven to 350°F (175°C). Grab a 9-inch round cake pan. Grease it with butter and dust it lightly with flour. This helps the cake come out easily after baking. 2. Mix Dry and Wet Ingredients: In a medium bowl, whisk together 1 cup of all-purpose flour, 1 teaspoon of baking powder, 1/2 teaspoon of baking soda, and 1/4 teaspoon of salt. Set this dry mix aside. In a larger bowl, mix 1/2 cup of softened butter and 1 cup of sugar with an electric mixer until fluffy. This should take about 3 to 4 minutes. Next, add 2 large eggs one by one. Mix well after each egg. Stir in 1 teaspoon of pure vanilla extract. - Importance of Baking Time: Gradually add the dry mixture and 1/2 cup of buttermilk to the wet mix, starting and ending with the dry mix. Mix just until combined. Overmixing can make the cake tough. Fold in 1 cup of crushed chocolate sandwich cookies. Pour the batter into your prepared pan. Bake for 25 to 30 minutes. Check with a toothpick; it should come out clean or with a few crumbs. - Cooling Process Tips: After baking, allow the cake to cool in the pan for 10 minutes. Then, transfer it to a cooling rack. Let it cool completely for about an hour. A cool cake is easier to crumble and layer. 1. Instructions for Crumbling the Cake: Once cooled, crumble the cake into small pieces in a large bowl. Make sure the pieces are uniform for even layering. 2. How to Layer the Jars for the Best Presentation: Get clean jars or dessert cups ready. Start with a spoonful of crumbled cake at the bottom of each jar. Add a layer of whipped cream. Repeat this process, adding more cake and cream until you fill the jars. End with whipped cream on top. For a finishing touch, sprinkle extra crushed cookies on top. Chill the jars in the fridge for at least 30 minutes before serving. This lets the flavors meld beautifully. To see the full recipe, check out the [Full Recipe]. To get a light and soft cake, you need to mix the batter just right. Start by mixing your butter and sugar until they seem fluffy. This helps add air to your cake. When you add the eggs, do it one at a time. Make sure to mix well after each egg. For even baking, always preheat your oven to the right temperature. This step makes sure your cake cooks evenly. Place the cake pan in the center of the oven. This helps the heat circulate around it. You can make this cake even more fun by trying different flavors. For a twist, swap some of the vanilla for chocolate. You can also add a hint of mint for a fresh kick. When it comes to presentation, use clear jars to show off those beautiful layers. Add a dollop of whipped cream on top and sprinkle some crushed cookies for a nice finish. Use colorful twine to tie a small spoon to the jar for a cute touch. If you're interested in the full recipe, check out the complete instructions above. {{image_4}} To keep your cookies and cream cake jars fresh, store them in the fridge. Use an airtight container or cover each jar tightly with plastic wrap. This will help prevent the whipped cream from absorbing any odors. Your cake jars will stay tasty for about 3 to 5 days. After that, the cake may dry out and the cream might lose its fluffiness. If you have extra cake, crumble it and store it in a sealed bag. It can last up to a week in the fridge. For leftover whipped cream, place it in a clean container with a tight lid. Whipped cream can stay fresh for about 3 days. If it starts to separate, just whisk it a bit to bring back the creaminess. How to make cookies and cream cake jars ahead of time? You can prepare the cake and cream the night before. Just layer them in jars the next day. This saves time and lets the flavors blend well. Keep the jars in the fridge until you are ready to serve. Can I use different types of cookies? Yes, feel free to try other cookies. Vanilla wafers or chocolate chip cookies work great too. Just remember to match the cookie flavor with your cake for the best taste. What is the best way to serve cake jars? Serve the jars chilled for a refreshing treat. You can place them on a colorful tray. Add small spoons for easy eating. This makes your dessert look fun and inviting. What to do if the cake is too dry? If your cake turns out dry, add a little milk or cream to the jar. This can help soften the cake layers. Also, avoid overbaking next time. Keep an eye on the time! How to fix layers that don’t stick together? If the layers don’t stick, use more whipped cream between them. This helps hold the layers in place. You can also try crumbling the cake a bit finer for better layering. In this post, we covered how to create a delicious Cookies and Cream Cake Jar. We looked at essential ingredients and tips for choosing the best ones. You learned step-by-step instructions for making the cake, layering it, and enhancing its flavor. Plus, we shared storage tips and answered common questions. The joy of making cake jars lies in their fun and flexible nature. With practice, you can create a treat that impresses everyone. Enjoy experimenting with flavors and make these jars your own!](https://tossedflavors.com/wp-content/uploads/2025/05/7a4e65ab-4dbf-409f-a917-974ea922ba0c.webp)
Cookies and Cream Cake Jar Delightful Dessert Recipe
Craving a sweet treat that’s both fun and easy to make? The Cookies and Cream Cake Jar is just what you need! This delightful dessert
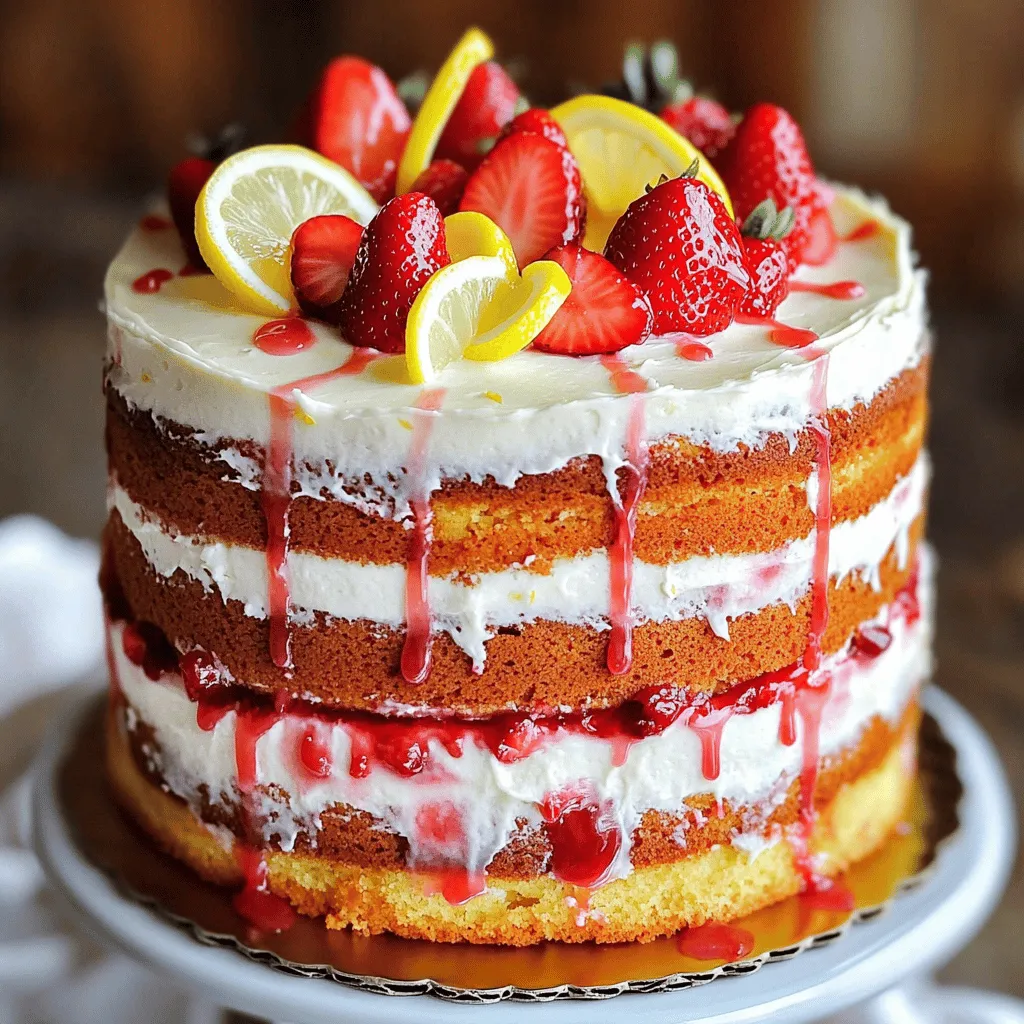
Strawberry Lemonade Layer Cake Delightful and Refreshing
Are you ready for a treat that screams summer? My Strawberry Lemonade Layer Cake is your new go-to dessert! It’s light, refreshing, and packed with