Desserts
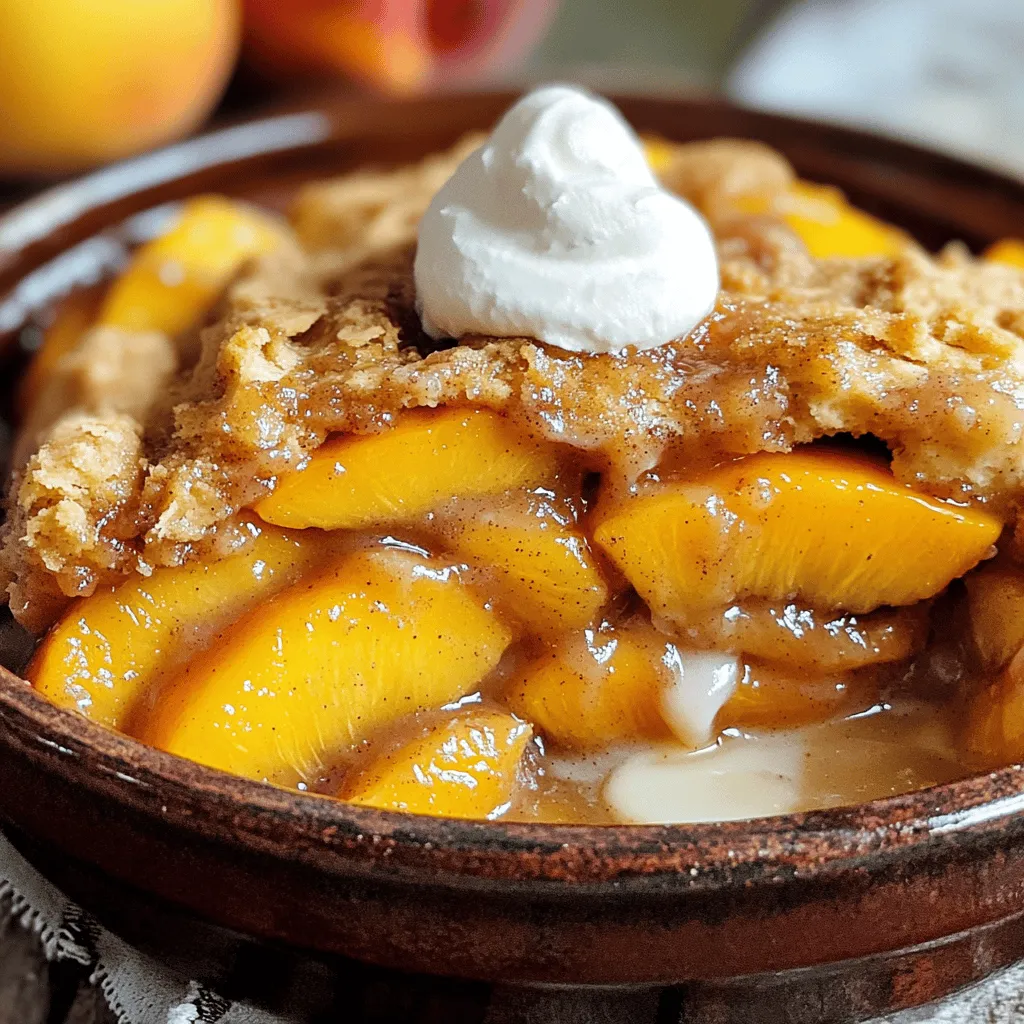
. Start by peeling and slicing 4 cups of fresh peaches. Then, place them in a large bowl. Add 1/2 cup of granulated sugar, 1 tablespoon of lemon juice, 1 teaspoon of cinnamon, and 1 teaspoon of vanilla extract. Mix gently so the peaches get coated well. Let the mixture sit for about 10 minutes. This step helps the peaches release their juices, making the filling extra tasty. If you want a thicker filling, add 1 tablespoon of cornstarch and stir it in. In a separate bowl, combine 1 cup of all-purpose flour, the remaining 1/2 cup of sugar, 2 teaspoons of baking powder, and 1/2 teaspoon of salt. Whisk these dry ingredients until they blend well. Next, slowly pour in 1/2 cup of milk and 1/4 cup of melted butter. Mix until just combined. It’s fine if the batter is a bit lumpy. Overmixing can make your cobbler tough, and we want it light and fluffy. Now, take your greased 9x13 inch baking dish and pour the peach mixture evenly across the bottom. Then, use a spoon to drop dollops of the batter over the peaches, leaving some gaps for the fruit to show. Place the dish in your preheated oven at 350°F (175°C) and bake for 40-45 minutes. You know it’s done when the top turns golden brown and a toothpick comes out clean. After baking, let it cool for about 10 minutes. This cooling time helps it set, making it easier to serve. Enjoy your Peach Cobbler Delight with whipped cream or ice cream for a real treat! For the full recipe, check out the details above. Choosing ripe peaches is key. Look for peaches that are firm but slightly soft to the touch. The skin should have a warm golden hue. A sweet aroma at the stem end means they are ripe. Avoid peaches with dark spots or wrinkles; they may be overripe. If you can't find ripe peaches, let them sit on your counter for a few days. To get the best texture in your cobbler, avoid overmixing the batter. Mix until just combined; lumps are okay. This keeps the cobbler light and fluffy. Also, let the peach mixture sit for about 10 minutes. This allows the juices to release, creating a juicy filling that balances the batter. Serve your peach cobbler warm for the best experience. Top it with a generous scoop of vanilla ice cream or whipped cream. The cold creaminess pairs perfectly with the warm cobbler. For a fun twist, sprinkle some cinnamon or add fresh mint leaves on top for a pop of color. You can also try drizzling honey for extra sweetness. For the full recipe, check out the detailed instructions provided earlier. {{image_4}} You can change the flavor of your peach cobbler by adding other fruits. Try blueberries, raspberries, or even apples. Mixing fruits gives your dessert a new twist. Use about 2 cups of mixed fruits for the best results. Each fruit adds its own taste and texture. For example, blueberries bring sweetness, while tart raspberries add a zing. If you want a gluten-free version, swap the all-purpose flour for a gluten-free blend. Many blends work well in baking. You can also use almond flour or coconut flour. Just remember to adjust the liquid since these flours often absorb more moisture. This way, you can enjoy peach cobbler without gluten. Toppings can change the game for your cobbler. Instead of whipped cream, try vanilla yogurt or a scoop of ice cream. For a crunch, sprinkle nuts like pecans or almonds on top before baking. You can also add oats to the batter for a hearty touch. Mix and match to find your favorite combinations. Each swap can make your dessert even more delightful. For the full recipe, check out the recipe section. To keep your peach cobbler fresh, let it cool completely. Cover it tightly with plastic wrap or foil. You can also use an airtight container. Store it in the fridge for up to four days. This keeps it moist and tasty. Avoid leaving it at room temperature for too long, as this can spoil the dessert. When you're ready to enjoy leftovers, preheat your oven to 350°F (175°C). Place the cobbler in an oven-safe dish. Cover it with foil to keep it from drying out. Warm it for about 15-20 minutes. This helps revive the flavors and give your cobbler a nice, warm texture. If you're in a hurry, you can use a microwave. Heat in short bursts, checking often. You can freeze peach cobbler for later. First, let it cool completely. Cut it into serving sizes for easy thawing. Wrap each piece in plastic wrap. Then place them in a freezer-safe bag or container. Label it with the date. You can freeze it for up to three months. When you're ready to eat, thaw it in the fridge overnight, then reheat as mentioned above. This way, you always have a sweet treat ready to go! Yes, you can use canned peaches. They save time and are easy to find. Drain the syrup well before using. This helps keep the cobbler from becoming too watery. Canned peaches can taste sweet, so you might want to adjust the sugar in the recipe. To make the cobbler crust flaky, use cold butter. Cut the butter into small pieces and mix it in with the flour. You can also use a pastry cutter or your fingers to blend the butter. Some people like to add a bit of ice water to the mix. This helps keep the dough light and flaky. Peach Cobbler Delight tastes amazing with whipped cream or vanilla ice cream. You can also serve it with a scoop of yogurt for a tangy twist. Fresh mint leaves on top can add a nice touch. For more ideas, check out the Full Recipe for serving suggestions. Peach cobbler is a delightful dish you can make with fresh peaches and simple ingredients. In this guide, we covered how to prepare the filling, create the batter, and bake your cobbler. I shared tips for choosing the best peaches and suggested fun variations, like adding different fruits. Lastly, I explained how to store leftovers for later enjoyment. Enjoy your peach cobbler, and remember, the best part is sharing it with others!](https://tossedflavors.com/wp-content/uploads/2025/06/11474bb0-d928-4050-a94e-658e78079954.webp)
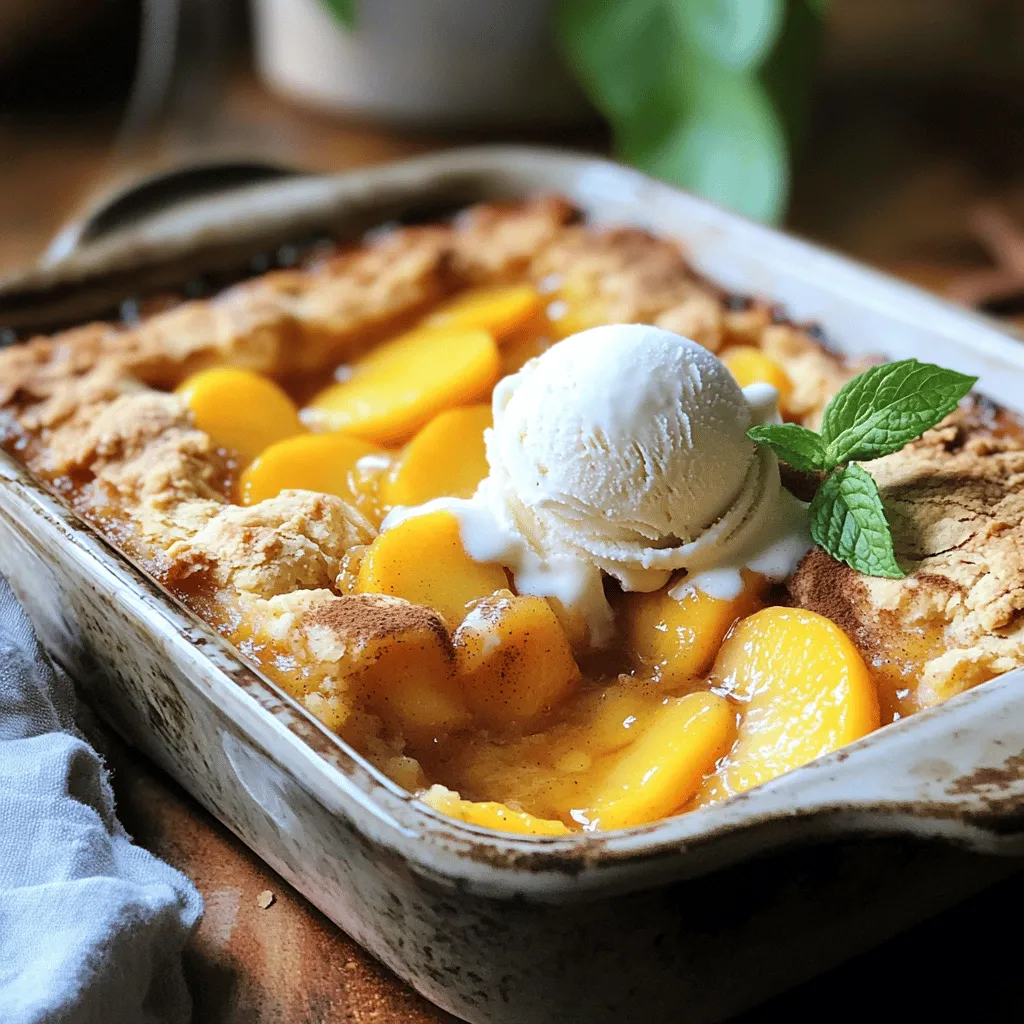
Peach Cobbler Delight Irresistible Dessert Recipe
Peach Cobbler Delight is a dessert that will make your taste buds sing. This easy recipe uses fresh peaches and simple ingredients to create a
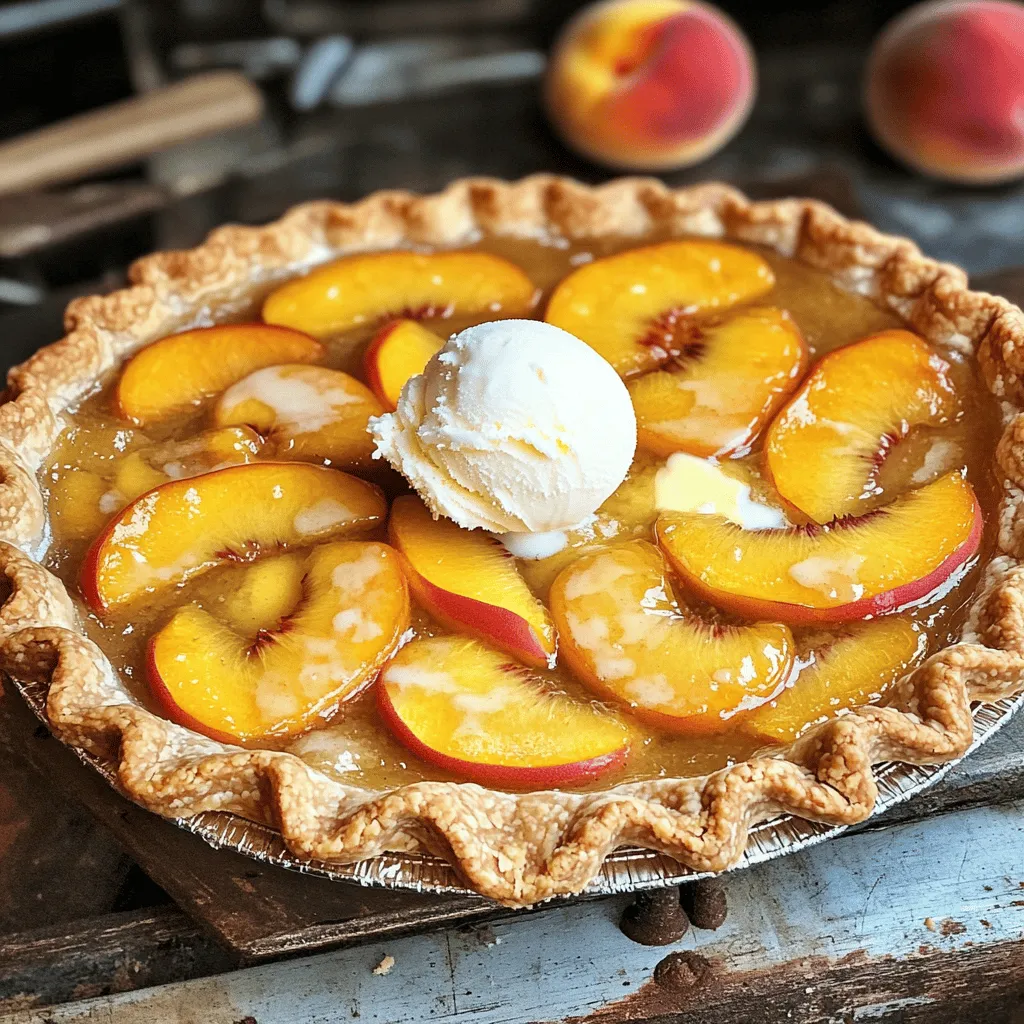
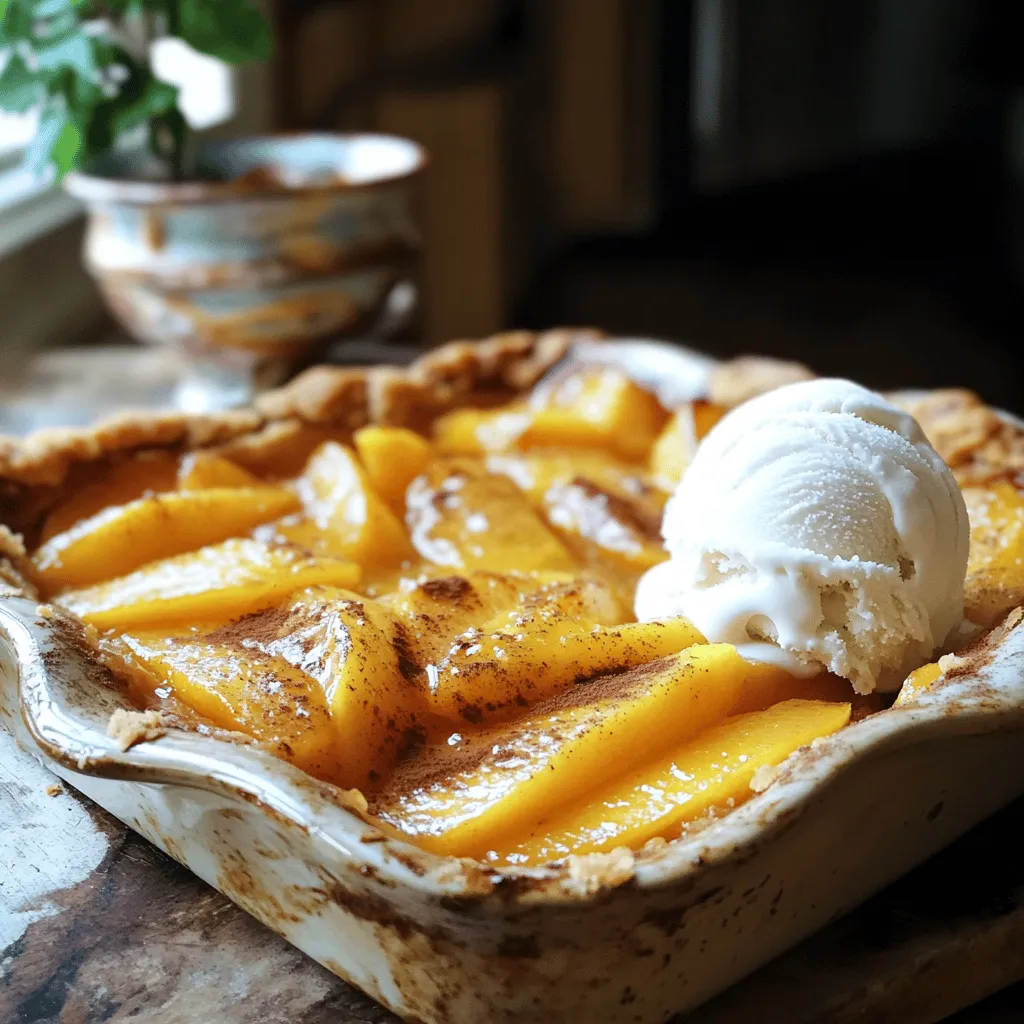
The Best Peach Pie Ever Simple and Delicious Recipe
If you love peaches and pie, this recipe is for you! I’ll show you how to make the best peach pie ever. With simple ingredients
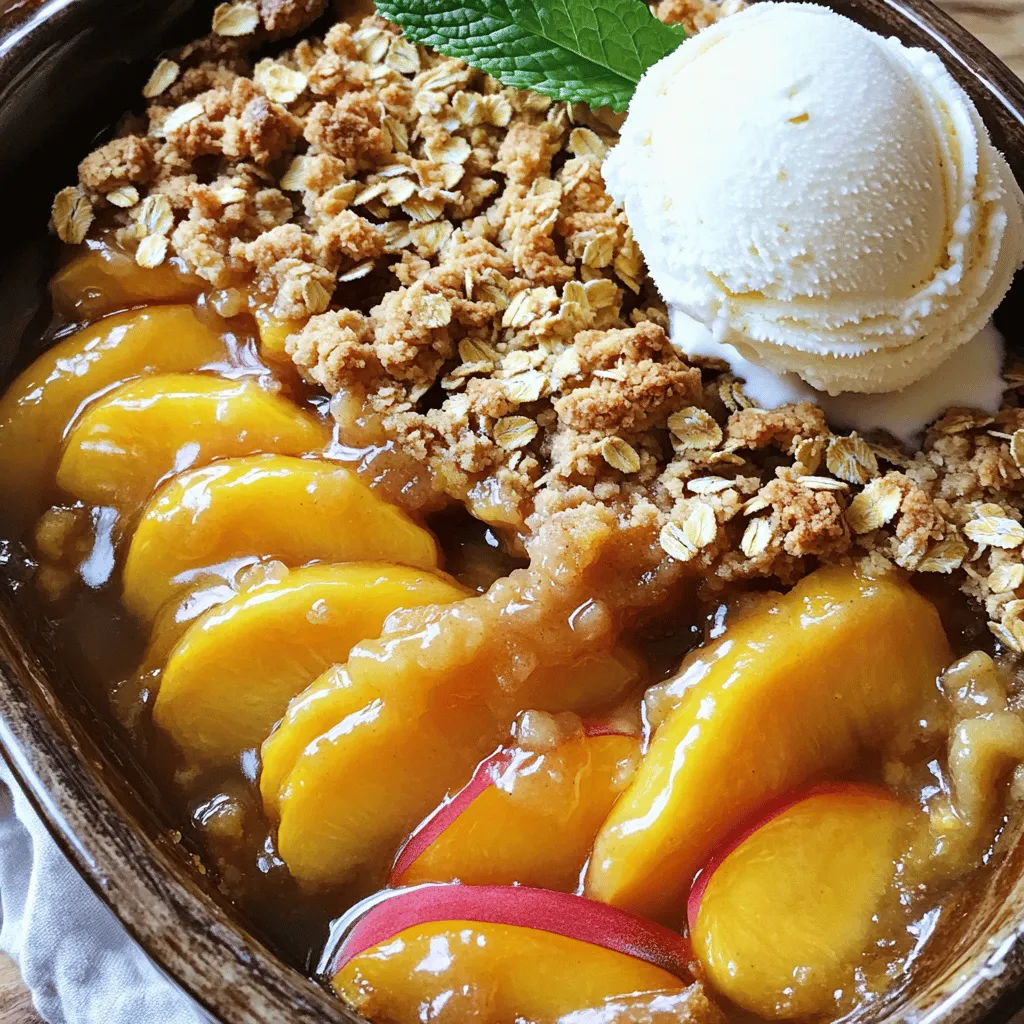
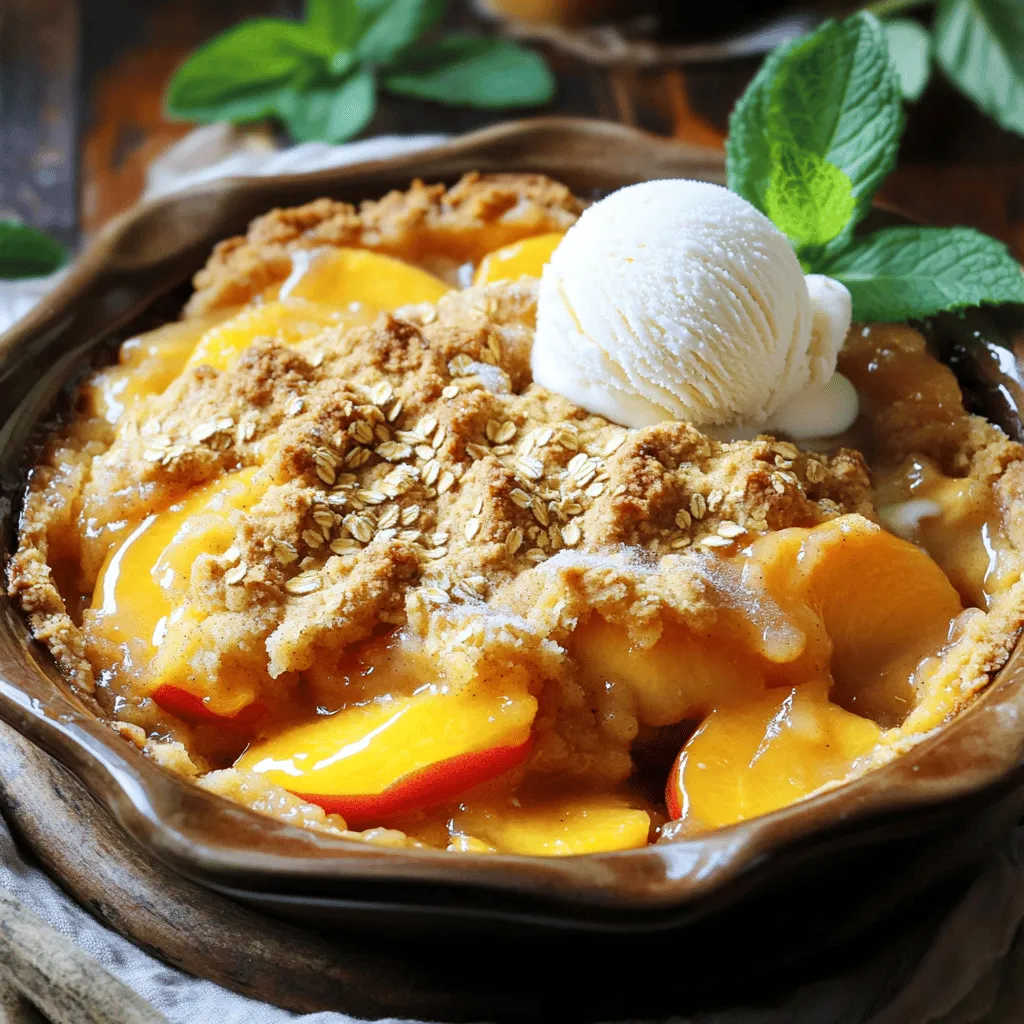
Peach Crisp Delightful Dessert for All Occasions
Craving a sweet treat that shines at any gathering? Look no further than peach crisp! This delightful dessert combines juicy peaches with a crunchy topping,
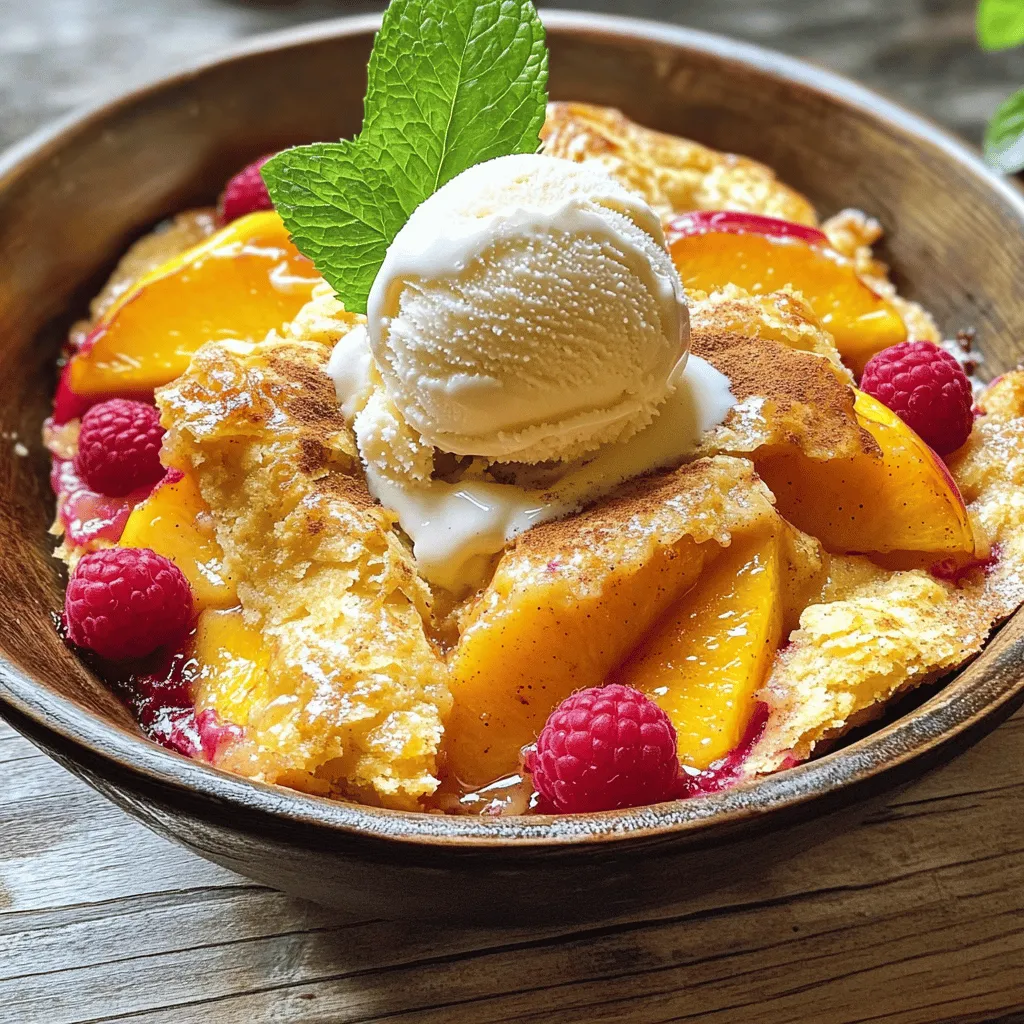
Easy Peach and Raspberry Cobbler Simple and Delicious
Craving a dessert that’s both simple and delicious? Look no further than this Easy Peach and Raspberry Cobbler! Bursting with fresh fruit and a buttery
Instant Pot Peach Cobbler Delightful and Easy Recipe
Looking for a dessert that’s both delightful and simple? This Instant Pot Peach Cobbler recipe is your answer! With fresh peaches, a few basic ingredients,
Fresh Peach Cobbler Delightful and Simple Dessert Recipe
Are you craving a sweet treat that’s as simple as it is delicious? Look no further! This Fresh Peach Cobbler recipe combines juicy peaches with
Paula Deen’s Peach Cobbler Simple and Tasty Recipe
Are you ready to impress your friends and family with a simple yet delicious dessert? Paula Deen’s Peach Cobbler is a classic treat that screams
Frozen Peach Cobbler Delicious and Easy Dessert Recipe
Craving something sweet and comforting? This Frozen Peach Cobbler is your answer! It’s a tasty dessert that’s easy to make, even if you’re new to
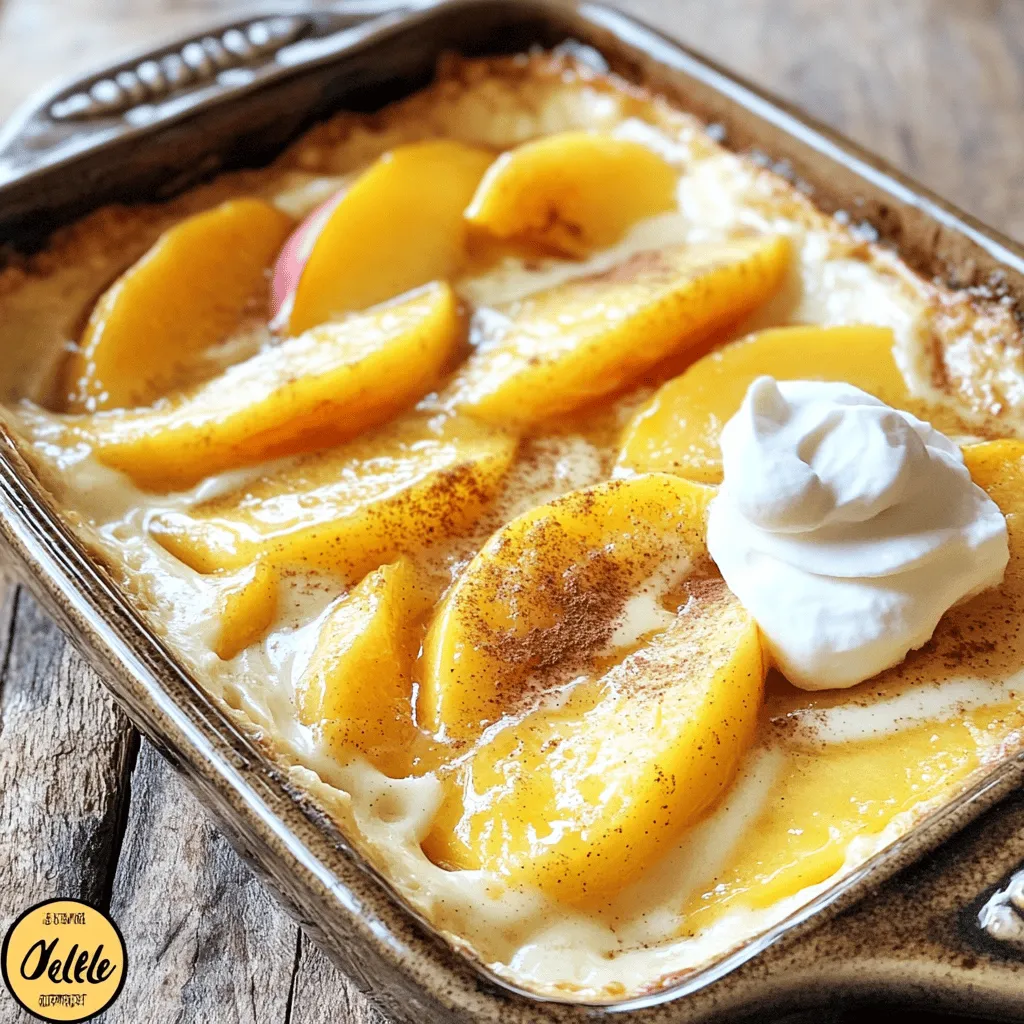
Easy Peach Custard Dessert Simple and Delicious Treat
Are you ready to treat yourself to a simple and delicious dessert? This Easy Peach Custard Dessert combines ripe peaches with a rich, creamy custard.
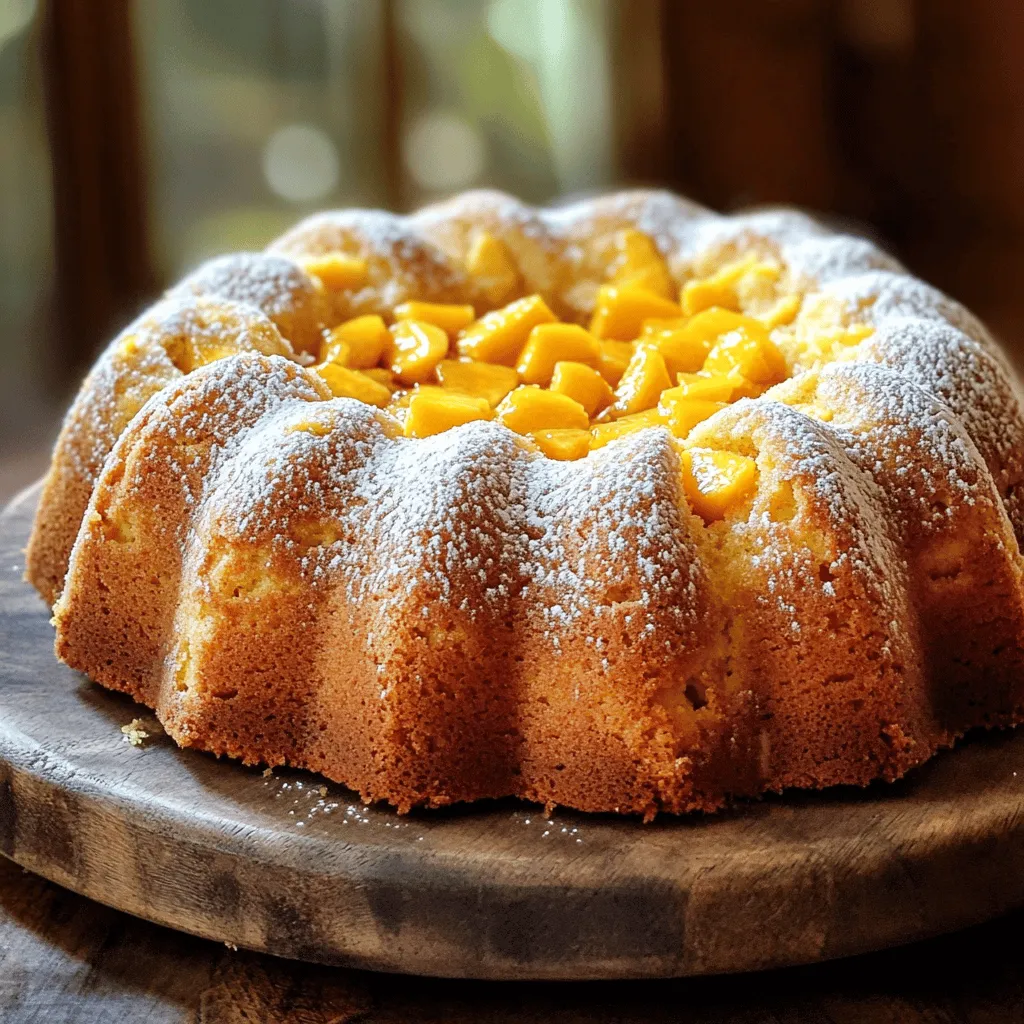
Peach Cobbler Cream Cheese Pound Cake Delightful Recipe
Are you ready to bake something truly special? This Peach Cobbler Cream Cheese Pound Cake combines the rich, creamy texture of cream cheese with the