Desserts
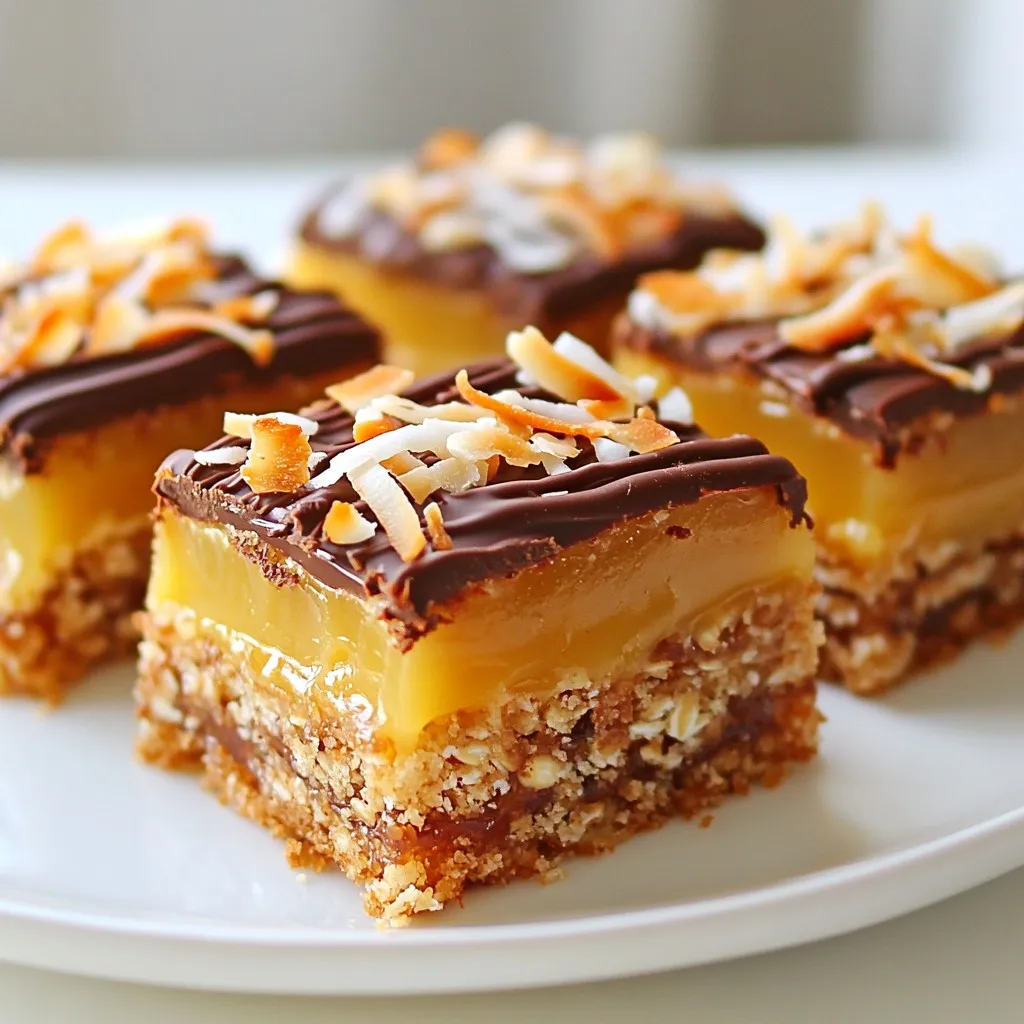
Coconut Caramel Samoas Bars Irresistible Delight
If you crave a sweet treat that perfectly blends coconut and caramel, you’re in for a real delight! My Coconut Caramel Samoas Bars are easy
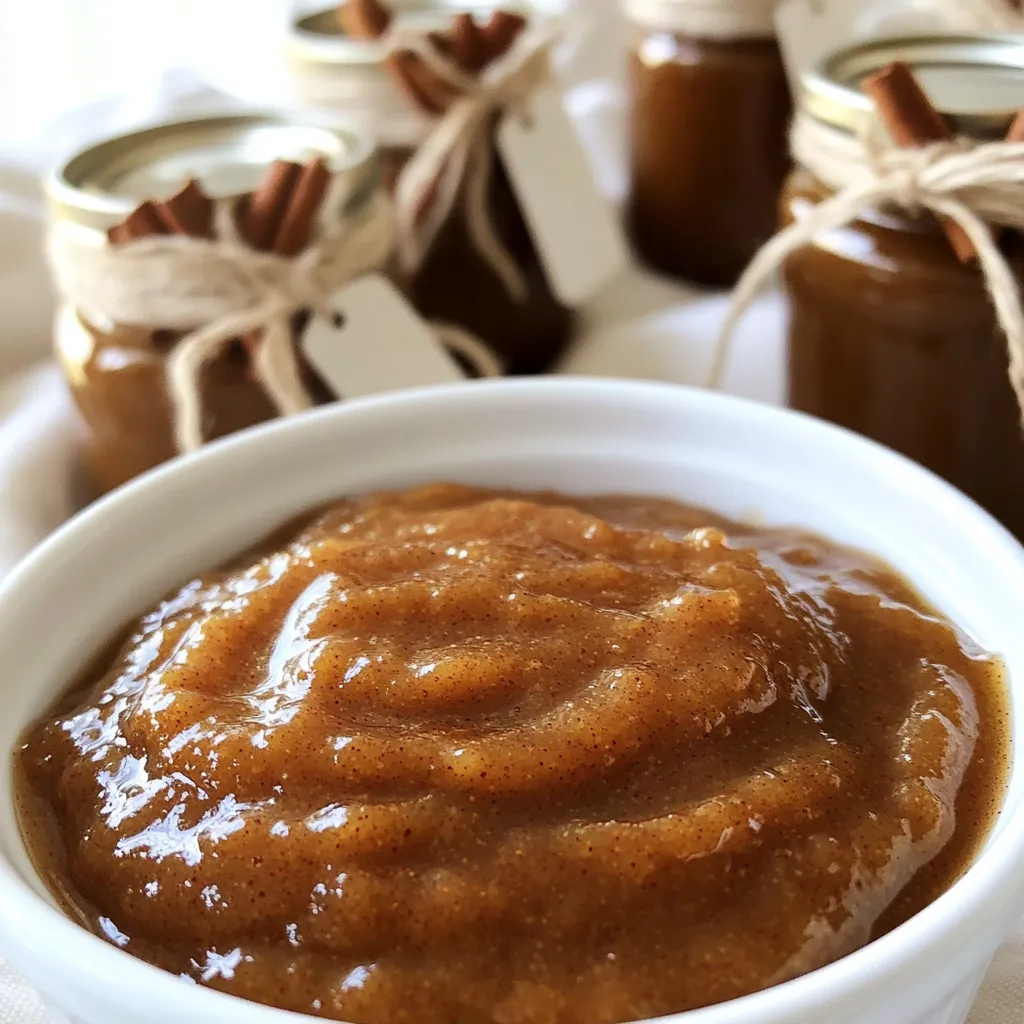
Cinnamon Spiced Apple Butter Slow Cooker Delight
Get ready to enjoy a warm, cozy treat with my Cinnamon Spiced Apple Butter Slow Cooker Delight! This easy recipe transforms fresh apples into a

Pumpkin Pie Cheesecake Bites Air Fryer Delight
Craving something sweet and festive? Let’s make Pumpkin Pie Cheesecake Bites in your air fryer! These little treats combine the rich flavors of pumpkin pie
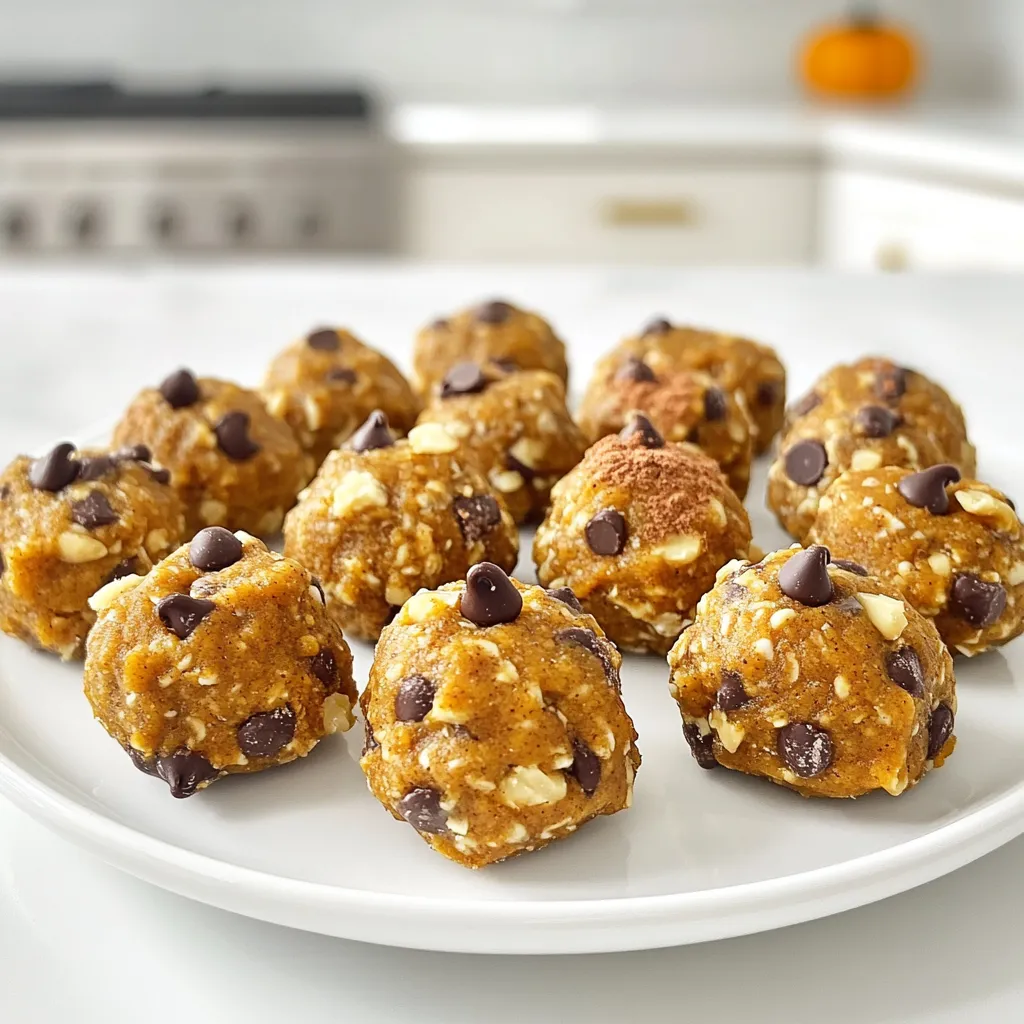
Peanut Butter Pumpkin Energy Bites Nourishing Snack
Looking for a quick, nutritious snack? These Peanut Butter Pumpkin Energy Bites are perfect for you! Easy to make, no baking required, and packed with
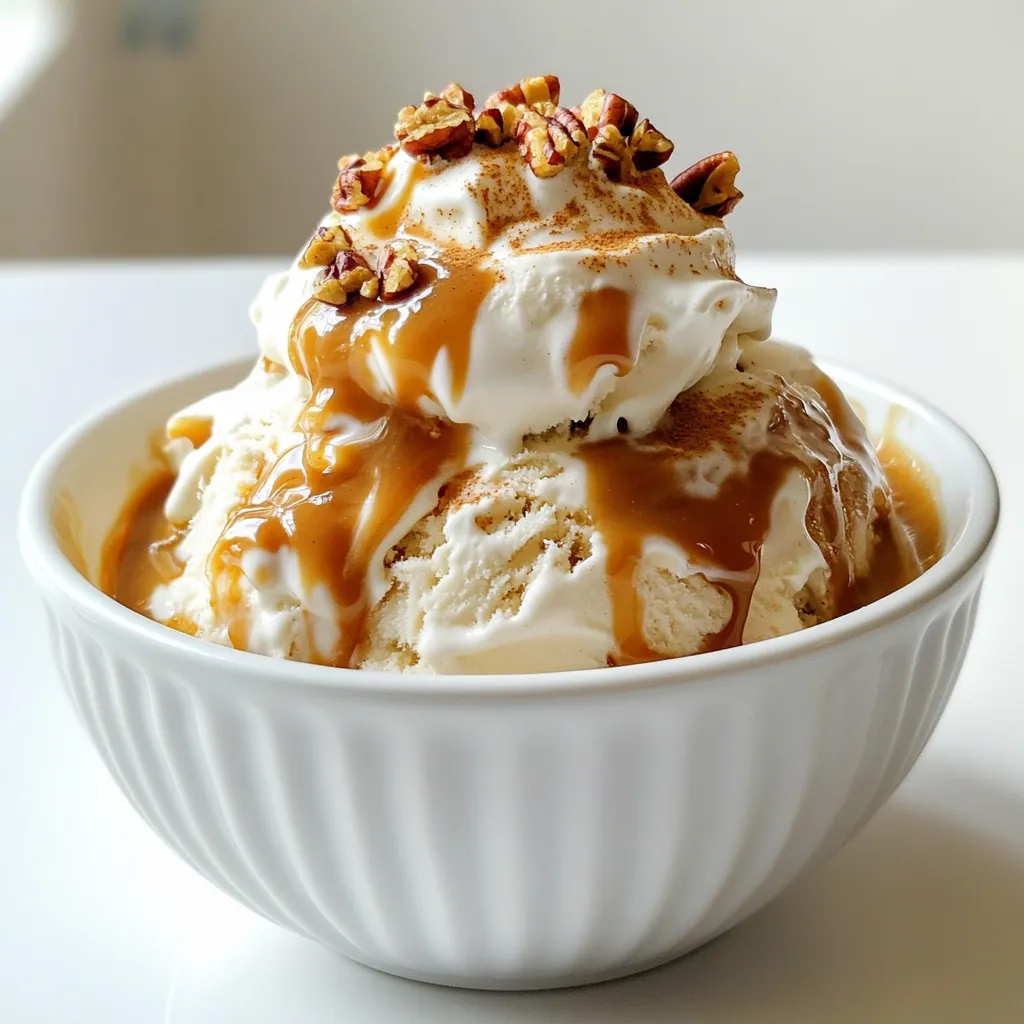
Caramel Pumpkin Spice Affogato Delightful Dessert Recipe
Indulging in a Caramel Pumpkin Spice Affogato is the perfect way to celebrate fall. This delightful dessert combines rich espresso, creamy pumpkin spice ice cream,
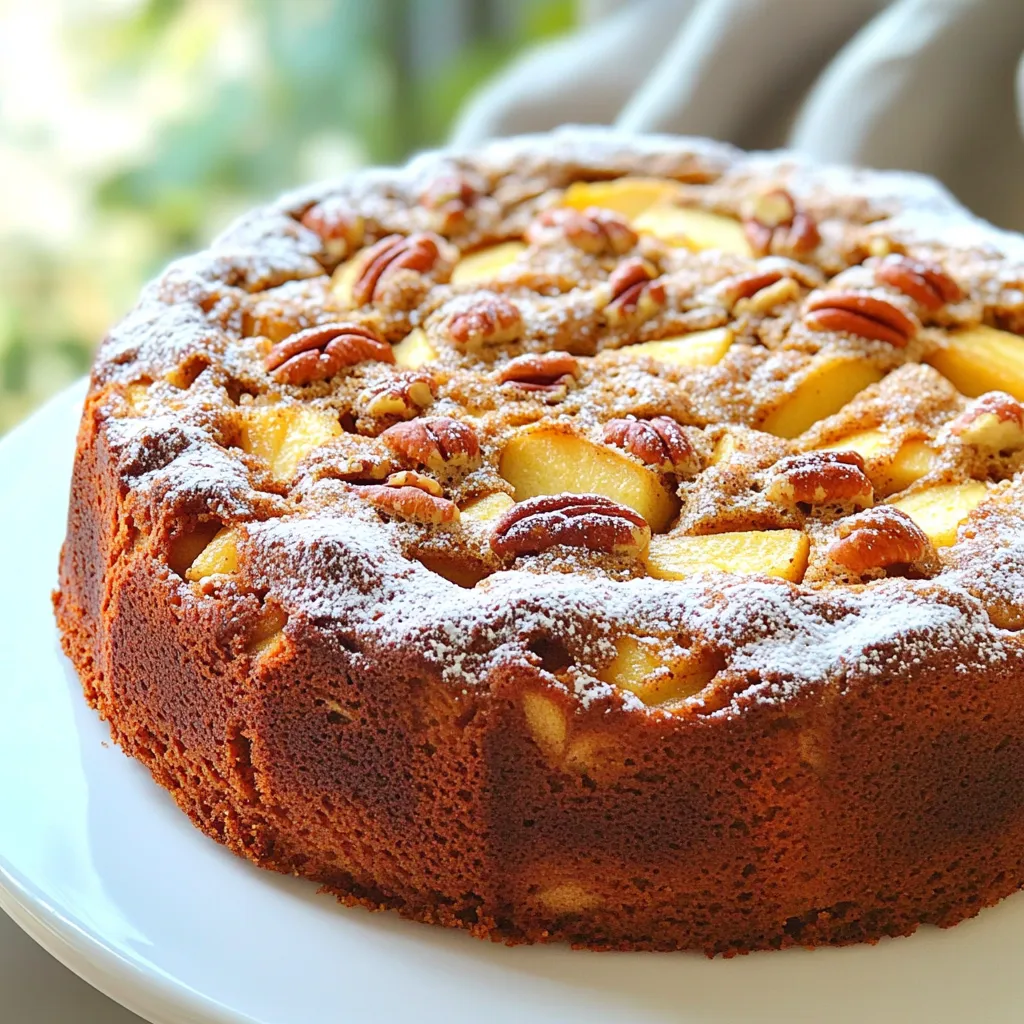
Brown Butter Apple Pecan Pound Cake Delightful Treat
If you’re ready to treat yourself to something sweet, this Brown Butter Apple Pecan Pound Cake is a must-try! This recipe combines rich, nutty brown
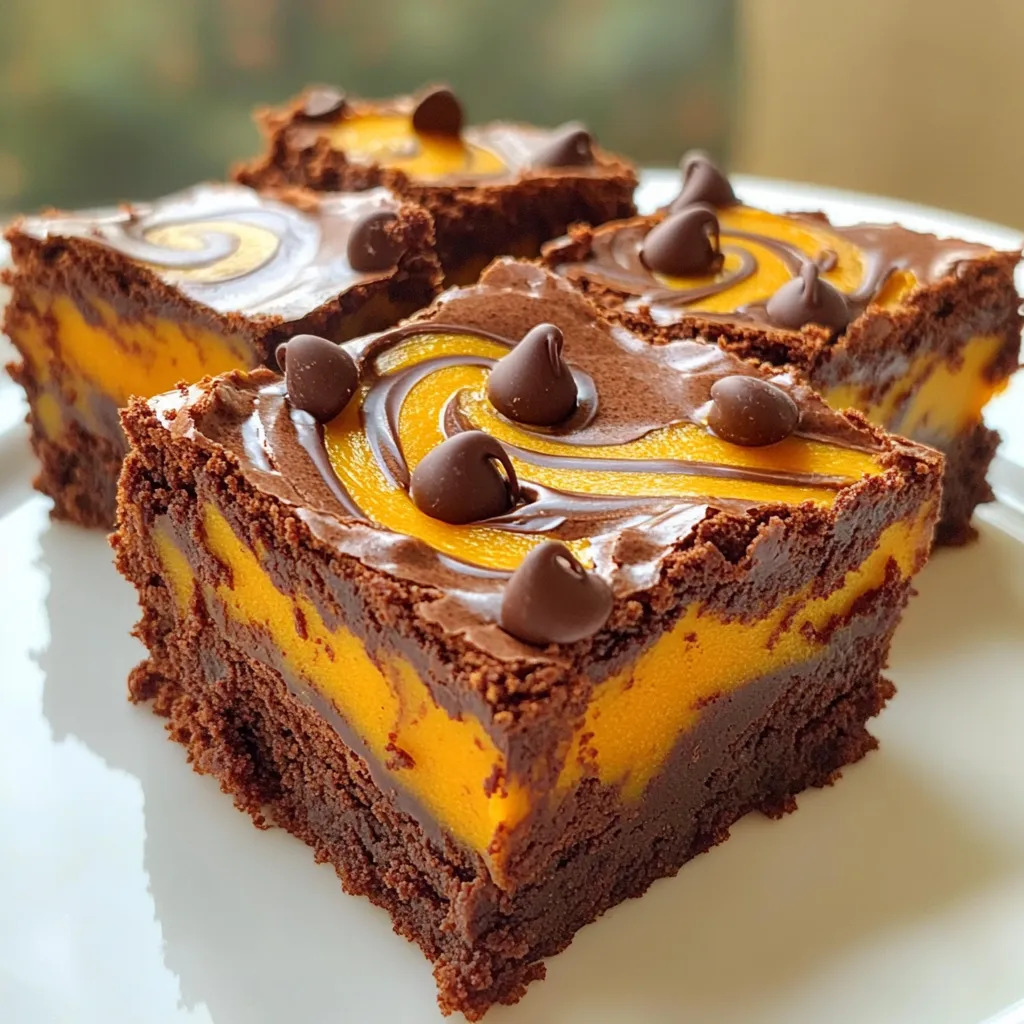
Bakery-Style Chocolate Pumpkin Swirl Brownies Delight
Get ready to indulge in the rich, gooey goodness of Bakery-Style Chocolate Pumpkin Swirl Brownies! These decadent treats combine chocolate and pumpkin for a delightful
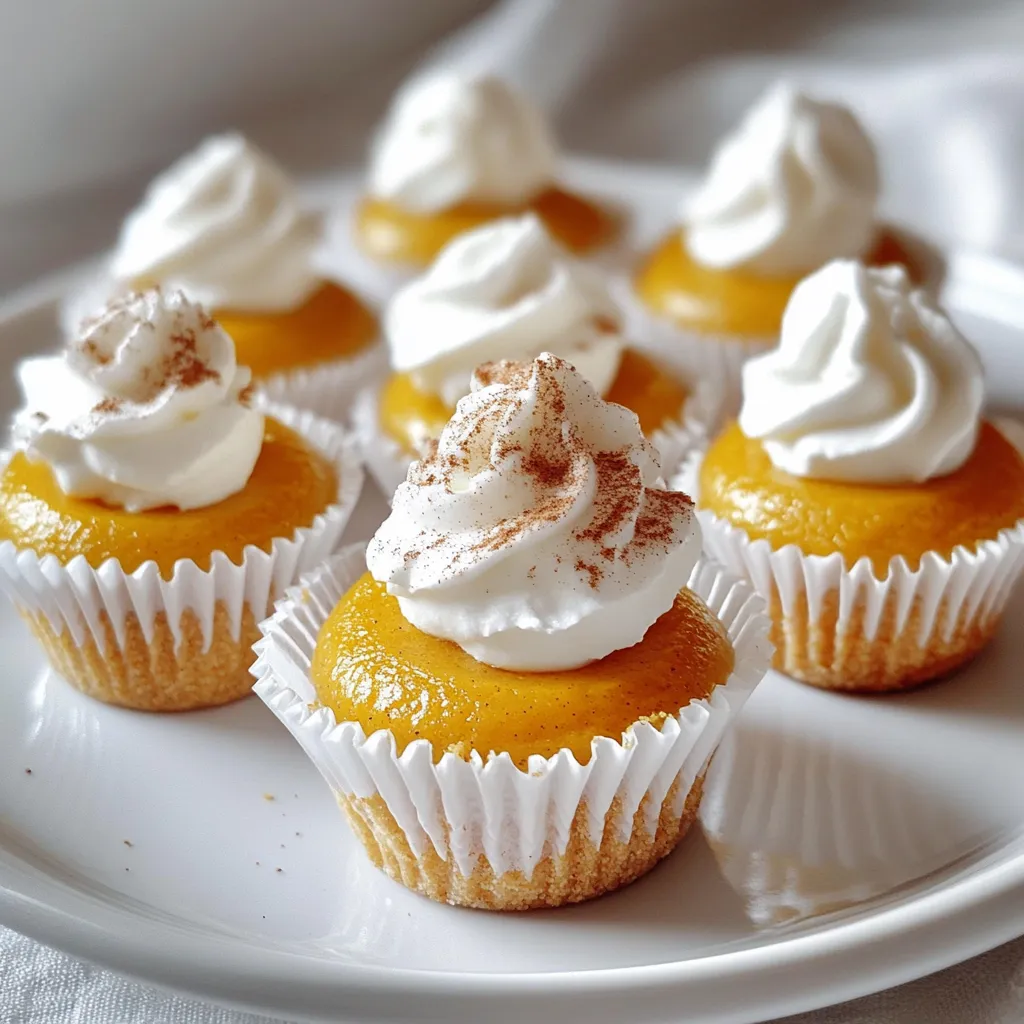
Pumpkin Cheesecake Mini Cupcakes Irresistible Treat
Are you ready to taste fall in a bite? These Pumpkin Cheesecake Mini Cupcakes are the perfect balance of creamy and spiced goodness. With simple
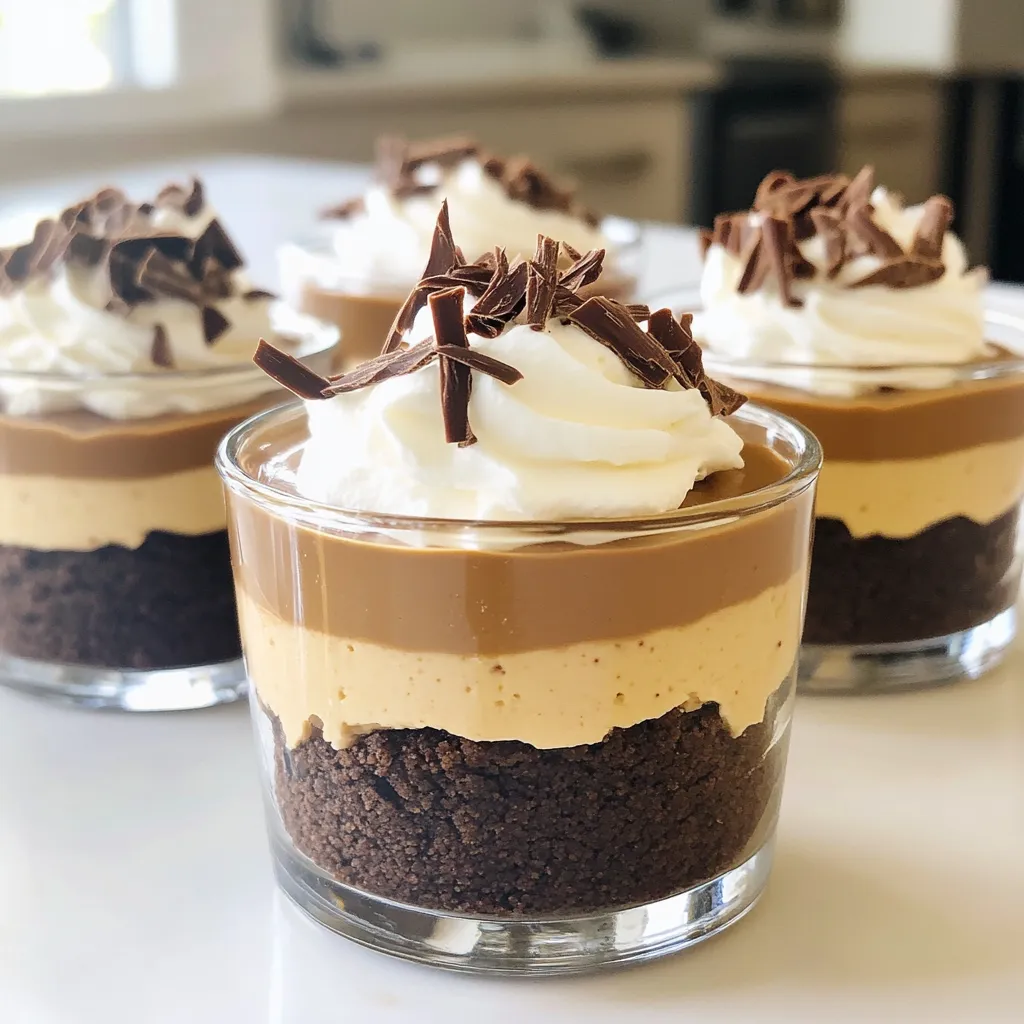
Chocolate Peanut Butter Cheesecake Cups Decadent Treat
Treat yourself to a sweet delight with these Chocolate Peanut Butter Cheesecake Cups! These no-bake desserts are easy to make and packed with flavor. You’ll
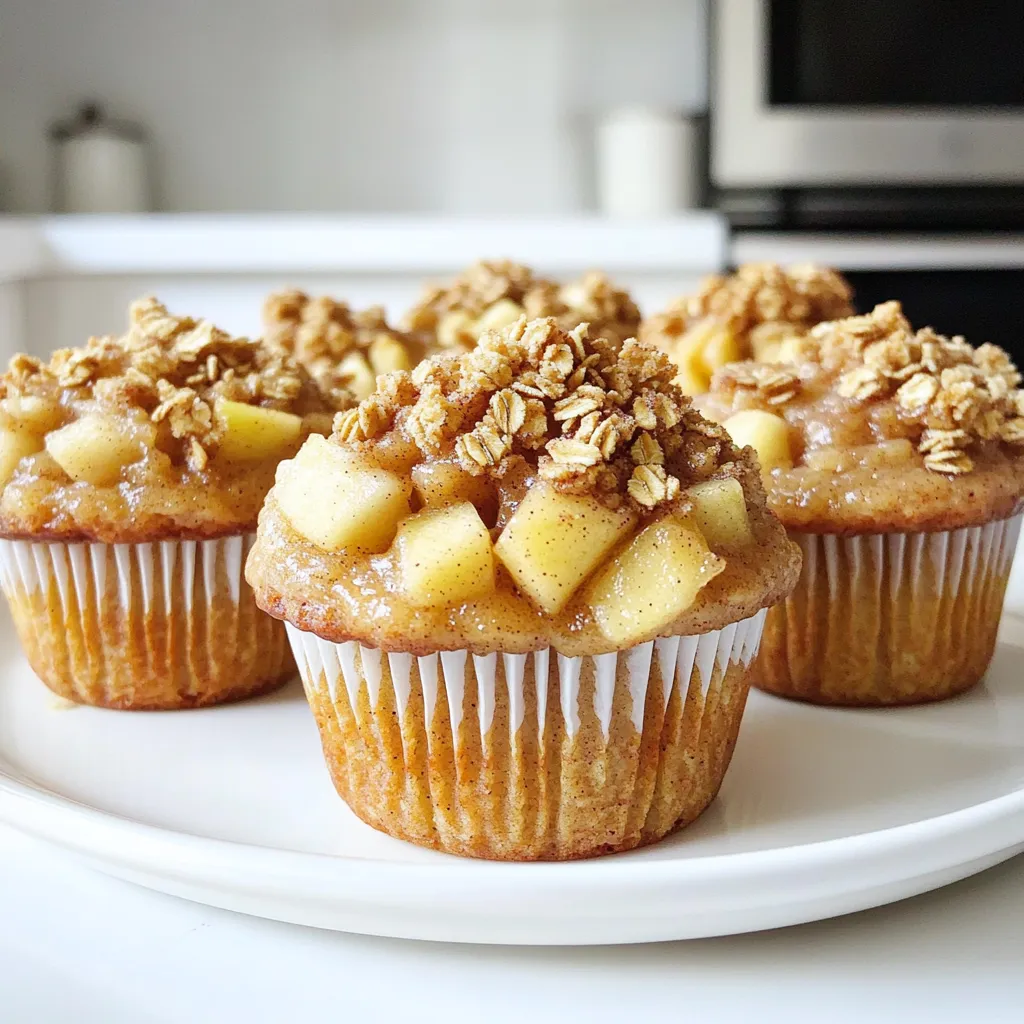
Apple Crisp Muffins Bakery Style Delightful Treat
Are you ready to enjoy some warm, sweet goodness? These Apple Crisp Muffins Bakery Style are the perfect treat for any occasion. With a crunchy