Desserts
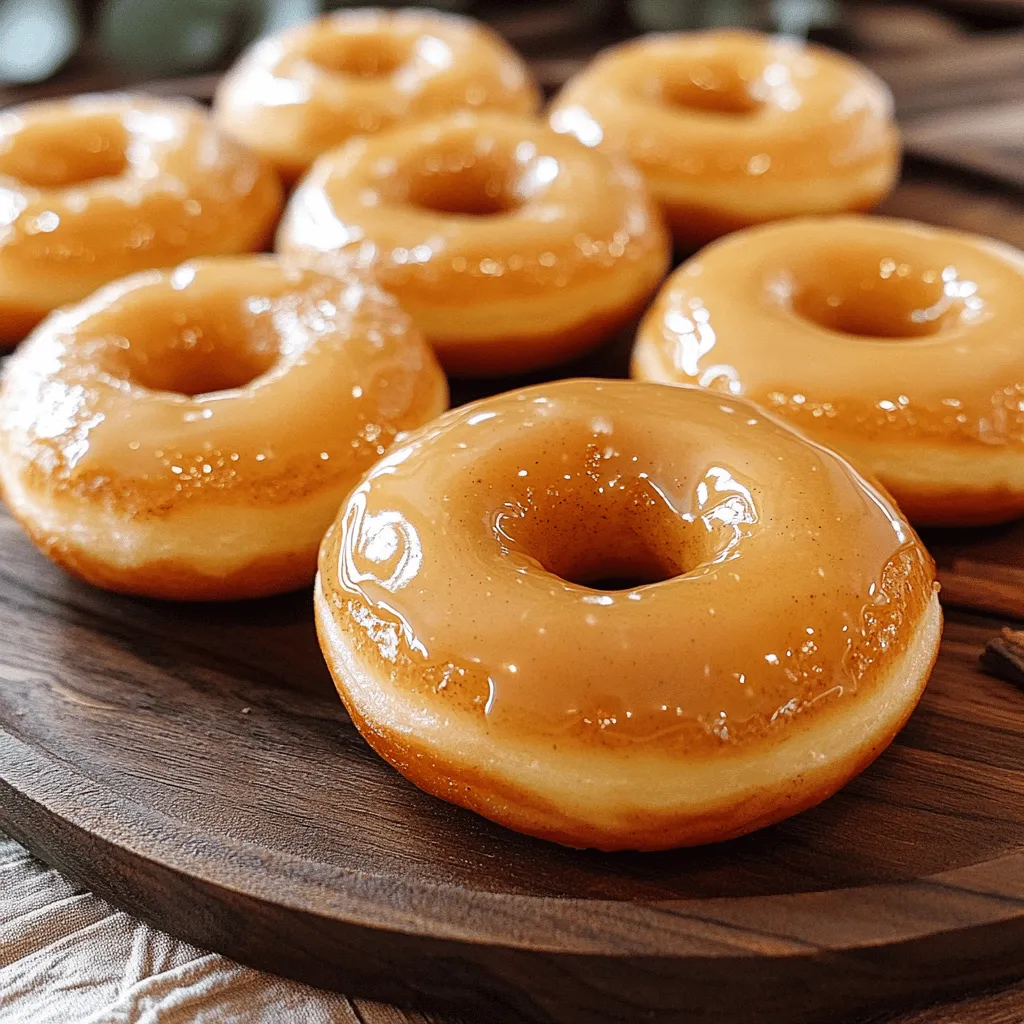
Maple Glazed Donuts Irresistibly Delicious Treat
Craving a sweet treat that’s as easy to make as it is delicious? Let’s dive into the world of Maple Glazed Donuts! I’ll guide you
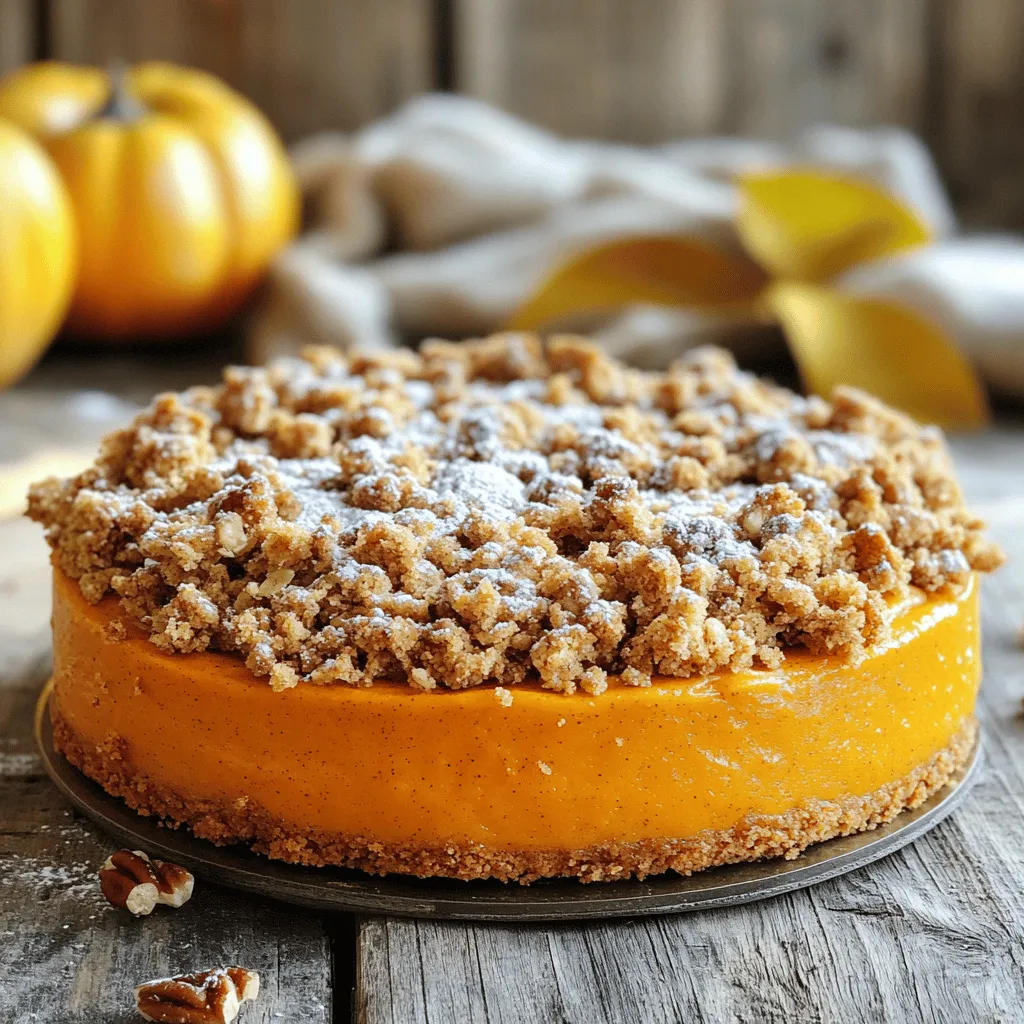
Pumpkin Crumb Cake Delightful Seasonal Treat
Fall is here, and it’s time to indulge in a warm and cozy treat! Pumpkin Crumb Cake is the perfect way to celebrate the season.
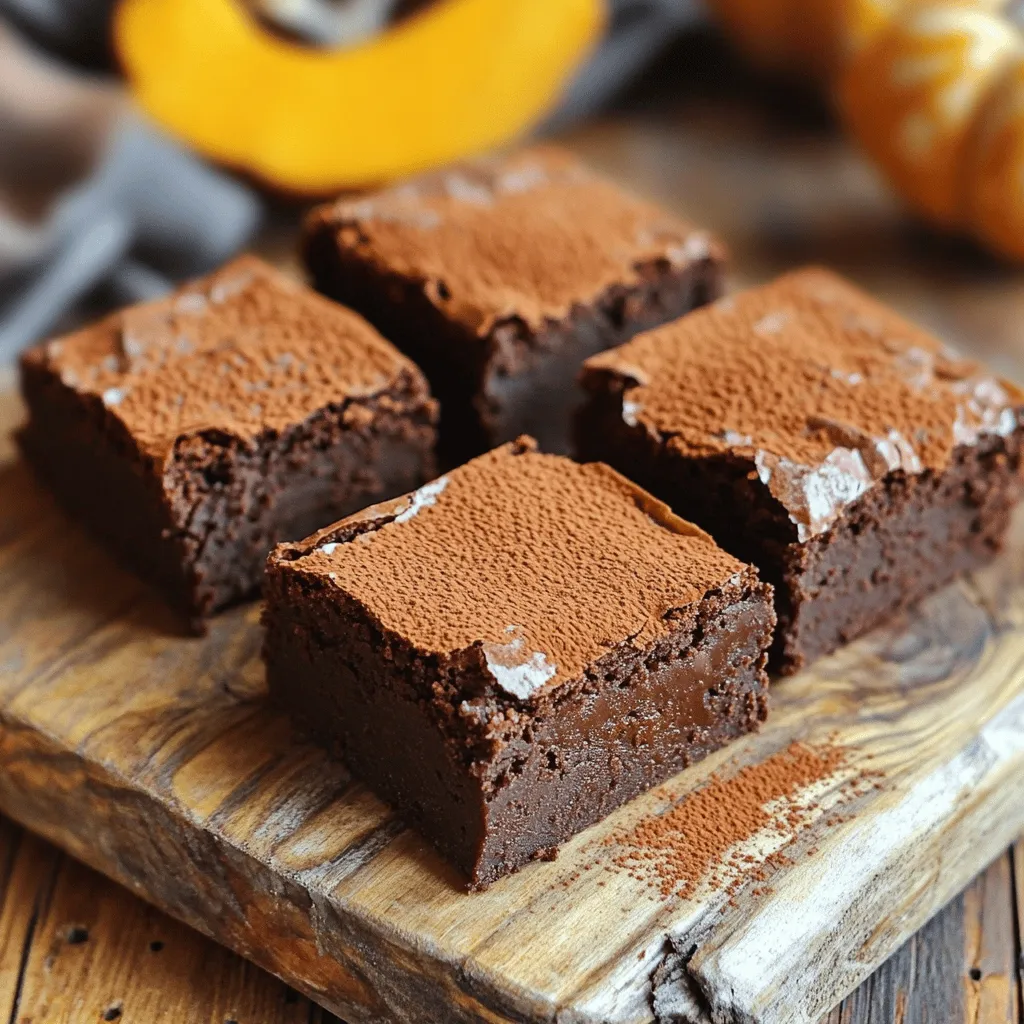
Vegan 4-Ingredient Pumpkin Brownies Simple Recipe
Are you ready for a delicious treat that’s easy to make? These Vegan 4-Ingredient Pumpkin Brownies are the answer. With just four simple ingredients, you
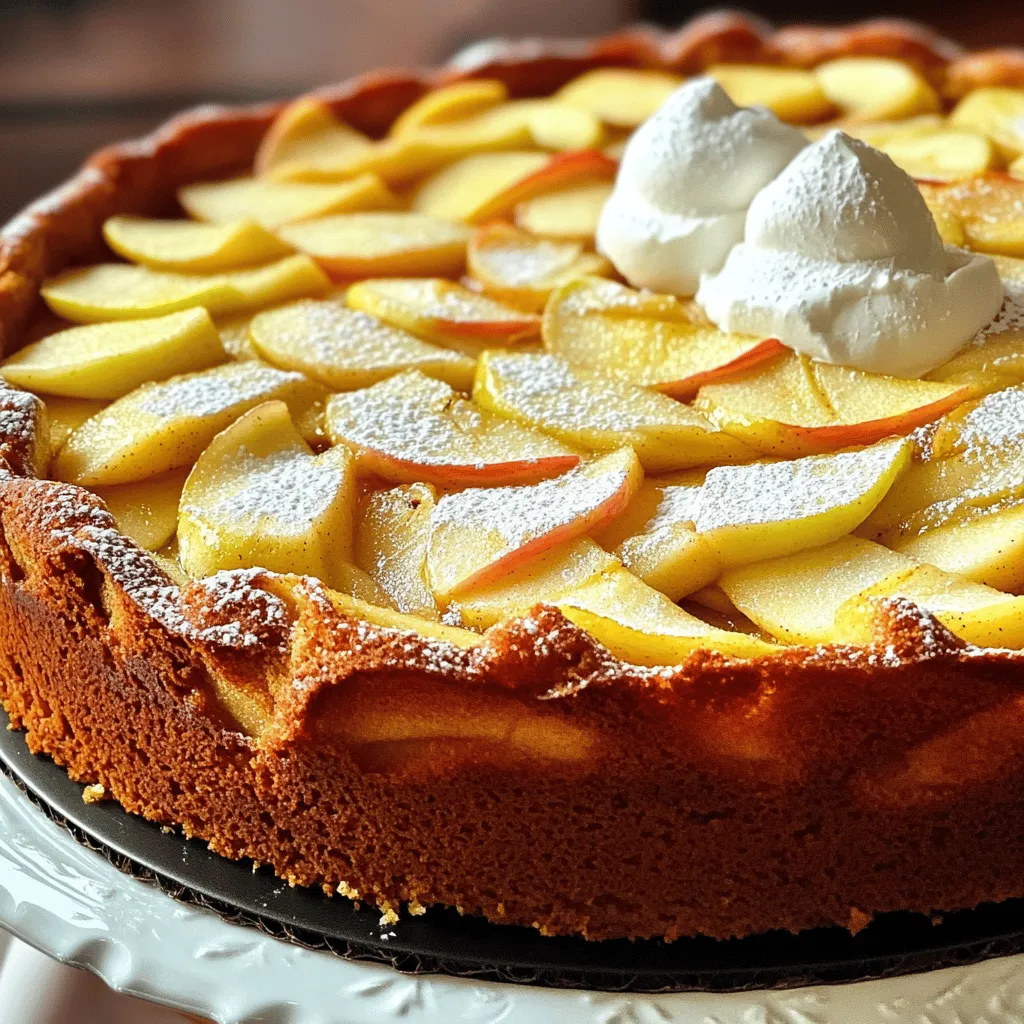
Swedish Apple Cake Delightful and Easy Recipe Guide
Welcome to my guide on making Swedish apple cake! This delightful dessert is easy to prepare, and your kitchen will smell amazing while it bakes.
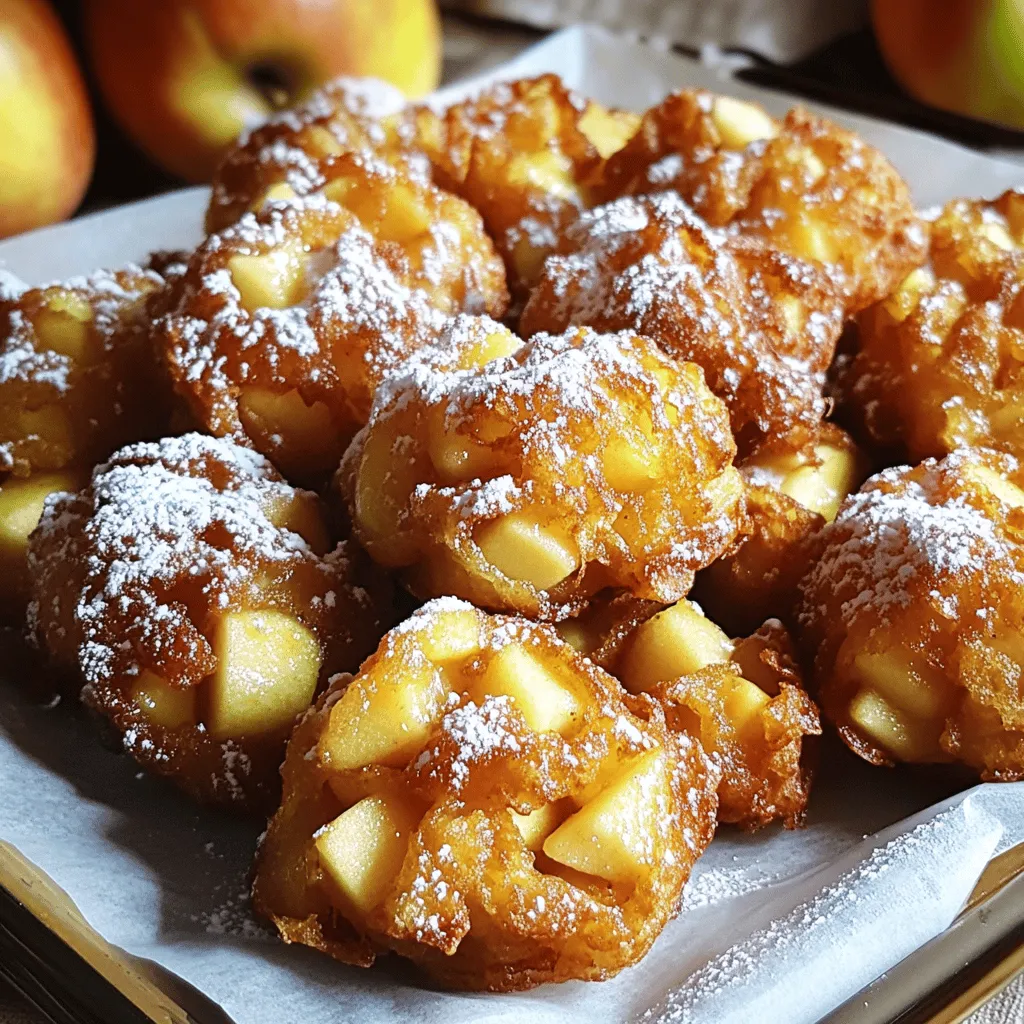
Amazing Homemade Apple Fritters Delicious Easy Treat
Are you ready to turn your kitchen into a bakery? These amazing homemade apple fritters will do just that! With their golden crispy exterior and
. It shows each step clearly. You can also find images of the finished bars on [this recipe page](#). These visuals help you know what to expect at every stage. To get the right texture for your homemade healthy Twix bars, focus on the base. When you blend the dates and almond flour, ensure it becomes sticky but not too wet. If it feels dry, add a splash of water. Press the mixture firmly into the baking dish. This helps it hold together well. The caramel layer should be smooth and creamy. Mixing it well ensures it spreads easily over the base. Finally, the chocolate topping should be silky. If it’s too thick, add a bit more melted coconut oil. For that classic Twix flavor, you can add a few tweaks. Try adding a touch of sea salt in the caramel layer. This brings out the sweetness. A dash of cinnamon can also add warmth and depth. If you want a richer chocolate taste, use dark chocolate chips. You may also consider adding a hint of almond extract for a nutty twist. These small changes can elevate your bars to gourmet status. One common mistake is not chilling the layers long enough. Each layer needs to firm up before adding the next. If you skip this step, the bars may not hold together well. Another pitfall is using too much liquid in the base. This can make the bars soggy. Lastly, avoid over-blending the chocolate layer. It should be smooth but not watery. Keeping these tips in mind will help you create perfect homemade healthy Twix bars. For the full recipe, refer to the detailed instructions outlined above. {{image_4}} To make these bars nut-free, substitute almond flour with sunflower seed flour. This swap keeps the texture smooth and tasty. For the nut butter, use sunflower seed butter or tahini. Both options work well and add a unique flavor. To keep it dairy-free, ensure you use dairy-free dark chocolate. This way, everyone can enjoy your homemade healthy Twix bars! You can mix things up by adding caramelized nuts. Peanuts or pecans bring a crunchy texture. Just toast and coat them lightly in maple syrup before adding to the layers. Dried fruits like cranberries or apricots can add a sweet twist. Chop them into small pieces and sprinkle them on the caramel layer. These additions create fun flavors that make each bite special! If you want to cut down on sweetness, reduce the maple syrup. You can also use a sugar substitute like stevia or erythritol. This change helps keep the bars tasty while fitting various diets. For those who love extra sweetness, consider adding a bit of honey or agave syrup. Adjusting the sweetness makes this treat perfect for your needs. To keep your homemade healthy Twix bars fresh, store them in an airtight container. Place parchment paper between layers to prevent sticking. Keep them in the fridge for up to a week. This will help the bars stay firm and tasty. If you notice any moisture, dry the container before adding the bars. If you want to keep your bars longer, freezing is a great option. Wrap each bar in plastic wrap, then place them in a freezer-safe bag. This keeps them fresh for up to three months. When you want to enjoy a bar, simply take it out and let it thaw at room temperature for 15 to 20 minutes. For serving, I recommend using a nice plate or a dessert stand. This makes the bars look fancy and inviting. If you’re packing them for lunch, use a small bento box or a snack container. These containers help keep the bars intact and easy to grab on the go. Enjoy your delicious treat! Homemade Twix bars last about one week in the fridge. Store them in an airtight container. If you want them to last longer, freeze them. In the freezer, they stay fresh for up to three months. Just remember to wrap them well before freezing. Yes, you can use different nut butters. Almond butter, cashew butter, or sunflower seed butter work well. Each nut butter adds its own flavor. Choose the one you like best. Just make sure it is smooth for the caramel layer. These bars are healthier than traditional Twix. They use natural sweeteners like dates and maple syrup. They also include nut butters, which provide protein and healthy fats. In contrast, regular Twix has refined sugar and artificial ingredients. This makes our homemade version a better choice for your health. Yes, you can easily make these bars vegan. Use almond butter and dairy-free dark chocolate chips. All the other ingredients are already vegan-friendly. This way, you can enjoy the same great taste while sticking to a vegan diet. To make these bars sugar-free, use sugar-free sweeteners. Options like erythritol or stevia can work well. Just adjust the amount according to your taste. Keep in mind that sugar-free sweeteners can change the texture slightly. But you’ll still end up with a tasty treat! You learned how to make healthier Twix bars at home. We covered all the key ingredients, substitutions, and their benefits. I shared step-by-step instructions, tips for perfect texture, and common mistakes to avoid. You also discovered tasty variations and how to store your bars. Remember, these bars offer a fun and healthy snack option. So, gather your ingredients, get creative, and enjoy a guilt-free treat that fits your needs!](https://tossedflavors.com/wp-content/uploads/2025/07/6d7f3dbc-ac4c-4a96-87c3-7f07077e620e.webp)
Homemade Healthy Twix Bars Simple and Nutritious Treat
Craving a sweet treat that won’t derail your healthy eating goals? Let’s make Homemade Healthy Twix Bars! In this guide, I’ll share simple steps, tasty
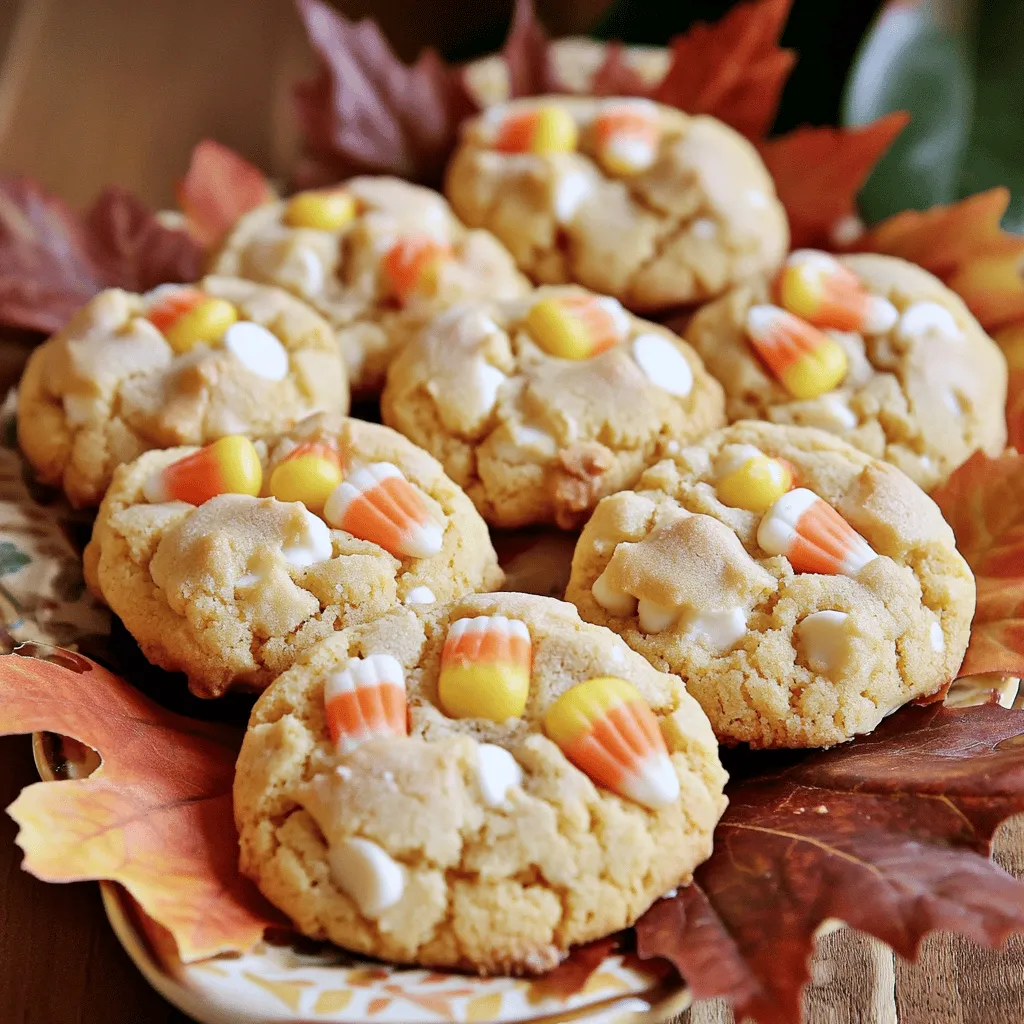
Candy Corn and White Chocolate Cookies Delight
Are you ready to bring some festive fun into your kitchen? These Candy Corn and White Chocolate Cookies are the perfect treat for fall lovers.
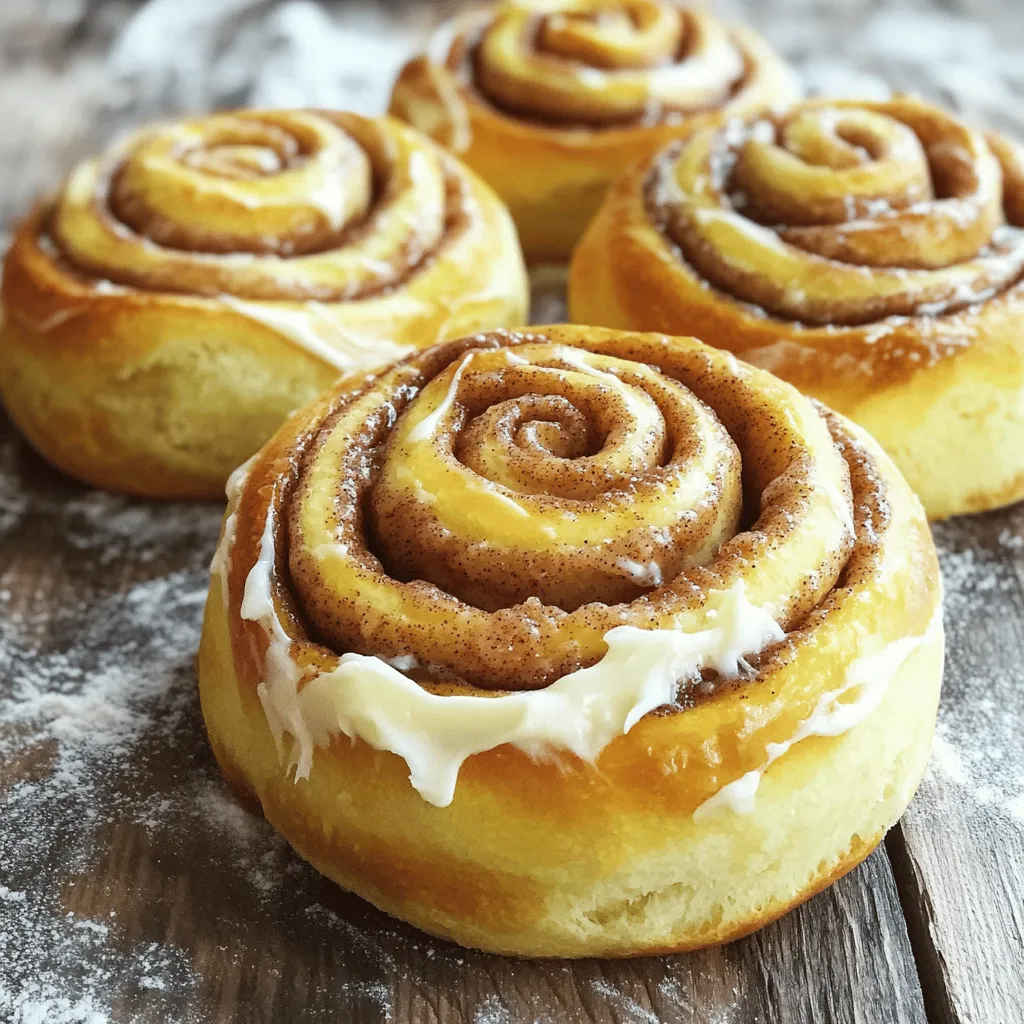
Better Than Bakery Cinnamon Rolls Fluffy and Delicious
If you crave warm, fluffy cinnamon rolls, you’re in the right place! My recipe for Better Than Bakery Cinnamon Rolls will have you impressing everyone
![- 2 cups all-purpose flour - 1 ½ teaspoons baking powder - ½ teaspoon baking soda - 1 teaspoon ground cinnamon - ½ teaspoon salt - ¾ cup unsalted butter, softened to room temperature - 1 cup granulated sugar - 2 large eggs - 1 teaspoon pure vanilla extract - 1 cup buttermilk, at room temperature - 2 large Granny Smith apples, peeled, cored, and diced - 1 tablespoon brown sugar for topping - Extra ground cinnamon for dusting First, set your oven to preheat at 350°F (175°C). Next, grab a 9x13 inch baking pan. Grease it with butter, then dust it lightly with flour. This keeps the cake from sticking. In a medium bowl, whisk the all-purpose flour, baking powder, baking soda, ground cinnamon, and salt. This mixes your dry ingredients well. Now, in a large bowl, cream the softened butter and granulated sugar. Use an electric mixer on medium speed until it’s light and fluffy. This takes about 3-4 minutes. Then, add the eggs one at a time, mixing well after each. Finally, stir in the pure vanilla extract. Now, take your dry mix and add it to the butter-sugar blend. Do this slowly, alternating with the buttermilk. Start and end with the dry mix. Mix just until combined. Don’t overmix. Gently fold in the diced apples using a spatula. This spreads the apple pieces evenly in the batter. Pour the batter into your prepared baking pan. Use a spatula to smooth the top. In a small bowl, mix the brown sugar with a sprinkle of extra ground cinnamon. Spread this topping over the batter before baking. Place the pan in the oven and bake for 30-35 minutes. The cake is done when a toothpick inserted into the center comes out clean. Enjoy making your Easy Cinnamon Apple Cake! For the complete recipe, check out the Full Recipe. To make your Easy Cinnamon Apple Cake truly special, focus on texture. - Avoiding overmixing: Mix just until ingredients blend. Overmixing creates a dense cake. - Using room temperature ingredients: Bring butter, eggs, and buttermilk to room temp. This helps the batter mix smoothly. Choosing the right apples makes a big difference. - Tips for selecting apples: Go for Granny Smith or Honeycrisp apples. They add the right balance of tartness and sweetness. - Variations in spices: Experiment with nutmeg or cardamom for unique flavors. A little dash can change everything! If you want to switch things up, try different fruits. - Using peaches or pears: These fruits bring a juicy sweetness. Dice them just like the apples. - Incorporating nuts like walnuts or pecans: Add nuts to the batter for crunch. They pair well with the soft cake. You can make this cake fit different diets. - Gluten-free flour options: Substitute regular flour with a gluten-free blend. This still gives you a fluffy cake. - Lower sugar alternatives: Use applesauce or a sugar substitute to cut down on sugar. The cake stays moist and tasty. For the complete baking experience, check out the Full Recipe for all the steps! To store your Easy Cinnamon Apple Cake on the countertop, let it cool completely. Use a clean, airtight container. Place a piece of wax paper between the cake and lid to keep it fresh. This method keeps the cake moist for up to three days. If you notice any hard edges, simply slice them off before serving. For long-term storage, freeze the cake. First, let it cool completely. Wrap it tightly in plastic wrap. Then, add a layer of aluminum foil for extra protection. This method helps keep flavors fresh for up to three months. When you’re ready to enjoy it, thaw the cake overnight in the fridge. For quicker thawing, leave it at room temperature for about two hours. Once thawed, enjoy as is or warm it slightly in the oven. Easy Cinnamon Apple Cake lasts about three days at room temperature. If you freeze it, it can last for three months. Absolutely! You can use any apple you enjoy. Honeycrisp, Fuji, or Golden Delicious all work well. Each type adds a unique flavor to your cake. Check for doneness by inserting a toothpick into the center. If it comes out clean, the cake is ready. The edges should also begin to pull away slightly from the pan. Yes, you can make this cake a day ahead. Once cooled, store it in an airtight container. This gives the flavors time to meld and can enhance the taste. {{image_4}} This Easy Cinnamon Apple Cake uses simple ingredients you can find in your kitchen. Here’s what you need: - 2 cups all-purpose flour - 1 ½ teaspoons baking powder - ½ teaspoon baking soda - 1 teaspoon ground cinnamon - ½ teaspoon salt - ¾ cup unsalted butter, softened - 1 cup granulated sugar - 2 large eggs - 1 teaspoon pure vanilla extract - 1 cup buttermilk, at room temperature - 2 large Granny Smith apples, peeled and diced - 1 tablespoon brown sugar (for topping) - Extra ground cinnamon for dusting To make this cake, begin by preheating your oven to 350°F (175°C). Grease a 9x13 inch baking pan. In one bowl, mix the dry ingredients: flour, baking powder, baking soda, cinnamon, and salt. In another bowl, cream the butter and sugar until fluffy. Then add the eggs and vanilla. Next, combine the dry mix with the wet mix, alternating with buttermilk. Gently fold in the apples. Pour the batter into the pan and sprinkle with brown sugar and cinnamon. Bake for 30-35 minutes. Enjoy the delightful aroma as it bakes! Once done, let it cool before serving. For more details, check the [Full Recipe]. In this blog post, we explored how to create an Easy Cinnamon Apple Cake. We discussed key ingredients like flour, sugar, and Granny Smith apples. We also covered steps like mixing and baking to ensure a delicious outcome. Remember to select fresh apples and avoid overmixing for the best texture. Baking can be a joy, and this cake is a simple way to share warmth with others. Try the variations we mentioned to make it your own. Enjoy your baking adventure!](https://tossedflavors.com/wp-content/uploads/2025/07/062762d8-978e-44fd-a11e-02a6829d4308.webp)
Easy Cinnamon Apple Cake Delightfully Simple Recipe
Welcome to my delightful world of baking! Today, I’m excited to share my *Easy Cinnamon Apple Cake* recipe. This cake is simple to make and
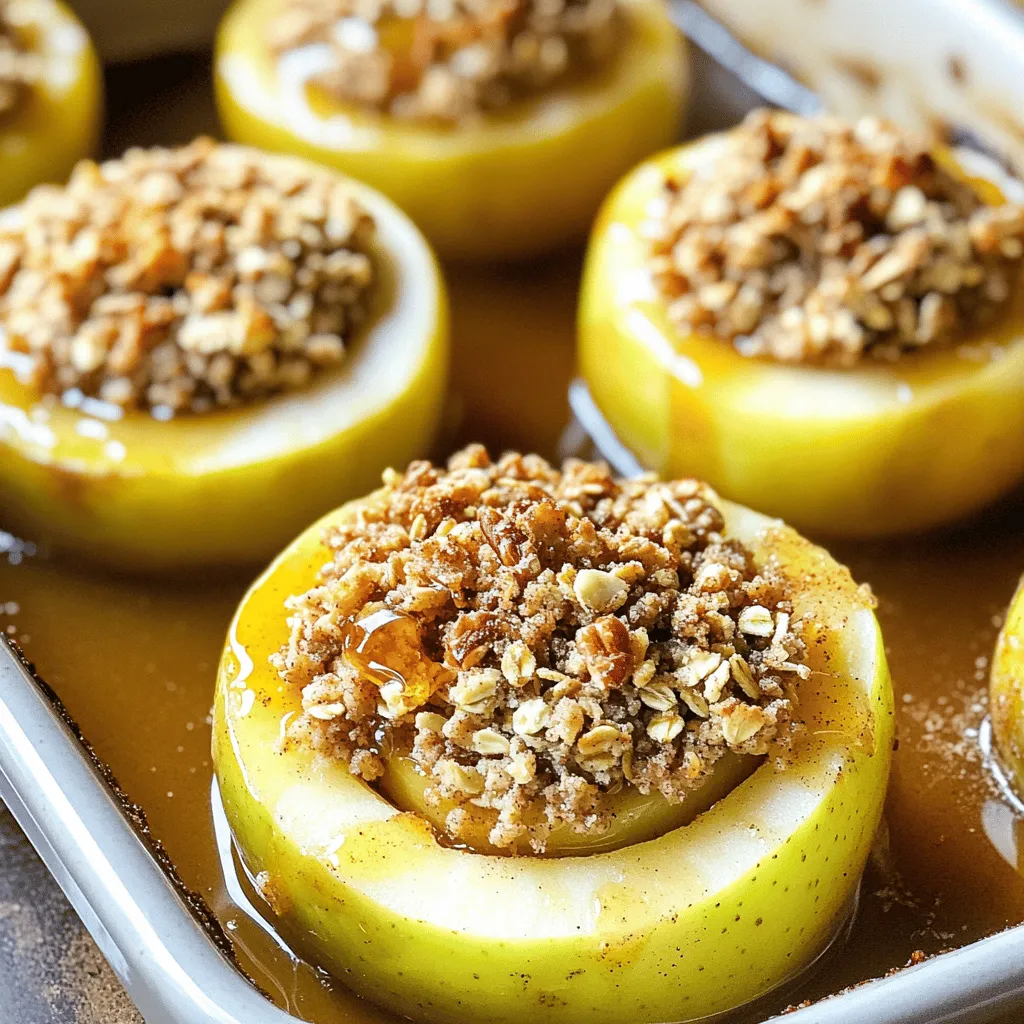
Stuffed Baked Apples Irresistible Dessert Delight
If you crave a dessert that is cozy and satisfying, look no further than stuffed baked apples. These sweet treats combine tender apples with a