Desserts
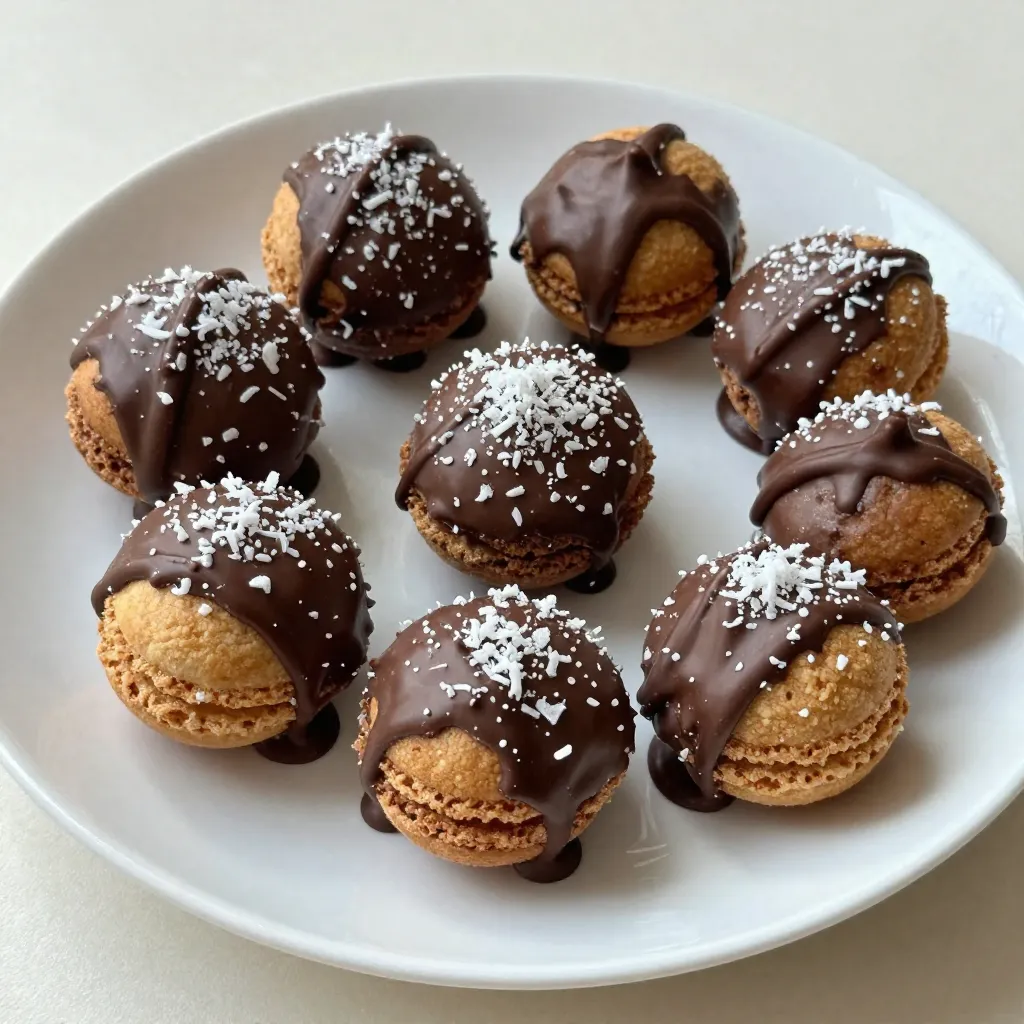
Chocolate Dipped Coconut Macaroons Irresistible Treat
Welcome to the world of Chocolate Dipped Coconut Macaroons—an irresistible treat! If you love sweet, chewy coconut surrounded by rich chocolate, then this recipe is
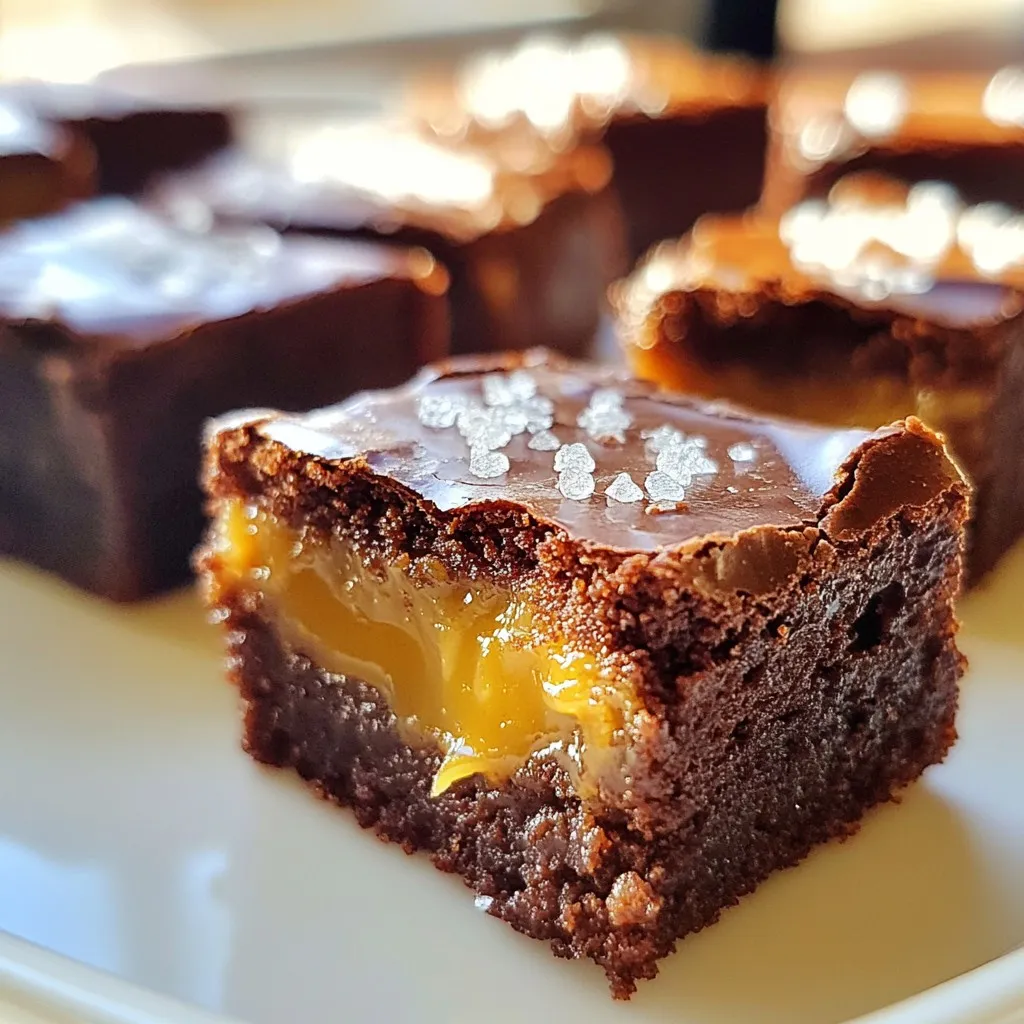
Salted Caramel Brownie Bites Tasty and Easy Treat
If you crave a sweet treat, these Salted Caramel Brownie Bites are perfect! They are rich, chewy, and easy to make. You’ll love the blend
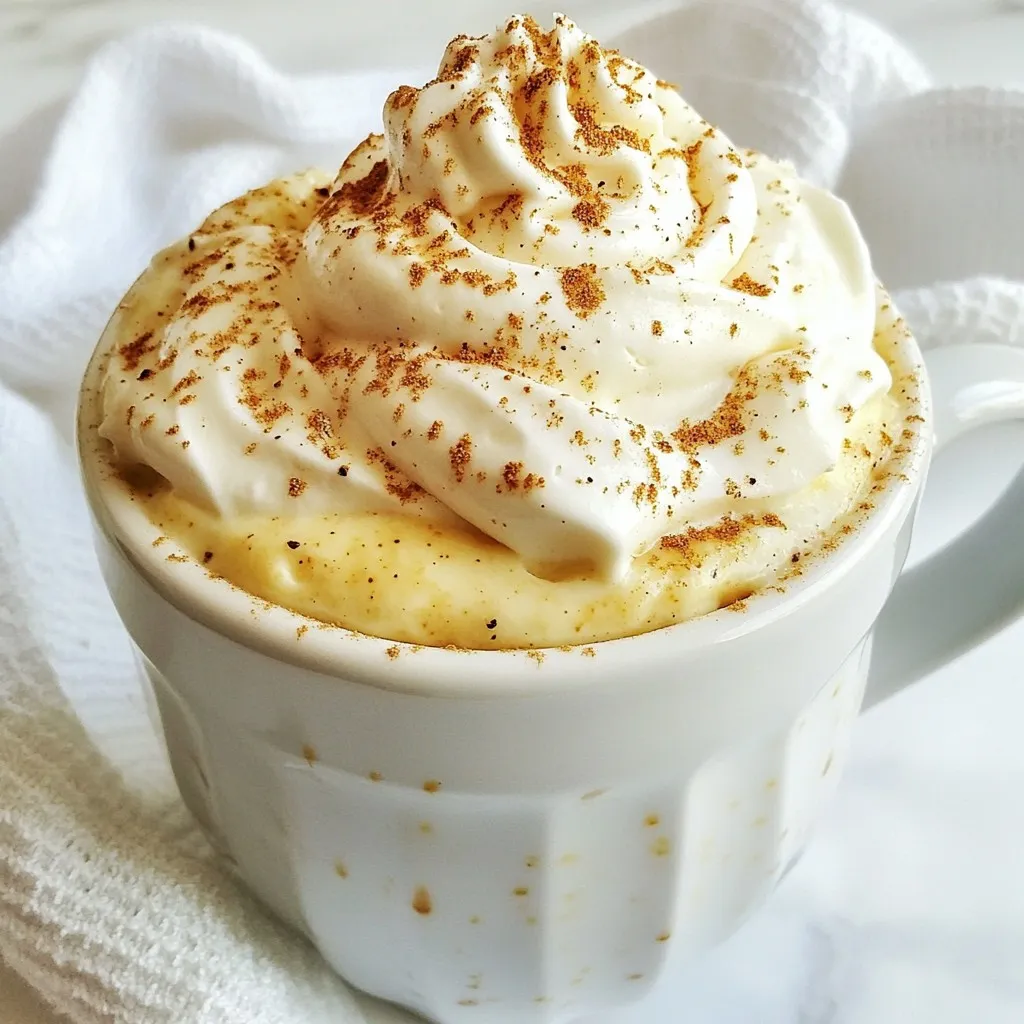
Eggnog Mug Cake Quick and Easy Holiday Treat
Looking for a quick and easy holiday treat? This Eggnog Mug Cake is your answer! In just minutes, you can whip up a warm, festive
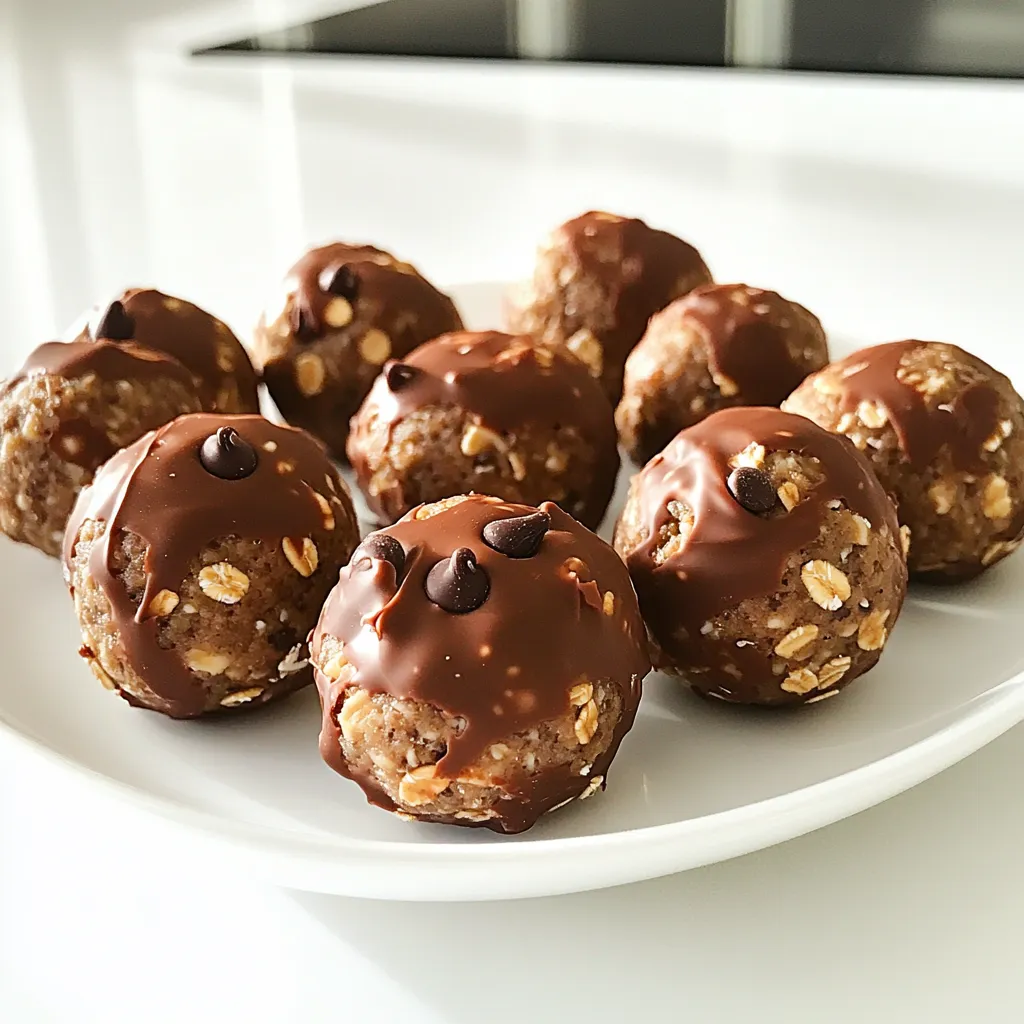
Chocolate Peanut Butter Protein Balls Easy Snack Recipe
Looking for a tasty and easy snack? I’ve got you covered with my Chocolate Peanut Butter Protein Balls! This simple recipe packs a punch of
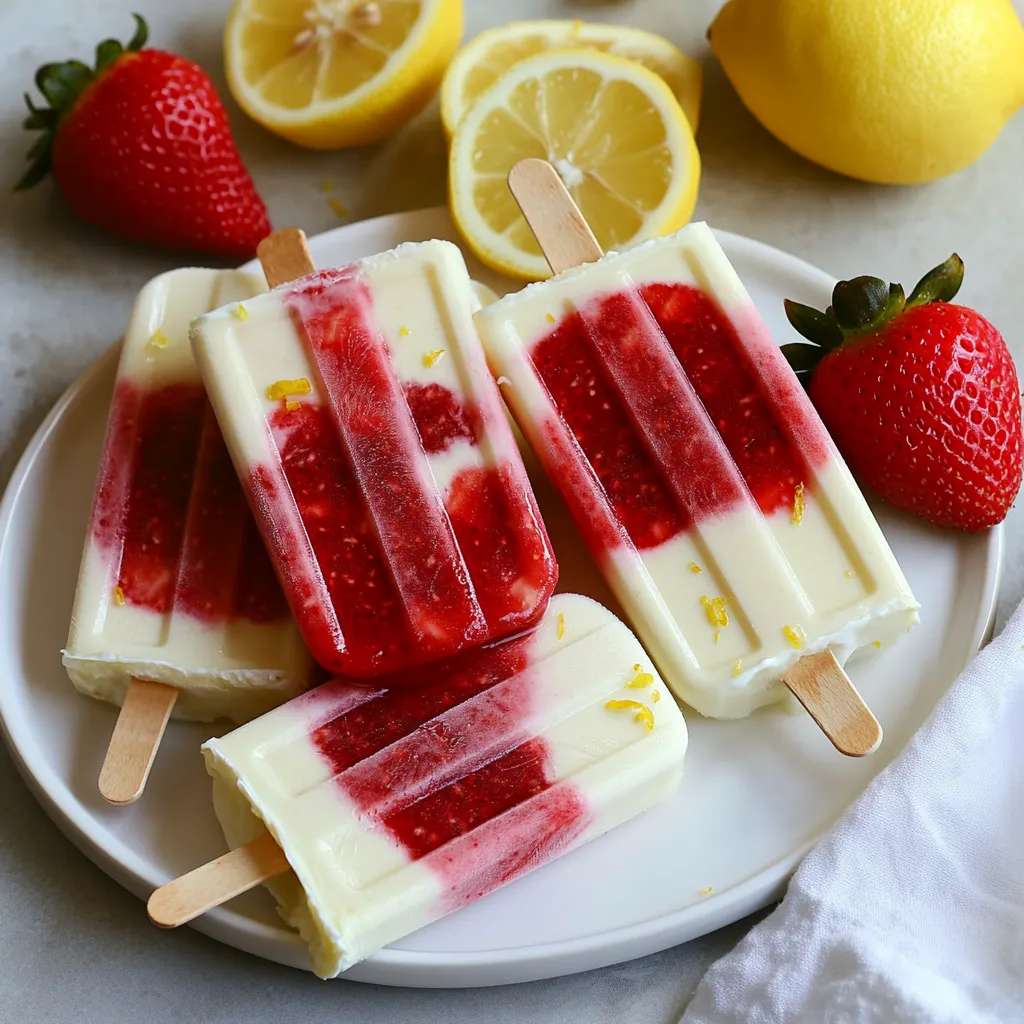
Strawberry Lemon Yogurt Popsicles Refreshing Treat
Looking for a cool treat that packs flavor and health? You’re in the right place! These Strawberry Lemon Yogurt Popsicles are refreshing, easy to make,
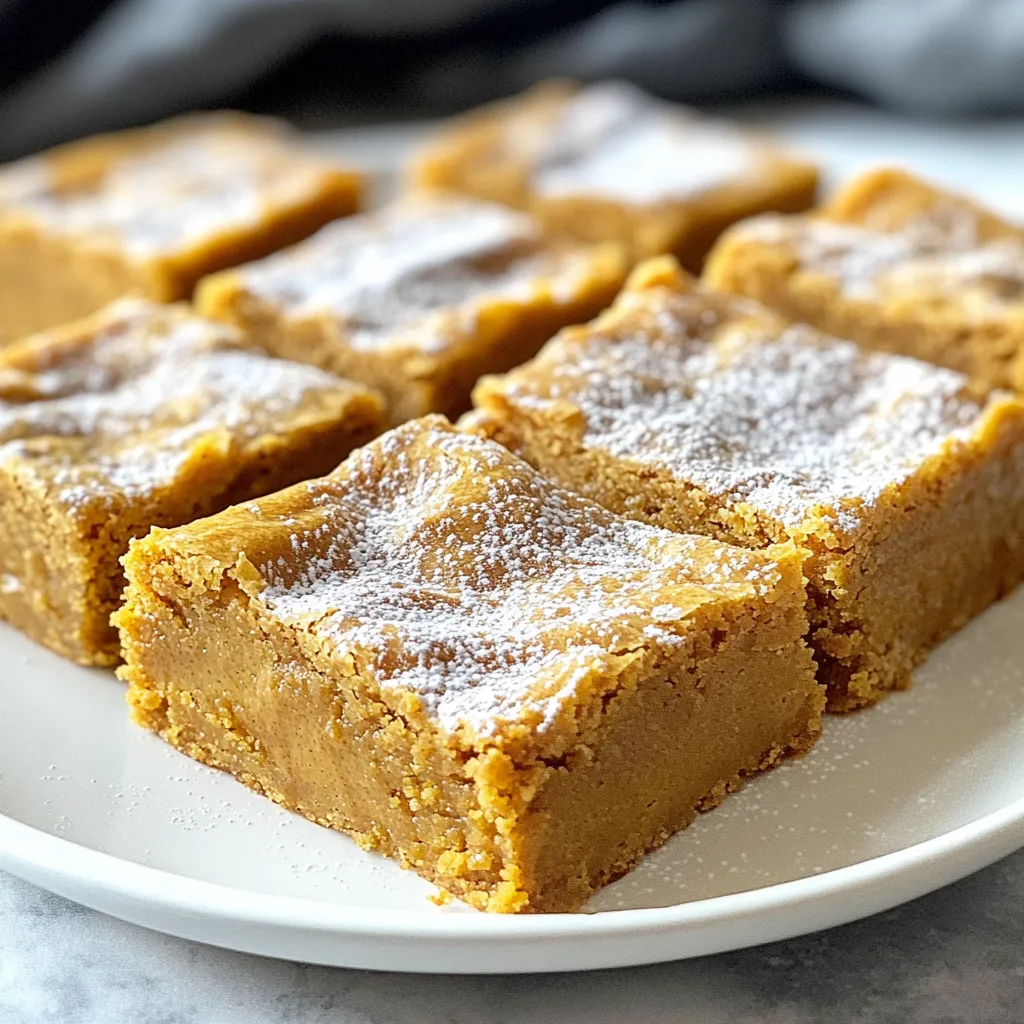
Brown Butter Pumpkin Blondies Irresistible Treat
Are you ready to dive into a sweet fall treat? Brown Butter Pumpkin Blondies are the perfect mix of rich flavor and cozy warmth. With
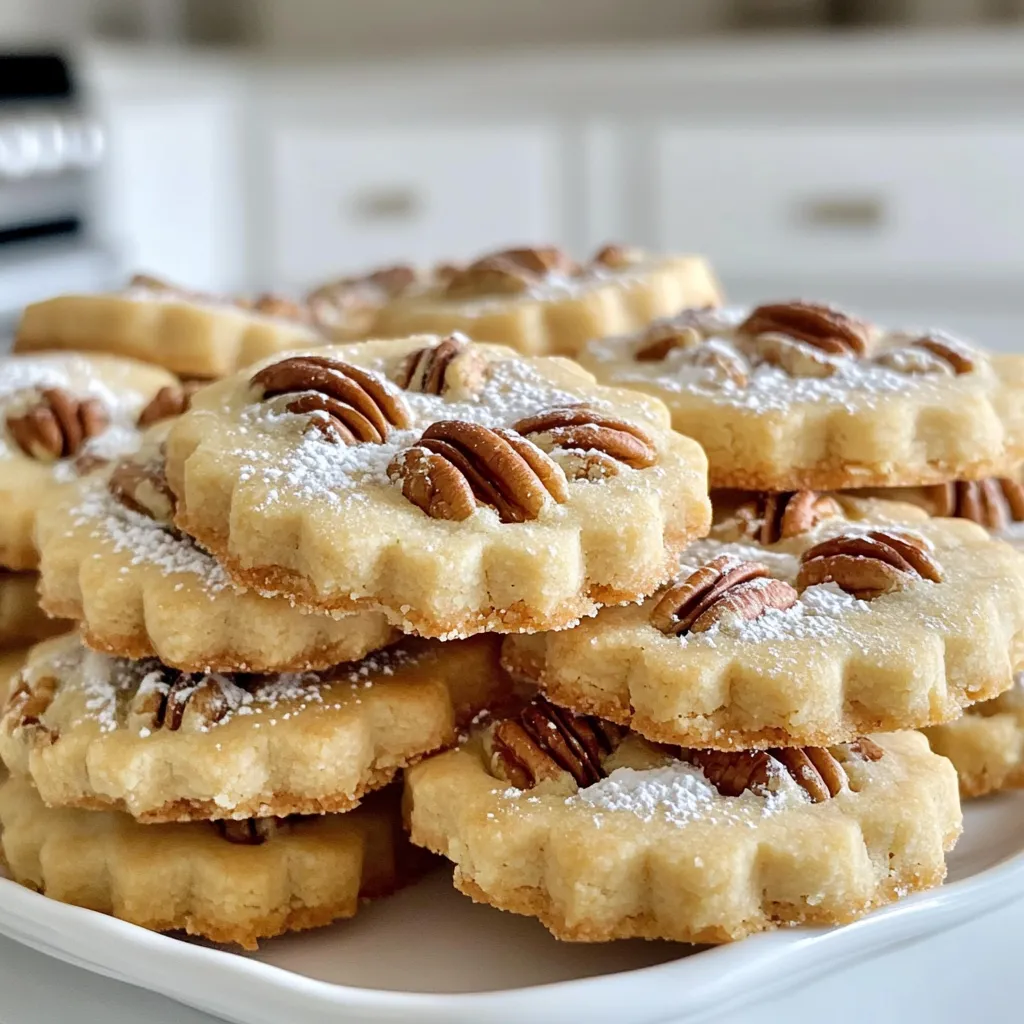
Maple Pecan Shortbread Flaky and Flavorful Treat
Craving a treat that’s both crispy and soft? Maple Pecan Shortbread has you covered! This delicious cookie blends sweet maple syrup with crunchy pecans for
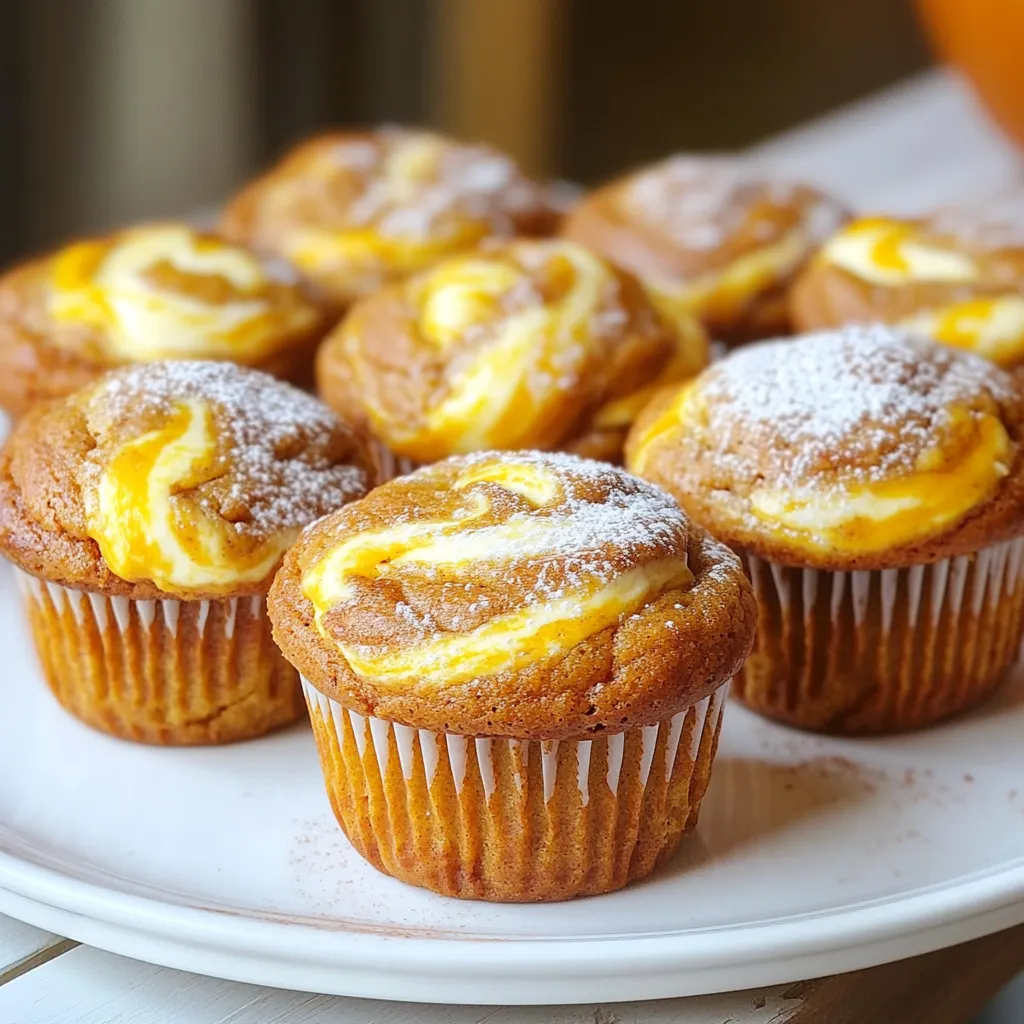
Pumpkin Cheesecake Swirl Muffins Tasty and Easy Bake
Are you ready to elevate your baking with a delicious twist? These Pumpkin Cheesecake Swirl Muffins are the perfect blend of pumpkin spice and creamy

Pumpkin Chocolate Chip Scones Easy and Tasty Treat
Get ready to delight your taste buds with these Pumpkin Chocolate Chip Scones! In this easy recipe, I will guide you step-by-step to create a
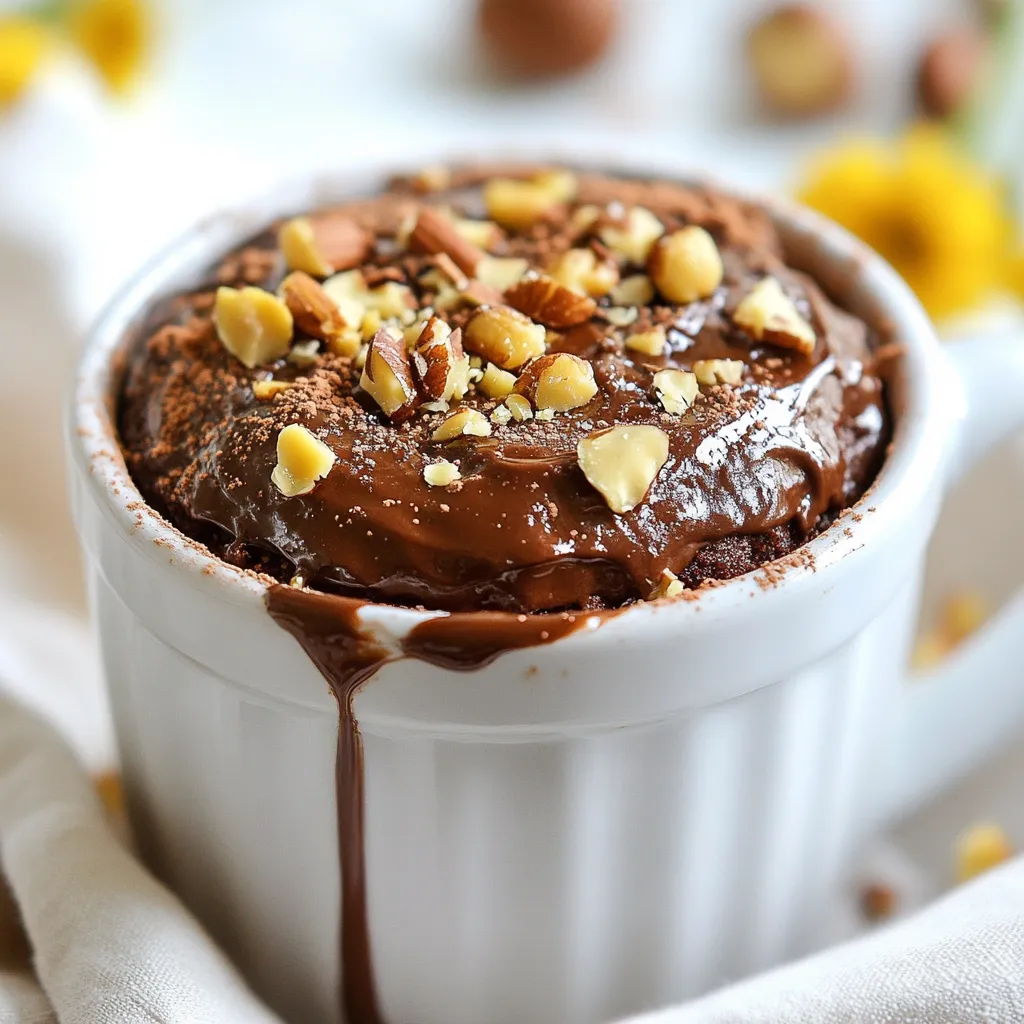
Chocolate Hazelnut Mug Cake Quick and Easy Recipe
Craving a warm, sweet treat? Look no further than my Chocolate Hazelnut Mug Cake! In just a few minutes, you can whip up a gooey,