Breakfast
![To make a Healthy Garden Veggie Frittata, gather these fresh ingredients: - 6 large eggs - 1/4 cup milk (or almond milk for a dairy-free option) - 1 cup fresh spinach, roughly chopped - 1/2 cup bell peppers (mix of red, yellow, and green), diced - 1/2 cup cherry tomatoes, halved - 1/2 cup zucchini, finely grated - 1 small red onion, finely chopped - 1/2 cup feta cheese, crumbled - 2 tablespoons extra virgin olive oil - Salt and freshly ground black pepper to taste - Fresh herbs (such as basil or parsley) for garnish These ingredients create a colorful and tasty dish. Each one offers its own unique flavor and texture. You can easily switch out some ingredients. If you want a lower-fat option, use low-fat milk or skip the cheese. For a vegan frittata, replace the eggs with a mix of chickpea flour and water. You can also change the vegetables. Try using mushrooms, kale, or broccoli based on what you have on hand. Using fresh vegetables boosts the flavor and nutrition of your frittata. They add vitamins, minerals, and fiber, which are essential for good health. Fresh veggies also taste better than canned or frozen ones. Plus, they give a vibrant look to your dish. Eating a variety of vegetables can help you feel full and satisfied. This dish is not only delicious but also a great choice for a healthy meal. First, gather all your ingredients. You will need six large eggs, milk, spinach, bell peppers, cherry tomatoes, zucchini, red onion, feta cheese, olive oil, salt, and pepper. Start by preheating your oven to 350°F (175°C). This makes sure the oven is hot when you bake the frittata. In a large bowl, whisk the eggs and milk together until mixed well. Season with salt and pepper to taste. Next, chop the vegetables. Dice the bell peppers and onion, halve the cherry tomatoes, and grate the zucchini. Roughly chop the spinach. This step makes sure all the pieces cook evenly. In an oven-safe skillet, heat olive oil over medium heat. Once the oil is hot, add the chopped onion. Sauté for about three minutes until the onion is soft and clear. Then, add the diced bell peppers, grated zucchini, and spinach. Cook for another three to four minutes. Stir occasionally until the veggies are tender and the spinach wilts nicely. After that, gently fold in the halved cherry tomatoes. Remove the skillet from the heat. Pour the egg mixture over the cooked vegetables. Stir lightly to mix the veggies evenly. Finally, sprinkle the crumbled feta cheese on top. Carefully transfer the skillet to your preheated oven. Bake for 20 to 25 minutes. Watch for the frittata to set in the center and turn golden on top. This step is key for a soft and fluffy texture. Once baked, take the skillet out and let it cool for a few minutes. This makes slicing easier. For serving, add some fresh herbs on top for color and flavor. Enjoy your delicious Healthy Garden Veggie Frittata! For the complete recipe, check [Full Recipe]. To boost flavor in your frittata, use fresh veggies. I love using bright bell peppers, fresh spinach, and juicy cherry tomatoes. You can also add seasonings like garlic powder or a pinch of red pepper flakes. These small touches make a big difference. Remember to season your egg mixture well with salt and pepper. Tasting as you go is key for great results. For a lovely meal, serve your frittata with a side salad. A mix of greens adds freshness and crunch. You can pair it with whole grain toast for a hearty breakfast. If you want a bit of zing, drizzle some balsamic glaze on your frittata. This adds a sweet and tangy touch that brightens each bite. Avoid overcooking your frittata. It should be set but still soft in the center. If you bake it too long, it may become dry. Another mistake is not using enough oil in the skillet. This can lead to sticking. Always preheat your oven and skillet for even cooking. Lastly, don’t skip the fresh herbs at the end—they add color and flavor that elevate your dish. For more details, check the Full Recipe. {{image_4}} You can enhance your frittata with protein and cheese. Some great choices include: - Cooked bacon or sausage - Diced ham - Shredded chicken - Tofu for a vegan option - Cheddar or goat cheese for different flavors Adding these ingredients boosts flavor and makes the dish more filling. Feel free to mix and match to suit your taste. A frittata is very flexible. You can use many vegetables based on what you like or have. Some options are: - Asparagus for a fresh crunch - Mushrooms for an earthy taste - Broccoli for extra fiber - Kale for added nutrients Try different combinations to keep it exciting. Each blend brings a new taste and texture. You can easily adapt the frittata for special diets. To make it vegan, replace the eggs with a chickpea flour mixture. This gives you a similar texture and flavor. For a gluten-free option, ensure all ingredients, like cheese and seasonings, are gluten-free. You can enjoy this dish without worry, no matter your dietary needs. For the full recipe, click [Full Recipe]. To store leftover frittata, let it cool completely first. Then, slice it into portions. Place the slices in an airtight container. You can keep it in the fridge for up to 4 days. This way, you can enjoy it later without losing flavor. When you are ready to eat your frittata, reheating is easy. Preheat your oven to 350°F (175°C). Place the slices on a baking sheet. Heat them for about 10-15 minutes until warm. This keeps the texture nice and fluffy. You can also use the microwave if you’re in a hurry. Heat each slice for about 30 seconds to 1 minute. If you want to save frittata for later, freezing is a great option. Wrap each slice tightly in plastic wrap. Then, place the wrapped slices in a freezer-safe bag. This helps prevent freezer burn. You can store them for up to 3 months. When you’re ready to eat, thaw overnight in the fridge. Reheat as mentioned above for the best taste. Feel free to check out the Full Recipe to make your own delicious veggie frittata! Yes, you can use egg substitutes for the frittata. Popular choices include silken tofu and chickpea flour. Both options can mimic the texture of eggs well. If you want a dairy-free choice, almond milk works great. For each egg, use about 1/4 cup of your chosen substitute. A variety of vegetables shine in a frittata. I love using spinach, bell peppers, and zucchini. You can also try mushrooms, kale, or even asparagus. The key is to use fresh, seasonal veggies. This adds color and boosts flavor. Mix and match based on what you have at home. Your frittata can last up to 4 days in the fridge. Make sure to store it in an airtight container. This keeps it fresh and tasty. I suggest slicing it before storing for easy access. Just reheat slices as needed for a quick meal. Yes, you can bake the frittata in advance. This dish holds up well for a few days. Bake it, let it cool, and store it in the fridge. When you’re ready to enjoy, simply reheat it. This makes for a convenient breakfast or lunch. For the full recipe, check out the [Full Recipe]. A veggie frittata is easy to make and great for meals. You learned about key ingredients, simple steps, and tasty tips. Using fresh veggies gives extra flavor and health benefits. You can also swap ingredients or try different diets. Storing leftovers is a breeze. Now, you can whip up a delicious frittata whenever you want. Enjoy exploring flavors and combinations for a dish that fits your taste!](https://tossedflavors.com/wp-content/uploads/2025/06/34e5e2c7-c53b-4e92-b18a-deb0d4d66b7f.webp)
Healthy Garden Veggie Frittata Simple and Wholesome Dish
Looking for a simple, healthy meal that shines with fresh garden flavors? A Healthy Garden Veggie Frittata is just what you need! Packed with vibrant

Zucchini Frittata Flavorful and Easy Breakfast Dish
Looking for a delicious and easy breakfast that packs a punch? A zucchini frittata is your answer! This simple dish combines eggs, fresh veggies, and
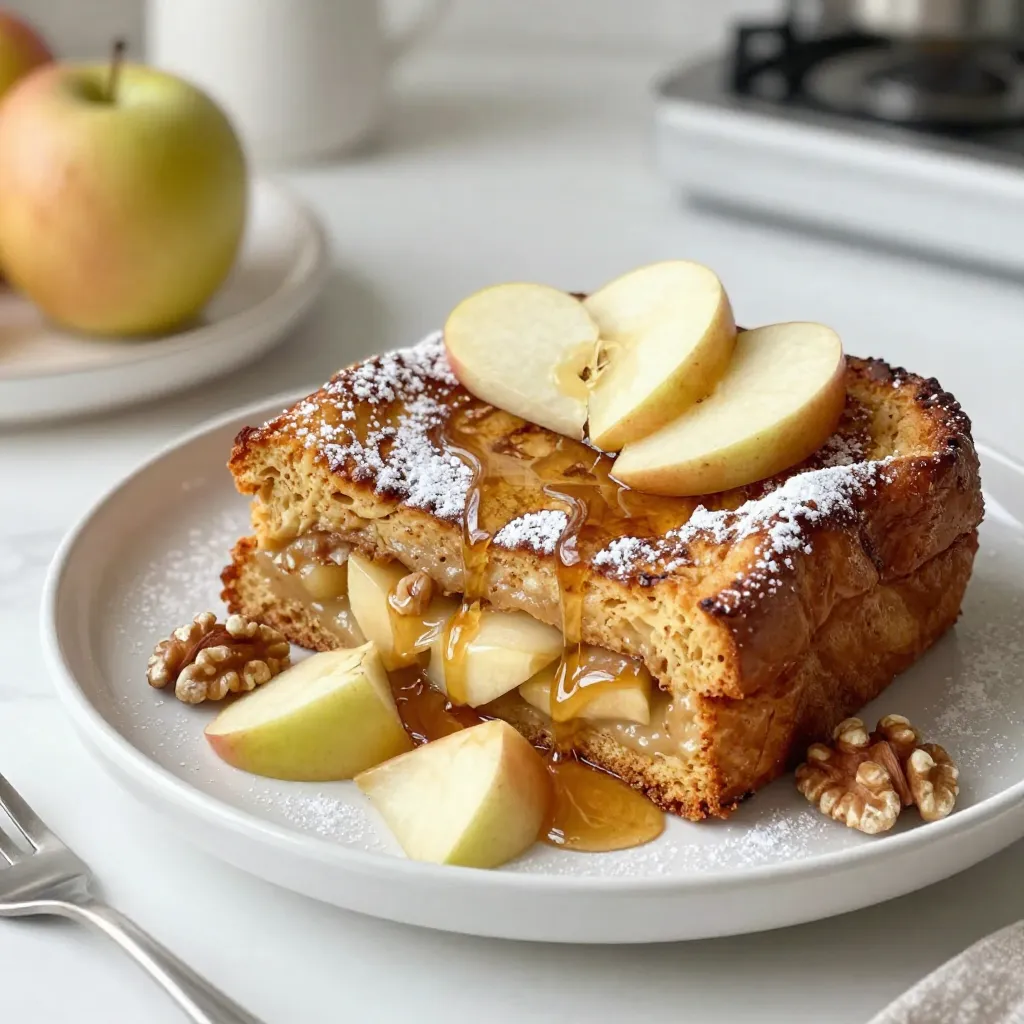
Irresistible Apple Cinnamon French Toast Bake Recipe
Want to impress your family with an easy, delicious breakfast? This Irresistible Apple Cinnamon French Toast Bake is your answer! Imagine warm, gooey bread layered

Easy Keto Egg Cups Simple and Delicious Recipe
Looking for a quick and tasty breakfast that fits your keto diet? You’ve come to the right place! I’m here to share my simple and
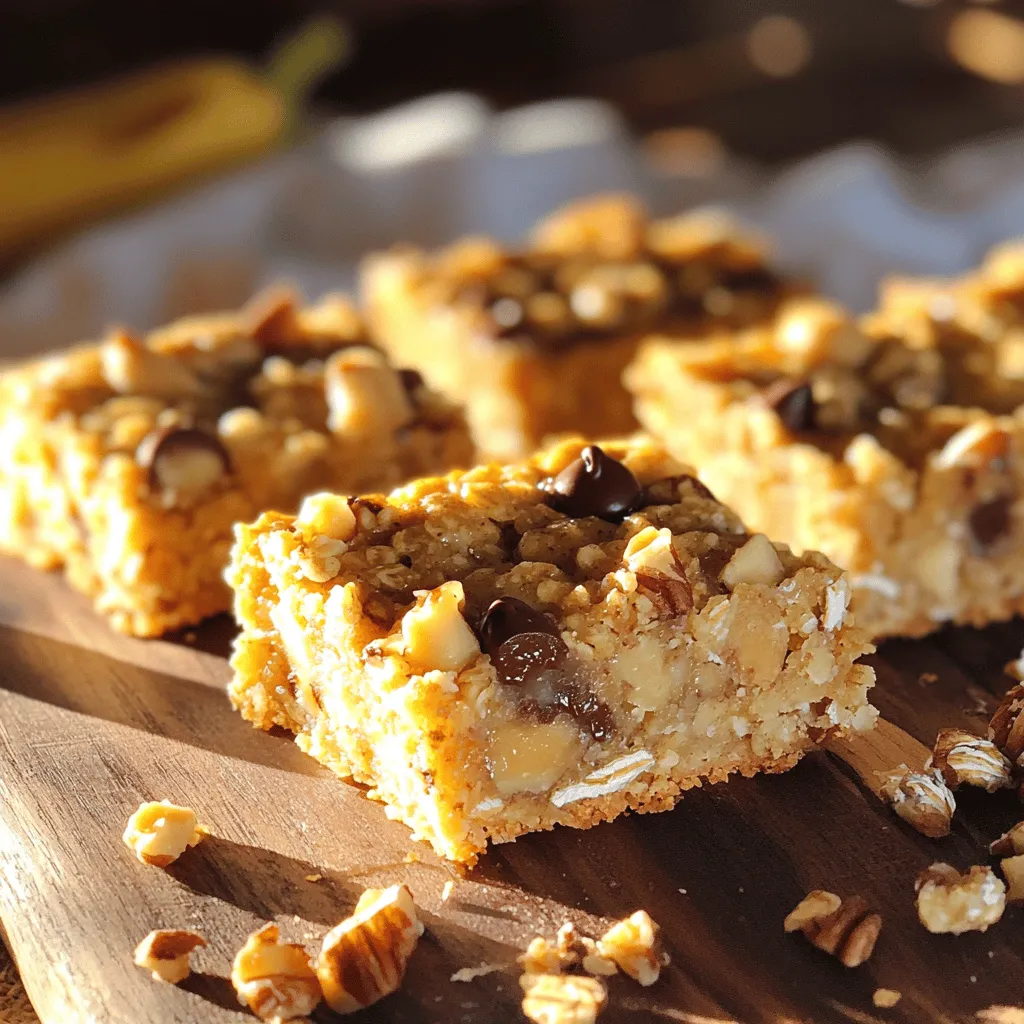
Baked Oatmeal Bars Simple and Nutritious Recipe
Looking for a simple and nutritious snack? Baked oatmeal bars are your answer! This recipe offers a tasty way to enjoy oats while packing in

Bagel Breakfast Sliders Tasty and Satisfying Recipe
Looking for a quick breakfast that packs flavor? These Bagel Breakfast Sliders are your answer! This easy recipe combines crispy turkey sausage, fluffy eggs, and

Flourless Peanut Butter Banana Muffins Simple Recipe
If you love a sweet treat that’s also healthy, you need to try my Flourless Peanut Butter Banana Muffins. They are simple to make and
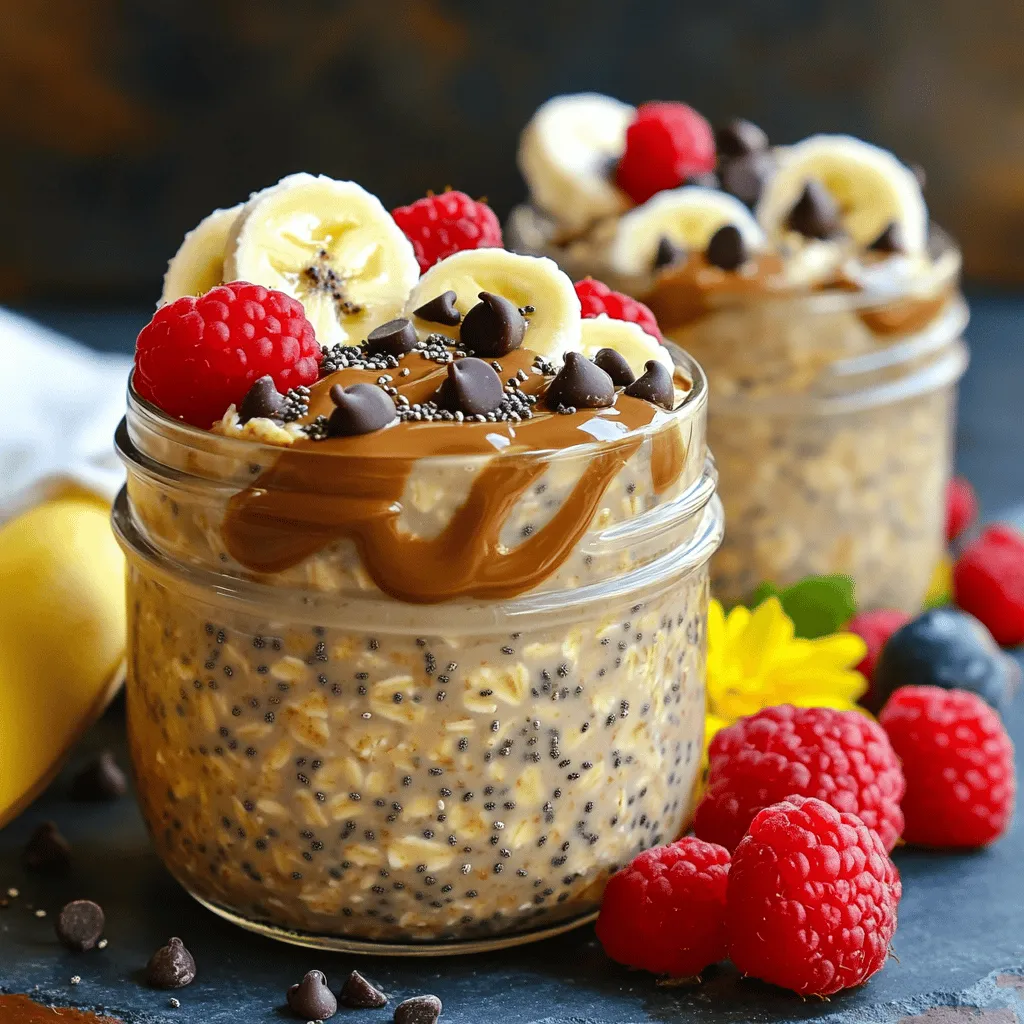
High-Protein Overnight Oats Easy and Tasty Recipe
Looking for a quick, tasty, and healthy breakfast? I’ve got you covered with my easy and delicious high-protein overnight oats recipe! This dish not only

Overnight Crème Brûlée French Toast Delightful Recipe
Get ready to elevate your breakfast game with my Overnight Crème Brûlée French Toast! This luxurious dish combines rich custard, soft brioche, and a crispy

Easy Peanut Butter & Jelly French Toast Delight
Get ready to transform your breakfast with Easy Peanut Butter & Jelly French Toast Delight! This fun twist on the classic dish combines the creamy