Appetizers
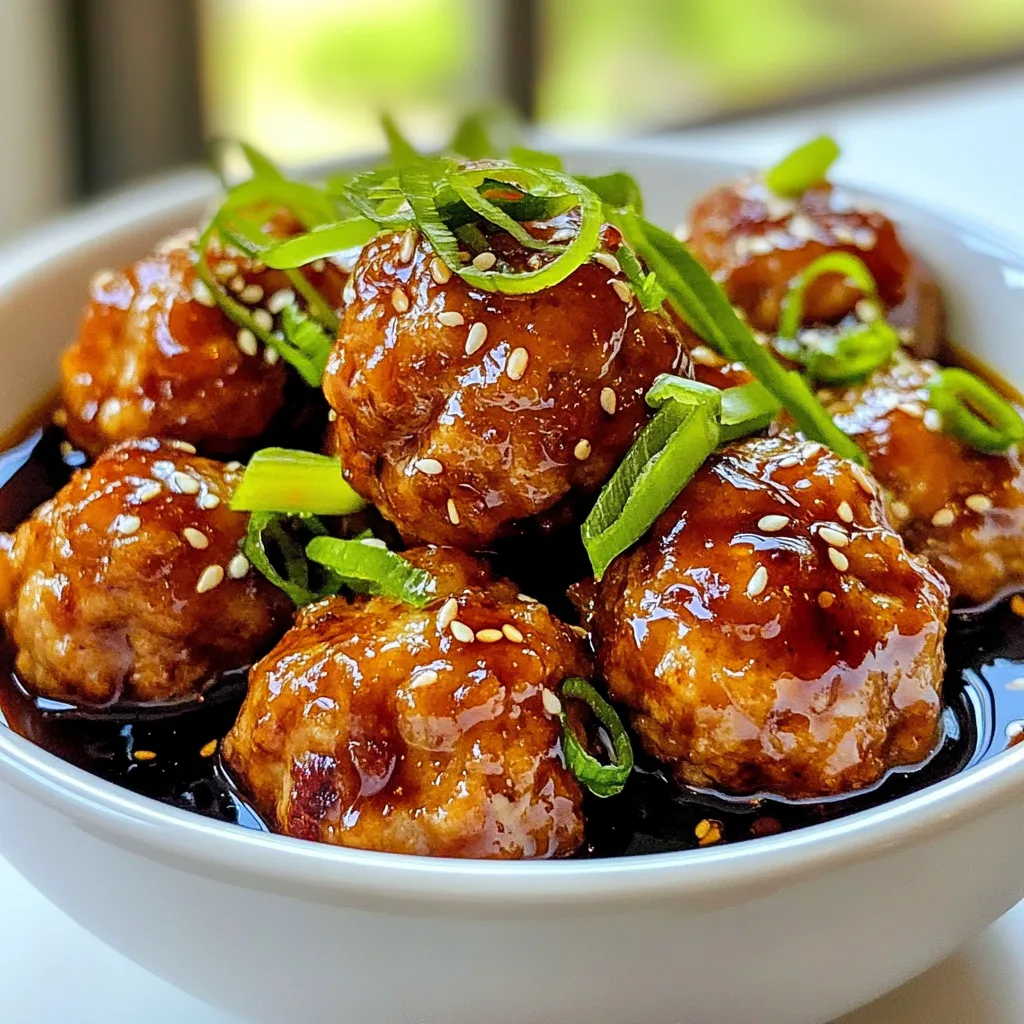
Sweet Teriyaki Meatballs Flavorful and Easy Recipe
If you’re craving a dish that’s both sweet and savory, look no further! My Sweet Teriyaki Meatballs are not just easy to make, but they
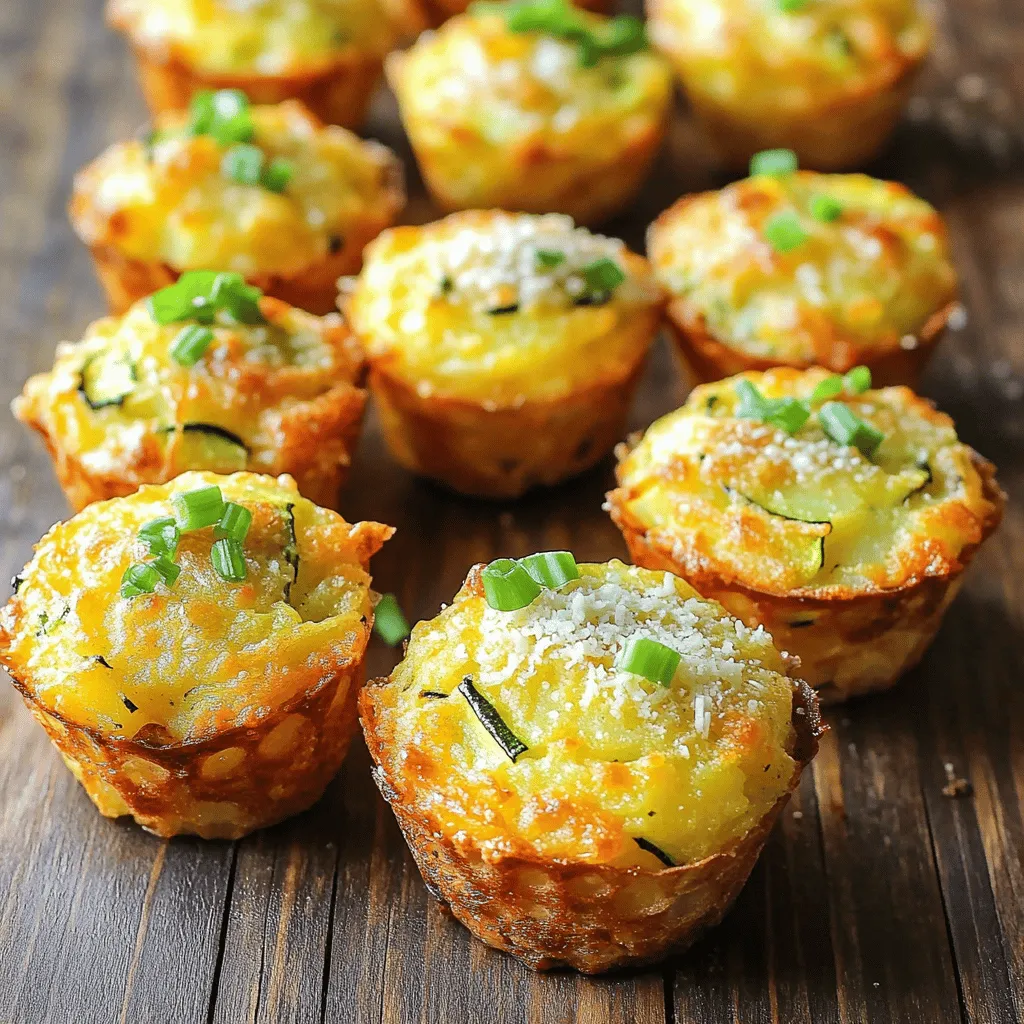
Crispy Parmesan Zucchini Potato Muffins Delightful Treat
Looking for a tasty treat that’s both crispy and satisfying? Try my Crispy Parmesan Zucchini Potato Muffins! Packed with flavor and easy to make, these

Okra Hush Puppies Flavorful and Easy Recipe
Are you ready to enjoy a tasty twist on a classic Southern dish? In this article, I share my easy recipe for Okra Hush Puppies
![- 2 medium red onions, thinly sliced into rings - 1 cup apple cider vinegar - 1 cup water - 2 tablespoons granulated sugar - 1 teaspoon fine sea salt - 1 teaspoon whole black peppercorns - 1 teaspoon mustard seeds - 1/2 teaspoon crushed red pepper flakes (optional) - 2 cloves garlic, smashed (optional) To make easy pickled red onions, you need simple ingredients. Start with red onions. These onions add a vibrant color and sweet flavor. The apple cider vinegar gives them a tangy taste. Sugar and salt balance the sharpness of the vinegar. Black peppercorns and mustard seeds add depth. If you like heat, the crushed red pepper flakes work well. Garlic can enhance the flavor, but it's optional. Gather these ingredients before you start. Having everything ready makes the process smooth and fun. You can find the full recipe under the title "Zesty Pickled Red Onions." It gives you step-by-step guidance. Enjoy the bright flavor these pickled onions bring to your meals! Peel the red onions first. Use a sharp knife or a mandoline slicer. Thinly slice the onions into even rings. This helps them pickle well and soak up the brine. In a medium saucepan, combine these ingredients: - 1 cup apple cider vinegar - 1 cup water - 2 tablespoons granulated sugar - 1 teaspoon fine sea salt - 1 teaspoon whole black peppercorns - 1 teaspoon mustard seeds - 1/2 teaspoon crushed red pepper flakes (optional) - 2 cloves garlic, smashed (optional) Mix them well. Heat the saucepan over medium heat. Stir the mixture until it starts to boil. Ensure the sugar and salt dissolve completely. After boiling, take the saucepan off the heat. Add the thinly sliced onions and smashed garlic to the pot. Stir gently to coat the onions in the brine. Let the mixture sit at room temperature for 20 to 30 minutes. This time helps the flavors blend nicely. Next, transfer the onions and the brine into a clean jar. Ensure the onions stay submerged in the liquid. If needed, press them down or use a clean weight. Seal the jar tightly and place it in the fridge. You can eat the pickled onions after a few hours. However, they taste best after 24 hours. For the full recipe, refer to the earlier section. To keep your pickled red onions nice and crunchy, choose fresh, firm onions. Slice them evenly, too. This helps them pickle well and stay crisp. If your slices are thick, they may become soft. A mandoline slicer works great for even cuts. Want to add more flavor? You can try new spices and herbs! Dill, coriander, or cumin can bring a unique taste. A pinch of ginger or a few cloves can also enhance the brine. Feel free to mix and match until you find your favorite combo. How do you serve these tasty pickled onions? They shine on tacos, burgers, or salads. Use them as a bright garnish to elevate any dish. These onions also make a great side for grilled meats. They add color and crunch, making your meal pop! For a fun gift, pack them in a cute jar and share with friends. For the full recipe, check out the [Full Recipe]. {{image_4}} You can add extra honey or sliced jalapeños for a fun twist. This mix will give your pickled onions a sweet flavor with a fiery kick. The honey balances the heat from the jalapeños beautifully. You can adjust the amount to fit your taste. Try this if you love a bit of spice in your dishes! Fresh herbs can change the game! Adding dill or thyme makes your pickled onions unique. The herbs bring fresh notes that brighten the flavor. Just toss in some chopped herbs when you prepare the onions. This variation pairs well with fish or roasted meats. Give it a try for a new flavor experience! Don’t stick to just apple cider vinegar! You can use red wine vinegar or rice vinegar for new tastes. Each type of vinegar adds its own flavor profile to the onions. Red wine vinegar offers a rich taste, while rice vinegar is milder and sweeter. Experiment with these options to find your favorite! Store your pickled red onions in an airtight container. Make sure to submerge the onions in brine. They will stay fresh for up to 2-3 weeks. This method keeps them crisp and flavorful. To help your pickled onions last longer, always use sterilized jars. You can sterilize jars by boiling them in water for 10 minutes. This step kills germs and helps prevent spoilage. Always check your pickled onions before use. Watch for an off smell, color changes, or mold. If you see any of these signs, it’s best to throw them away. Eating spoiled food can make you sick. Pickled red onions typically last for 2-3 weeks in the refrigerator. Store them in a clean jar. The brine keeps them fresh. Yes, you can use yellow or white onions instead of red ones. Each type brings a unique taste. Yellow onions offer a mild sweetness. White onions have a sharper flavor. Feel free to experiment! You can enjoy pickled red onions after just a few hours. However, they taste best after sitting for 24 hours. This resting time allows the flavors to meld perfectly. Absolutely! You can pickle many vegetables using similar techniques. Cucumbers, carrots, and radishes are great options. The process is quick and easy. Just adjust the pickling time based on the vegetable. You can create tasty pickled red onions with just a few steps. First, gather your ingredients and prepare the onions. Then, make the brine and let the onions soak. Remember to store them properly for freshness. Experiment with flavors for fun variations. In just a short time, you will enjoy this tasty treat. Happy pickling!](https://tossedflavors.com/wp-content/uploads/2025/06/19daf48b-29f2-4127-abc9-241415bf9fa2.webp)
Easy Pickled Red Onions Tasty and Simple Recipe
Do you want to add a burst of flavor to your meals? Try my easy pickled red onions! With just a few simple ingredients, you
![- 2 lbs chicken wings - 1 cup buttermilk - 1 cup all-purpose flour - ½ cup cornstarch - 1 tablespoon garlic powder - 1 teaspoon onion powder - 4 cloves garlic, minced - Salt and pepper to taste - Oil for frying When I create crispy garlic fried chicken wings, I focus on fresh, quality ingredients. The chicken wings are the star here. They should be plump and juicy. Buttermilk gives them a tender texture. It also adds a subtle tang that pairs well with garlic. Next, we need a good coating. All-purpose flour and cornstarch work together to create a crisp outer layer. Garlic powder and onion powder add depth to the flavor. You can also sprinkle in a touch of paprika for a mild smokiness. Don't forget the garlic! Fresh garlic is key to that bold taste. As for the oil, choose one with a high smoke point, like canola or peanut oil. This ensures the wings fry evenly and get crispy. With these ingredients, you can transform simple wings into a flavorful delight. Check the [Full Recipe] for all the steps to make this dish come alive! To marinate chicken wings, start by placing them in a large bowl. Pour the buttermilk over the wings. Mix the wings well, so each one gets coated. Cover the bowl with plastic wrap. Refrigerate the wings for at least 2 hours. If you have time, marinate them overnight. This helps the wings become tender and flavorful. In a separate bowl, mix the dry ingredients. Combine all-purpose flour, cornstarch, garlic powder, onion powder, paprika, baking powder, and a good pinch of salt and pepper. Stir until everything is well blended. A good coating is key for crispy wings. It creates a crunchy texture that balances the juicy meat inside. Heat the oil in a deep frying pan. Make sure to use enough oil to cover the wings. Aim for about 2-3 inches deep. Heat the oil to 350°F (175°C). Use a cooking thermometer to check the temperature. When frying, add the wings in small batches. Do not overcrowd the pan. This keeps the oil hot and helps the wings stay crispy. Fry each batch for 10-12 minutes. Look for a golden-brown color for perfect doneness. After frying, place the wings on paper towels to remove excess oil. - Best oil for frying: Use oils with high smoke points. Peanut oil or canola oil works best. These oils help the wings fry up nice and crispy. - Importance of resting wings before frying: Let the wings rest for about 15 minutes after coating. This helps the breading stick better and makes each bite more crunchy. - Adding spices for extra flavor: You can boost the taste by adding cayenne or chili powder. These spices give a nice kick to your wings. Experiment with your favorite herbs or spices for a personal touch. - Suggestions for dipping sauces: Serve your wings with ranch or blue cheese for classic pairs. You can also try honey mustard or spicy sriracha for a twist. - Garnishing with parsley: A sprinkle of fresh parsley adds color and freshness. This simple touch makes your dish look gourmet. - Arranging on a platter: Place wings on a large platter. Line it with parchment paper for a rustic look. You can also add lemon wedges for a pop of color and flavor. Serve them hot for the best experience. For the full recipe, check out the details provided earlier. {{image_4}} To make spicy garlic wings, add heat to the mix. Start by adding hot sauce to the buttermilk marinade. This adds a nice kick to your wings. You can also mix in chili powder into the coating. This will give your wings a spicy crunch. If you seek a healthier option, consider baking the chicken wings. To do this, preheat your oven to 425°F (220°C). Place the coated wings on a baking sheet lined with parchment paper. Bake for about 30-40 minutes. Flip the wings halfway through to ensure even cooking. You may not get the same crispiness as frying, but they still taste great! You can toss your wings in various sauces after frying. Try a classic buffalo sauce or a tangy barbecue sauce. For something sweet, you can make a honey garlic sauce. Just mix together honey, soy sauce, and minced garlic in a small pot. Heat until smooth, then toss your wings in it. This adds a delicious sweet and savory touch. For the full recipe, try the Crispy Garlic Fried Chicken Wings. You won’t be disappointed! To keep your crispy garlic fried chicken wings fresh, follow these tips: - Allow wings to cool down. - Place wings in an airtight container. - Store them in the fridge for up to 3 days. - For best taste, eat them within 24 hours. I recommend using glass containers for storage. They are safe and help keep odors away. If you use plastic, select BPA-free containers to avoid harmful chemicals. To enjoy wings again, reheating correctly is key: - Oven Method: Preheat your oven to 350°F (175°C). Place wings on a baking sheet. Bake for 10-15 minutes until crispy. - Microwave Method: Place wings on a microwave-safe plate. Heat for 1-2 minutes. This method is quick but may make them less crispy. For the best texture, I suggest using the oven. It brings back the crunch. If you want to save wings for later, freezing works well: - Cool wings completely before freezing. - Wrap them tightly in plastic wrap or foil. - Place wrapped wings in a freezer bag. To thaw, move wings to the fridge for 12 hours before reheating. This method keeps the flavor and texture intact. Enjoy your crispy garlic fried chicken wings from the freezer! For the full recipe, check out the section above. I recommend marinating chicken wings for at least 2 hours. For the best flavor, try to marinate them overnight. This longer time helps the wings soak up the buttermilk. The acid in the buttermilk makes the meat tender and juicy. The best oils for frying chicken wings are canola and peanut oil. Both have high smoke points, around 400°F (204°C). This means they can cook the wings well without burning. Olive oil is not a good choice here, as it has a lower smoke point and can burn quickly. Yes, you can make these wings in an air fryer! To do this, coat the wings as usual. Preheat the air fryer to 375°F (190°C). Place the wings in a single layer in the basket. Cook for 25-30 minutes, flipping halfway through. This gives you crispy wings with less oil. To check if chicken wings are done, use a meat thermometer. The internal temperature should reach 165°F (74°C). If you don’t have a thermometer, look for the wings to be golden brown and crispy. The juices should run clear when pierced. In this article, we covered how to make crispy garlic fried chicken wings. You learned about the key ingredients, from chicken wings to seasonings. I shared step-by-step instructions for marinating, coating, and frying. You also discovered tips for crispiness and flavor variations. Enjoy experimenting with these wings at your next gathering. Try different sauces or cooking methods. Your taste buds will thank you! Perfectly cooked chicken wings can bring joy to any meal.](https://tossedflavors.com/wp-content/uploads/2025/06/bb9fd7bb-1be1-4041-886a-c6cbf8aaf461.webp)
Crispy Garlic Fried Chicken Wings Flavorful Delight
Craving something savory and crunchy? Look no further than these Crispy Garlic Fried Chicken Wings! With just a few simple ingredients and steps, you can
![To make irresistible garlic butter corn with cheese, you need a few simple ingredients: - 4 ears of fresh corn, husked and cleaned - 4 tablespoons unsalted butter - 4 cloves garlic, minced - 1 teaspoon smoked paprika - 1 cup freshly grated Parmesan cheese - 1/2 cup fresh cilantro or parsley, finely chopped - Juice of 1 lime - Salt and freshly ground black pepper to taste These ingredients work together to create a dish that is rich and full of flavor. The corn gives you a sweet crunch, while the butter and garlic add depth. The Parmesan cheese melts in, making everything creamy and delicious. You can customize your garlic butter corn to suit your taste. Here are some fun ideas: - Add diced jalapeños for a spicy kick. - Mix in cooked bacon bits for a smoky flavor. - Use different cheeses like feta or cheddar for a twist. - Toss in some cherry tomatoes for extra color and freshness. Feel free to experiment with these options to make the dish your own. Seasoning is key to making this dish shine. Here are some suggestions: - Try adding cayenne pepper for heat. - Use fresh lime zest for extra zing. - A sprinkle of chili powder adds warmth. - Fresh herbs like basil or oregano can add a garden touch. These seasonings can elevate your garlic butter corn and make it even more special. Enjoy experimenting! For the full recipe, check out the complete instructions in the main article. Start by filling a large pot with water. Add a good amount of salt. Bring the water to a boil. Once boiling, add the husked corn. Cook for 5 to 7 minutes. The corn should be tender but still crisp. After cooking, take the corn out and let it cool. You want it cool enough to handle safely. While the corn is cooling, make the garlic butter. Take a small saucepan and heat it over medium heat. Add the unsalted butter and let it melt. Once it melts, add the minced garlic. Sauté the garlic for 1 to 2 minutes. It should smell great but not brown. After that, remove the pan from heat. Stir in the smoked paprika, lime juice, salt, and pepper. This mixture will add so much flavor to the corn. Once the corn is cool, use a sharp knife to cut off the kernels. Cut close to the cob to get the most kernels. Put the kernels in a mixing bowl. Drizzle the garlic butter mixture over the warm corn. Toss gently to coat every kernel. Now, fold in the grated Parmesan cheese and chopped cilantro or parsley. Mix until everything is well combined. Taste your dish and add more salt or pepper if needed. Serve the garlic butter corn warm. For a nice touch, add extra cheese and cilantro on top. Enjoy this delightful dish! For the complete recipe, see the Full Recipe section. To cook corn perfectly, start with fresh ears. Look for bright green husks and moist silk. Bring a large pot of water to a boil. Add a good amount of salt for flavor. Cook the corn for 5-7 minutes. Keep an eye on it; you want it tender, not mushy. Once done, cool the corn slightly before cutting. Garlic butter is key to boosting flavors. Use fresh garlic for the best taste. I like to add smoked paprika for a hint of warmth. Lime juice adds a zesty kick. Don’t forget to season with salt and pepper. Taste your mix and adjust as needed. Fresh herbs, like cilantro, bring brightness. They balance the rich cheese and butter. Presentation can make your dish pop. Serve the corn in a vibrant bowl. For a fun twist, use a wooden board. Top with extra grated cheese. A sprinkle of fresh herbs adds color. Lime wedges on the side invite guests to squeeze more juice. This makes your dish more interactive and appealing. For the full recipe, check out the instructions above. {{image_4}} If you want a vegetarian twist, skip the cheese. You can use nutritional yeast for a cheesy flavor without dairy. It adds a nice umami taste. You can also add extra veggies. Try bell peppers, zucchini, or even spinach. They bring color and nutrients to the dish. While Parmesan shines in this recipe, you can try other cheeses. Feta adds a tangy bite. Cheddar brings a rich flavor. Goat cheese melts nicely and gives a creamy texture. Experiment with these cheeses to find your favorite mix. Each one adds a unique taste to the garlic butter corn. Don’t be afraid to play with flavors! Add fresh herbs like basil or dill for a fresh taste. A sprinkle of chili flakes gives it a kick. For a sweet touch, mix in some honey or maple syrup. You can also squeeze in more lime juice for brightness. Each addition can change your corn dish into something special. To store leftover garlic butter corn, let it cool first. Place it in an airtight container. You can keep it in the fridge for up to three days. Make sure you seal it well to prevent drying out. When it's time to eat, reheat the corn on the stove. Add a splash of water to keep it moist. Heat on low until warm. You can also use a microwave. Place it in a microwave-safe bowl, cover it, and heat in short bursts. Stir between each burst to ensure even warming. If you want to freeze garlic butter corn, follow these steps. First, let it cool down completely. Then, transfer it to freezer bags. Flatten the bags to save space. You can freeze it for up to three months. When you're ready to eat, thaw it in the fridge overnight. Reheat as mentioned above for the best flavor. For the full recipe, check out the detailed instructions above. To make this recipe dairy-free, replace the butter with a plant-based alternative. Use olive oil or coconut oil for a rich flavor. For cheese, try a dairy-free cheese that melts well, like cashew cheese or a store-bought vegan option. Yes, you can use frozen corn! Just thaw the corn before cooking. You can skip the boiling step since frozen corn is already cooked. Sauté the thawed corn directly in the garlic butter mixture until heated through. This garlic butter corn pairs well with grilled chicken or fish. You can also serve it alongside steak or as a side with tacos. The rich flavor of the corn complements many main dishes beautifully. Enjoy it with a fresh salad for a complete meal. For those who want to dive deeper into the flavors, check out the [Full Recipe] for all the details! This blog post covered the key ingredients, step-by-step instructions, and tips for making garlic butter corn with cheese. We explored variations like vegetarian options and flavor combinations. Remember to store leftovers properly and reheating them right keeps the taste alive. Garlic butter corn is simple yet full of flavor. It's great for meals and parties. Try it your way, and enjoy the fun of cooking!](https://tossedflavors.com/wp-content/uploads/2025/06/a8dfe8fc-c17d-4e7a-8c0b-53b5fc06b5ec.webp)
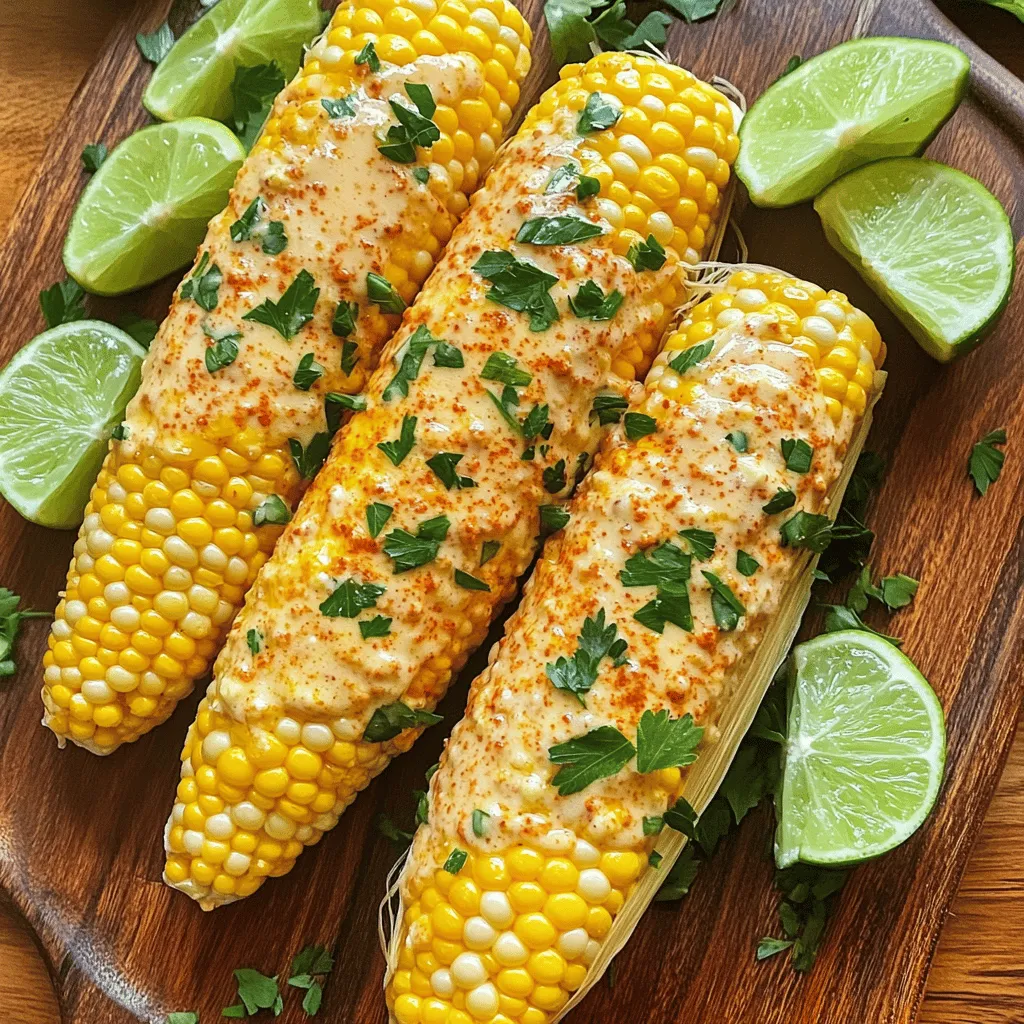
Irresistible Garlic Butter Corn with Cheese Delight
Are you ready to elevate your corn game? Say hello to Irresistible Garlic Butter Corn with Cheese Delight! This dish combines sweet corn, rich garlic
Smoked Paprika Garlic Butter Corn Flavorful Side Dish
Looking for a side dish that packs a flavorful punch? You’ll love this Smoked Paprika Garlic Butter Corn! This easy recipe combines sweet corn, rich
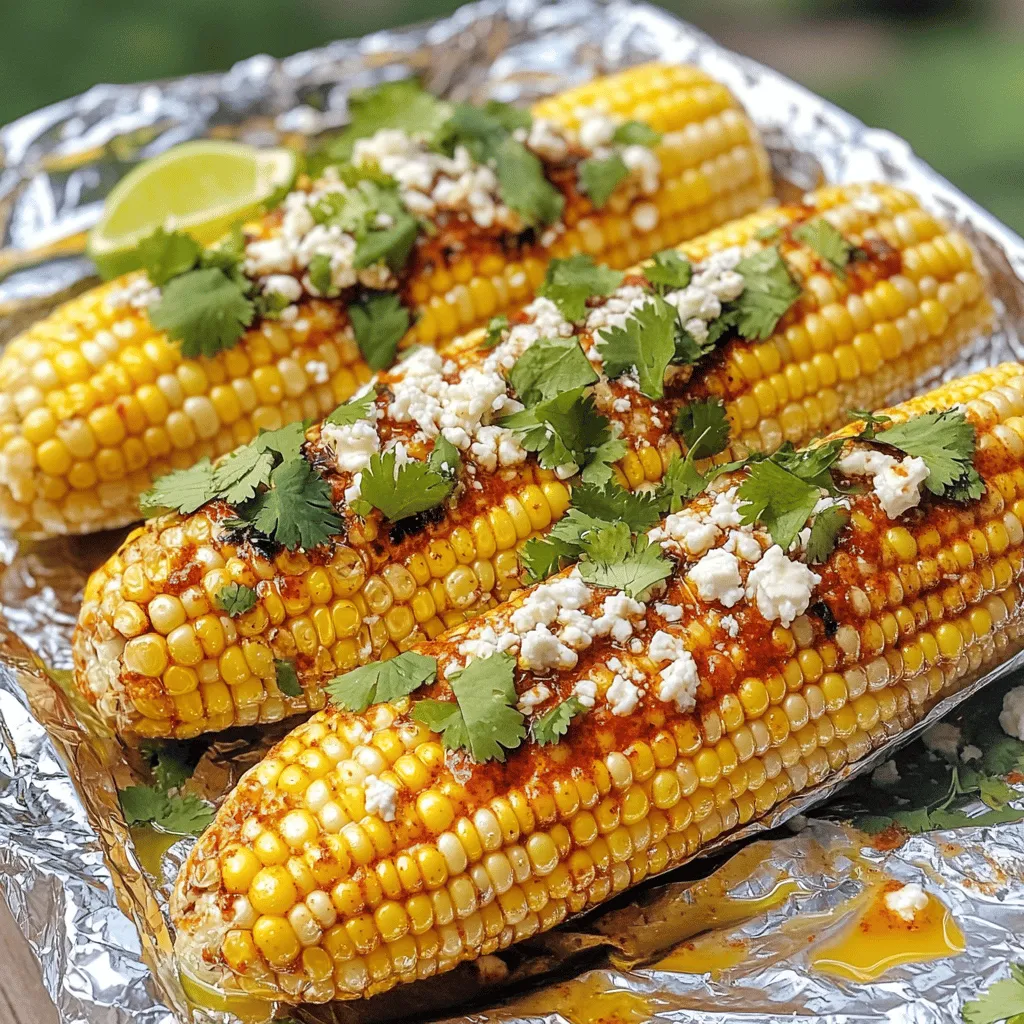
Grilled Corn in Foil Flavorful and Simple Recipe
If you crave a tasty summer treat, make grilled corn in foil! This simple recipe transforms fresh corn into a flavorful dish with just a
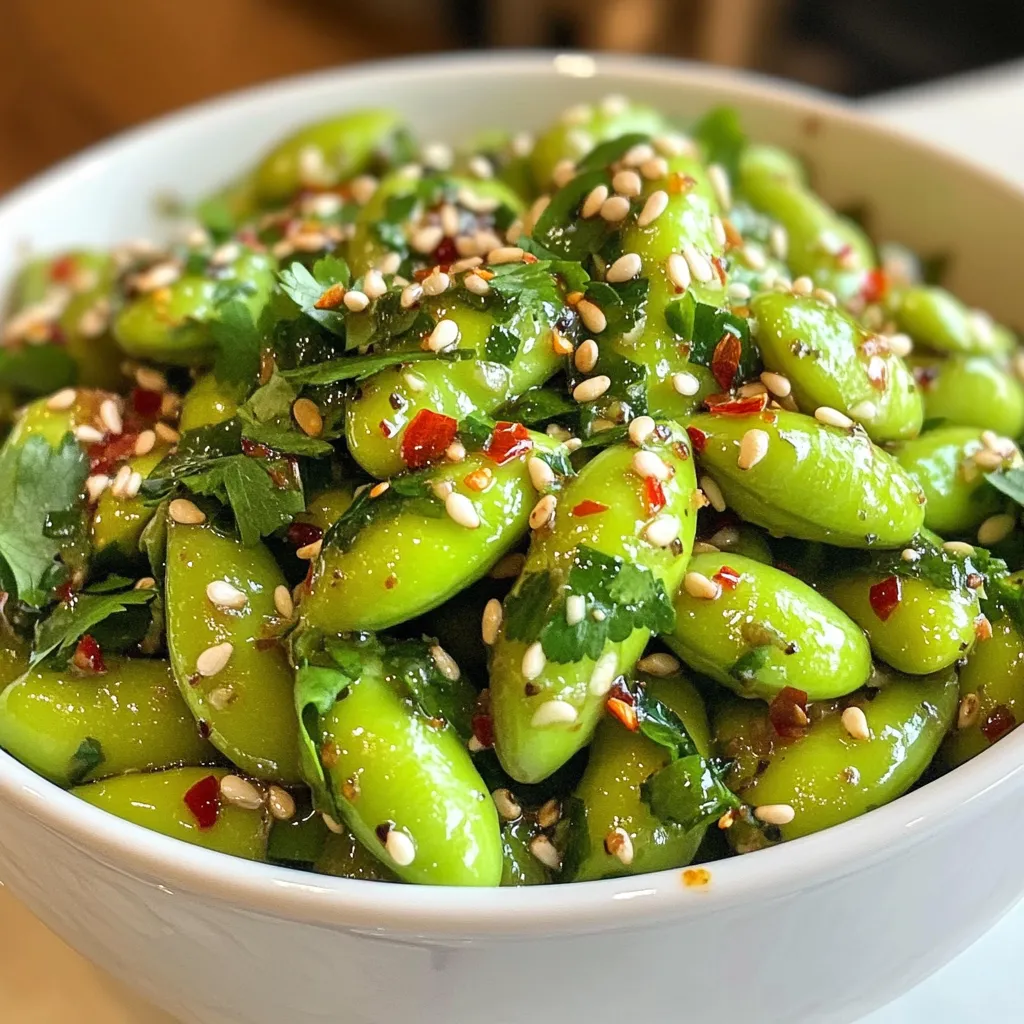
Spicy Garlic Edamame Fast and Flavorful Snack Recipe
Looking for a quick and tasty snack? You’re in the right place! This Spicy Garlic Edamame recipe brings bold flavors to your table in no
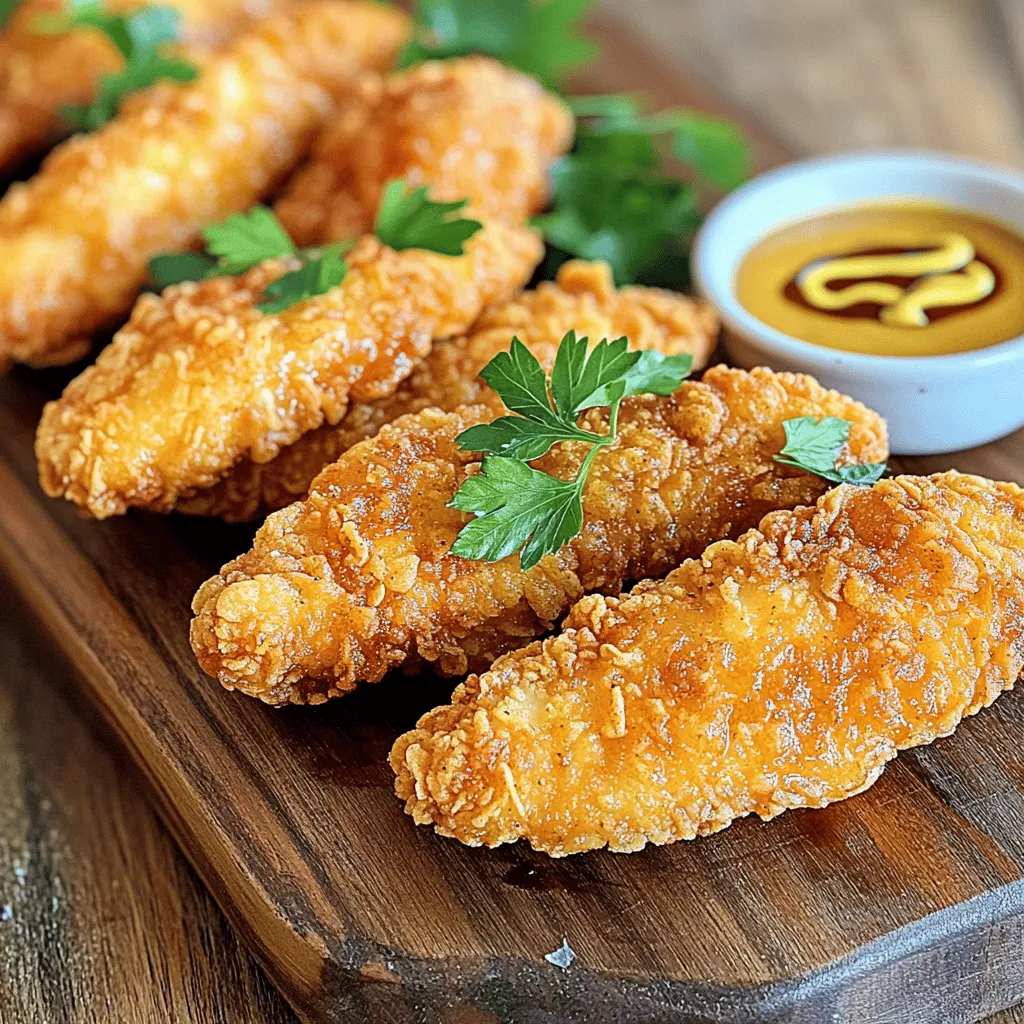
Crispy Homemade Chicken Tenders Perfectly Delicious Dish
If you’re craving a crunchy, juicy treat, you’ve come to the right place! My Crispy Homemade Chicken Tenders are easy to make and full of