Appetizers
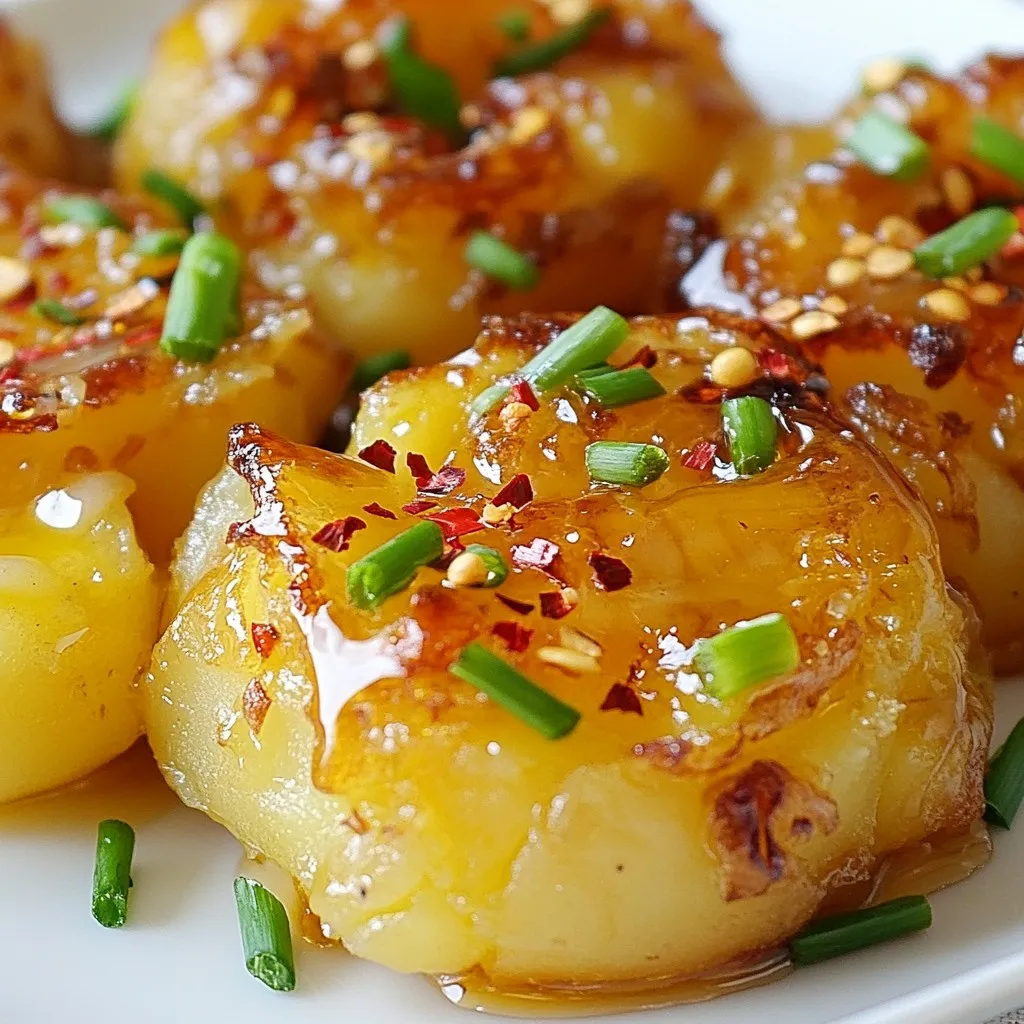
Honey Garlic Smashed Potatoes Irresistible Flavor Boost
Looking to add some zing to your side dish game? Honey Garlic Smashed Potatoes pack an irresistible flavor boost that’s hard to resist! I’ll show

Chicken Parmesan Pillows Tasty and Simple Treat
Looking for a fun, tasty treat? Chicken Parmesan Pillows are simple to make and sure to impress! With creamy cheese, tender chicken, and flaky pastry,
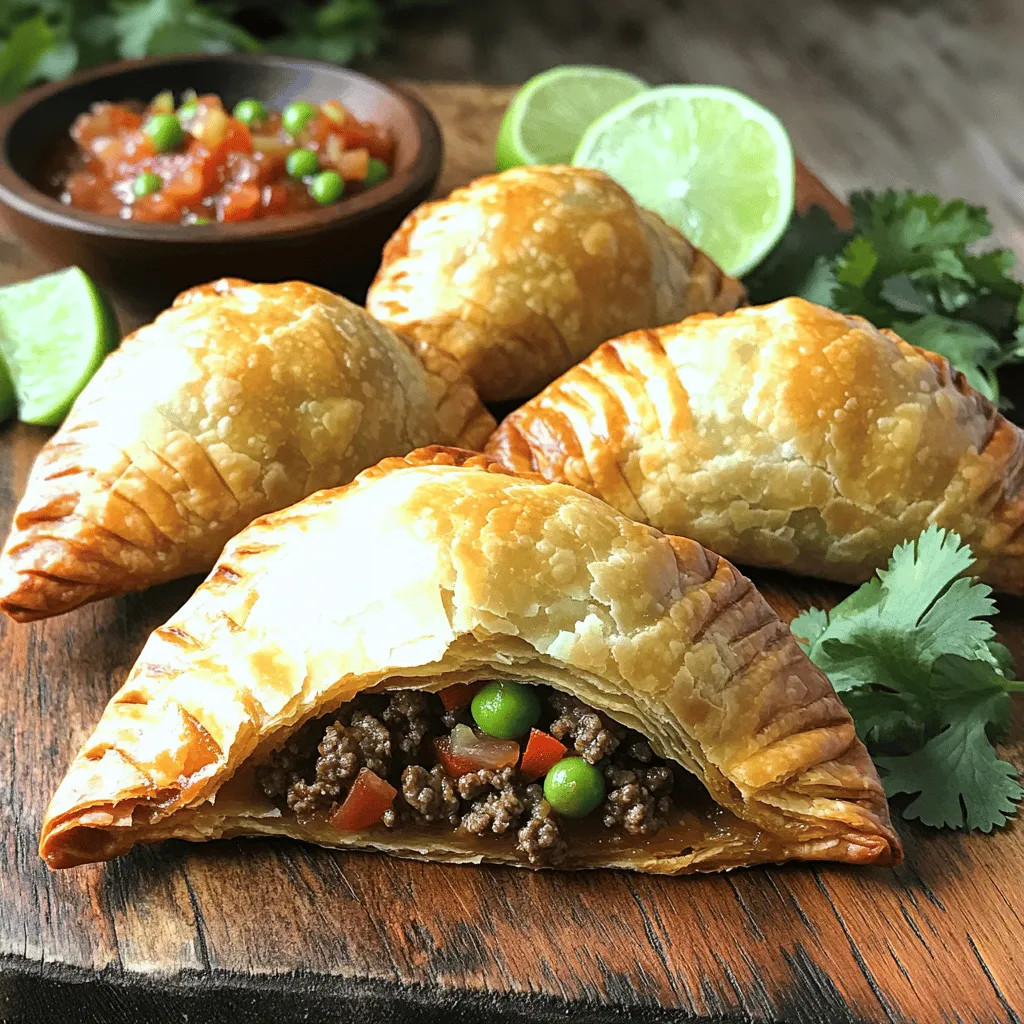
The Best Beef Empanadas Flavorful and Simple Recipe
Are you ready to make the best beef empanadas? These savory treats are packed with flavor and are surprisingly easy to prepare. With a hearty
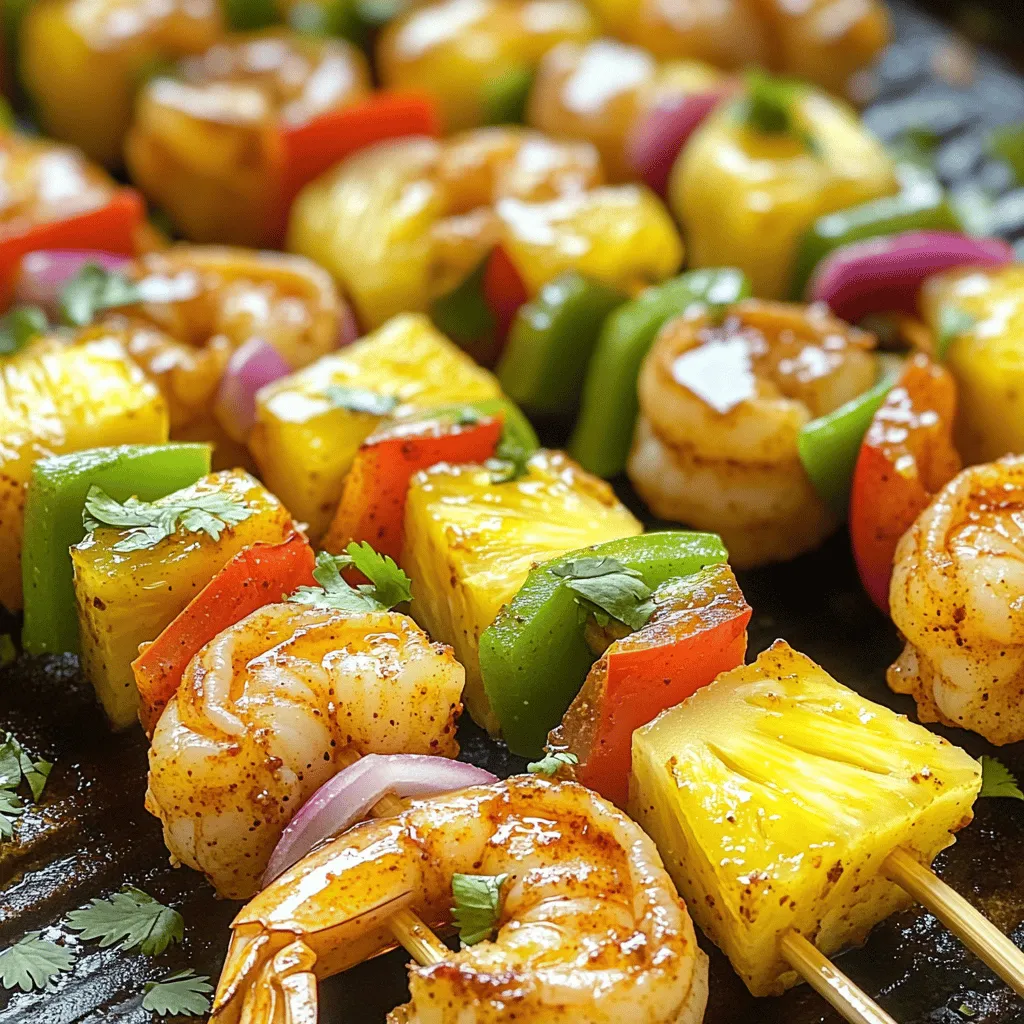
Grilled Jerk Shrimp and Pineapple Skewers Delight
Craving a tropical escape? Dive into the savory world of grilled jerk shrimp and pineapple skewers! This dish combines the bold flavors of jerk seasoning

Irresistible Pizza Monkey Bread Cheesy and Fun Dish
If you’re craving a fun and cheesy dish that will impress your friends and family, look no further! This Irresistible Pizza Monkey Bread combines gooey

Garlic Parmesan Cheeseburger Bombs Tasty Family Treat
If you’re looking for a fun and tasty way to please your family, you’ve found it! Garlic Parmesan Cheeseburger Bombs are the perfect blend of

Smoky Chipotle Chicken Quesadillas Flavorful Fiesta
Get ready for a flavor-packed adventure with my Smoky Chipotle Chicken Quesadillas! These delightful treats burst with a smoky kick and juicy chicken, making them
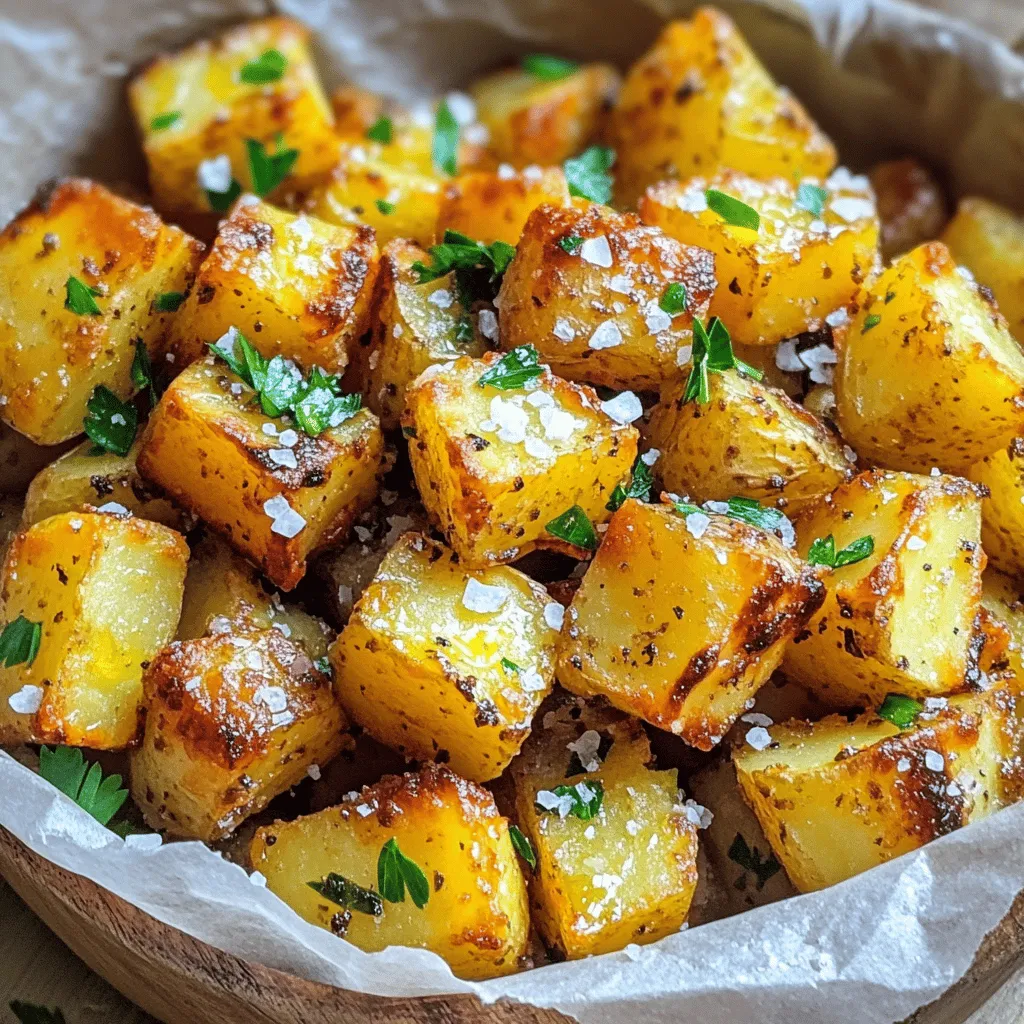
Crispy Sea Salt Chopped Potatoes Tasty and Simple Recipe
Craving a snack that’s crunchy, salty, and oh-so-satisfying? You’ve come to the right place! In this post, I’ll share my simple, tasty recipe for Crispy
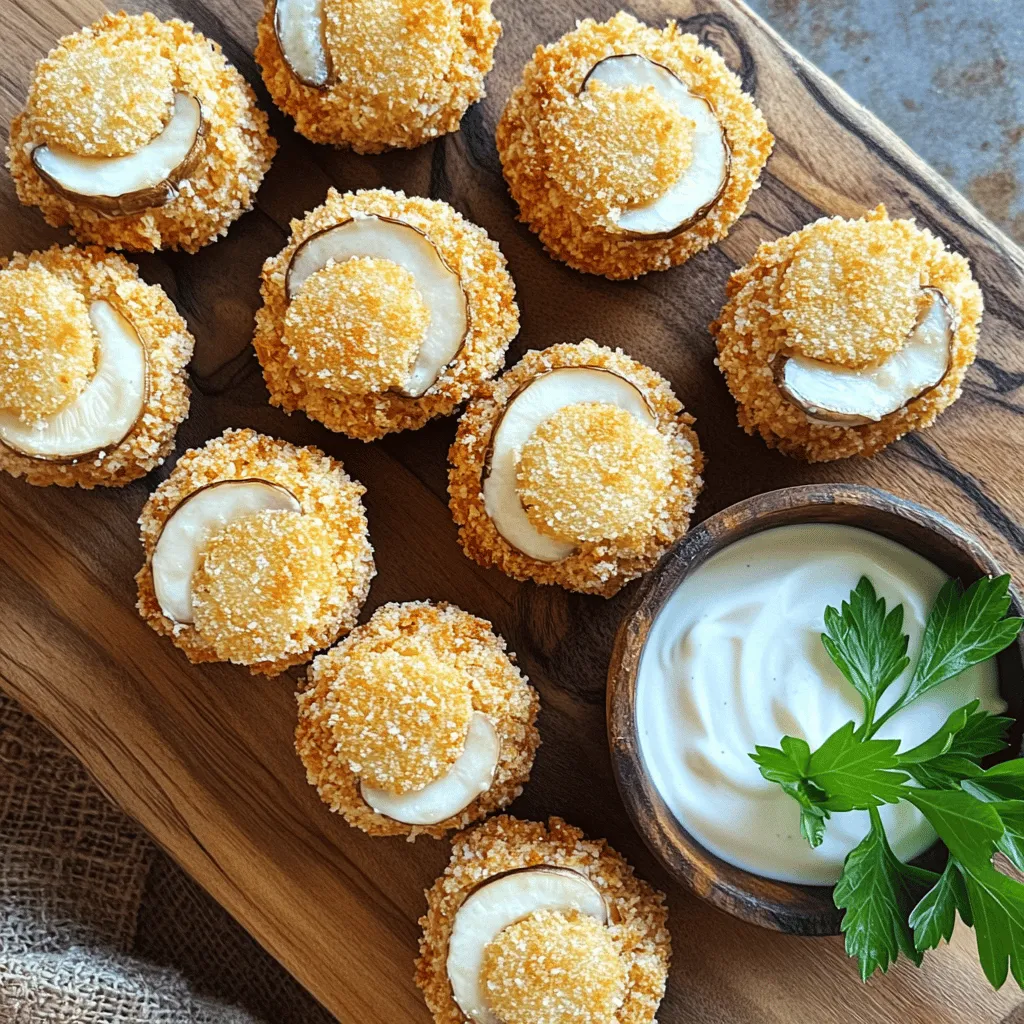
Fried Sliced Mushrooms with Ranch Crispy Delight
Get ready for a crunchy snack that will change your mushroom game! Fried sliced mushrooms with ranch dressing is not just a treat; it’s a

Spicy Mexican Corn Bites Crispy and Flavorful Treat
Craving a tasty snack with bold flavors? Look no further! These Spicy Mexican Corn Bites are crispy, savory, and sure to please your taste buds.