Appetizers
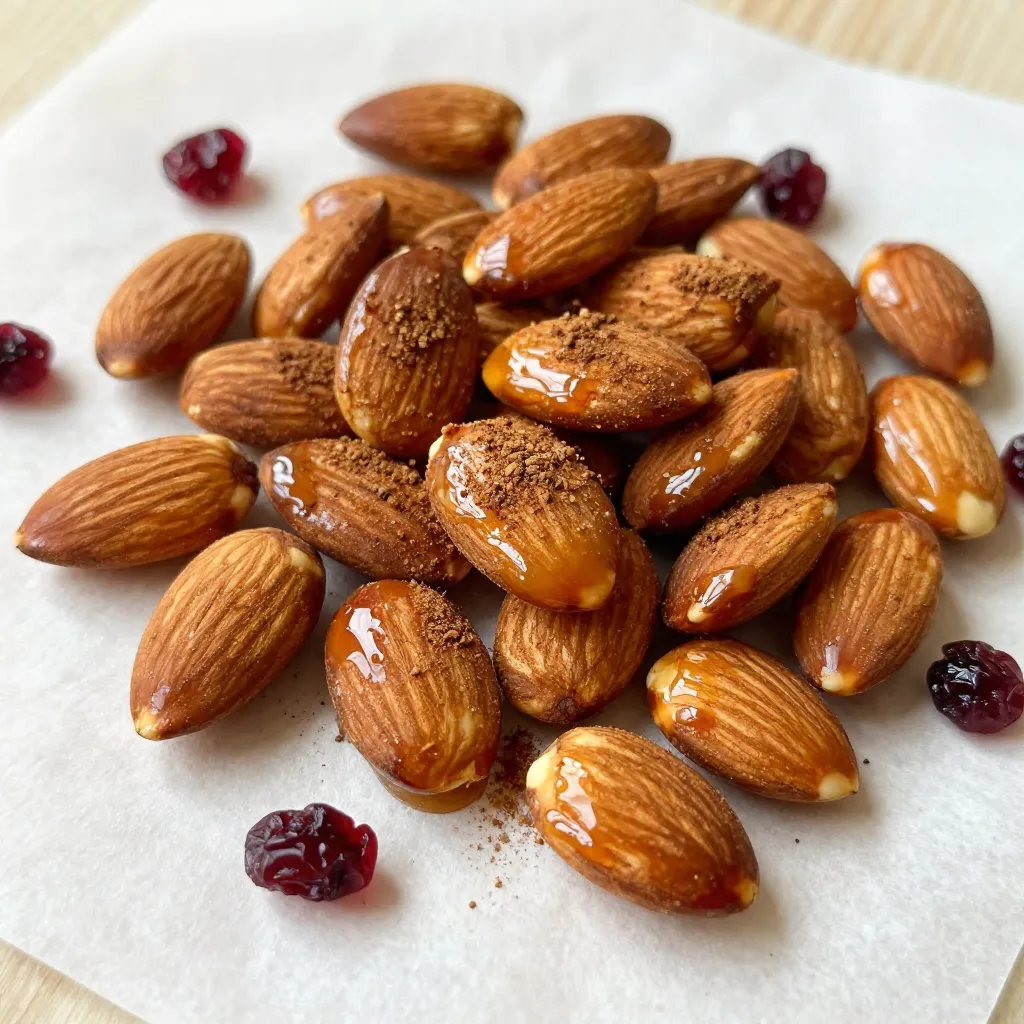
Maple Cinnamon Roasted Almonds Tasty and Healthy Snack
Looking for a tasty and healthy snack? Try making Maple Cinnamon Roasted Almonds! This easy recipe combines creamy almonds with warm maple and cinnamon flavors.
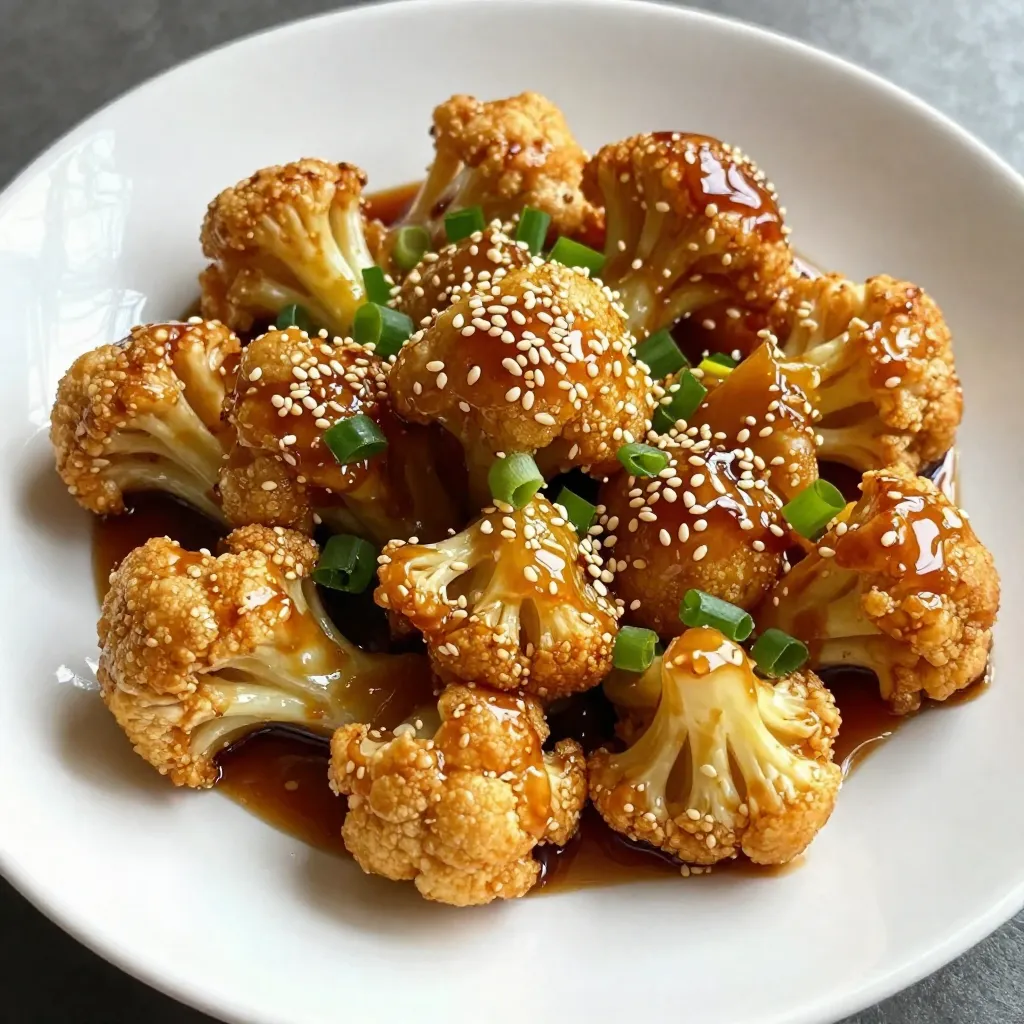
Sticky Sesame Cauliflower Crispy and Flavorful Dish
If you crave a dish that’s both crispy and packed with flavor, you’re in for a treat! My Sticky Sesame Cauliflower is your new go-to
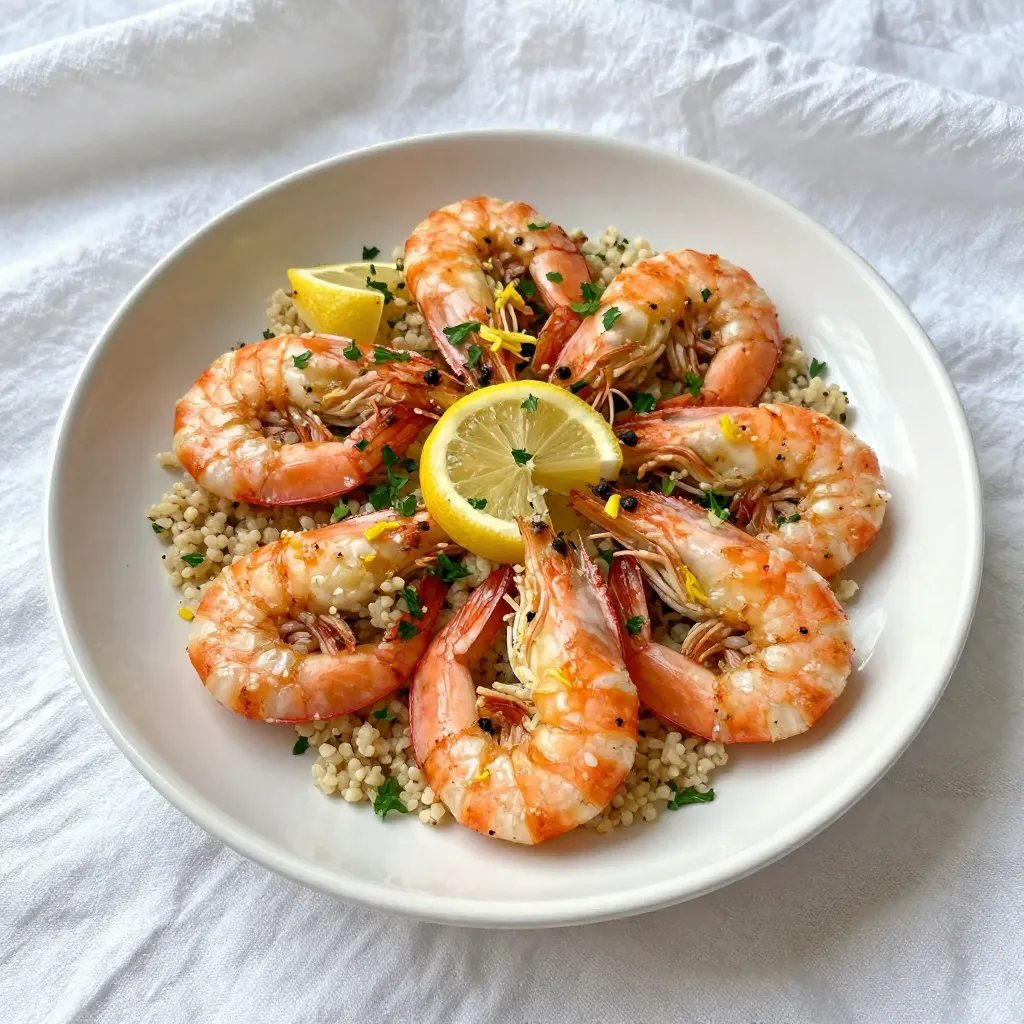
Lemon Garlic Roasted Shrimp Simple and Flavorful Dish
If you’re looking for a quick and tasty meal, Lemon Garlic Roasted Shrimp is the answer. This dish combines fresh shrimp with bright flavors, making
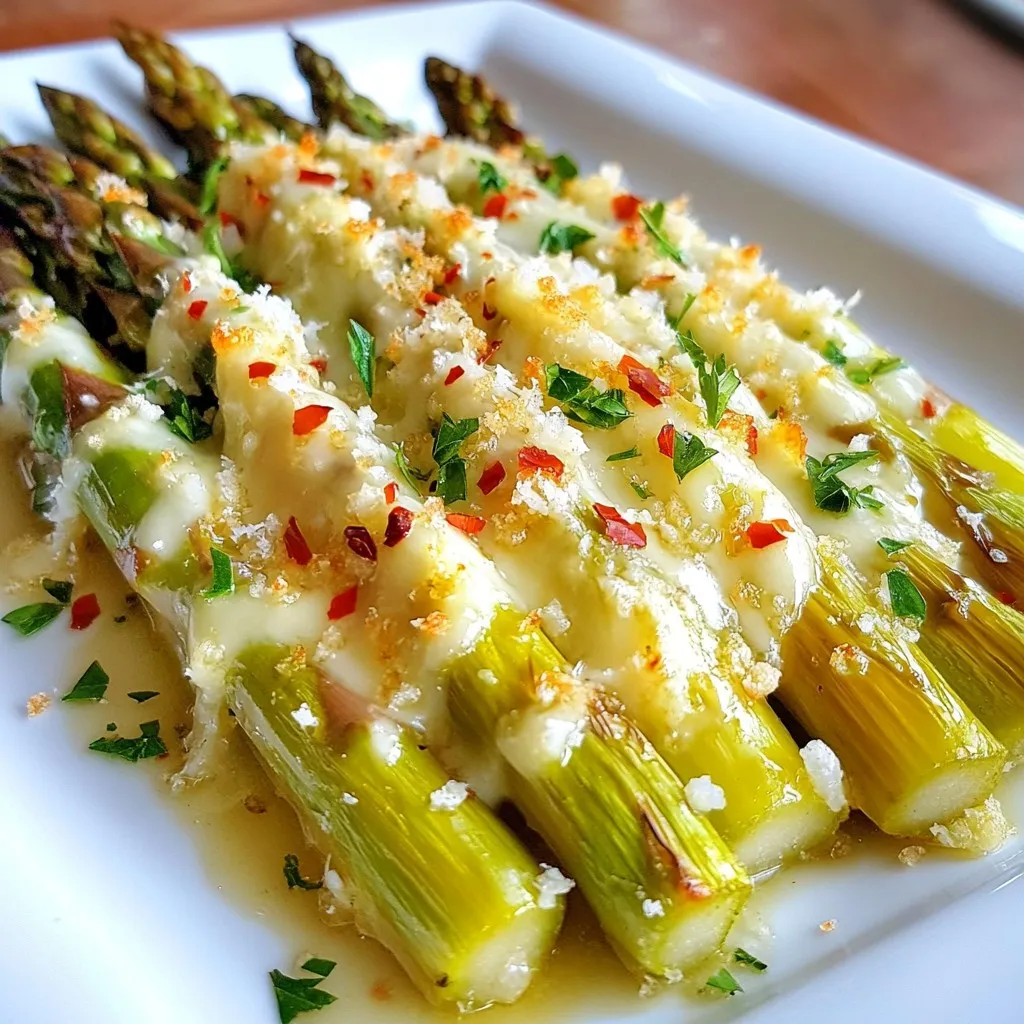
Roasted Garlic Parmesan Asparagus Flavorful Side Dish
If you’re looking for a tasty side dish, you’ll love this Roasted Garlic Parmesan Asparagus. It’s quick to make and packed with flavor! With fresh
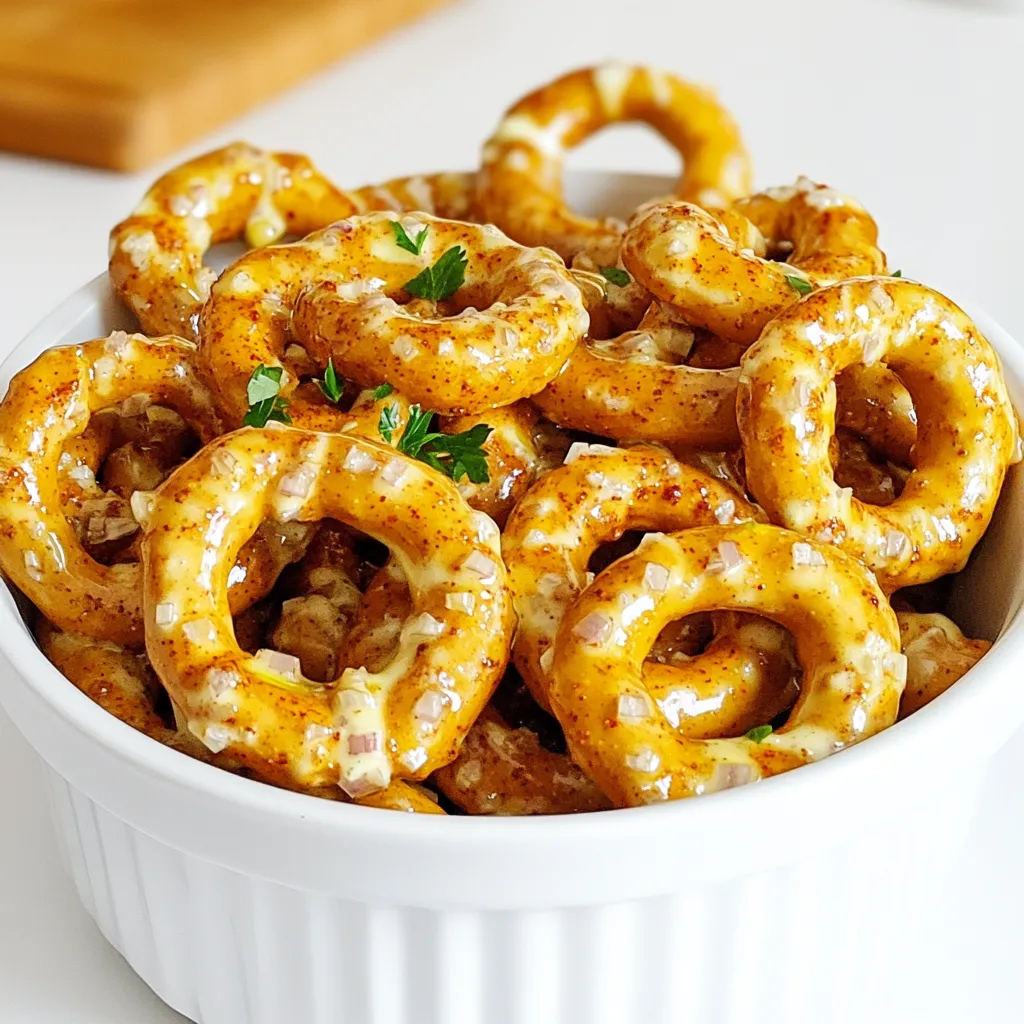
Spicy Ranch Pretzels Savory and Flavorful Snack Treat
Looking for a snack that packs a punch? Try my Spicy Ranch Pretzels! These savory bites are easy to make and full of flavor. With

Teriyaki Turkey Meatballs Juicy and Flavorful Recipe
Looking for a delicious twist on your weeknight dinner? Try my Teriyaki Turkey Meatballs! They are juicy, flavorful, and easy to make. You’ll impress your
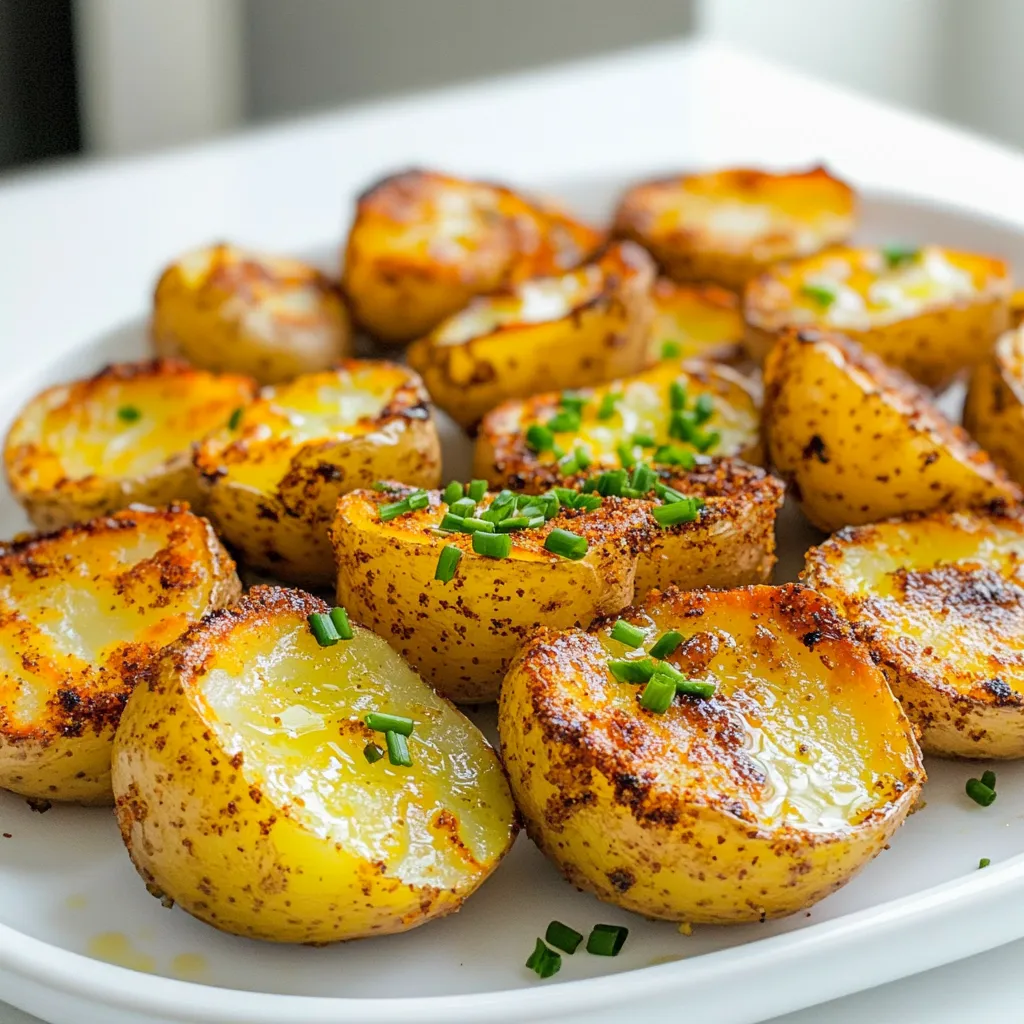
Air Fryer Ranch Potato Bites Crispy and Flavorful Snack
Are you ready to indulge in a crispy, flavorful snack that’s easy to make? My Air Fryer Ranch Potato Bites will satisfy your cravings without
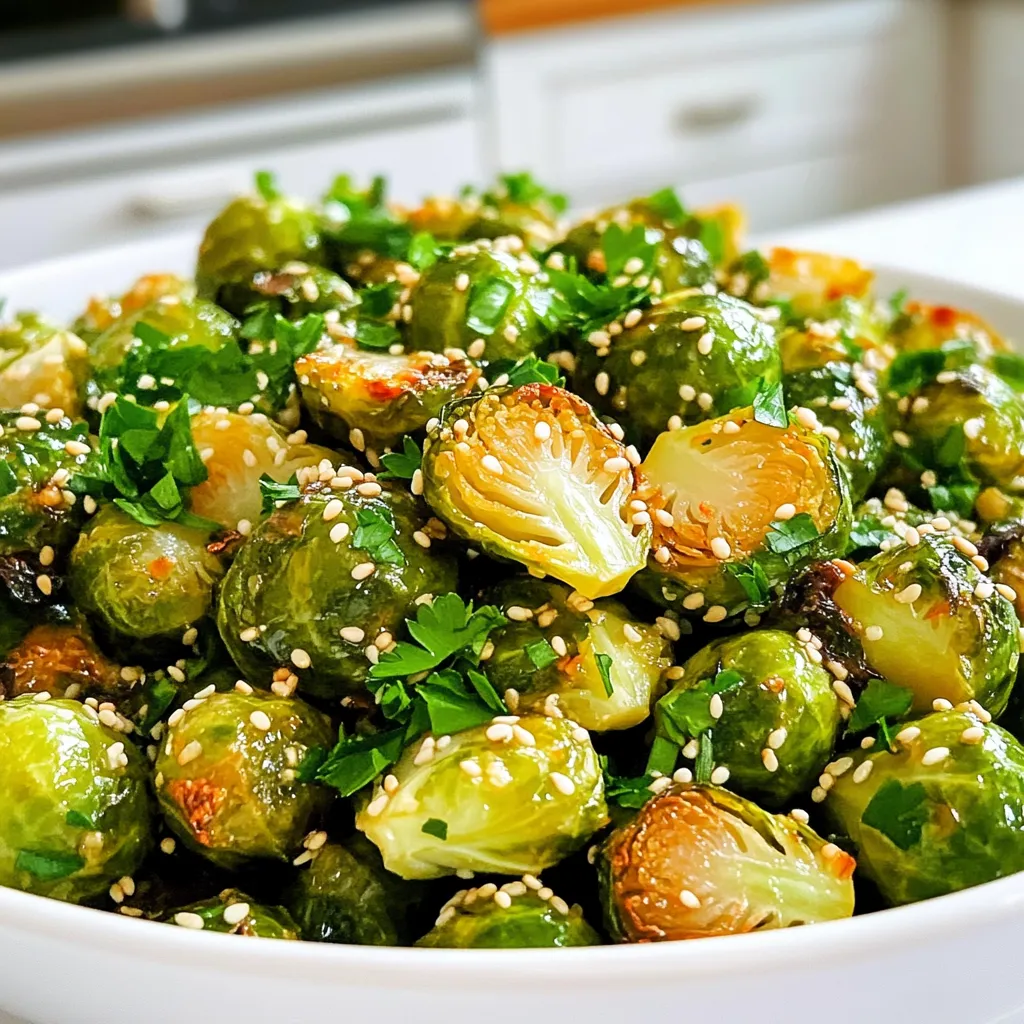
Air Fryer Crispy Honey Garlic Brussels Sprouts Recipe
Get ready to elevate your veggie game with my Air Fryer Crispy Honey Garlic Brussels Sprouts. This dish combines sweet and savory flavors to create

Savory Cheddar Herb Scones Simple and Tasty Recipe
Craving a tasty snack? These Savory Cheddar Herb Scones are simple and packed with flavor! With just a few fresh ingredients, you can whip up
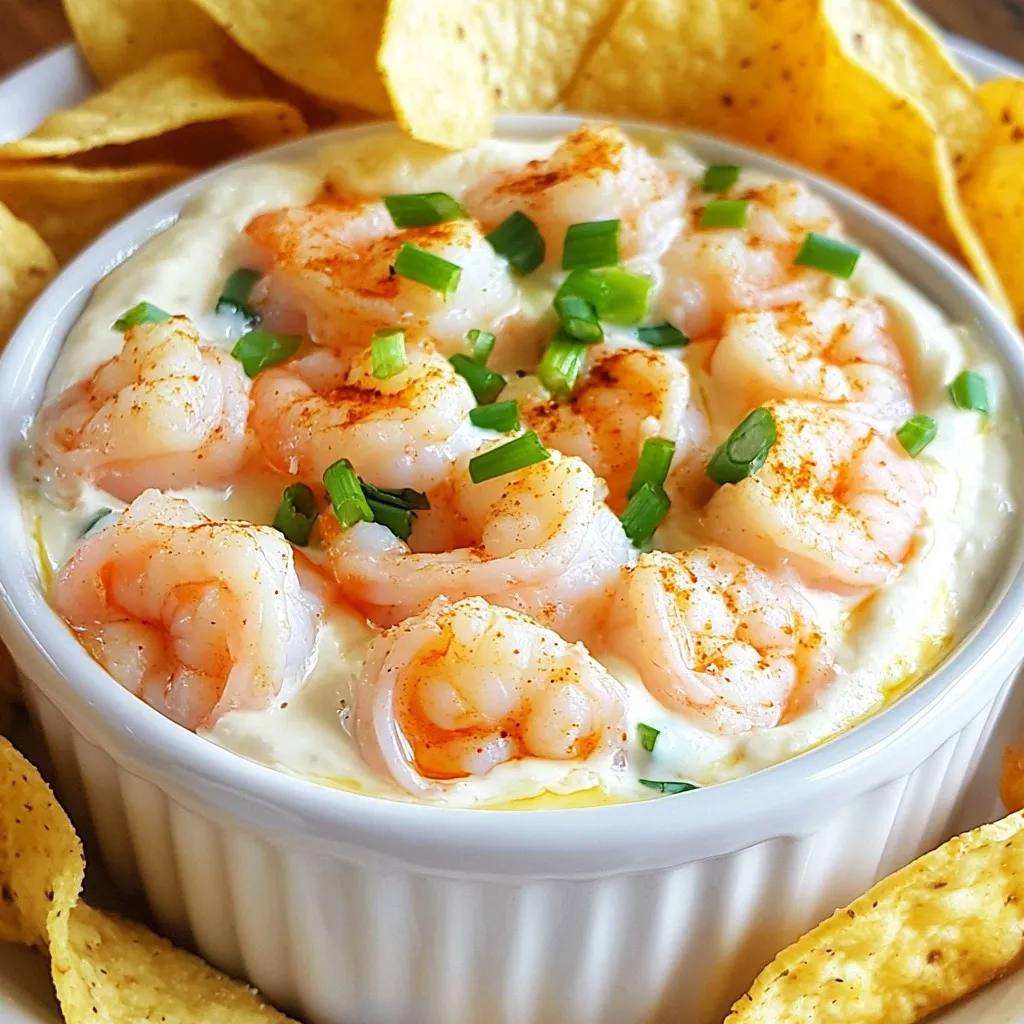
Creamy Cajun Shrimp Dip Flavorful and Easy Recipe
If you’re craving a dish that’s packed with flavor and super easy to make, look no further! My Creamy Cajun Shrimp Dip will delight your