
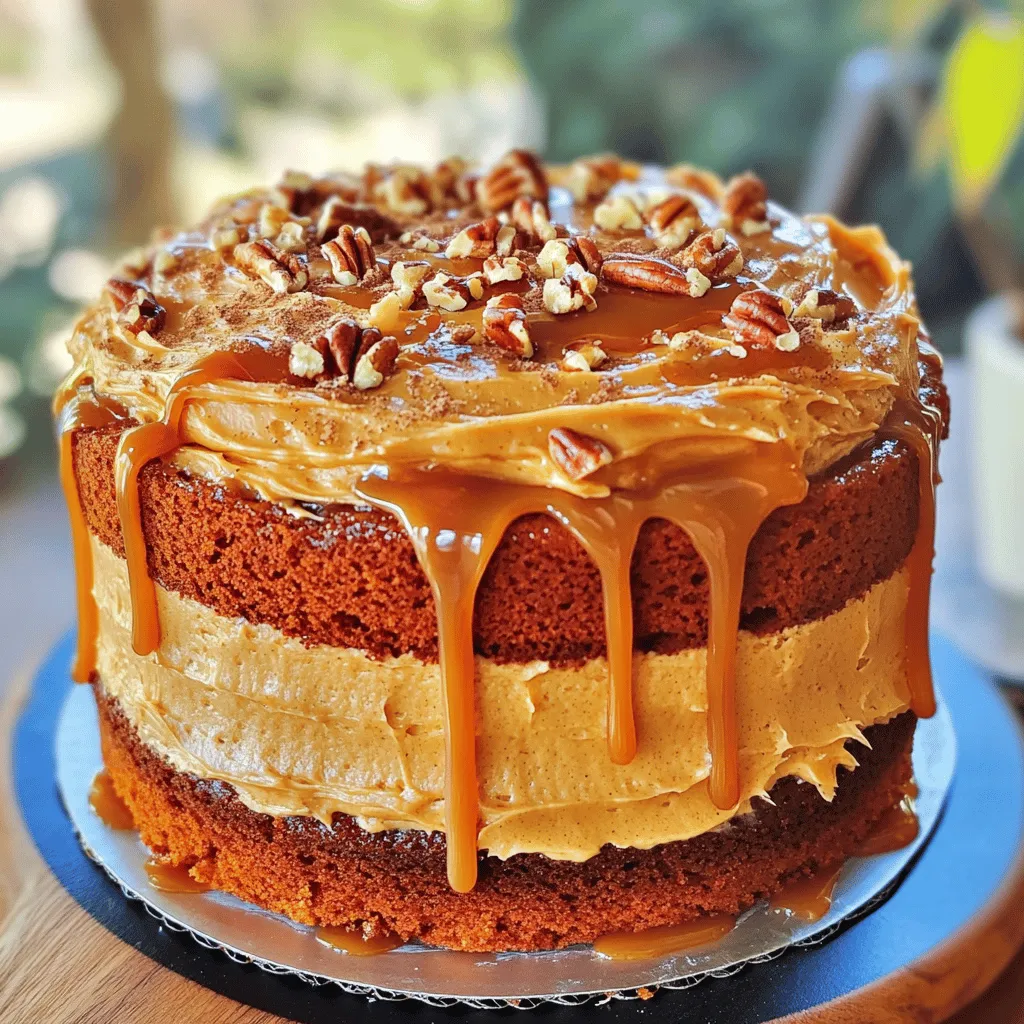
Get ready to dive into the cozy flavors of fall with my Autumn Pumpkin Cake topped with rich caramel cream cheese frosting! This easy recipe brings together warm spices and creamy goodness, perfect for any gathering. Whether it’s a festive occasion or a simple family dinner, this cake will surely impress. Let’s gather our ingredients and transform seasonal favorites into a dessert you’ll crave all season long!
Ingredients
Cake Ingredients
– 1 ½ cups all-purpose flour
– 1 teaspoon baking powder
– 1 teaspoon baking soda
– ½ teaspoon salt
– 1 teaspoon ground cinnamon
– ½ teaspoon ground nutmeg
– ½ teaspoon ground ginger
– 1 cup granulated sugar
– ½ cup packed brown sugar
– ½ cup vegetable oil
– 2 large eggs
– 1 cup canned pumpkin puree
– ½ cup buttermilk
– 1 teaspoon vanilla extract
Frosting Ingredients
– 8 oz cream cheese, softened
– ½ cup unsalted butter, softened
– 1 cup powdered sugar
– ½ cup caramel sauce
– A pinch of salt
Equipment Needed
– 2 9-inch round cake pans
– Mixing bowls
– Electric mixer or whisk
– Spatula or wooden spoon
– Measuring cups and spoons
When I make this autumn pumpkin cake, I love to gather my ingredients first. It helps me stay organized and ready. The cake is moist and rich with spices. The pumpkin puree is key for this. The frosting adds a creamy sweetness that is hard to resist.
For the frosting, I use cream cheese and butter. This makes it fluffy and smooth. Don’t skip the caramel sauce; it gives the frosting a wonderful flavor. Also, always remember to soften the cream cheese and butter first. It makes mixing much easier.
Using the right tools is important too. I prefer my electric mixer for the frosting. It helps to whip the ingredients quickly. The cake pans should be greased and floured well. This keeps the cake from sticking.
You can find the full recipe with all the steps and tips. Enjoy creating this treat that tastes like fall!
Step-by-Step Instructions
Preparing the Oven and Pans
– Preheat oven to 350°F (175°C).
– Grease and flour the cake pans.
Start by heating your oven. This step is key for a nice rise. While the oven warms, take two 9-inch round cake pans. Grease them well with butter or cooking spray. Dust them lightly with flour. This helps the cake come out easily after baking.
Mixing Dry Ingredients
– Whisk together flour, baking powder, baking soda, salt, cinnamon, nutmeg, and ginger.
In a medium bowl, add your dry ingredients. Combine flour, baking powder, baking soda, salt, and spices. Whisk them together until mixed. This mix will add flavor and structure to your cake. Set this bowl aside for now.
Mixing Wet Ingredients
– Combine sugars and oil, then add eggs, pumpkin puree, and buttermilk.
In a large bowl, mix granulated sugar and brown sugar with vegetable oil. Use a mixer or whisk to blend these until fluffy. Next, beat in the eggs one at a time. After fully mixing in each egg, add pumpkin puree and buttermilk. Stir until everything is smooth.
Combining Ingredients
– Fold dry ingredients into the wet mixture until just combined.
Now, gently fold the dry mix into the wet mix. Use a spatula or wooden spoon for this. Mix just until you see no dry flour. You want to be careful not to overmix. This helps keep the cake light and fluffy.
Baking the Cake
– Divide batter into pans and bake for 25-30 minutes.
Pour the batter evenly into your prepared pans. Give each pan a light tap on the counter. This helps release air bubbles. Place the pans in the oven and bake. Check them after 25 minutes. They are done when a toothpick comes out clean or with a few crumbs.
Making the Frosting
– Beat cream cheese and butter, then add powdered sugar and caramel sauce.
In another bowl, beat softened cream cheese and butter together. Keep mixing until smooth. Gradually add the powdered sugar, mixing until combined. Finally, stir in caramel sauce and a pinch of salt to taste. Your frosting should be light and spreadable.
Assembling the Cake
– Layer frosting between cake layers and on top.
Once the cakes cool, place one layer on a serving plate. Spread a generous layer of frosting on top. Carefully place the second layer on top. Use the remaining frosting to coat the top and sides evenly. For a fun touch, drizzle extra caramel over the top.
For the full recipe, refer to the instructions above. Enjoy the warm flavors of autumn in each bite!
Tips & Tricks
Achieving the Perfect Texture
To make your cake fluffy, avoid overmixing the batter. Stir gently until the dry and wet ingredients blend. Overmixing can lead to a dense cake, which we don’t want. Another key tip is to ensure all ingredients are at room temperature. This helps them mix together smoothly, creating a light and airy cake.
Frosting Techniques
For a beautiful finish, use a spatula for even frosting application. This tool helps spread the frosting smoothly across the cake. Another good trick is to chill the cake before frosting. A cold cake is easier to frost evenly. It keeps the frosting from sliding off during the process.
Presentation Enhancements
To make your cake even more appealing, consider optional garnishes. A sprinkle of ground cinnamon adds warmth and spice. Crushed pecans provide a nice crunch and contrast. If you want extra indulgence, add a dollop of whipped cream on each slice. This will not only look great but also taste amazing. For the full recipe, check out the complete guide.
Variations
Spicing It Up
To make your autumn pumpkin cake even more fun, consider adding chocolate chips or pecans to the batter. Chocolate chips bring a rich sweetness that pairs well with pumpkin spice. Pecans add crunch and a nice nutty flavor. You can mix in about ½ cup of either for a tasty twist that surprises everyone.
Frosting Alternatives
If you’re in the mood for something different, try swapping the caramel sauce in the frosting for chocolate ganache or maple syrup. Chocolate ganache adds a deep, rich flavor that chocolate lovers will adore. Maple syrup gives a sweet, earthy taste that enhances the autumn vibe. Both options create unique frostings that will impress your guests.
Gluten-Free Option
For those needing a gluten-free option, simply replace the all-purpose flour with a gluten-free blend. Many blends work well, so choose one that you like. This small change allows everyone to enjoy this delicious cake without worry. Just be sure to check that your other ingredients are also gluten-free.
These variations keep your cake fresh and exciting, letting you enjoy new flavors each time you bake. For the detailed recipe, don’t forget to check the Full Recipe.
Storage Info
Refrigeration
Store your Autumn Pumpkin Cake in an airtight container in the fridge. It will stay fresh for up to 5 days. This keeps the cake moist and flavorful. Just remember to let it cool completely before storing.
Freezing
You can freeze this cake too! Wrap individual slices or the whole cake in plastic wrap. Then, place it in a freezer-safe bag. It will stay good for up to 3 months. This is a great way to save some for later.
Thawing Instructions
To enjoy your frozen cake, thaw it overnight in the fridge. This helps keep the texture just right. Once thawed, you can frost it or serve it plain. If you want to add that caramel cream cheese frosting, do it after thawing for the best taste.
For the full recipe, check the complete section above.
FAQs
Can I use fresh pumpkin instead of canned?
Yes, but ensure it’s pureed and properly cooked. Fresh pumpkin has great flavor. Just roast it in the oven, then mash or blend until smooth. This gives your cake a homemade touch.
How do I know when the cake is done?
A toothpick inserted in the center should come out clean or with a few moist crumbs. If it comes out wet, bake it a little longer. Keep an eye on it from 25 minutes onward.
What can I use instead of buttermilk?
Substitute with milk mixed with vinegar or lemon juice (1 cup milk + 1 tbsp vinegar/lemon juice). This mix will mimic the acidity of buttermilk. It’s a quick and easy fix, perfect for your baking needs.
This blog post covered how to make a delicious pumpkin cake from scratch. We looked at what ingredients you need, how to mix them, and the best baking tips. Remember to prepare your pans and mix well without overdoing it. Frost your cake with a creamy layer and enjoy! This recipe lets you customize flavors and store leftovers easily. Baking is fun, so try this recipe out. You’ll love sharing it with others. Happy baking!
