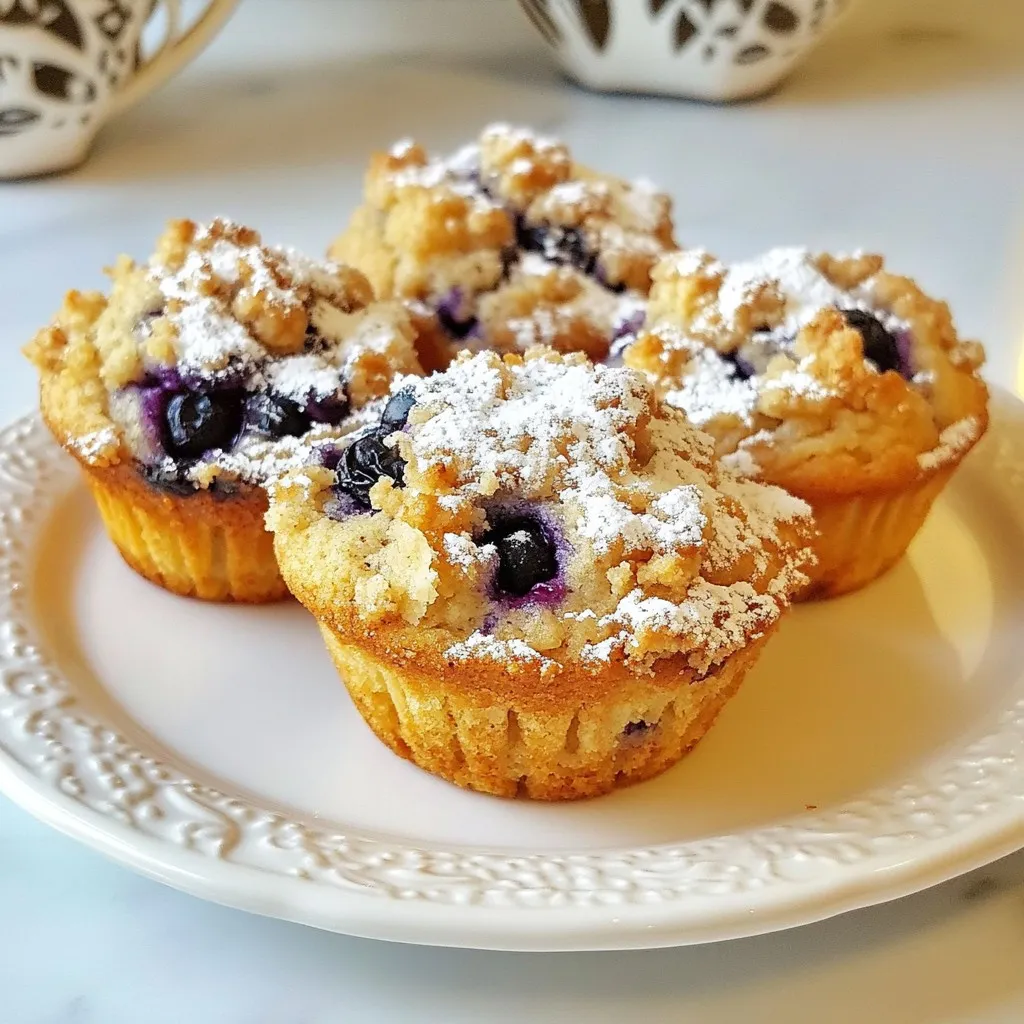
Strawberry Chocolate Chip Scones Irresistible Delight
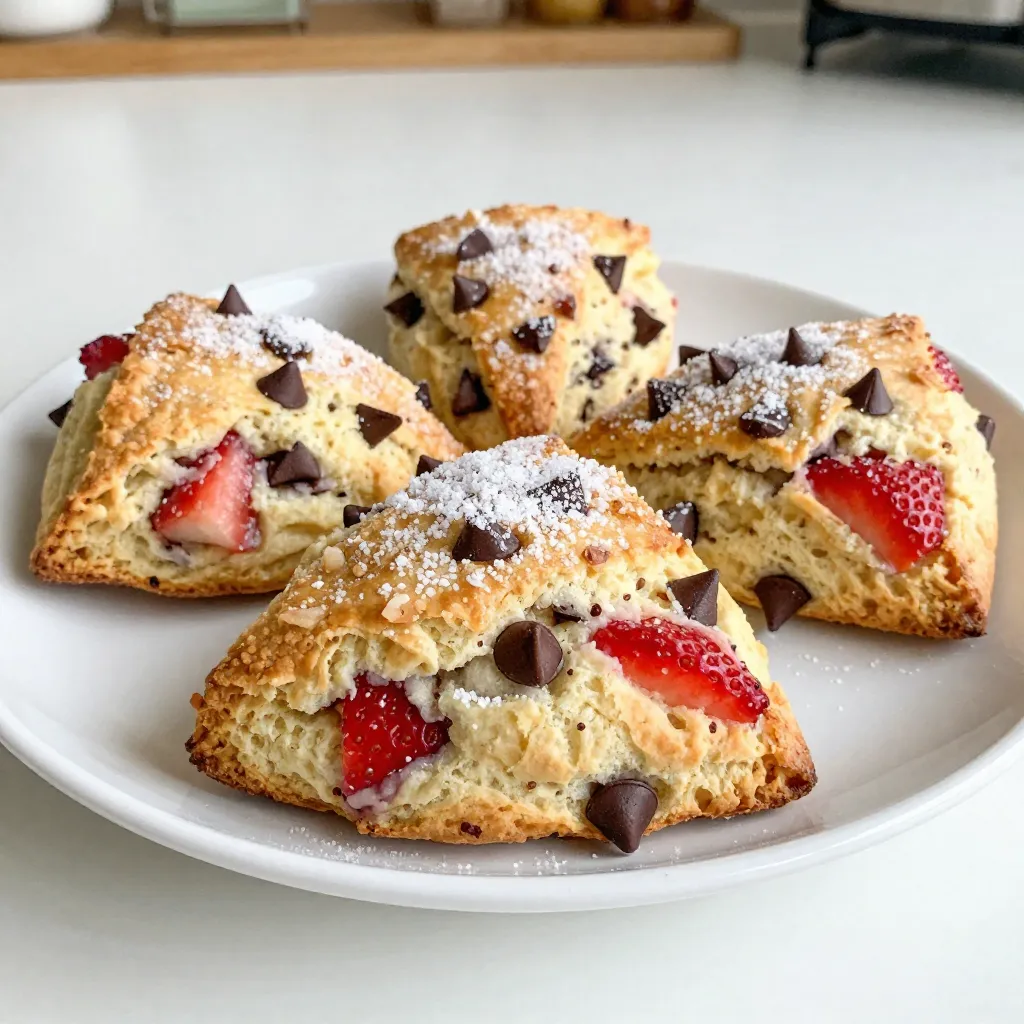
Welcome to the world of Strawberry Chocolate Chip Scones—your new favorite treat! Imagine warm, flaky scones bursting with fresh strawberries and rich chocolate. This recipe combines simple ingredients with easy …