Cheesy Garlic Chicken Wraps Flavorful and Easy Recipe
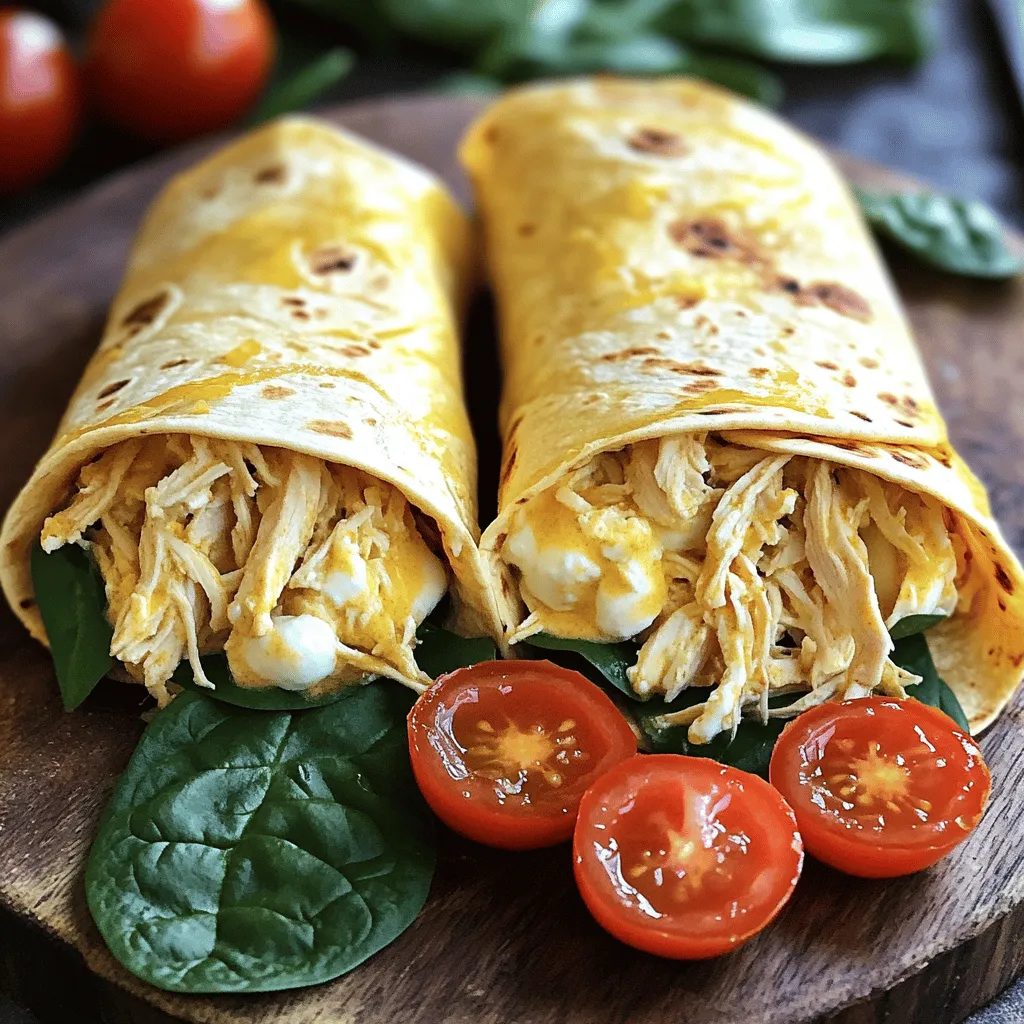
If you love bold flavors and easy meals, you’re in for a treat! This Cheesy Garlic Chicken Wraps recipe is packed with cheesy goodness and garlic zest. Perfect for busy …
If you love bold flavors and easy meals, you’re in for a treat! This Cheesy Garlic Chicken Wraps recipe is packed with cheesy goodness and garlic zest. Perfect for busy …
![- 1 can (15 oz) chickpeas, rinsed and drained - 1 cup cherry tomatoes, halved - 1/2 cup cucumber, diced - 1/4 red onion, thinly sliced - 1/2 cup fresh basil, chopped - 1/4 cup feta cheese, crumbled - 2 tablespoons extra-virgin olive oil - 1 tablespoon balsamic vinegar - 1 teaspoon garlic powder - Salt and pepper to taste In this High Protein Chickpea, Basil & Tomato Salad, the main ingredients shine. Chickpeas are the star. They pack a punch with protein and fiber. Rinsing and draining them removes excess salt. Cherry tomatoes add sweetness and juiciness. The diced cucumber brings a nice crunch. Thinly sliced red onion adds a hint of sweetness. Fresh basil provides a burst of flavor that is hard to beat. Crumbled feta cheese gives it a creamy touch. For the dressing, I use simple ingredients. Extra-virgin olive oil adds richness. Balsamic vinegar offers a tangy kick. Garlic powder adds depth. Salt and pepper bring all the flavors together. Combine everything for a salad that is refreshing and satisfying. If you're ready to make this salad, check out the Full Recipe for all the details! - Combine chickpeas, tomatoes, cucumber, and red onion in a bowl. - Mix gently to ensure even flavor throughout. Start with a large mixing bowl. You want enough space to move the ingredients around. Add the rinsed chickpeas first. They give the salad its high protein punch. Next, toss in the halved cherry tomatoes. Their sweetness brightens the dish. Now, add diced cucumber. It adds crunch and freshness. Finally, include the thinly sliced red onion. This adds a nice sweetness. Stir gently so everything mixes well. - Incorporate basil and feta for freshness. - Stir gently to avoid breaking the feta. Next, add fresh basil leaves. Their aroma is simply wonderful. Chop them coarsely and mix them in. Then, add the crumbled feta cheese. It adds a creamy texture to the salad. Stir carefully so the feta stays intact. This helps keep the salad looking pretty. - Whisk together olive oil, balsamic vinegar, garlic powder, salt, and pepper. - Achieve a smooth, emulsified dressing. For the dressing, grab a small bowl. Combine olive oil and balsamic vinegar. This mix adds richness and tang. Then, add garlic powder, salt, and pepper. Whisk until the dressing is smooth. This step is key for a well-blended flavor. - Drizzle dressing over salad. - Toss gently to coat all ingredients evenly. Now, drizzle your dressing over the salad base. This helps enhance all the flavors. Toss the salad gently to coat everything well. You want each bite to be full of flavor. - Allow salad to sit for 10 minutes before serving. - Helps flavors meld together. Let the salad rest for about 10 minutes. This time allows the flavors to blend beautifully. The waiting is worth it for a tastier dish. Enjoy your high protein chickpea, basil, and tomato salad delight! For the full recipe, check the sections above. - Best served chilled for refreshing flavor - Use a clear glass bowl for visual appeal Serving this salad chilled makes it taste crisp and fresh. The vibrant colors of the ingredients shine when you use a clear glass bowl. This adds to the presentation, making it more inviting. It’s a great choice for summer picnics or light lunches. - Marinate salad overnight for deeper flavors - Experiment with herbs like parsley or mint Marinating this salad overnight helps the flavors blend together. It allows the chickpeas to soak up the dressing, creating a tasty bite. You can add other herbs like parsley or mint to change the taste. This gives your salad a twist and keeps it exciting. - High in protein and fiber from chickpeas - Fresh vegetables provide essential vitamins Chickpeas are a great source of protein and fiber. They help keep you full and satisfied. The fresh vegetables offer vitamins that are good for your health. Eating this salad supports energy and overall wellness. Enjoying this dish is not only delicious but also nourishing. {{image_4}} You can add grilled chicken or shrimp for extra protein. This boosts the meal and makes it more filling. Tossing in quinoa is another great option. Quinoa adds texture and keeps the salad hearty. If you're vegan, you can omit feta cheese or replace it with nutritional yeast. Nutritional yeast adds a cheesy flavor without dairy. For the dressing, use maple syrup instead of honey. This keeps the recipe sweet and vegan-friendly. Mix in seasonal vegetables like bell peppers or corn. These add color and crunch to your salad. You can also top with avocado for added creaminess. Avocado brings a rich texture that pairs well with the other flavors. For more details, check out the Full Recipe! Store your leftover salad in an airtight container in the fridge. This keeps it fresh and tasty. It’s best to eat it within 2-3 days. After this time, the flavors may change, and the veggies might lose their crunch. I don’t recommend freezing this salad. Freezing can change the texture of the chickpeas and tomatoes. When you want a fresh salad, make it as needed for the best taste and quality. You can enjoy this salad cold. If you prefer it at room temperature, let it sit out for about 15 minutes. Avoid microwaving it, as this will make the veggies soggy and change the taste. Enjoy each bite fresh! Chickpeas are a powerhouse of nutrition. They are high in protein and fiber, making them great for muscle and digestion. They are low in fat, which helps you stay healthy. A serving can keep you full and satisfied. Plus, they provide vitamins and minerals that are key for your body. Yes, you can make this salad a few hours ahead. Doing this allows the flavors to blend well. Just cover it and store it in the fridge. Enjoying it later gives you a tasty meal ready to go. If you don’t have feta cheese, don't worry! You can try avocado for creaminess. Nutritional yeast adds a cheesy flavor without dairy. Vegan feta also works well for a plant-based option. Each choice adds a unique taste to your salad. To make this salad more filling, add grains like quinoa or bulgur. These grains boost the protein and fiber even more. They make the salad heartier and perfect for a main meal. Absolutely! This salad is perfect for meal prep. It keeps well in the fridge for a few days. You can pack it in portions for easy lunches or dinners. Just remember to store it in a tight container to keep it fresh. For the full recipe, check out the [Full Recipe]. This salad combines tasty ingredients for a healthy meal. You learned how to mix chickpeas, fresh veggies, and a simple dressing. Remember to let it rest for better flavor! Consider adding proteins or trying seasonal veggies for more variety. Enjoy your salad cold, and store leftovers properly to keep them fresh. With these tips, you can create delicious meals that are good for you and easy to prepare. Happy cooking!](https://tossedflavors.com/wp-content/uploads/2025/05/92891ed5-b191-4952-9869-d3f392cfc9a2.webp)
If you’re ready to amp up your meals with tasty nutrition, this High Protein Chickpea, Basil & Tomato Salad Delight is for you! Packed with vibrant flavors and wholesome ingredients, …

Craving something crispy, cheesy, and packed with flavor? Look no further! My Crispy Beef and Cheese Chimichangas Quick Recipe brings you all the taste and satisfaction without the fuss. With …
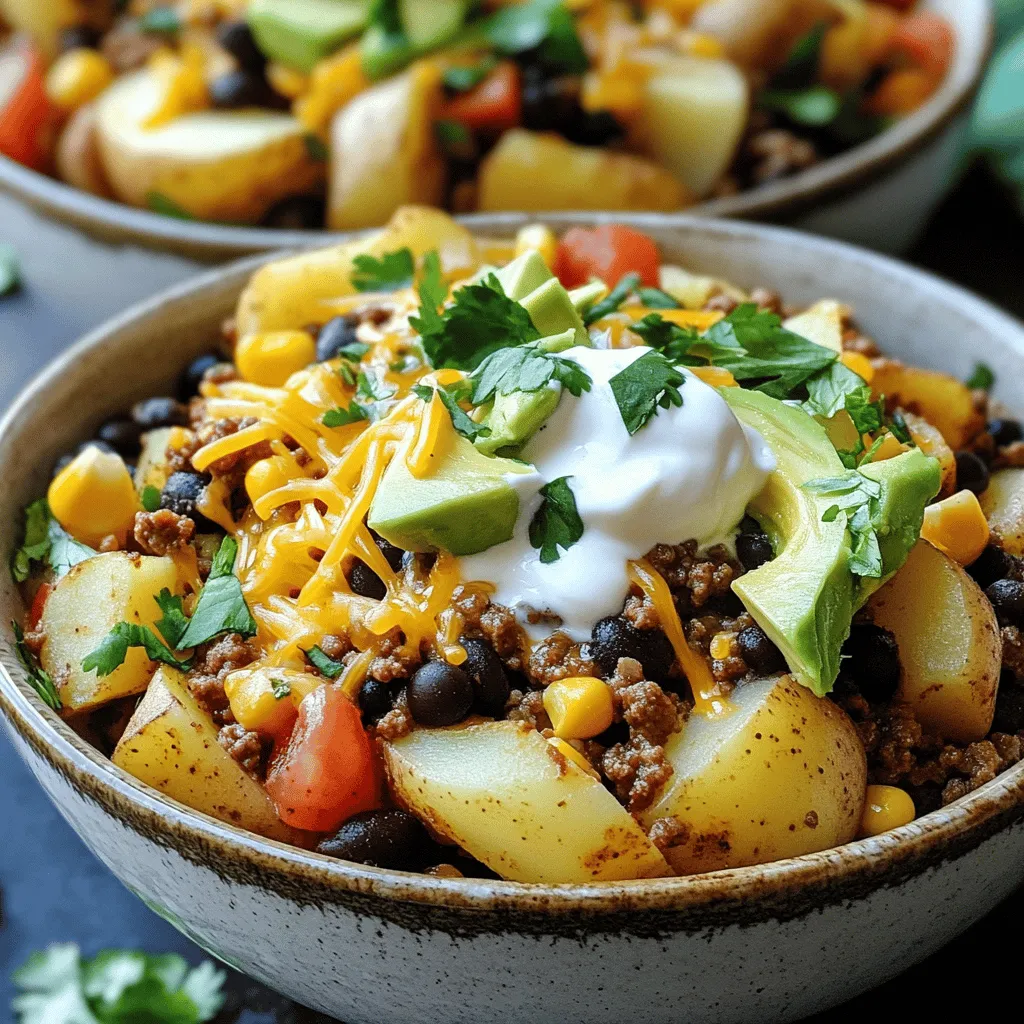
Looking for a quick, tasty meal? My Ground Beef and Potato Taco Bowl is just what you need! This dish combines savory ground beef, hearty potatoes, and fresh veggies to …
![- 1 lb large shrimp, peeled and deveined - 1 bunch asparagus, trimmed and cut into 2-inch pieces - 1 cup cooked quinoa (or rice) - 3 tablespoons extra virgin olive oil - 2 teaspoons smoked paprika - 1 teaspoon garlic powder - Sea salt and freshly cracked black pepper to taste - 1/2 cup thick Greek yogurt - 2 cloves garlic, finely minced - 1 tablespoon freshly squeezed lemon juice - 1 tablespoon fresh parsley, finely chopped When making the grilled shrimp bowl, choose fresh, high-quality shrimp for the best taste. Peel and devein them carefully. Asparagus adds crunch and color, so pick bright green stalks. For grains, I love quinoa, but rice works too. The seasoning is key. Olive oil enhances flavors and helps the shrimp char nicely. Smoked paprika gives a rich taste, while garlic powder adds depth. Adjust salt and pepper to your liking. Now, let’s talk about the creamy garlic sauce. Thick Greek yogurt serves as a great base. It adds creaminess without being heavy. Fresh garlic brings a bold kick, and lemon juice balances it all. The parsley adds a fresh touch and color to the dish. For the full recipe, check out the complete instructions above! Combine the shrimp with olive oil, smoked paprika, garlic powder, salt, and pepper. I like to use my hands to mix everything well. This way, the shrimp get coated evenly. Let them sit for 15 minutes. This allows the flavors to blend and soak in. In a bowl, toss the asparagus with olive oil, salt, and pepper. Make sure every piece is coated lightly. This will help them grill nicely and taste great. First, preheat your grill over medium-high heat. Once hot, place the shrimp on the grill. Grill them for about 2-3 minutes on each side. They will turn pink and slightly charred when done. After that, add the asparagus to the grill. Grill them for around 4-5 minutes until they are tender and have nice grill marks. In a small bowl, whisk together Greek yogurt, minced garlic, lemon juice, and a pinch of salt. Keep mixing until the sauce is smooth and creamy. You can adjust the seasoning if needed. Start by adding a base of cooked quinoa or rice to each bowl. Then, layer the grilled shrimp and asparagus on top. Drizzle the creamy garlic sauce generously over the dish. Finish by garnishing with fresh parsley. This adds color and a burst of flavor. Enjoy your meal! For the full recipe, refer to [Full Recipe]. To achieve the best flavor, preheat your grill. A hot grill gives shrimp a nice char. If you overcrowd the grill, your shrimp and asparagus won't cook evenly. Give them space to breathe and get that beautiful, smoky flavor. Mix things up with your sauce! You can use low-fat yogurt instead of Greek yogurt. Adding herbs like dill or chives can brighten the flavor. If you want a twist, swap lemon juice for lime juice. This small change can add a fresh zing to your dish. Marinate the shrimp a few hours before cooking. This extra time helps the flavors soak in. You can also prep the asparagus and sauce in advance. Doing this allows for a quick assembly when it's time to eat. Just grab all the components, and your meal will be ready in no time! For the full recipe, check out the main section. {{image_4}} You can easily change the protein in this bowl. Grilled chicken is a great swap for shrimp. It is juicy and has a mild taste. Tofu is another option if you want a plant-based protein. It soaks up flavors well. For a seafood twist, try scallops. They grill nicely and add a sweet taste. The grain you choose can change the dish. If you want a different base, swap quinoa for brown rice. Couscous is also a quick option that cooks fast. Cauliflower rice is a great choice if you want a low-carb option. Each grain brings a unique texture to your bowl. The veggies don’t have to stop at asparagus. You can use zucchini, which grills well and has a nice crunch. Bell peppers add color and sweetness. Broccoli is another great choice and provides a hearty bite. Each veggie brings its own flavor to the dish. For the full recipe, check out the earlier section. Refrigerate leftovers in an airtight container for up to 2 days. This keeps the shrimp and asparagus fresh. If you plan to use the leftovers, make sure to cool them first before sealing the container. Reheat in a microwave or on a skillet for best texture. If using a microwave, heat in short bursts. This way, you avoid overcooking the shrimp. On a skillet, add a little oil to keep everything moist. Consider freezing grilled shrimp and asparagus separately for longer storage. Place them in airtight bags or containers. This method helps keep the flavors intact. When ready to eat, thaw in the fridge overnight and reheat as needed. Shrimp turn pink and opaque when fully cooked. This change is easy to spot. The shrimp should also feel firm to the touch. If you notice a slight curl, that is a good sign too. Avoid overcooking them, as they can become tough. Yes, prep components a day prior and assemble before serving. You can marinate the shrimp ahead of time for deeper flavors. Chop the asparagus and make the creamy garlic sauce in advance. Store them separately in the fridge. This makes it easy to put together your meal right when you need it. Use sour cream or a plant-based yogurt for dairy-free options. You can also try cream cheese for a richer taste. Each option will give a different flavor, so pick what you enjoy most. Marinate for longer, or add other spices like cumin or chili powder. You can also try using fresh herbs like cilantro or dill for a fresh touch. The longer you let the shrimp soak in the marinade, the more flavor they will absorb. This blog post shared a simple and tasty way to grill shrimp and asparagus. I outlined key ingredients, including shrimp, asparagus, quinoa, and a creamy garlic sauce. You learned how to marinate and grill the shrimp and asparagus for a quick dinner. Tips on variations and storage give you options to mix things up. Try making this dish your own with different proteins or grains. Enjoy these healthy meals, and your taste buds will thank you!](https://tossedflavors.com/wp-content/uploads/2025/05/3c720434-1b82-4779-a0cd-897eacb38c2f.webp)
Are you ready to enjoy a fresh and tasty meal? My Grilled Shrimp Bowl with Asparagus and Creamy Garlic Sauce is the perfect dish for you! Packed with flavor and …
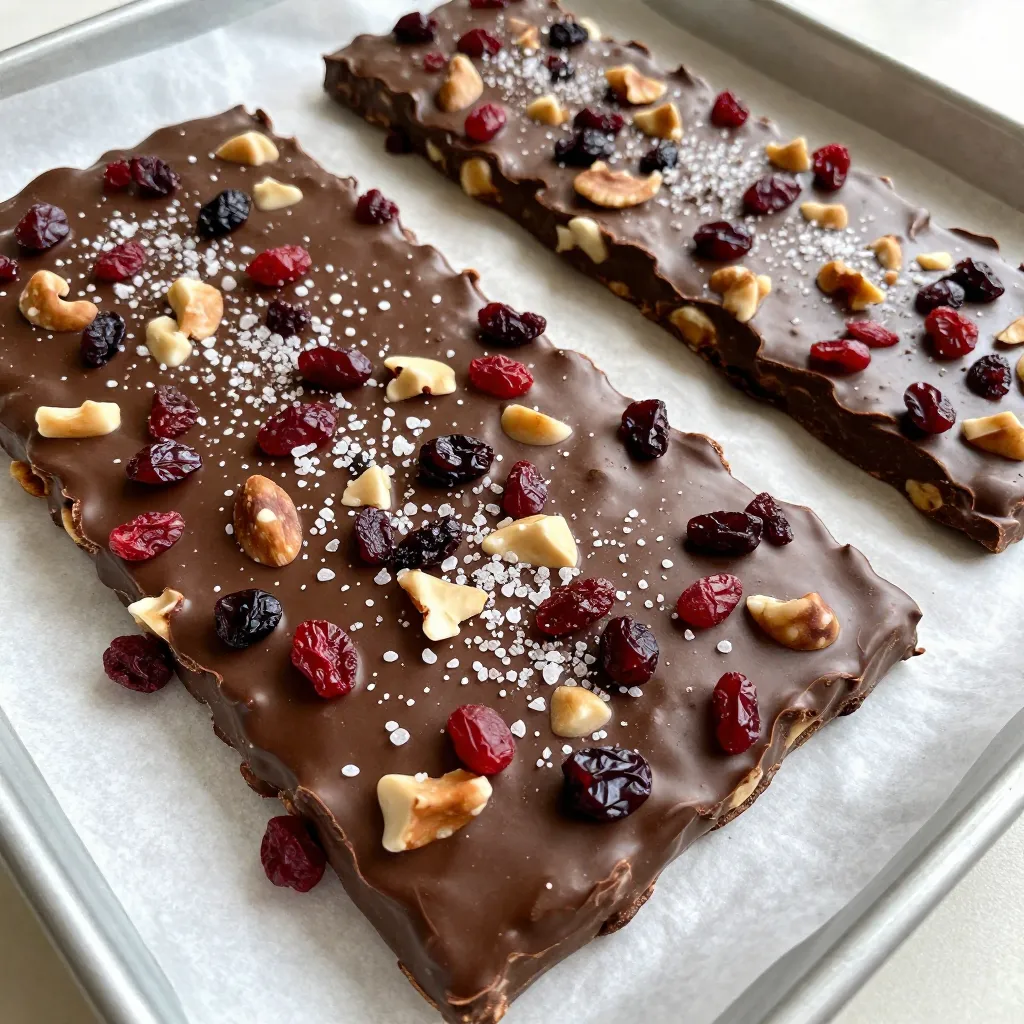
If you’re looking for a quick, satisfying snack, Dark Chocolate Sea Salt Bark hits the spot. This treat combines rich dark chocolate with a splash of flaky sea salt, mixed …
![To make this tasty treat, you need the following cake ingredients: - 1 cup crushed chocolate sandwich cookies (like Oreos) - 1 cup all-purpose flour - 1 teaspoon baking powder - 1/2 teaspoon baking soda - 1/4 teaspoon salt - 1/2 cup unsalted butter, softened - 1 cup granulated sugar - 2 large eggs - 1 teaspoon pure vanilla extract - 1/2 cup buttermilk, at room temperature For the toppings and garnishes, gather these: - 1 cup whipped cream (store-bought or homemade) - Additional crushed cookies for garnish When choosing chocolate sandwich cookies, I recommend using classic Oreos. They provide a rich flavor and great crunch. If you prefer something unique, try flavored varieties like mint or peanut butter. For butter, always use unsalted butter. It gives you control over salt levels. As for cream, heavy whipping cream works best for a rich and fluffy texture. It whips up beautifully and adds a lovely finish to your jars. Make sure your ingredients are fresh for the best taste and texture. Enjoy creating your Cookies and Cream Cake Jar Delight! 1. Preheat and Grease the Cake Pan: Start by preheating your oven to 350°F (175°C). Grab a 9-inch round cake pan. Grease it with butter and dust it lightly with flour. This helps the cake come out easily after baking. 2. Mix Dry and Wet Ingredients: In a medium bowl, whisk together 1 cup of all-purpose flour, 1 teaspoon of baking powder, 1/2 teaspoon of baking soda, and 1/4 teaspoon of salt. Set this dry mix aside. In a larger bowl, mix 1/2 cup of softened butter and 1 cup of sugar with an electric mixer until fluffy. This should take about 3 to 4 minutes. Next, add 2 large eggs one by one. Mix well after each egg. Stir in 1 teaspoon of pure vanilla extract. - Importance of Baking Time: Gradually add the dry mixture and 1/2 cup of buttermilk to the wet mix, starting and ending with the dry mix. Mix just until combined. Overmixing can make the cake tough. Fold in 1 cup of crushed chocolate sandwich cookies. Pour the batter into your prepared pan. Bake for 25 to 30 minutes. Check with a toothpick; it should come out clean or with a few crumbs. - Cooling Process Tips: After baking, allow the cake to cool in the pan for 10 minutes. Then, transfer it to a cooling rack. Let it cool completely for about an hour. A cool cake is easier to crumble and layer. 1. Instructions for Crumbling the Cake: Once cooled, crumble the cake into small pieces in a large bowl. Make sure the pieces are uniform for even layering. 2. How to Layer the Jars for the Best Presentation: Get clean jars or dessert cups ready. Start with a spoonful of crumbled cake at the bottom of each jar. Add a layer of whipped cream. Repeat this process, adding more cake and cream until you fill the jars. End with whipped cream on top. For a finishing touch, sprinkle extra crushed cookies on top. Chill the jars in the fridge for at least 30 minutes before serving. This lets the flavors meld beautifully. To see the full recipe, check out the [Full Recipe]. To get a light and soft cake, you need to mix the batter just right. Start by mixing your butter and sugar until they seem fluffy. This helps add air to your cake. When you add the eggs, do it one at a time. Make sure to mix well after each egg. For even baking, always preheat your oven to the right temperature. This step makes sure your cake cooks evenly. Place the cake pan in the center of the oven. This helps the heat circulate around it. You can make this cake even more fun by trying different flavors. For a twist, swap some of the vanilla for chocolate. You can also add a hint of mint for a fresh kick. When it comes to presentation, use clear jars to show off those beautiful layers. Add a dollop of whipped cream on top and sprinkle some crushed cookies for a nice finish. Use colorful twine to tie a small spoon to the jar for a cute touch. If you're interested in the full recipe, check out the complete instructions above. {{image_4}} To keep your cookies and cream cake jars fresh, store them in the fridge. Use an airtight container or cover each jar tightly with plastic wrap. This will help prevent the whipped cream from absorbing any odors. Your cake jars will stay tasty for about 3 to 5 days. After that, the cake may dry out and the cream might lose its fluffiness. If you have extra cake, crumble it and store it in a sealed bag. It can last up to a week in the fridge. For leftover whipped cream, place it in a clean container with a tight lid. Whipped cream can stay fresh for about 3 days. If it starts to separate, just whisk it a bit to bring back the creaminess. How to make cookies and cream cake jars ahead of time? You can prepare the cake and cream the night before. Just layer them in jars the next day. This saves time and lets the flavors blend well. Keep the jars in the fridge until you are ready to serve. Can I use different types of cookies? Yes, feel free to try other cookies. Vanilla wafers or chocolate chip cookies work great too. Just remember to match the cookie flavor with your cake for the best taste. What is the best way to serve cake jars? Serve the jars chilled for a refreshing treat. You can place them on a colorful tray. Add small spoons for easy eating. This makes your dessert look fun and inviting. What to do if the cake is too dry? If your cake turns out dry, add a little milk or cream to the jar. This can help soften the cake layers. Also, avoid overbaking next time. Keep an eye on the time! How to fix layers that don’t stick together? If the layers don’t stick, use more whipped cream between them. This helps hold the layers in place. You can also try crumbling the cake a bit finer for better layering. In this post, we covered how to create a delicious Cookies and Cream Cake Jar. We looked at essential ingredients and tips for choosing the best ones. You learned step-by-step instructions for making the cake, layering it, and enhancing its flavor. Plus, we shared storage tips and answered common questions. The joy of making cake jars lies in their fun and flexible nature. With practice, you can create a treat that impresses everyone. Enjoy experimenting with flavors and make these jars your own!](https://tossedflavors.com/wp-content/uploads/2025/05/7a4e65ab-4dbf-409f-a917-974ea922ba0c.webp)
Craving a sweet treat that’s both fun and easy to make? The Cookies and Cream Cake Jar is just what you need! This delightful dessert combines rich cake with creamy …
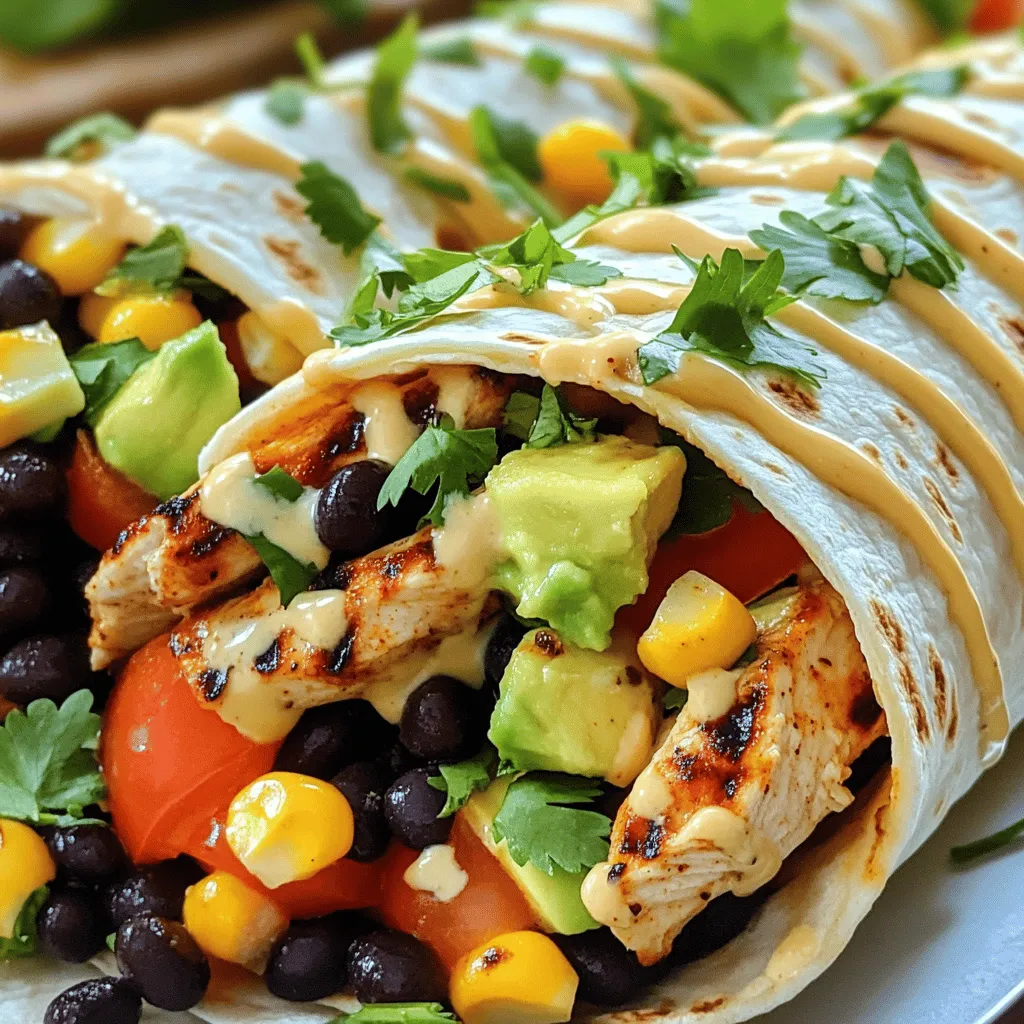
If you’re craving a flavorful, easy-to-make meal, look no further! The Chipotle Ranch Grilled Chicken Burrito is a crowd-pleaser that brings bold taste with every bite. I’ll guide you through …
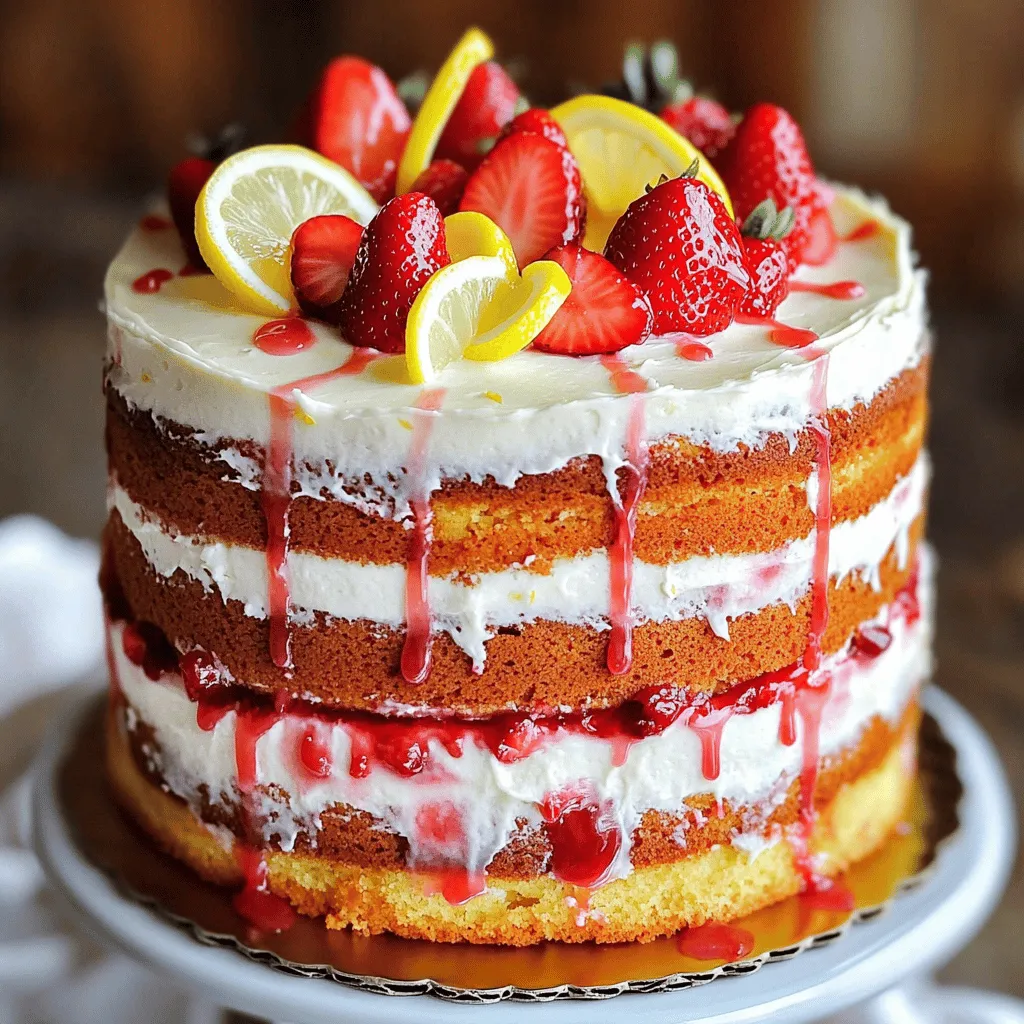
Are you ready for a treat that screams summer? My Strawberry Lemonade Layer Cake is your new go-to dessert! It’s light, refreshing, and packed with vibrant flavors that dance on …
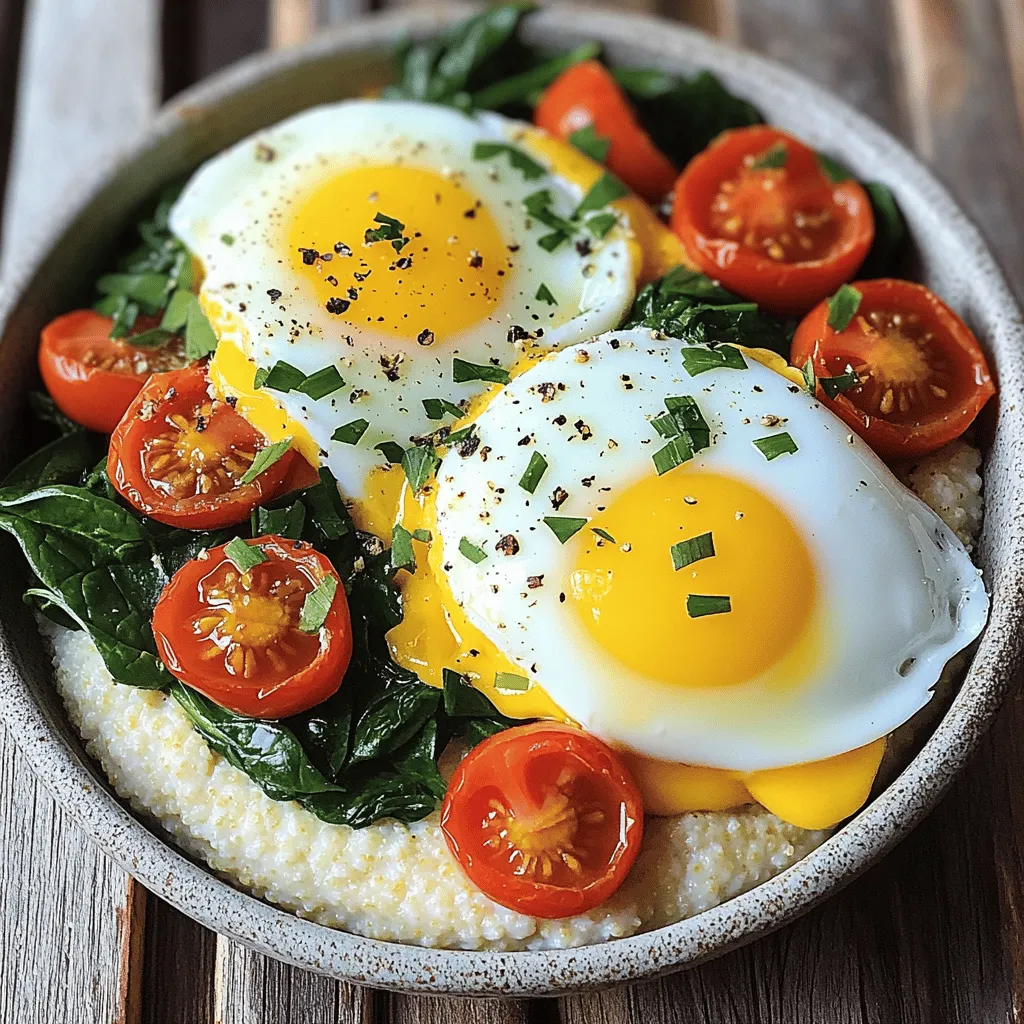
Start your day with a Savory Grits Breakfast Bowl that’s easy to make and packed with flavor. This delightful dish features creamy stone-ground grits topped with eggs, cheese, and fresh …