Slow Cooker Thai Coconut Chicken Curry Delightful Dish
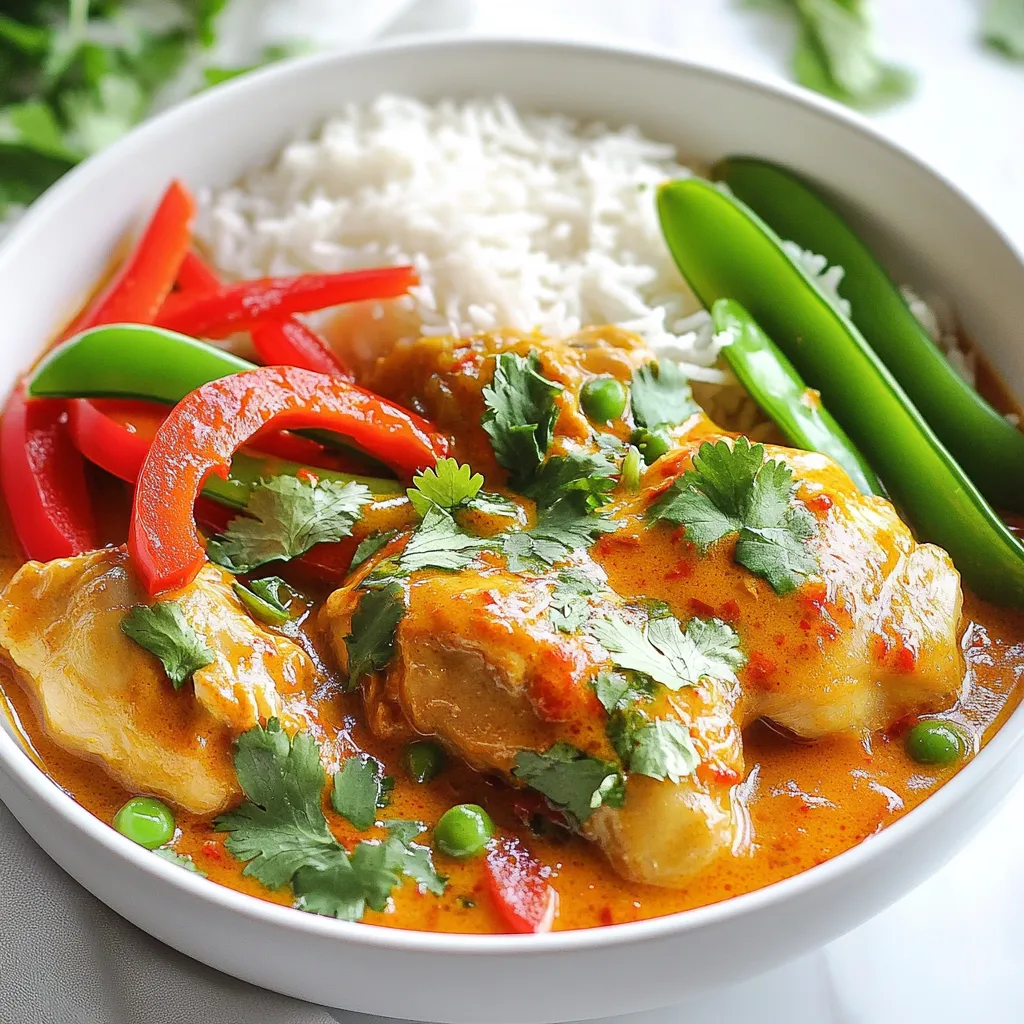
Are you ready to transform your dinner routine? Slow Cooker Thai Coconut Chicken Curry is packed with bold flavors and is super easy to make. With just a few ingredients …
Are you ready to transform your dinner routine? Slow Cooker Thai Coconut Chicken Curry is packed with bold flavors and is super easy to make. With just a few ingredients …

Craving a sweet and salty snack? Look no further! My No Bake Peanut Butter Pretzel Bars are the perfect treat. They combine crunchy pretzels with creamy peanut butter for a …
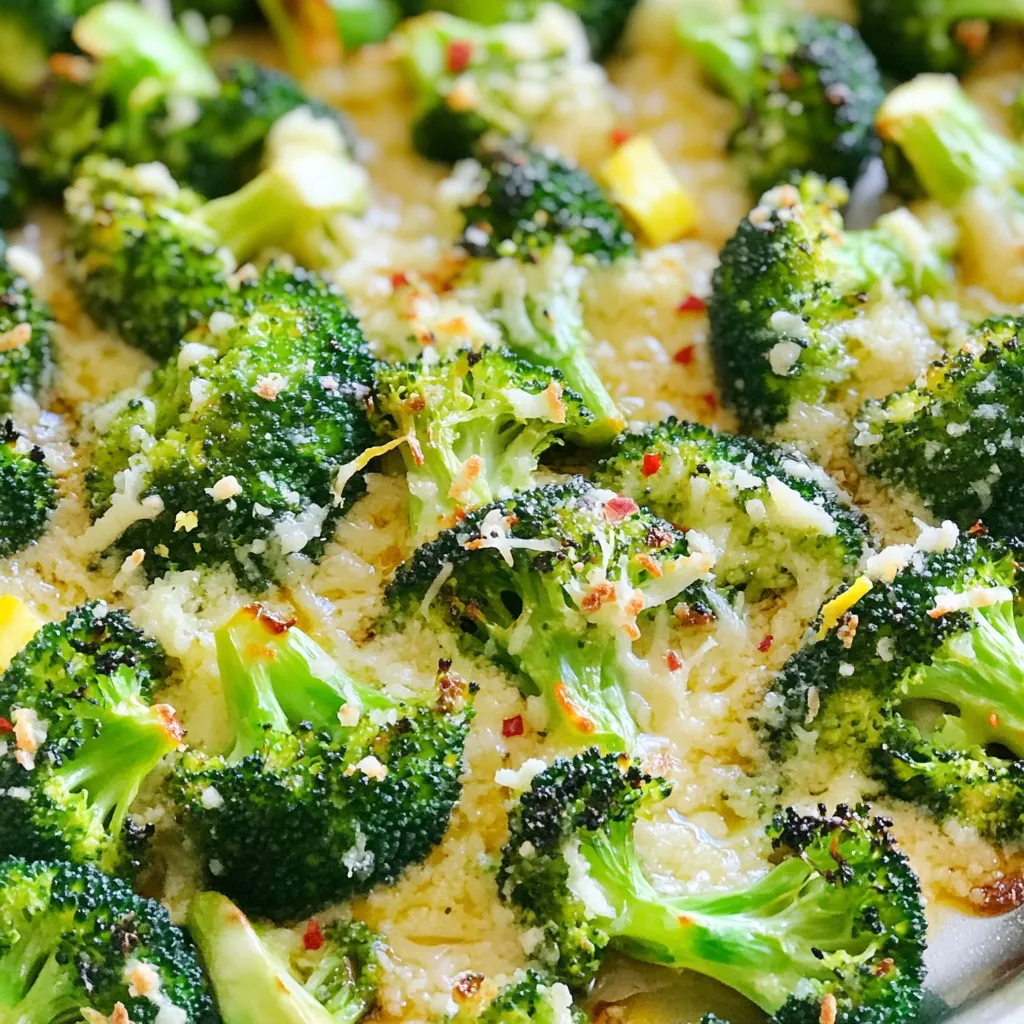
Looking for a tasty side dish that’s easy to make? Garlic Parmesan roasted broccoli is your answer! With just a few fresh ingredients, you can create a flavorful, healthy dish …

Craving a tasty snack? These Savory Cheddar Herb Scones are simple and packed with flavor! With just a few fresh ingredients, you can whip up scones that are perfect for …

Are you ready to take your dinner game to the next level? These Greek Chicken Pita Pockets are packed with flavor and super easy to make! You’ll impress your family …

If you’re looking for an easy yet delicious meal, try my Pesto Chicken Flatbread! With just a few simple ingredients, you can create a savory dish that pleases everyone. It’s …

If you’re looking for a blissfully refreshing drink, this Mango Pineapple Smoothie is for you! It’s packed with flavor and easy to make—perfect for breakfast or a snack. I’ll guide …

Looking for a quick and tasty snack? Almond Cranberry Energy Bites are your answer! These little bites pack a punch of flavor and nutrition. With just a few simple ingredients, …
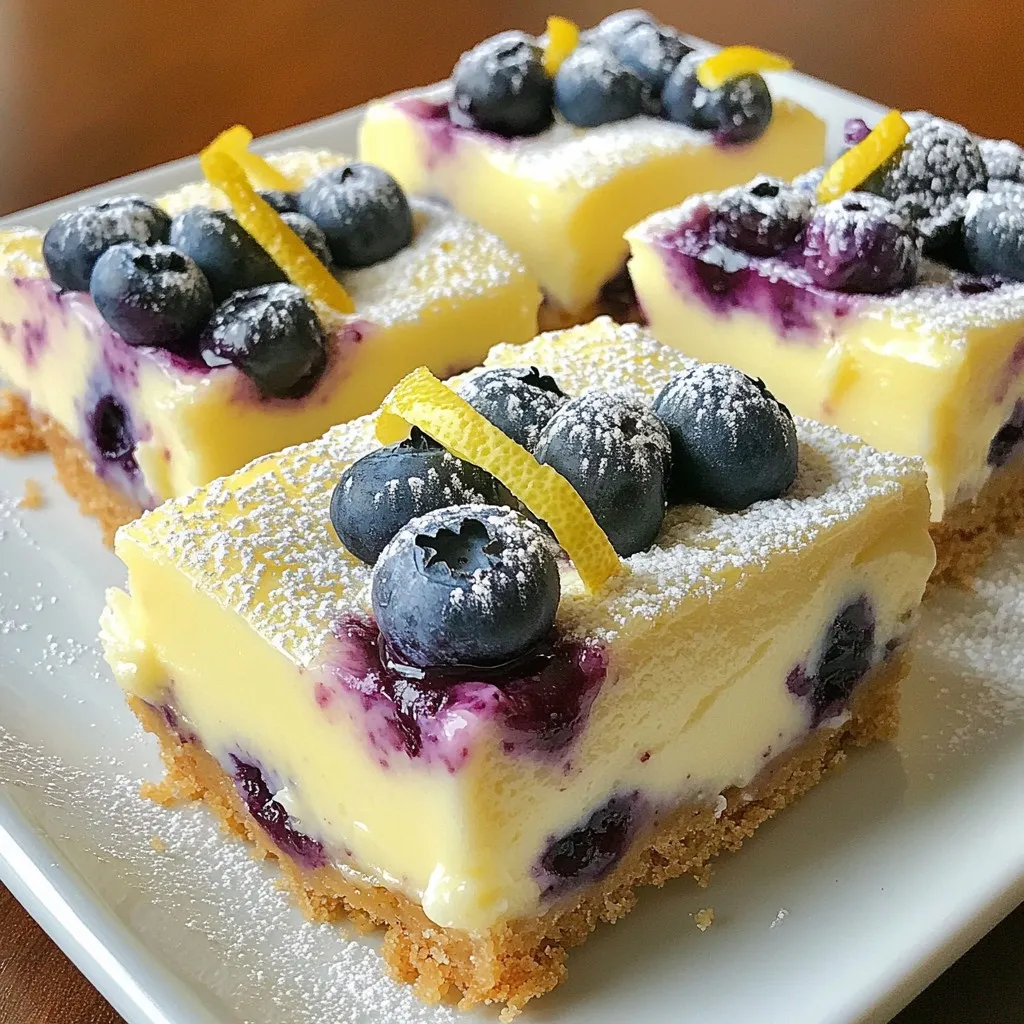
Craving a sweet treat that bursts with flavor? These Lemon Blueberry Cheesecake Bars are the perfect choice! With a bright lemon zing and juicy blueberries, each bite is a delight. …
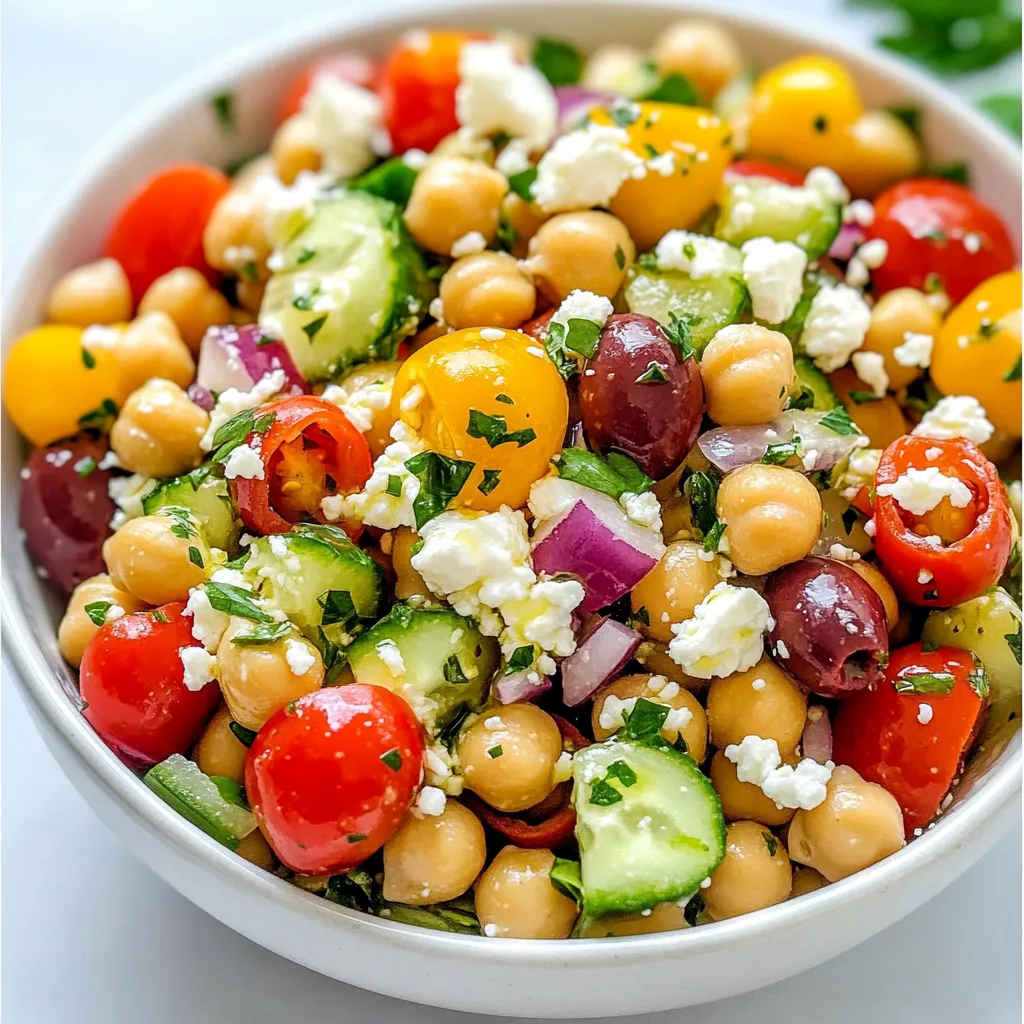
Looking for a fresh and healthy dish that packs a flavorful punch? Try my Mediterranean Chickpea Salad! It’s easy to make and filled with vibrant ingredients like crunchy veggies, tangy …