Creamy Spinach Turkey Meatballs Flavorful Dinner Option
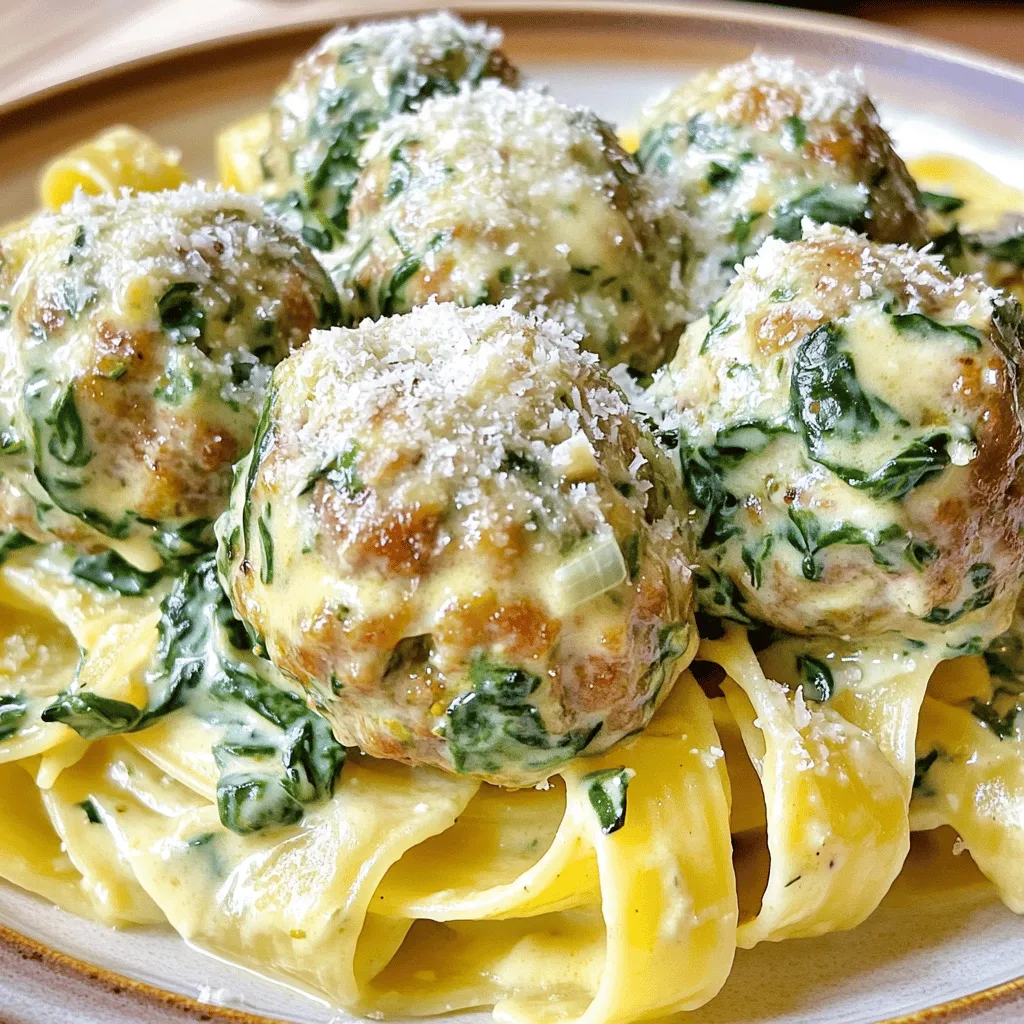
Are you ready for a dinner that’s both tasty and simple? Creamy Spinach Turkey Meatballs are the perfect dish for any night. You’ll love how quick they are to make! …
Are you ready for a dinner that’s both tasty and simple? Creamy Spinach Turkey Meatballs are the perfect dish for any night. You’ll love how quick they are to make! …
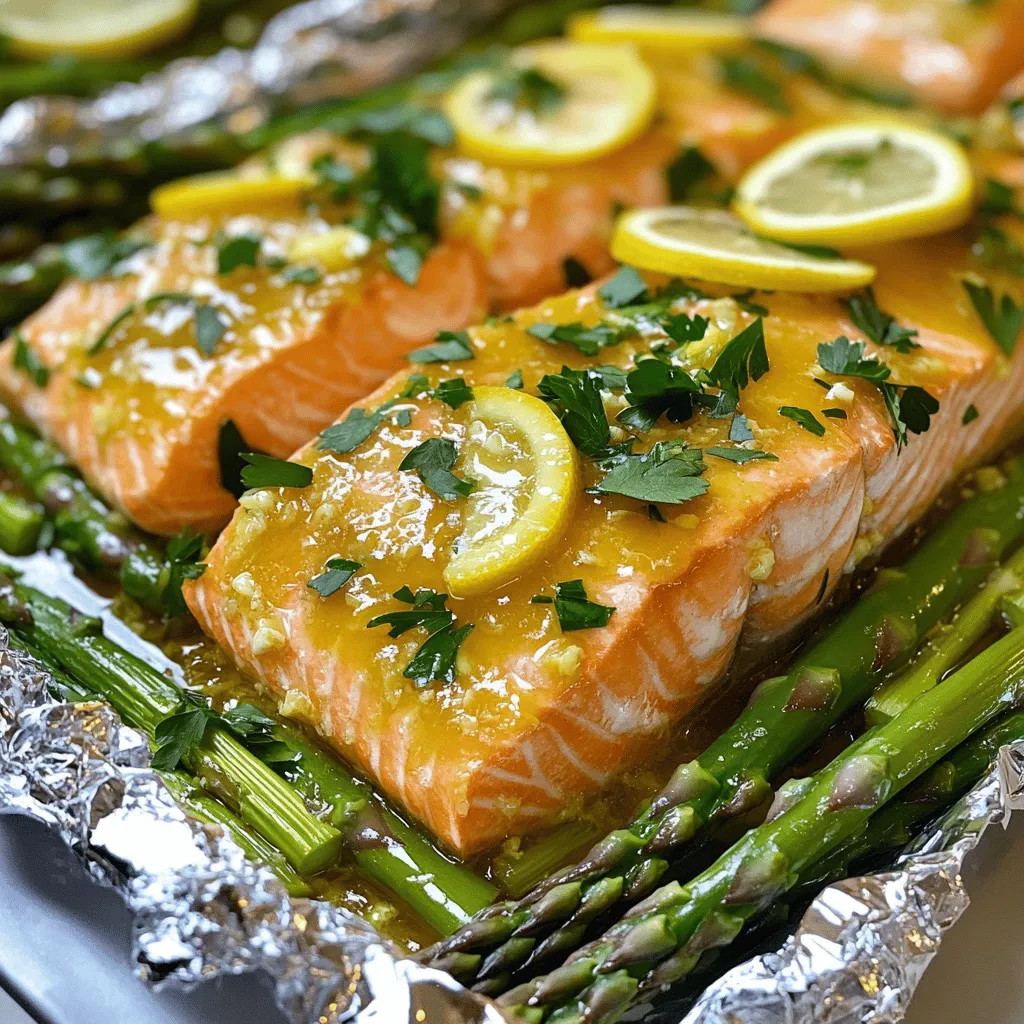
Looking for an easy, tasty meal? Try my Baked Salmon in Foil with Asparagus and Lemon Garlic Butter Sauce. It’s a simple, yet flavorful dish that bursts with freshness. Just …
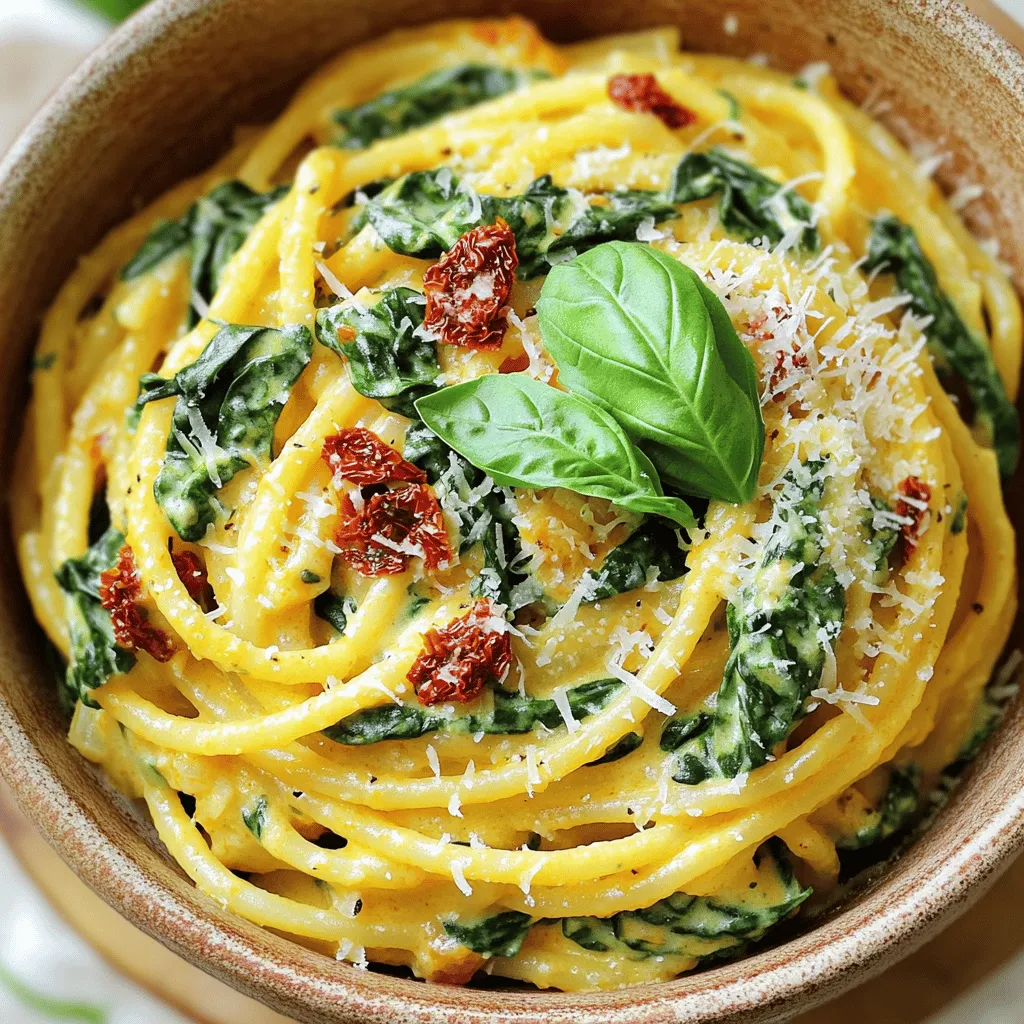
Looking for a quick and tasty meal? Try my Savory Spaghetti & Spinach with Sun-Dried Tomato Cream Sauce! This dish brings together fresh spinach, rich cream, and savory sun-dried tomatoes …
![To make Buffalo Chicken Pasta, gather these ingredients: - 8 oz penne pasta - 2 cups cooked chicken, shredded - 1/2 cup buffalo sauce (adjust according to your spice preference) - 1 cup cream cheese, softened to room temperature - 1/2 cup grated Parmesan cheese - 1/2 cup shredded cheddar cheese - 1/4 cup scallions, finely chopped - 2 tablespoons olive oil - 2 cloves garlic, minced - Salt and pepper to taste These ingredients create a hearty meal that bursts with flavor. The shredded chicken brings protein, while the cream cheese adds creaminess. The buffalo sauce gives it a spicy kick that many love. If you need to change any ingredients, you have options. For the chicken, you can use shredded rotisserie chicken or even tofu for a vegetarian twist. Instead of penne, try rigatoni or fusilli. Cream cheese can be swapped for Greek yogurt or a dairy-free cream cheese. If you want a bit more heat, consider adding jalapeños or extra buffalo sauce. Buffalo Chicken Pasta pairs well with several sides. A fresh green salad can balance the heat and richness of the dish. You might also serve it with garlic bread for a comforting meal. If you enjoy a cool drink, a light lager or a sweet tea complements the spice nicely. Try these pairings to enhance your dining experience! To make Buffalo chicken pasta, start by cooking the pasta. Boil a pot of salted water. Add 8 oz of penne pasta. Cook it for about 10-12 minutes until it is al dente. Drain the pasta and set it aside. Next, prepare the sauce. Heat 2 tablespoons of olive oil in a large skillet over medium heat. Add 2 cloves of minced garlic. Sauté for about 1 minute until it smells great. Then, add 2 cups of shredded cooked chicken and 1/2 cup of buffalo sauce. Stir until the chicken is coated in sauce. Now, add 1 cup of softened cream cheese. Stir until the cream cheese melts into the sauce. This step creates a creamy texture. Next, fold in 1/2 cup of grated Parmesan cheese and half of 1/2 cup of shredded cheddar cheese. Keep stirring until all the cheese melts. Add salt and pepper to taste. Finally, add the drained penne pasta to the skillet. Toss everything together until the pasta is well coated in the sauce. To cook perfect pasta, use plenty of water. This helps prevent sticking. Always salt the water; it adds flavor. Stir the pasta a few times as it cooks. This helps keep it from clumping together. Taste the pasta a minute before the package time ends. It should be firm yet tender. Drain it immediately to stop the cooking process. To make a creamy buffalo sauce, you need a few key ingredients. Start with 1/2 cup of buffalo sauce for heat. Then, add 1 cup of softened cream cheese. This will create a rich, creamy base. Stir well until the cream cheese blends smoothly with the sauce. You can adjust the spice level by adding more or less buffalo sauce. For extra creaminess, add more cheese, like Parmesan or cheddar. This sauce pairs perfectly with the chicken and pasta. Enjoy your meal! When making buffalo chicken pasta, avoid undercooking the pasta. It should be firm but tender. Overcooking it can lead to a mushy texture. Also, watch the heat when cooking the sauce. If it gets too hot, the cream cheese may curdle. Stir often to keep it smooth and creamy. Lastly, don’t skip the seasoning! A little salt and pepper can make a big difference. Buffalo sauce can be very spicy. If you want less heat, use less buffalo sauce. Start with a quarter cup and taste as you go. You can also mix in some cream cheese to tone down the spice. For those who love heat, add more buffalo sauce or toss in some red pepper flakes. A touch of honey can balance the heat too, making it sweet and spicy. Serve buffalo chicken pasta in wide bowls. This gives it a nice look and makes it easy to eat. Top each serving with shredded cheese and chopped scallions. For extra flair, drizzle more buffalo sauce on top. You could also add some fresh herbs like parsley for color. This dish looks great and tastes even better, making it perfect for dinner parties or family meals. Enjoy this hearty meal with a side of garlic bread or a light salad for a complete feast. For the full recipe, check out the details above. {{image_4}} If you want a meatless option, try using tofu or tempeh. These options soak up flavor well. You can also use chickpeas for a protein boost. Substitute buffalo sauce with a spicy vegan sauce to keep the heat. Cream cheese can be replaced with a plant-based version. This keeps the dish creamy and rich while remaining vegetarian. Penne is great, but you can use other pasta shapes too. Bowtie or rotini pasta works well for this dish. They hold sauce nicely. Whole wheat pasta adds fiber and a nutty taste. Gluten-free pasta is also a good choice if you have dietary needs. Just remember to adjust the cooking time based on the type of pasta you choose. Boost the health factor by adding vegetables. Spinach or kale adds color and nutrients. Chopped bell peppers add crunch and sweetness. You can also mix in broccoli or zucchini for more texture. Sauté them in the skillet before adding the chicken. This way, they cook just right and blend well with the flavors. Enjoy these variations while making your buffalo chicken pasta. For the full recipe, check out the details above! After you enjoy your buffalo chicken pasta, store any leftovers in a tight container. It is best to let the pasta cool to room temperature before sealing it. This helps avoid steam buildup, which can make the pasta soggy. Properly stored, your leftovers stay fresh for about three days in the fridge. Make sure to label the container with the date. This way, you won’t forget how long it has been stored. Reheating buffalo chicken pasta is easy and quick. You can use the microwave or the stovetop. If using a microwave, place the pasta in a bowl. Add a splash of water to keep it moist. Heat it in short bursts, stirring in between. This helps it warm evenly. On the stovetop, put it in a pan over low heat. Stir it gently until it’s hot. You may add a bit of cheese or cream if it looks dry. Freezing buffalo chicken pasta is a great way to save a meal for later. Start by letting the pasta cool completely. Then, place it in a freezer-safe container or bag. Squeeze out as much air as you can before sealing. This helps prevent freezer burn. You can freeze it for up to three months. When you're ready to eat, thaw it overnight in the fridge and reheat as directed. This method keeps the flavors fresh and delicious. You can find the full recipe for this dish to help with meal prep. Buffalo chicken pasta is a creamy and spicy dish. It combines cooked pasta, shredded chicken, and buffalo sauce. The sauce is rich and creamy, thanks to cream cheese and cheeses. This meal packs bold flavors that excite your taste buds. Yes, you can prepare buffalo chicken pasta ahead of time. Cook the pasta and make the sauce separately. Store them in the fridge for up to three days. When ready to eat, mix them and heat in a pan until warm. This makes dinner quick and easy on busy nights. You can add many toppings to buffalo chicken pasta. Here are some great options: - Crumbled blue cheese - Extra shredded cheddar cheese - Fresh parsley or cilantro - Diced tomatoes - Sliced jalapeños - Crunchy tortilla chips for texture Feel free to mix and match these toppings to suit your taste! For the full recipe, check out the [Full Recipe]. Buffalo Chicken Pasta is a fun dish to make. We explored its ingredients, cooking steps, and helpful tips. I also shared storage ideas and some tasty variations for everyone. Whether you like it spicy or mild, there’s a way for you to enjoy it. Keep these tips in mind, and you’ll create a dish everyone loves. Don't be afraid to try your own spin on the recipe. Your kitchen can be a place for great meals and happy moments.](https://tossedflavors.com/wp-content/uploads/2025/06/971bc772-1090-45bb-baf2-480cb262cad6.webp)
Are you ready to spice up your dinner? Buffalo Chicken Pasta brings together the best of both worlds—hearty chicken and zesty buffalo sauce. In this blog, I’ll show you step-by-step …
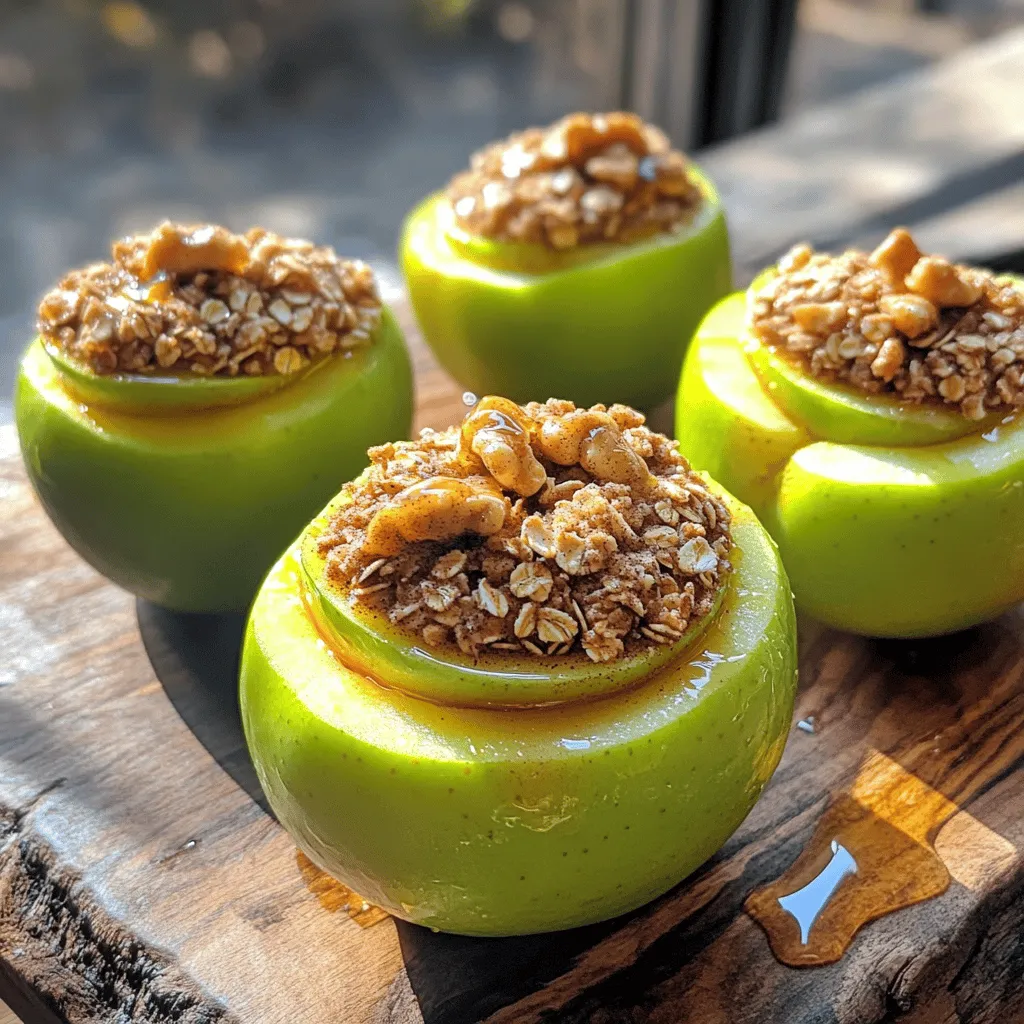
Craving a sweet treat that’s both simple and delicious? Look no further! In this post, I’ll show you how to make scrumptious Air Fryer Apples, a warm dessert packed with …
![- Salmon fillets and cooking essentials - 4 salmon fillets (approximately 6 oz each) - 1 tablespoon olive oil - Salt and pepper, to taste - Marinade components - 3 tablespoons honey - 2 tablespoons sriracha sauce - 1 tablespoon soy sauce - Fresh vegetables and toppings - 1 cup cooked jasmine rice - 1 cup broccoli florets - 1 carrot, julienned - 1/2 cup red cabbage, finely shredded - 1 avocado, sliced - 2 green onions, chopped - Sesame seeds for garnish Using fresh, quality ingredients makes a big difference in flavor. The salmon gives you rich protein, while the honey and sriracha create a sweet and spicy kick. The veggies add color and crunch, which makes the dish fun to eat. You can find the full recipe above to help you gather all these items for a lovely meal. To start, I like to combine honey and sriracha in a small bowl. This mix gives our salmon a sweet and spicy kick. Next, I add soy sauce and olive oil to deepen the flavor. Finally, I sprinkle in a pinch of salt and pepper. Whisk it all together until smooth. This marinade is key to making the salmon tasty. For the best flavor, I recommend marinating the salmon for at least 20 minutes. This allows the fish to soak up all those great flavors. To ensure even coating, I place the salmon fillets in a shallow dish. Then, I pour the marinade over them, making sure each piece is covered well. This step is important for a delicious meal. When it’s time to cook, I heat a non-stick skillet over medium heat. I add olive oil and wait until it shimmers. Then, I lay the salmon fillets skin-side down in the skillet. I cook them for about 4-5 minutes until the skin is crispy and golden. After that, I gently flip the fillets and cook for another 3-4 minutes. I brush any leftover marinade on the salmon while it cooks for extra flavor. Next, I prepare the vegetables. I bring a pot of salted water to a boil and add broccoli florets and julienned carrots. I blanch them for about 2-3 minutes until they are bright and crisp. Then, I quickly transfer them to an ice bath. This stops the cooking process and keeps the colors vibrant. After draining, I set them aside for later. Now comes the fun part: assembling the bowls! I start with a scoop of cooked jasmine rice as the base. Then, I place the cooked salmon fillet right in the center. Next, I arrange the blanched broccoli, carrots, shredded red cabbage, and sliced avocado around the salmon. This makes the bowl look colorful and inviting. For a finishing touch, I sprinkle chopped green onions and sesame seeds on top. I also like to drizzle a bit more honey or sriracha for added flavor, if desired. For the full recipe, refer to the top of this section. To avoid overcooking salmon, watch the time closely. Cook the salmon for about 4-5 minutes on one side and 3-4 minutes on the other. This keeps it juicy and tender. The salmon should flake easily with a fork when done. For the right texture, use medium heat. A hot pan helps crisp the skin while cooking. If you cook it too fast, the outside can burn before the inside is ready. You can add more flavor by using spices like garlic powder or smoked paprika. These spices add a nice depth to the dish. You might also try a splash of lime juice for a fresh twist. Garnishing is key! Chopped green onions and sesame seeds not only look great but add crunch. A drizzle of honey or extra sriracha can boost the taste even more. Serve your Honey Sriracha Salmon Bowls with a side of steamed edamame or a fresh cucumber salad. These sides balance the heat and add a refreshing touch. For drinks, a cold iced tea or a light beer pairs nicely. If you prefer wine, a crisp Sauvignon Blanc complements the flavors well. For the full recipe and all the steps, refer to the [Full Recipe]. {{image_4}} You can switch out salmon for other proteins. Chicken or shrimp work well. Both will soak up the honey sriracha flavors nicely. If you want a vegetarian option, try tofu or tempeh. They also absorb the marinade and add great texture. Adjusting the sauce is easy. If you want more sweetness, add extra honey. For more heat, add more sriracha. You can also experiment with other sauces. Try teriyaki or sweet chili for a different vibe. Each option gives a unique twist to your dish. The base of your bowl can change things up. Use quinoa or brown rice for a nutty flavor. You can also mix in farro for more texture. Seasonal vegetables are a great way to add freshness. In summer, try zucchini and bell peppers. In fall, roasted butternut squash fits perfectly. Using what’s in season keeps your meals exciting! For the full recipe, see the section above. To keep your Honey Sriracha Salmon Bowls fresh, store leftovers in airtight containers. This helps prevent moisture loss and keeps flavors intact. Let the dish cool before sealing it. Refrigerate for up to three days. For reheating, use a microwave or skillet. If using a microwave, heat in short bursts of 30 seconds. Check the salmon to avoid overcooking. If using a skillet, warm on low heat for about 5 minutes. Add a splash of water to keep it moist. Yes, you can freeze these bowls. Wrap them well in plastic wrap and place in a freezer bag. They can last up to three months frozen. When ready to eat, thaw overnight in the fridge. Reheat gently before serving to maintain flavor and texture. I recommend marinating salmon for at least 20 minutes. This allows the flavors to soak in well. If you marinate it too long, the fish can become mushy. Keep it under two hours for the best texture and taste. Yes, you can use frozen salmon. Just ensure it is fully thawed before marinating. Place it in the fridge overnight or use a quick thaw method in cold water. Pat it dry to remove excess moisture. This helps the marinade stick better. You can serve Honey Sriracha Salmon Bowls with many sides. Here are a few great options: - Steamed snap peas for crunch. - Roasted sweet potatoes for sweetness. - A side salad with mixed greens for freshness. These sides add nice textures and flavors that pair well with the salmon. You can change the heat level by adjusting the sriracha. Use less sriracha for a milder taste. If you like more heat, add extra sriracha or include red pepper flakes. You can also use a milder chili sauce if desired. In this article, we explored how to make delicious Honey Sriracha Salmon Bowls. We covered the key ingredients, including fresh salmon, vegetables, and the perfect marinade. I shared step-by-step instructions for marinating, cooking, and assembling your bowl, along with tips to enhance flavor and texture. Remember, you can customize the recipe to fit your taste. Try different proteins and sauces. Storage and reheating methods will help you enjoy your meals later. With these tips, you can create tasty, healthy bowls again and again. Enjoy your cooking!](https://tossedflavors.com/wp-content/uploads/2025/06/aa07a924-0f1a-49f1-9a0b-52a81790b564.webp)
Get ready to elevate your dinner game with my Honey Sriracha Salmon Bowls recipe! In this easy-to-follow guide, I will share the perfect blend of sweet and spicy flavors that …
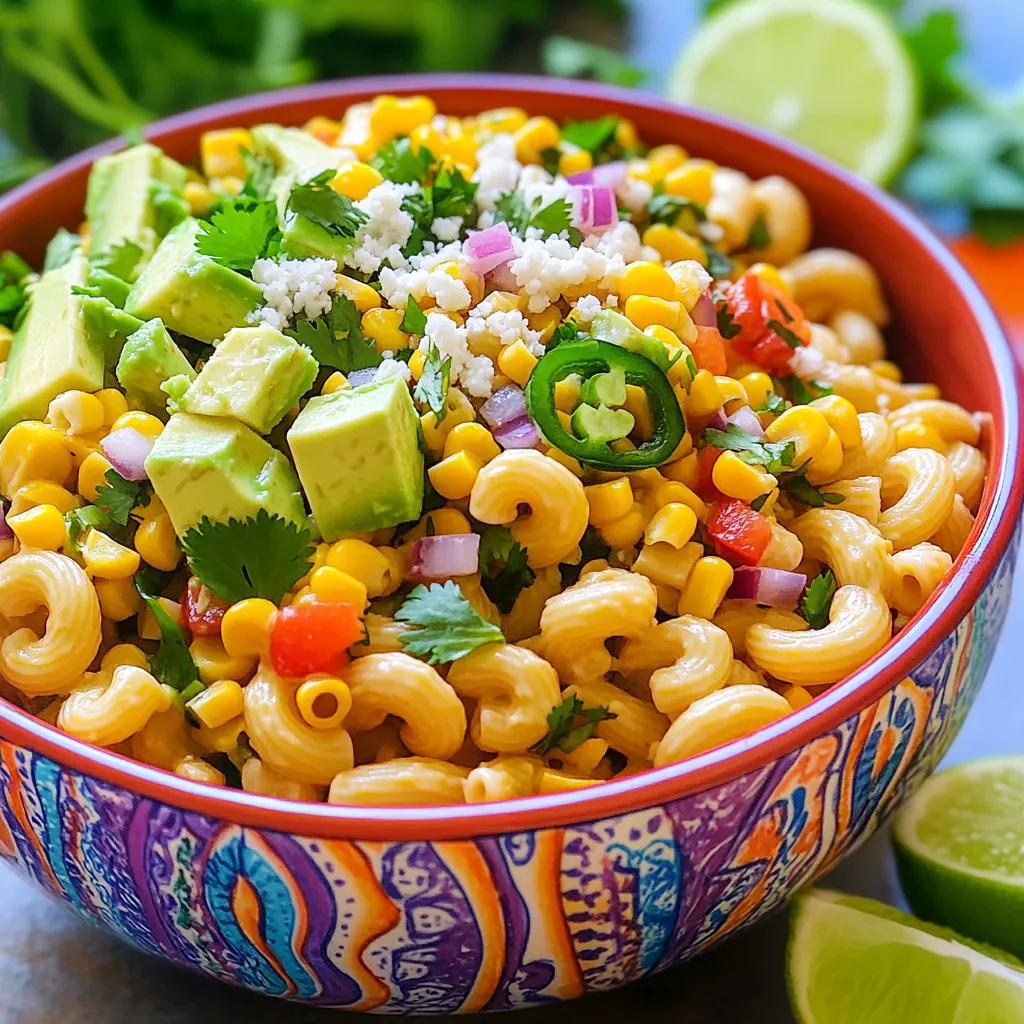
Summer is here, and it’s time for fresh, vibrant flavors! My Mexican Street Corn Pasta Salad brings the taste of street food right to your table. It combines sweet corn, …
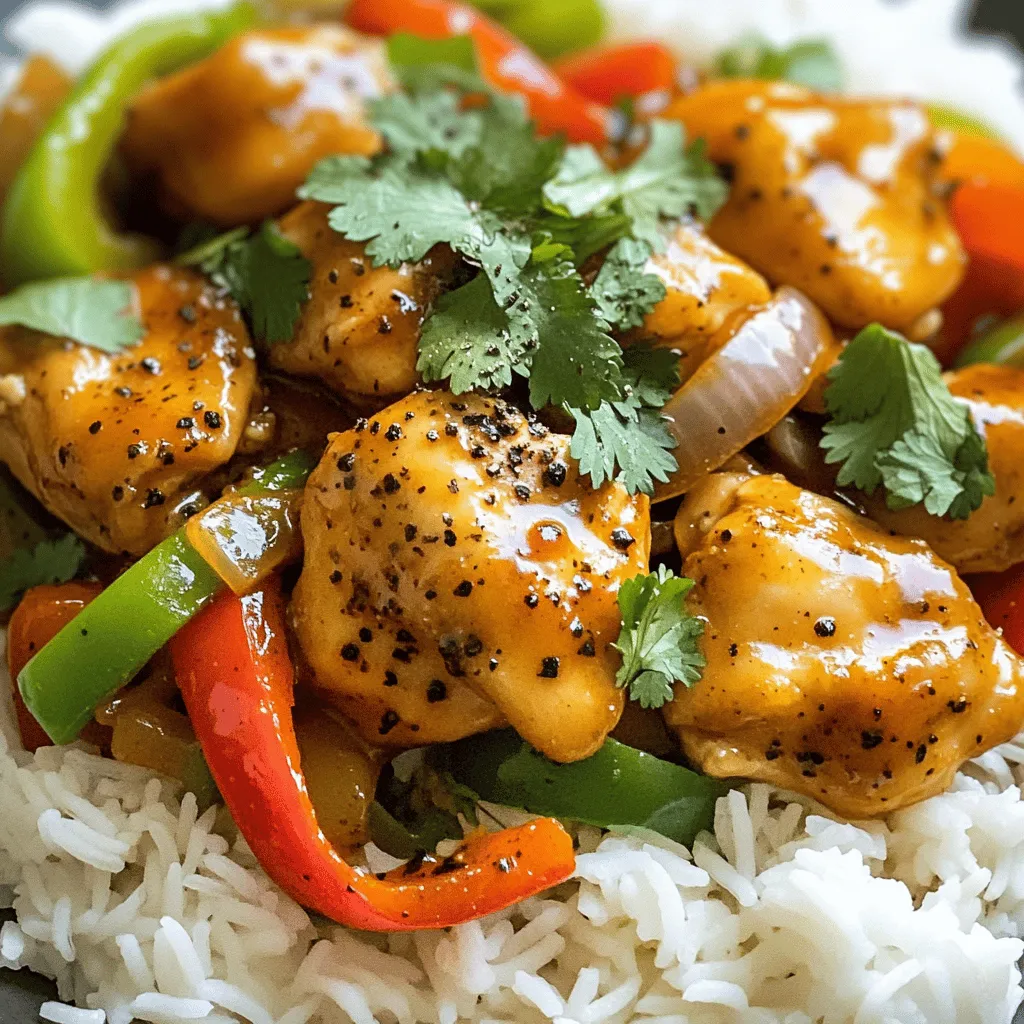
Are you ready to spice up your dinner routine? Black Pepper Chicken is a simple, flavorful dish that bursts with bold taste. In this guide, I’ll share how to make …
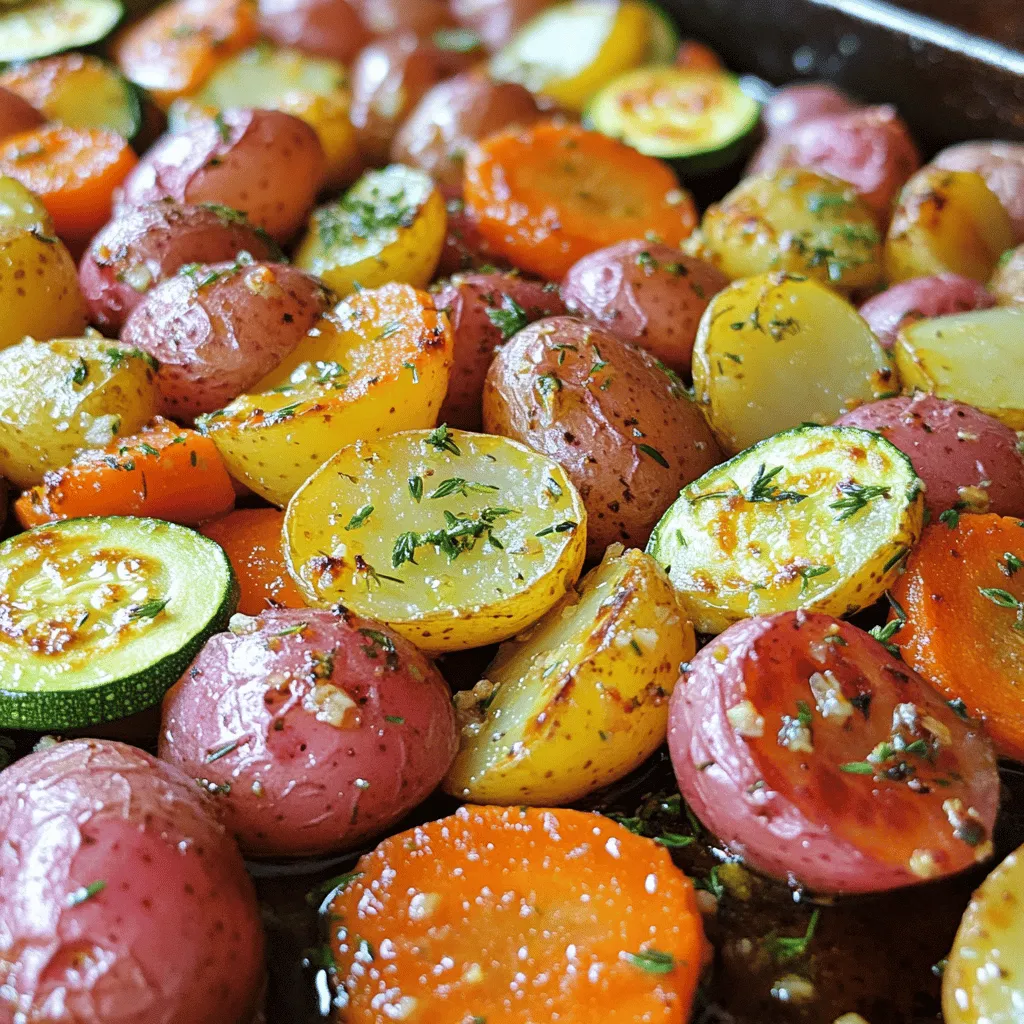
Looking for a simple and delicious side dish that impresses every time? You’ll love my Garlic Herb Roasted Potatoes, Carrots, and Zucchini! This recipe bursts with flavor and showcases fresh, …
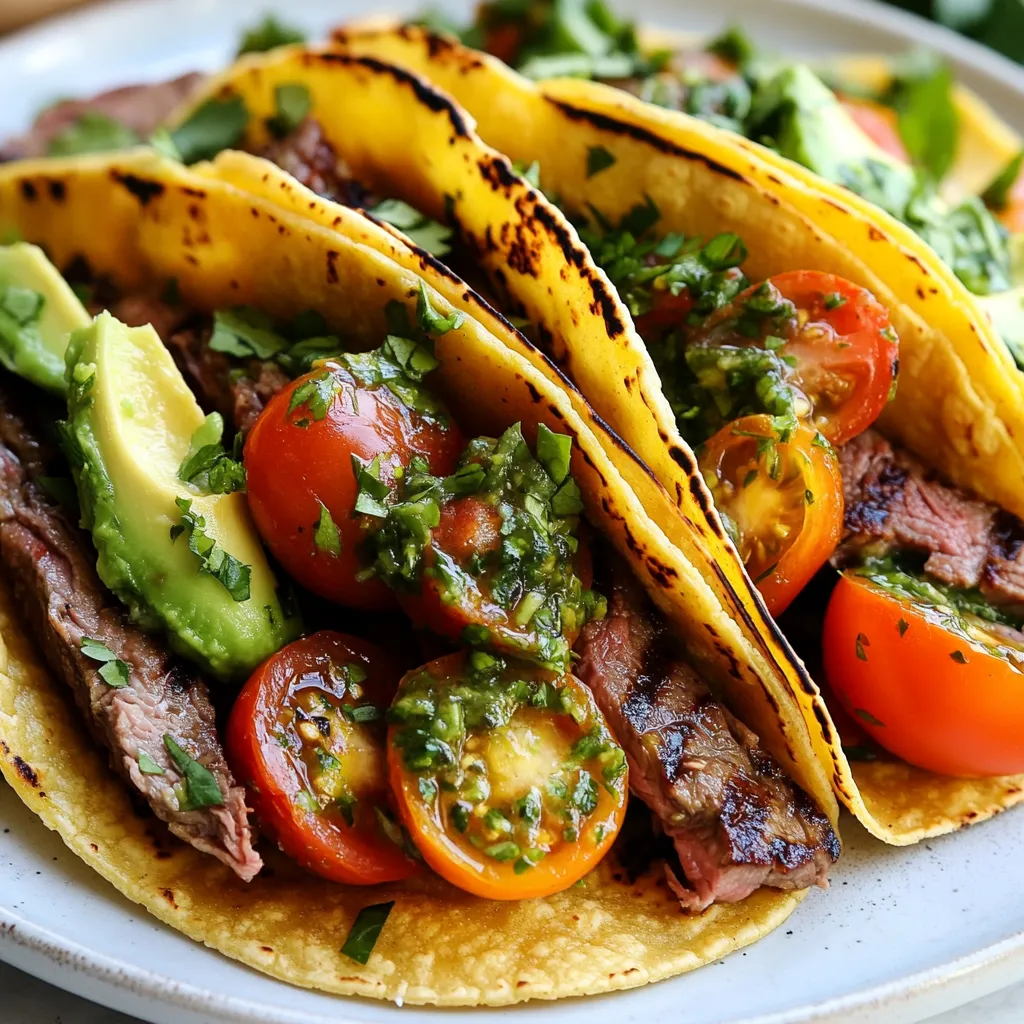
Are you ready to spice up taco night? Chimichurri Steak Tacos are full of bold flavors and easy to make. With a quick marinade and fresh toppings, these tacos will …