Bagel Breakfast Sliders Tasty and Satisfying Recipe

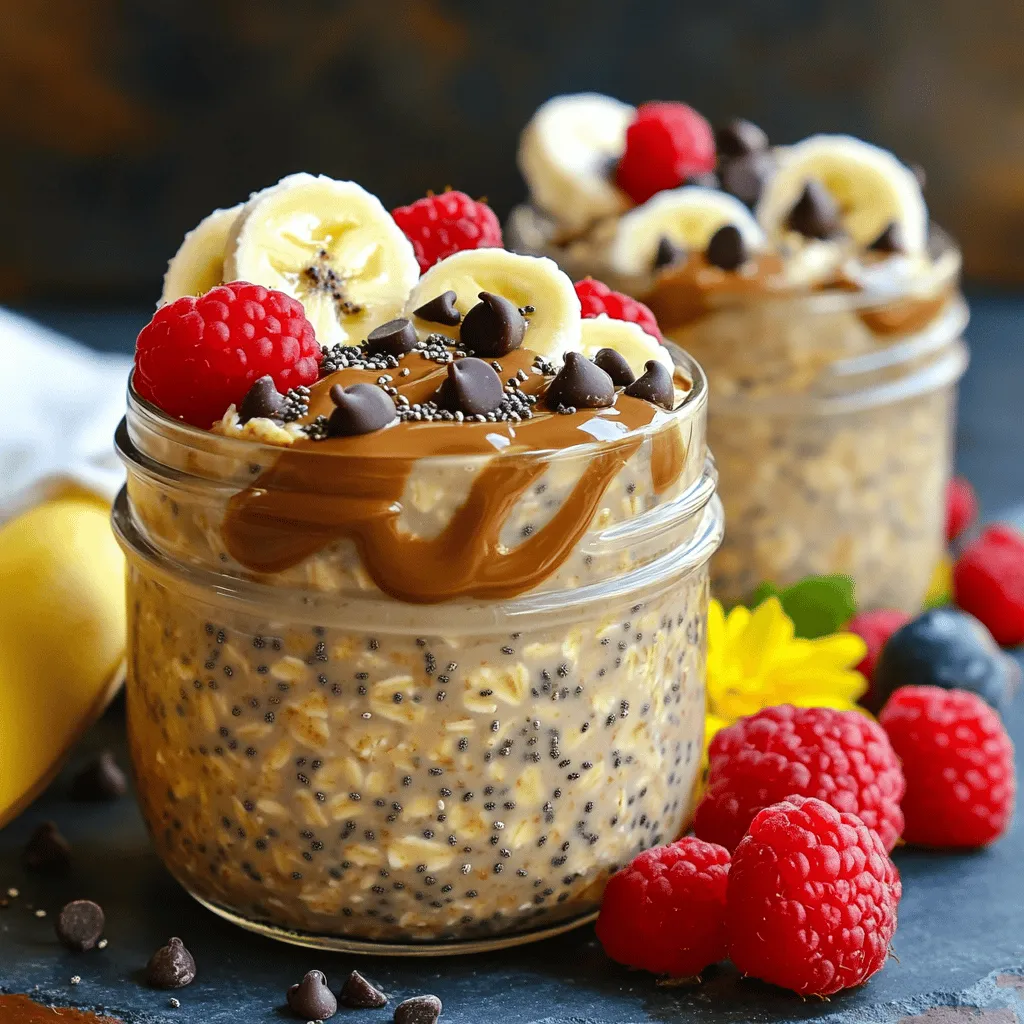
Looking for a quick breakfast that packs flavor? These Bagel Breakfast Sliders are your answer! This easy recipe combines crispy turkey sausage, fluffy eggs, and creamy avocado on small bagels. …

![- 1 head of cauliflower, cut into bite-sized florets - 1 cup all-purpose flour - 1 teaspoon garlic powder - 1 teaspoon onion powder - 1 teaspoon smoked paprika - 1 teaspoon salt - ½ teaspoon black pepper - 1 cup water (or plant-based milk for a creamier texture) - ½ cup hot sauce (such as Frank’s RedHot) - 2 tablespoons unsalted butter or olive oil, melted The main ingredients create that perfect crunchy and spicy flavor. Cauliflower serves as a great base. The flour and seasonings mix together to coat the florets. The hot sauce and butter bring a fiery kick that makes each bite exciting. For this full recipe, I recommend using fresh cauliflower for the best results. - Fresh parsley or cilantro Garnishing adds color and freshness to your dish. Adding chopped parsley or cilantro on top makes your meal more inviting. It also complements the spicy flavor of the buffalo sauce well. - Plant-based milk options - Gluten-free flour alternatives If you want a creamier batter, use plant-based milk instead of water. This makes the dish richer. For those who need gluten-free options, try almond flour or chickpea flour. Both work well as substitutes and keep the flavor intact. Set your air fryer to 400°F (200°C). This high temperature helps make the cauliflower crispy. Preheating is key. It ensures that the cauliflower cooks evenly. If you skip this step, the florets may turn out soggy. So, let it warm up while you prepare the rest. In a large bowl, mix together the dry ingredients. Combine 1 cup of all-purpose flour, 1 teaspoon of garlic powder, 1 teaspoon of onion powder, 1 teaspoon of smoked paprika, 1 teaspoon of salt, and ½ teaspoon of black pepper. Stir well until everything is mixed together. Next, slowly pour in 1 cup of water or plant-based milk. Keep stirring until the batter is smooth and thick. This helps the batter cling to the cauliflower well. Now, it’s time to coat the cauliflower. Take each floret and dip it into the batter. Make sure every piece is fully covered. Let any extra batter drip off before placing them in the air fryer. Arrange the coated cauliflower in a single layer. Avoid overcrowding; it’s best to fry in batches if needed. Cook the cauliflower for 12-15 minutes. Halfway through, shake the basket to help them crisp up. Once they turn golden-brown, they are ready. While they cook, make the buffalo sauce. In a small bowl, mix together ½ cup of hot sauce and 2 tablespoons of melted butter or olive oil. Stir well until blended. When the cauliflower is done, take it out and toss it in the buffalo sauce. Make sure every piece is coated. For extra crunch, return the cauliflower to the air fryer for another 2-3 minutes. This final step makes them even crispier. Enjoy your crispy and flavorful Air Fryer Buffalo Cauliflower! For the full recipe, check out the details provided. To make your buffalo cauliflower crispy, focus on the batter. Use a thick batter to coat each floret well. This helps form a crunchy layer when air-fried. Overcrowding the air fryer basket can lead to soggy cauliflower. Fry in batches to keep the pieces from touching. This allows hot air to circulate freely around each floret, ensuring even cooking and crispiness. You can boost the flavor of your buffalo cauliflower by adding spices. Mix in some cayenne pepper or smoked paprika for a smoky kick. Fresh herbs like thyme or oregano can also add depth. If you want to adjust the spice level, try different hot sauces. Mild sauces will give flavor without too much heat. For a fiery kick, go for a hotter sauce. You can even mix sauces for a unique taste. For dips, ranch or blue cheese dressing pairs perfectly with buffalo cauliflower. You can also serve it with a yogurt dip for a light option. Presentation matters too! Arrange the cauliflower on a nice platter with celery sticks. Add fresh herbs for color and appeal. This not only looks great but also makes for a fun snack at parties. For the full recipe, check out the complete guide above. {{image_4}} You can change up the heat level by using different hot sauces. Frank’s RedHot is classic, but you can try Sriracha for a sweeter kick. If you want more heat, add cayenne pepper or chili powder to the batter. Mixing in chili flakes will give it an extra punch too. Experiment to find your favorite spicy blend! If you want a healthier option, you can bake the cauliflower instead of air frying. Just place the coated florets on a baking sheet and bake at 425°F for about 20 minutes. This method will cut some calories. You can also make low-calorie swaps, like using less butter or olive oil. A light spray of cooking oil can help keep the flavors without the extra fat. Buffalo cauliflower is not just a snack; it can be a meal! Try making buffalo cauliflower tacos. Use soft tortillas and load them with the crispy cauliflower. Top with fresh veggies and a drizzle of ranch. Another idea is to use the cauliflower as a salad topper. It adds great flavor and texture to any salad. Serve it as an appetizer for your next gathering. It’s sure to impress your guests! For the full recipe, check out the details above. To keep your buffalo cauliflower fresh, store it in an airtight container. Place it in the fridge. Make sure it cools completely before sealing. This helps prevent sogginess. Enjoy your leftovers within three days for the best taste. When reheating, aim to keep that crispy texture. Preheat your air fryer to 350°F (175°C). Place the cauliflower in the basket in a single layer. Heat for about 5-7 minutes. Check it often to avoid overcooking. This method helps regain its crunch. Can you freeze buffalo cauliflower? Yes, you can! First, let it cool completely. Then, spread it out on a baking sheet. Freeze it for about an hour. Once frozen, transfer it to a freezer-safe bag. This keeps it fresh for up to three months. To reheat frozen cauliflower, no need to thaw. Simply air fry it at 400°F (200°C) for about 10-12 minutes. This will help it crisp up nicely again. Enjoy your air fryer buffalo cauliflower any time! For the complete recipe, refer to the [Full Recipe]. To make buffalo cauliflower gluten-free, you can use several flour alternatives. Some of the best options include: - Almond flour - Coconut flour - Gluten-free all-purpose flour - Chickpea flour These options help create a tasty batter without gluten. Just replace the all-purpose flour in the recipe with your choice of gluten-free flour. Yes, you can use frozen cauliflower, but it requires a few steps. First, thaw the cauliflower completely. You can do this by leaving it in the fridge overnight or using the microwave. Once thawed, pat the florets dry with a towel. This helps remove excess moisture, so the batter sticks well. After that, follow the recipe as usual. Buffalo cauliflower tastes great with various dipping sauces. Here are some popular options: - Ranch dressing - Blue cheese dressing - Creamy avocado dip - Garlic aioli These dips add extra flavor and creaminess to the spicy cauliflower bites. You can easily make this recipe vegan with a few simple swaps. For the butter, use olive oil or vegan butter. For the batter, you can replace the milk with any plant-based milk, like almond or soy milk. These swaps keep your buffalo cauliflower tasty and plant-based. Enjoy your vegan snack without missing out on flavor! This article covers how to make buffalo cauliflower, from ingredients to cooking tips. You learned about key ingredients like cauliflower, flour, and hot sauce. We also shared ways to make it vegan or gluten-free. To make it crispy, proper prep and air-fryer techniques are crucial. Explore variations for extra spice or health modifications. Enjoy leftovers by storing correctly and reheating well. Buffalo cauliflower is a tasty option for meals and parties alike. Try it today, and you might just find a new favorite dish!](https://tossedflavors.com/wp-content/uploads/2025/06/95833bb5-97e1-456b-aab2-007c590c3c76.webp)


![To create the perfect baked feta pasta, gather these key ingredients: - 200g pasta of your choice (penne or fusilli work beautifully) - 200g block of feta cheese - 300g cherry tomatoes, halved - 4 cloves of garlic, minced - 3 tablespoons olive oil - 1 teaspoon dried oregano - Salt and freshly ground black pepper to taste - Fresh basil leaves for garnishing These ingredients blend to create a creamy and flavorful delight. Each item plays a role in the taste and texture of the dish. While the main ingredients shine, you can add a few optional items for more flavor: - Zest of 1 lemon (for added brightness) - A pinch of red pepper flakes (for heat) - A handful of spinach or arugula (for added nutrition) - Grated Parmesan cheese (for a cheesy kick) These additions can enhance the dish, making it even more enjoyable. Choosing the right pasta matters for this dish. I recommend: - Penne: Its tubular shape holds the sauce well. - Fusilli: The twists capture bits of feta and tomatoes. - Orzo: This rice-shaped pasta adds a unique twist. Each type offers a different texture and look, so pick your favorite! For the best results, always cook pasta to al dente. This keeps it firm and allows it to soak up the creamy sauce beautifully. For the full recipe, check out the [Full Recipe]. First, gather your ingredients. You will need: - 200g pasta of your choice (penne or fusilli work beautifully) - 200g block of feta cheese - 300g cherry tomatoes, halved - 4 cloves of garlic, minced - 3 tablespoons olive oil - 1 teaspoon dried oregano - Salt and freshly ground black pepper to taste - Fresh basil leaves for garnishing - Zest of 1 lemon (optional, for added brightness) Next, preheat your oven to 200°C (400°F). This step is key for a perfect bake. In a medium-sized baking dish, mix the halved cherry tomatoes, minced garlic, olive oil, and dried oregano. Add salt and pepper to taste. Stir well to coat everything evenly. Now, create a space in the center of the mixture. Place the block of feta cheese there. Drizzle some extra olive oil over the feta and season with a pinch more salt and pepper. Place your baking dish in the preheated oven. Bake for about 25-30 minutes. Look for the tomatoes to blister and burst, and the feta should look golden and softened. This is where the magic begins! While the feta and tomatoes are baking, cook your pasta. Follow the package instructions to reach an al dente texture. Once cooked, drain the pasta and set it aside. When the feta and tomatoes are ready, take the dish out of the oven. Use a fork to mash the softened feta into the tomatoes. This will create a creamy and luscious sauce. Now, add the drained pasta to the baking dish. Toss everything together until the pasta is well coated with the sauce. For a bright finish, stir in the lemon zest. Serve your baked feta pasta hot, topped with fresh basil leaves for an aromatic touch. Enjoy this creamy and flavorful delight! For the full recipe, refer back to the ingredients and instructions provided above. To make the sauce creamy, use a good quality feta cheese. Crumble the baked feta into the tomatoes while they are hot. This helps blend the flavors well. Stir gently as you mash. The heat makes the feta melt and mix with the tomatoes. Add a splash of pasta water if needed. This extra water adds creaminess. One common mistake is overcooking the pasta. Always cook it al dente. This keeps the pasta firm and prevents it from getting mushy later. Another mistake is not seasoning enough. Don’t skip the salt and pepper. They bring out the flavors of the feta and tomatoes. Lastly, avoid using low-quality feta. It won't melt as nicely and may affect the taste. Use a large baking dish for even cooking. A fork is perfect for mashing the feta and tomatoes. I like to have a large pot for boiling pasta. A wooden spoon helps mix everything together. A zester is great for adding lemon zest. These simple tools make your cooking process smooth and easy. {{image_4}} Baked feta pasta is a great dish for vegetarians. You can add more veggies to it. Try adding spinach, zucchini, or bell peppers. These add color and nutrients. You can also swap the pasta for whole grain or veggie noodles. This keeps the dish healthy and tasty. If you want more protein, add chicken or shrimp. Cook the chicken until golden and slice it thinly. If you use shrimp, just toss them with the tomatoes and feta. They will cook perfectly in the oven. You can also add cooked chickpeas for a plant-based protein boost. For gluten-free pasta, use rice or corn-based options. These work well and taste great. Make sure to check the labels to confirm they are gluten-free. You can also serve the baked feta and sauce over zucchini noodles. This keeps the dish light and fresh. Feel free to explore these variations and make the dish your own. For the full recipe, check out the Full Recipe section. To keep your baked feta pasta fresh, let it cool first. Then, place it in an airtight container. Seal it well to avoid moisture. Store it in the fridge for up to three days. This way, you can enjoy it later without losing flavor. When you're ready to eat the leftovers, preheat your oven to 180°C (350°F). Transfer the pasta to a baking dish. Add a splash of water or olive oil to keep it moist. Cover it with foil to prevent drying out. Bake for about 15-20 minutes. Stir halfway through for even heating. You can also use a microwave for a quick reheat. Just warm it in 30-second intervals, stirring between each interval. Yes, you can freeze baked feta pasta! To do this, let it cool completely. Place it in a freezer-safe container or a resealable bag. Make sure to remove as much air as possible. It can stay in the freezer for up to three months. When you're ready to enjoy it, thaw it in the fridge overnight. Then, reheat using the oven or microwave as described above. This keeps your dish tasty and ready for a quick meal later. For the full recipe, click here. Baked feta pasta is a simple dish that combines baked feta cheese and cherry tomatoes with pasta. The feta melts into a creamy sauce. The tomatoes burst with flavor as they cook. This dish is easy to make and tastes great. You can serve it hot or warm. Yes, you can use other cheeses if you like. Goat cheese adds a tangy taste. Cream cheese gives a smooth texture. Mozzarella melts well and makes it stretchy. Feel free to mix and match to find your favorite flavor. You can easily adapt this recipe for different diets. For a dairy-free option, try using tofu or a plant-based cheese. If you want a gluten-free version, use gluten-free pasta. Add more veggies like spinach or zucchini for extra nutrients. This dish can fit many diets while staying delicious. Try the Full Recipe and enjoy this creamy and flavorful delight! Baked feta pasta is simple yet delicious. We covered key ingredients and your options for extra flavor. I shared step-by-step instructions and helpful tips for a creamy sauce. You learned about fun variations and how to store leftovers correctly. Embrace your cooking adventure! With this dish, you'll impress both yourself and others. Enjoy your pasta and get creative with it!](https://tossedflavors.com/wp-content/uploads/2025/06/5306bafb-bad0-4865-8a72-73822de3a583.webp)