Sheet-Pan Garlic Butter Steak and Potatoes Delight
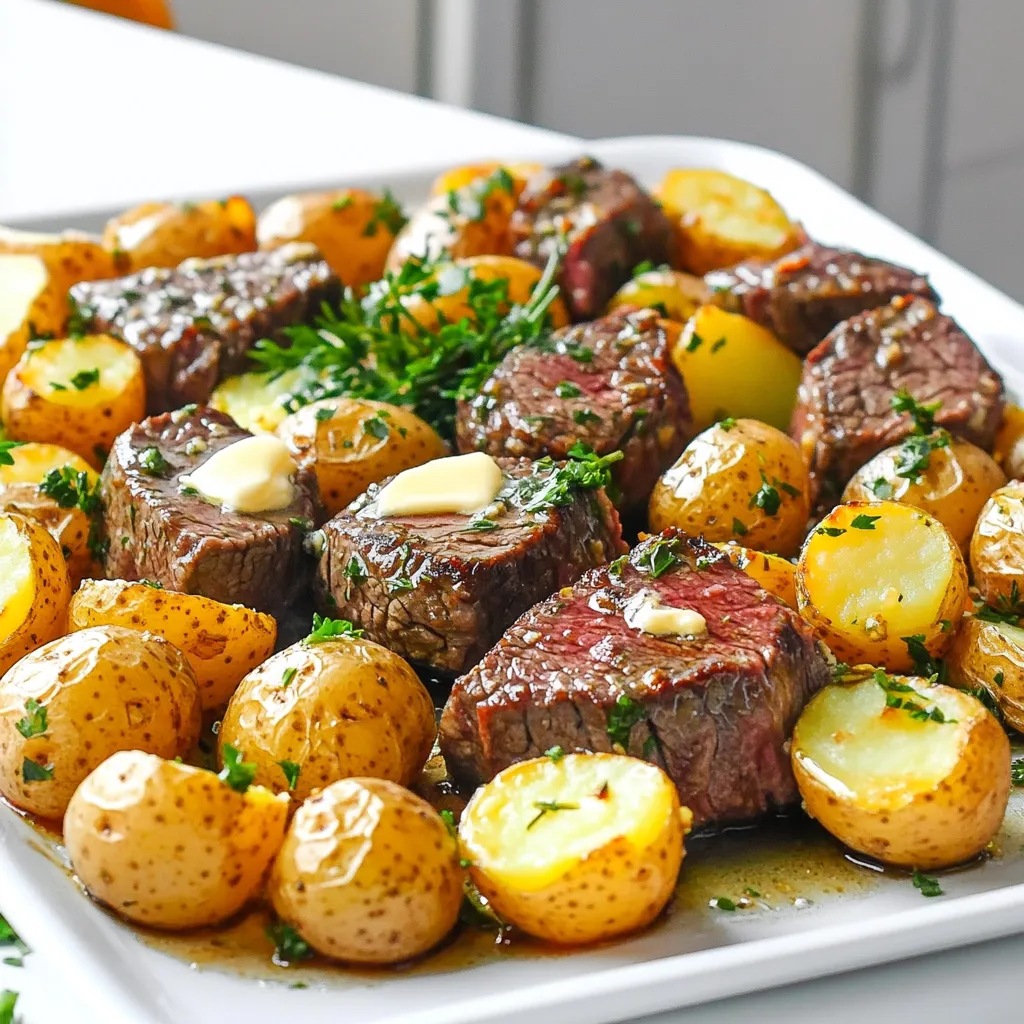
Get ready to savor a dish that’s a breeze to make and packed with flavor! In this blog post, I’ll show you how to create the perfect Sheet-Pan Garlic Butter …
Get ready to savor a dish that’s a breeze to make and packed with flavor! In this blog post, I’ll show you how to create the perfect Sheet-Pan Garlic Butter …
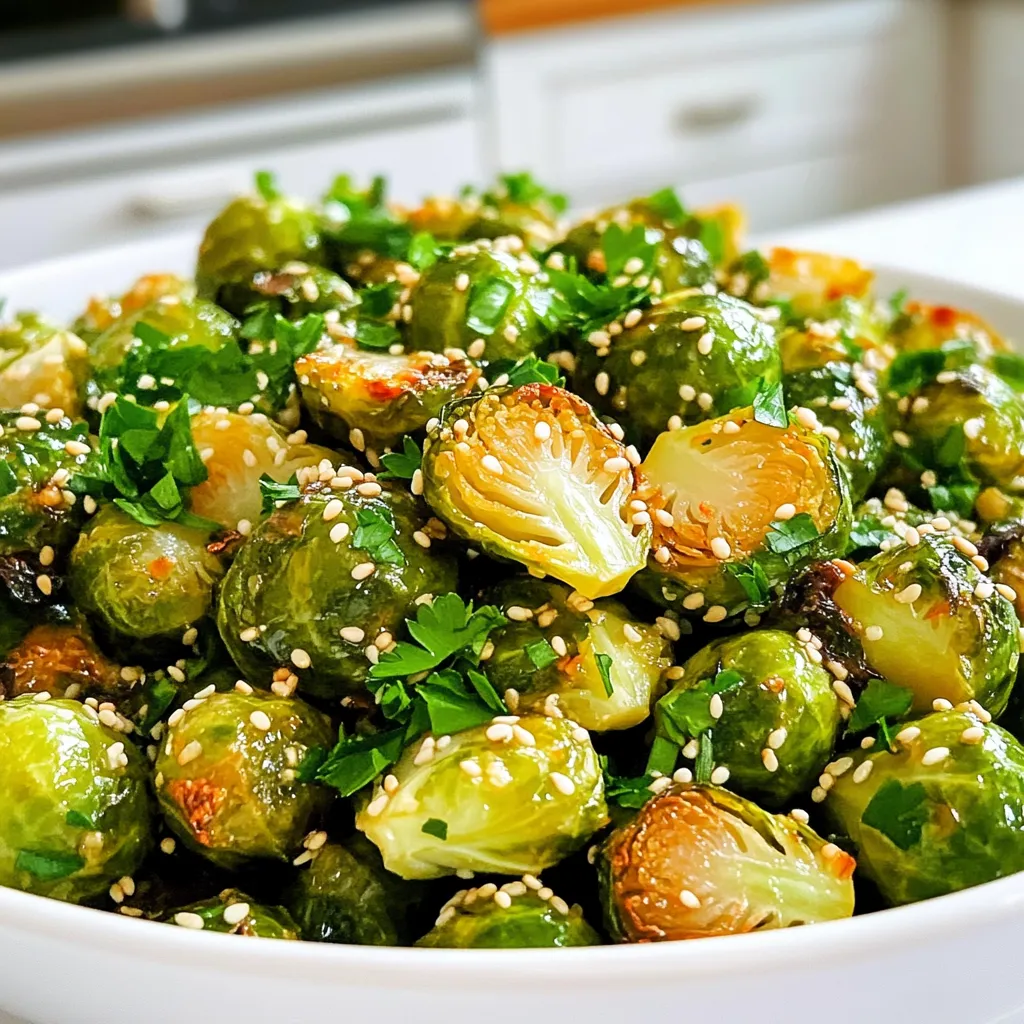
Get ready to elevate your veggie game with my Air Fryer Crispy Honey Garlic Brussels Sprouts. This dish combines sweet and savory flavors to create a perfect side or snack. …
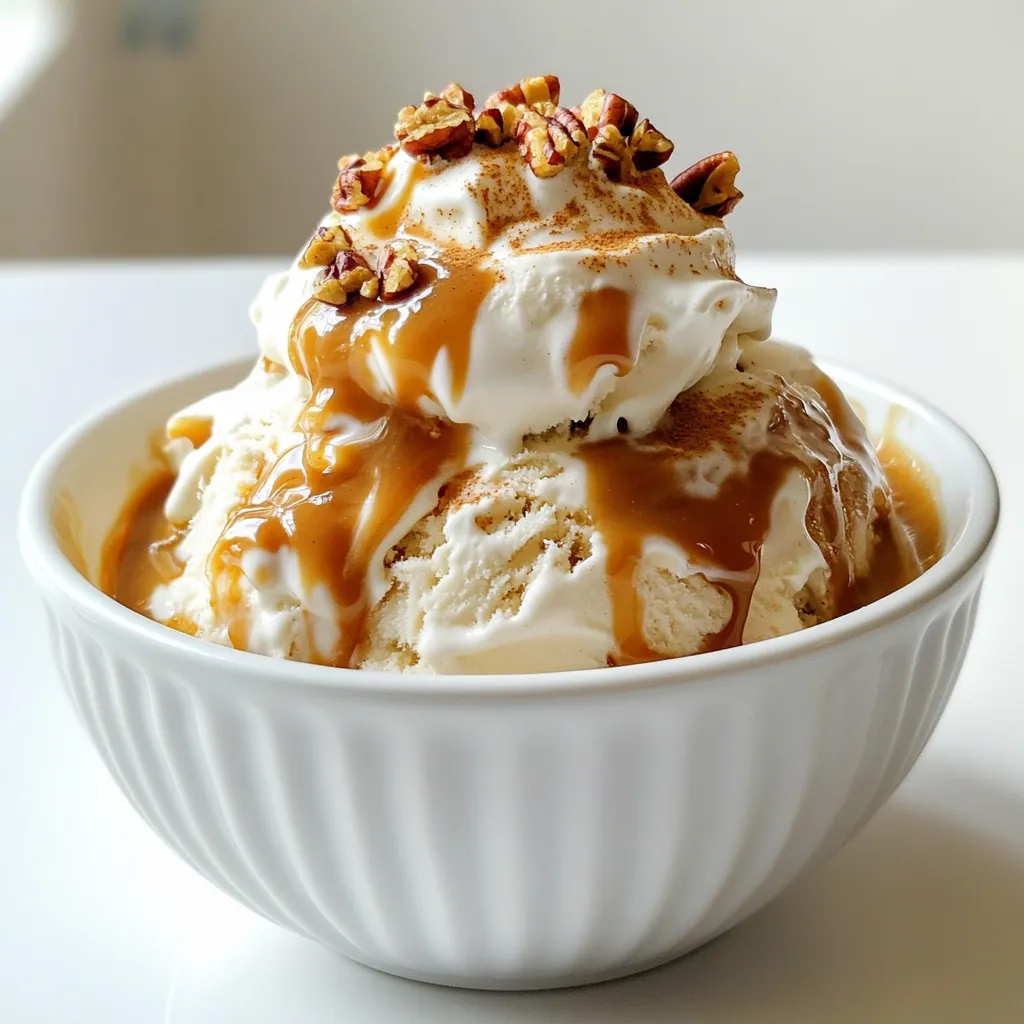
Indulging in a Caramel Pumpkin Spice Affogato is the perfect way to celebrate fall. This delightful dessert combines rich espresso, creamy pumpkin spice ice cream, and a drizzle of caramel …
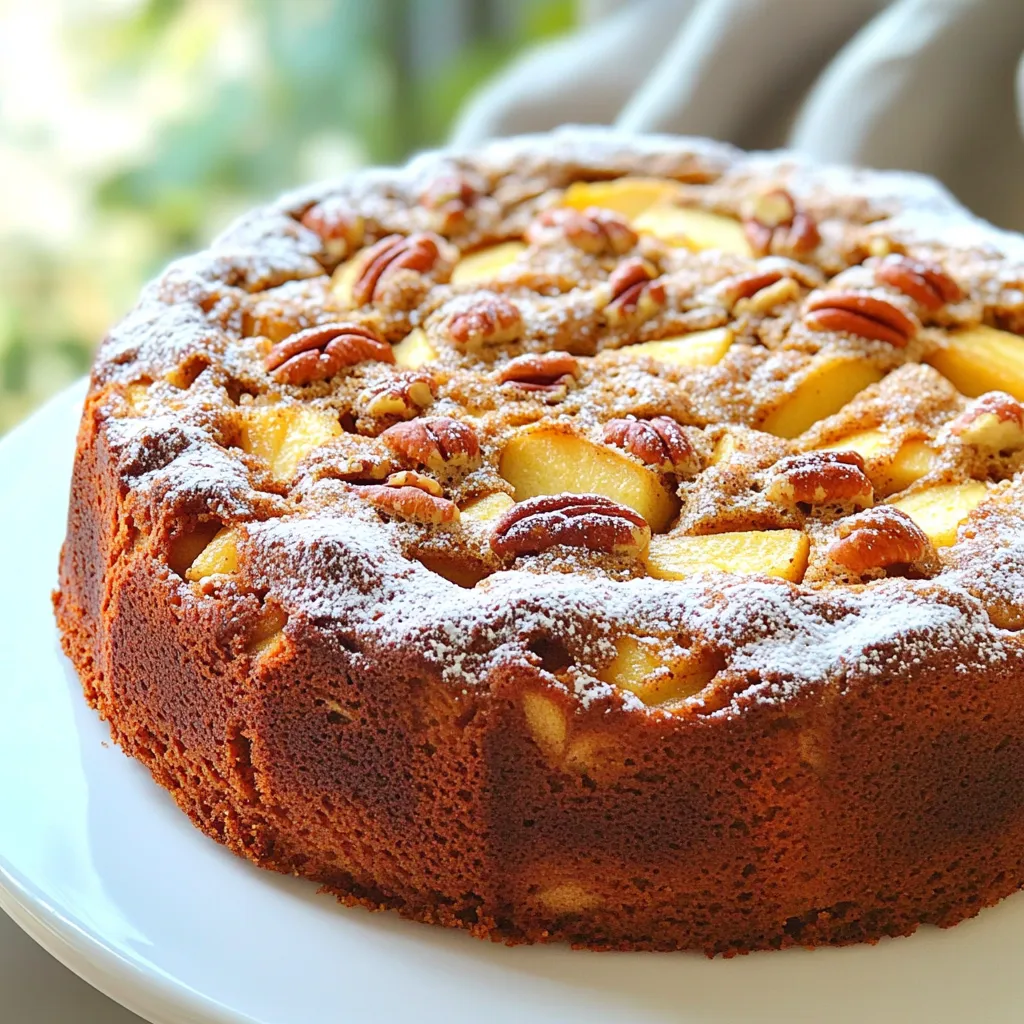
If you’re ready to treat yourself to something sweet, this Brown Butter Apple Pecan Pound Cake is a must-try! This recipe combines rich, nutty brown butter with crisp apples and …

Get ready to indulge in the rich, gooey goodness of Bakery-Style Chocolate Pumpkin Swirl Brownies! These decadent treats combine chocolate and pumpkin for a delightful flavor that brings warmth to …

Looking for a quick and tasty meal? Spicy Sesame Noodle Bowls are your answer. In just a few easy steps, you can enjoy bold flavors and a satisfying crunch. Whether …

Are you ready to taste fall in a bite? These Pumpkin Cheesecake Mini Cupcakes are the perfect balance of creamy and spiced goodness. With simple ingredients like graham crackers and …
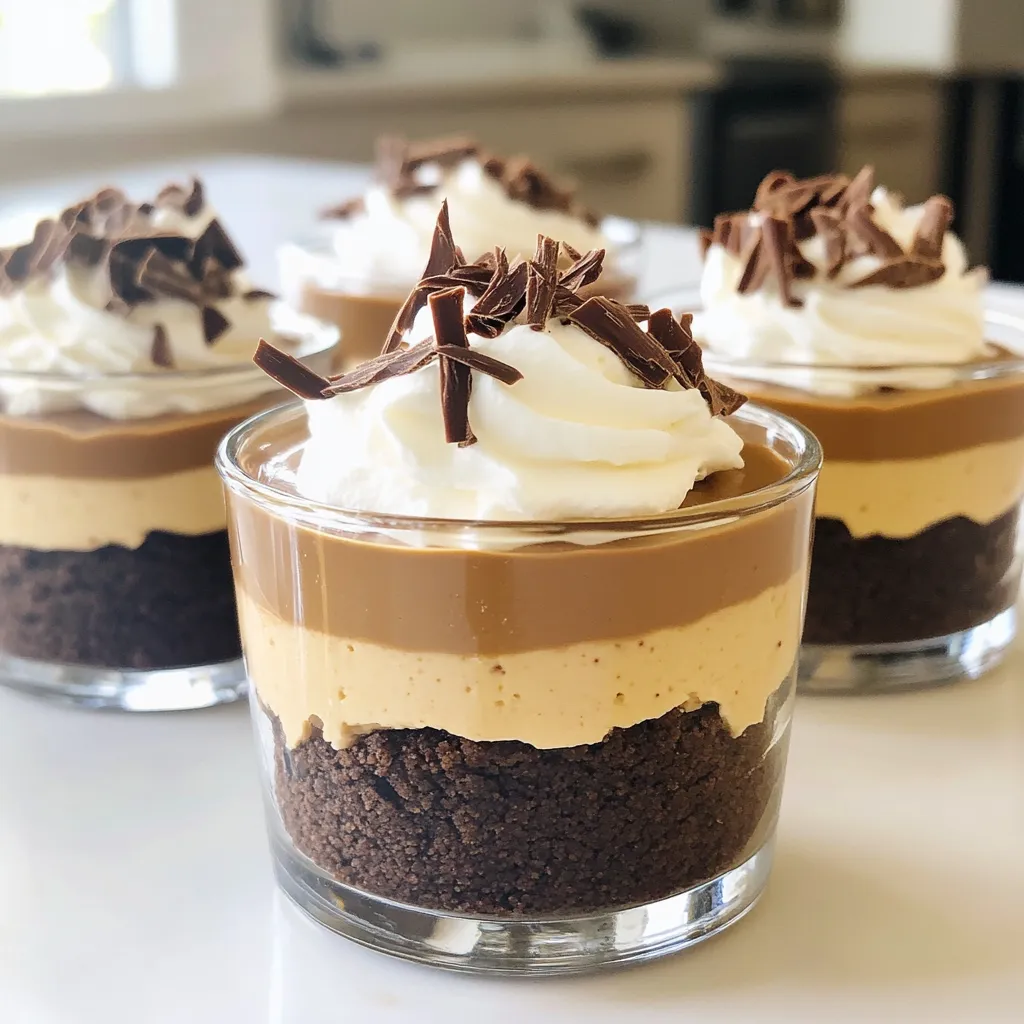
Treat yourself to a sweet delight with these Chocolate Peanut Butter Cheesecake Cups! These no-bake desserts are easy to make and packed with flavor. You’ll love the smooth cream cheese …
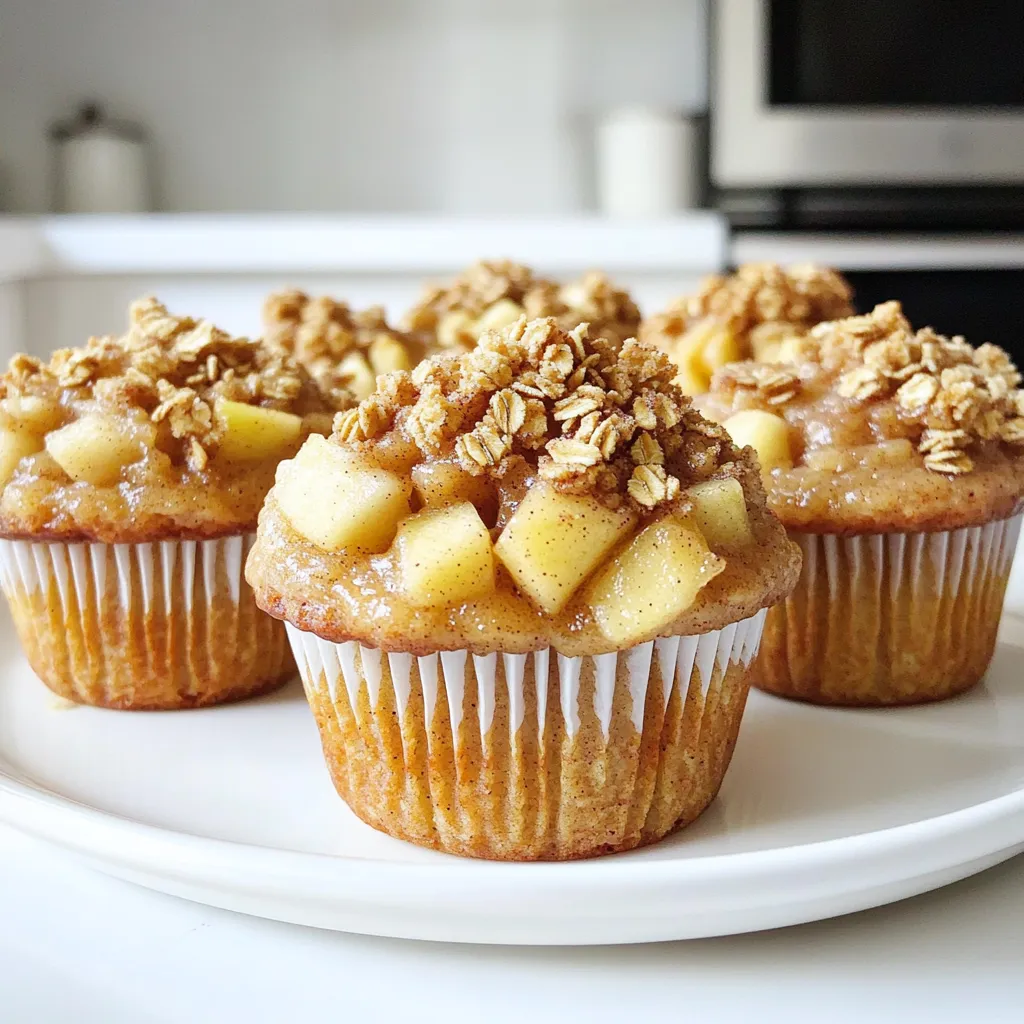
Are you ready to enjoy some warm, sweet goodness? These Apple Crisp Muffins Bakery Style are the perfect treat for any occasion. With a crunchy topping and soft, apple-filled interior, …
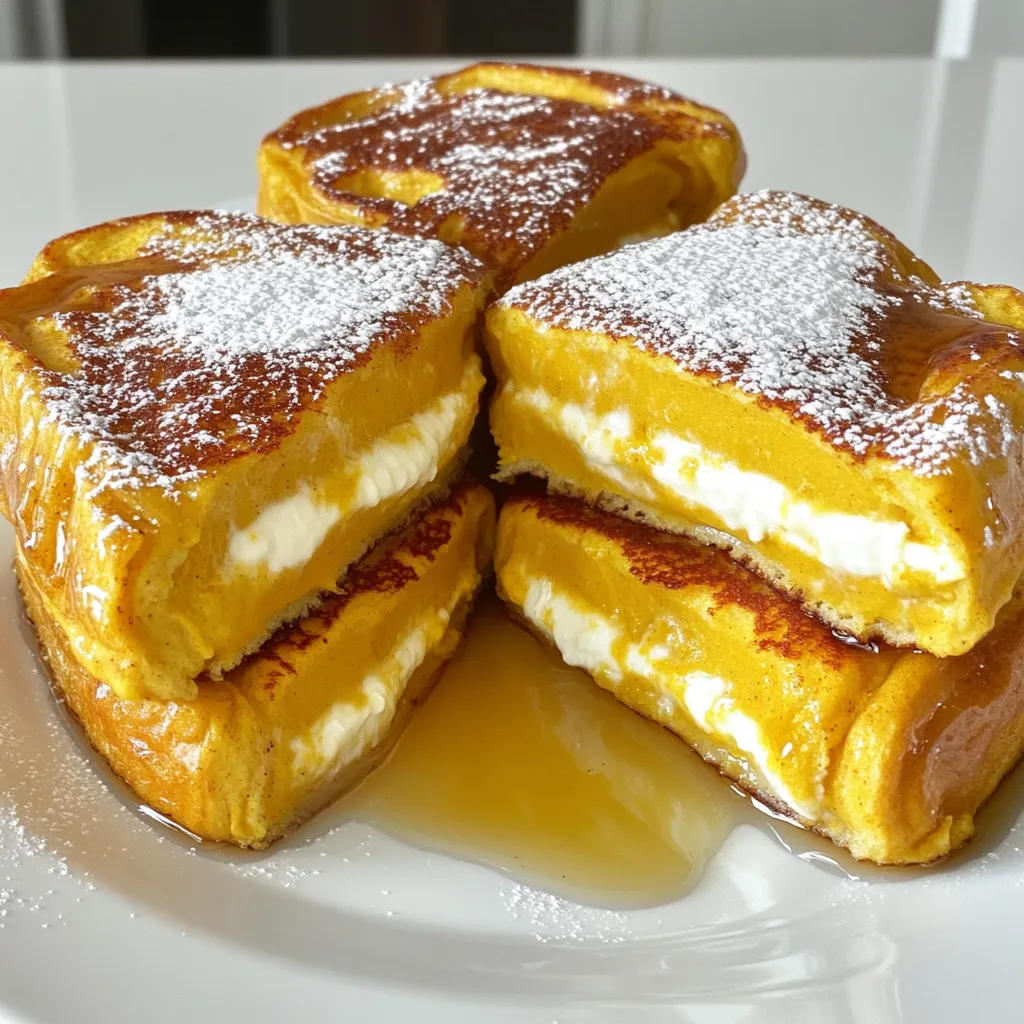
Get ready for a delightful breakfast treat! My Pumpkin Cream Cheese Stuffed French Toast combines rich flavors and creamy filling, making any morning special. With simple ingredients and easy steps, …