Brown Butter Pumpkin Blondies Irresistible Treat
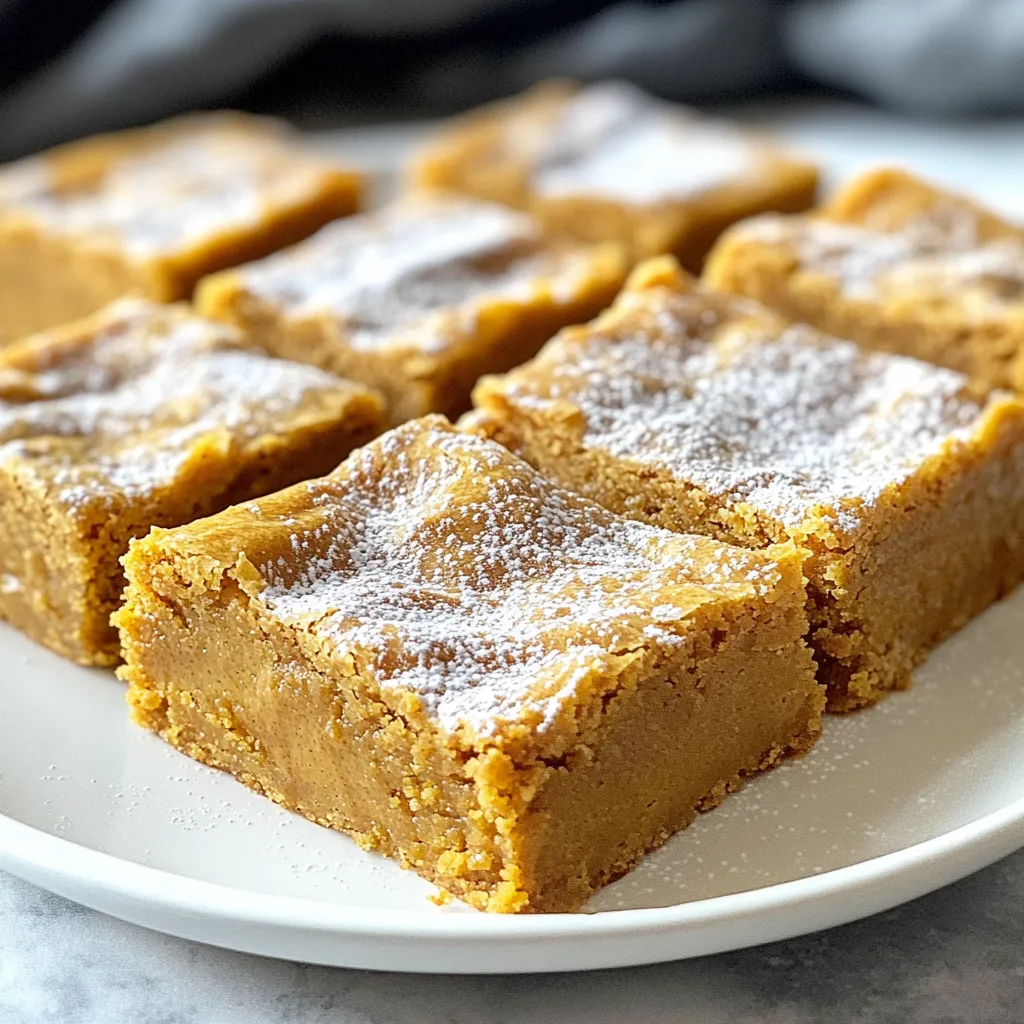
Are you ready to dive into a sweet fall treat? Brown Butter Pumpkin Blondies are the perfect mix of rich flavor and cozy warmth. With nutty brown butter and pumpkin …
Are you ready to dive into a sweet fall treat? Brown Butter Pumpkin Blondies are the perfect mix of rich flavor and cozy warmth. With nutty brown butter and pumpkin …

Looking for a delicious twist on your weeknight dinner? Try my Teriyaki Turkey Meatballs! They are juicy, flavorful, and easy to make. You’ll impress your family with tender meatballs coated …
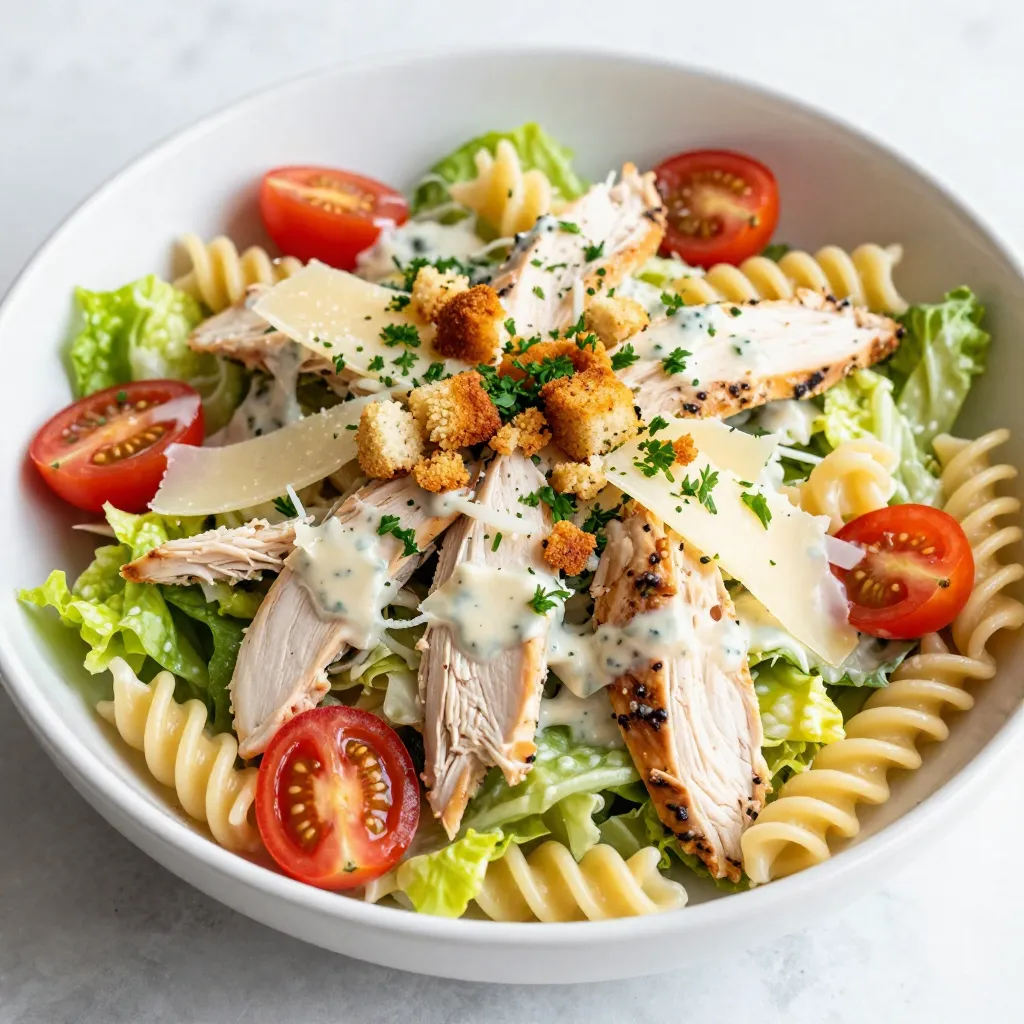
Looking for a quick, delicious meal that packs flavor? You’ve come to the right place! My Chicken Caesar Pasta Salad is perfect for busy days or casual gatherings. It’s easy …

Are you ready to spice up your dinner routine? Honey Lime Chicken Fajitas bring bright flavors and fresh ingredients to your table. This meal is zesty, satisfying, and easy to …
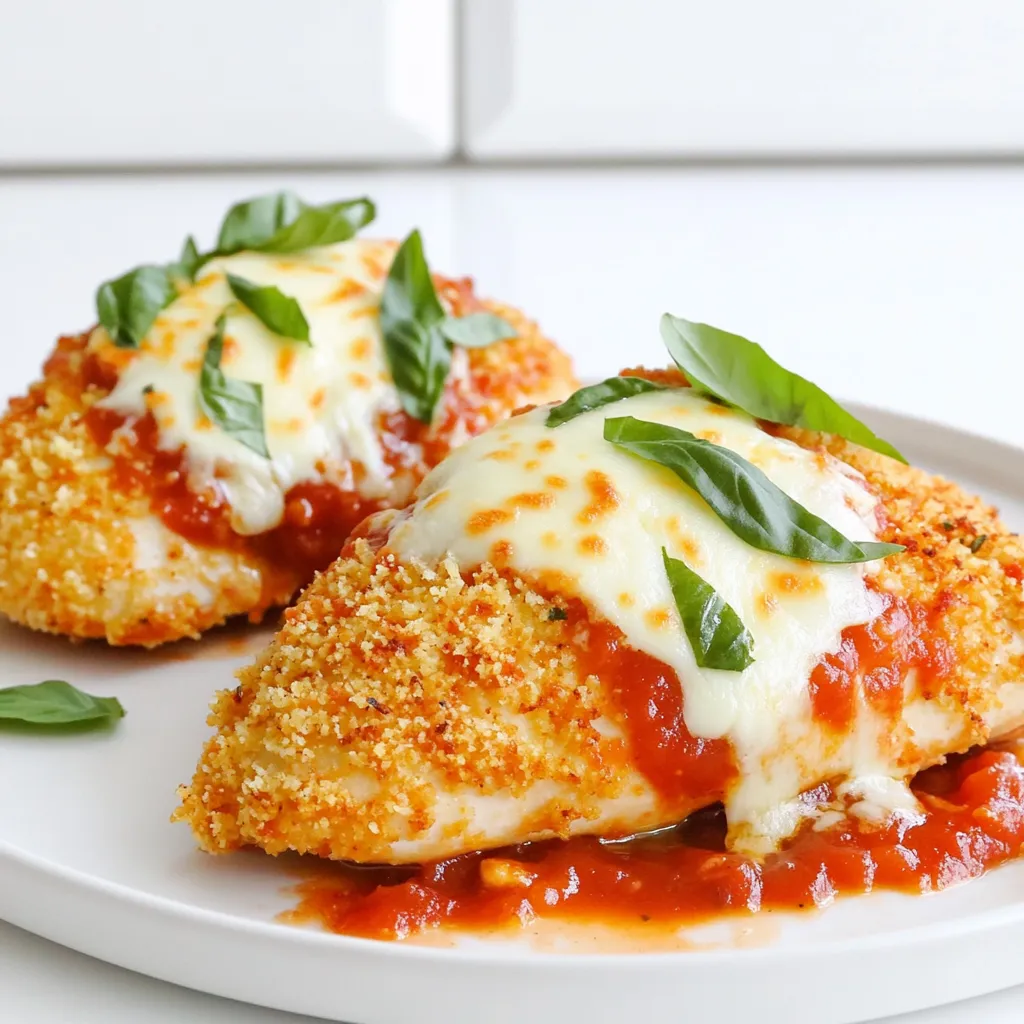
Are you ready to take your Chicken Parmesan to the next level? This Chicken Parmesan Air Fryer Crispy Delight Recipe offers that perfect crunch with less guilt! I’ll walk you …
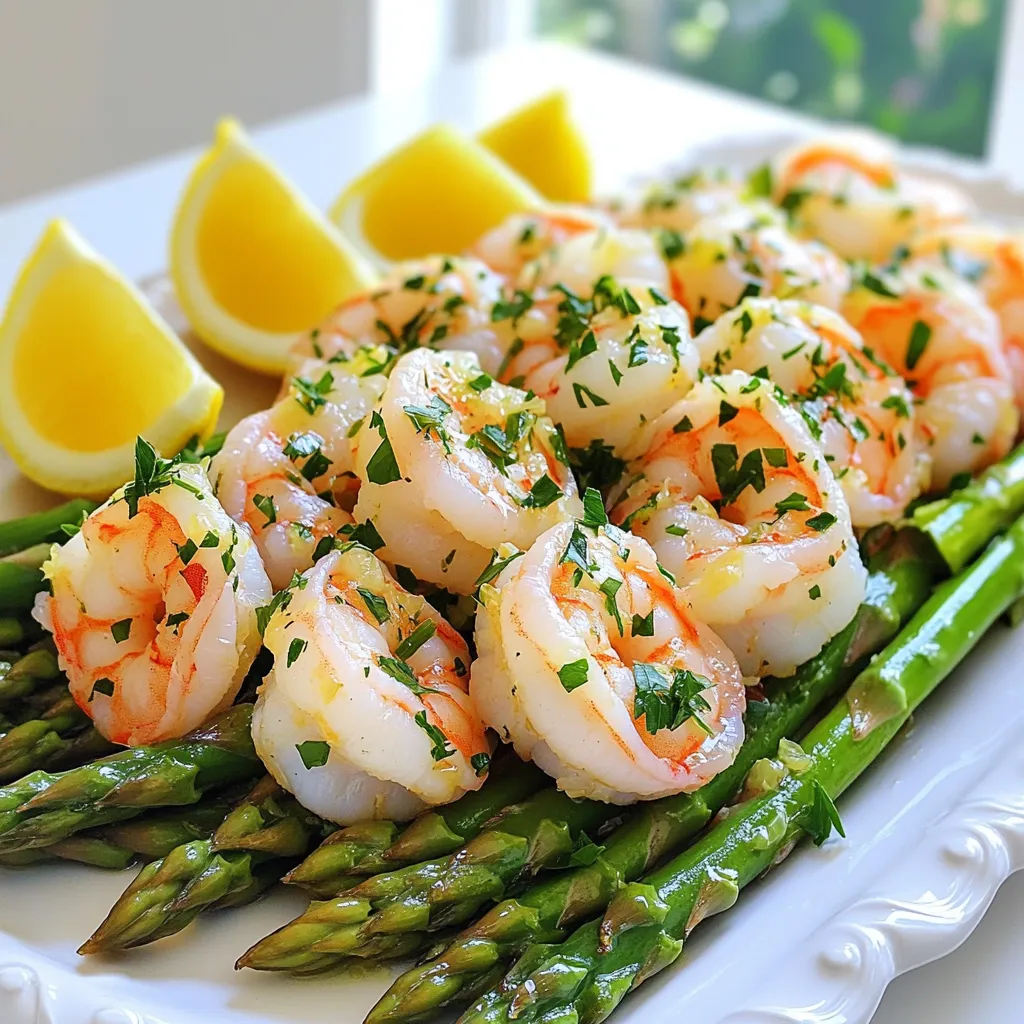
Are you looking for a quick and tasty meal? This Lemon Garlic Shrimp & Asparagus Sheet Pan Delight is just what you need! With simple ingredients and easy steps, you …
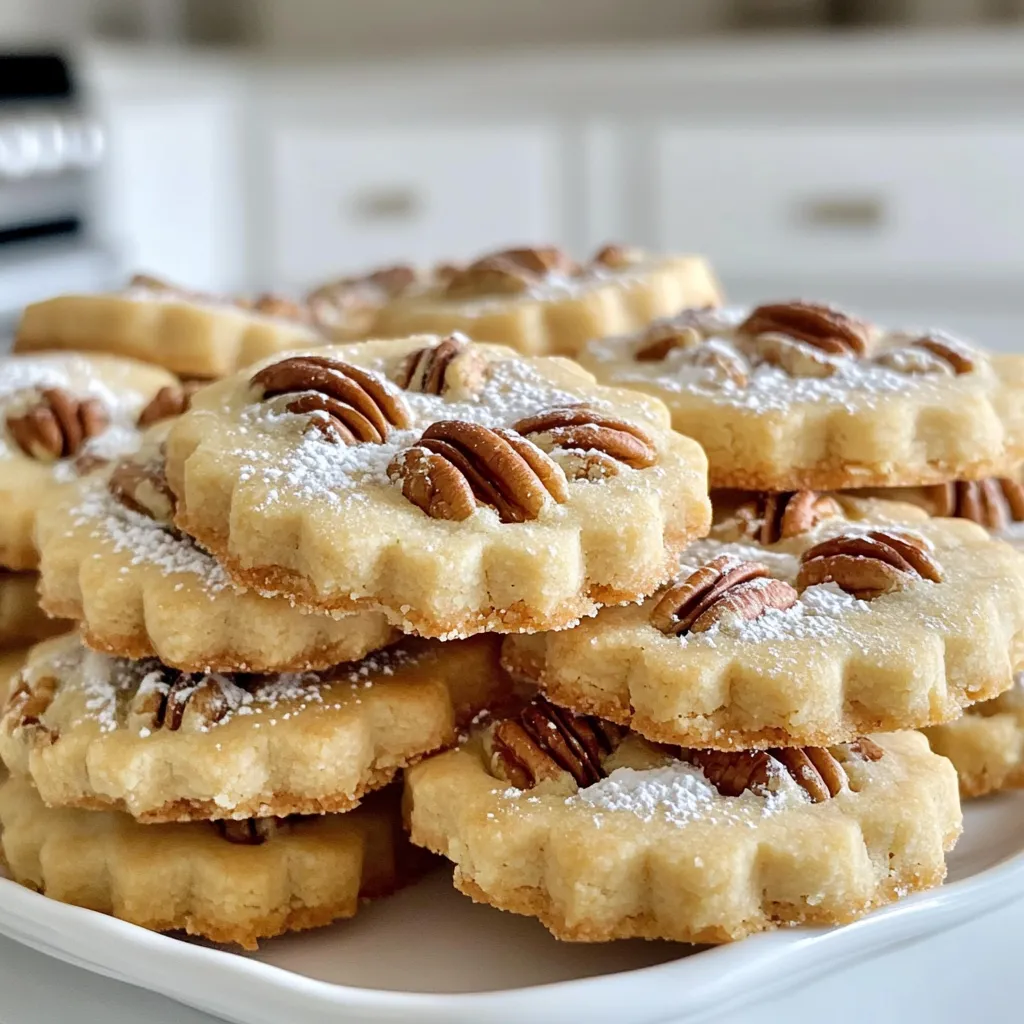
Craving a treat that’s both crispy and soft? Maple Pecan Shortbread has you covered! This delicious cookie blends sweet maple syrup with crunchy pecans for a flavor explosion. In this …
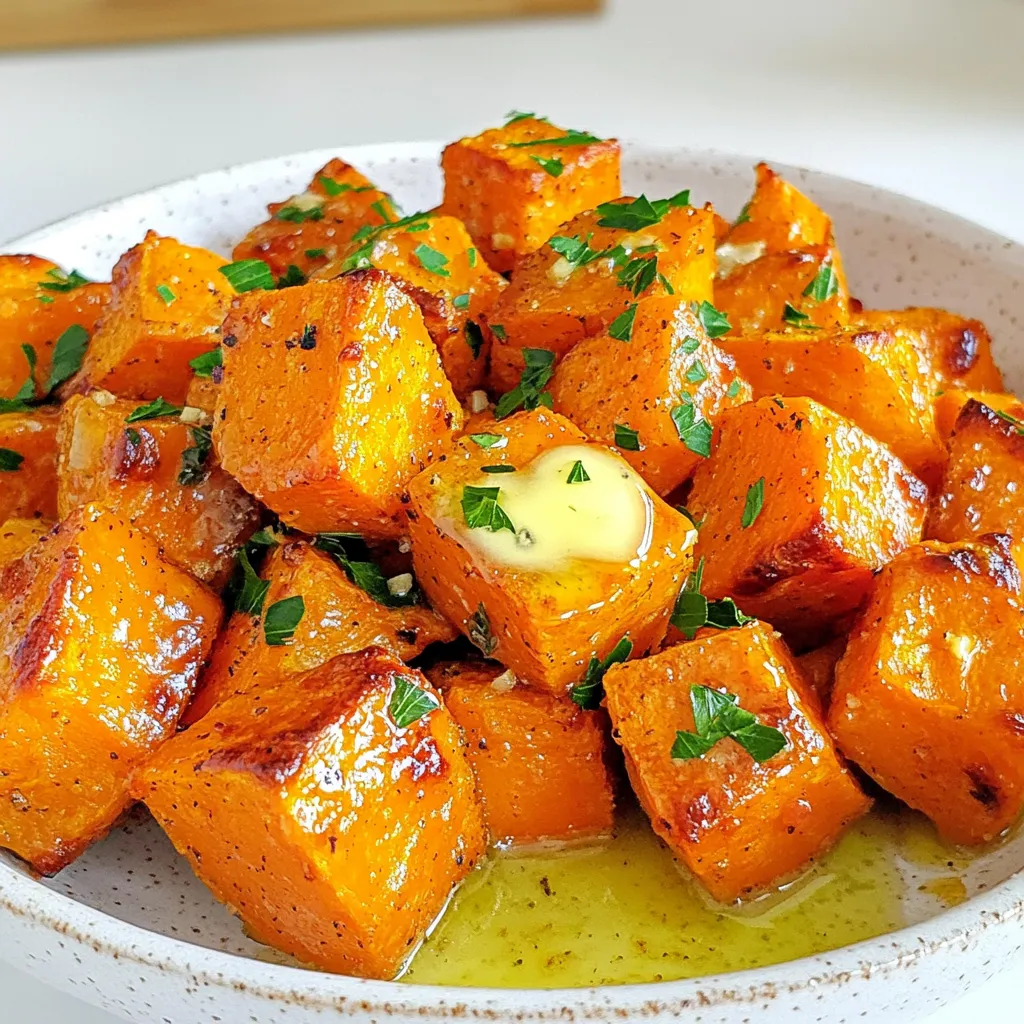
If you’re craving a sweet and savory dish, these Garlic Butter Roasted Sweet Potatoes are for you. With just a few simple ingredients, you can create a flavorful delight that’s …
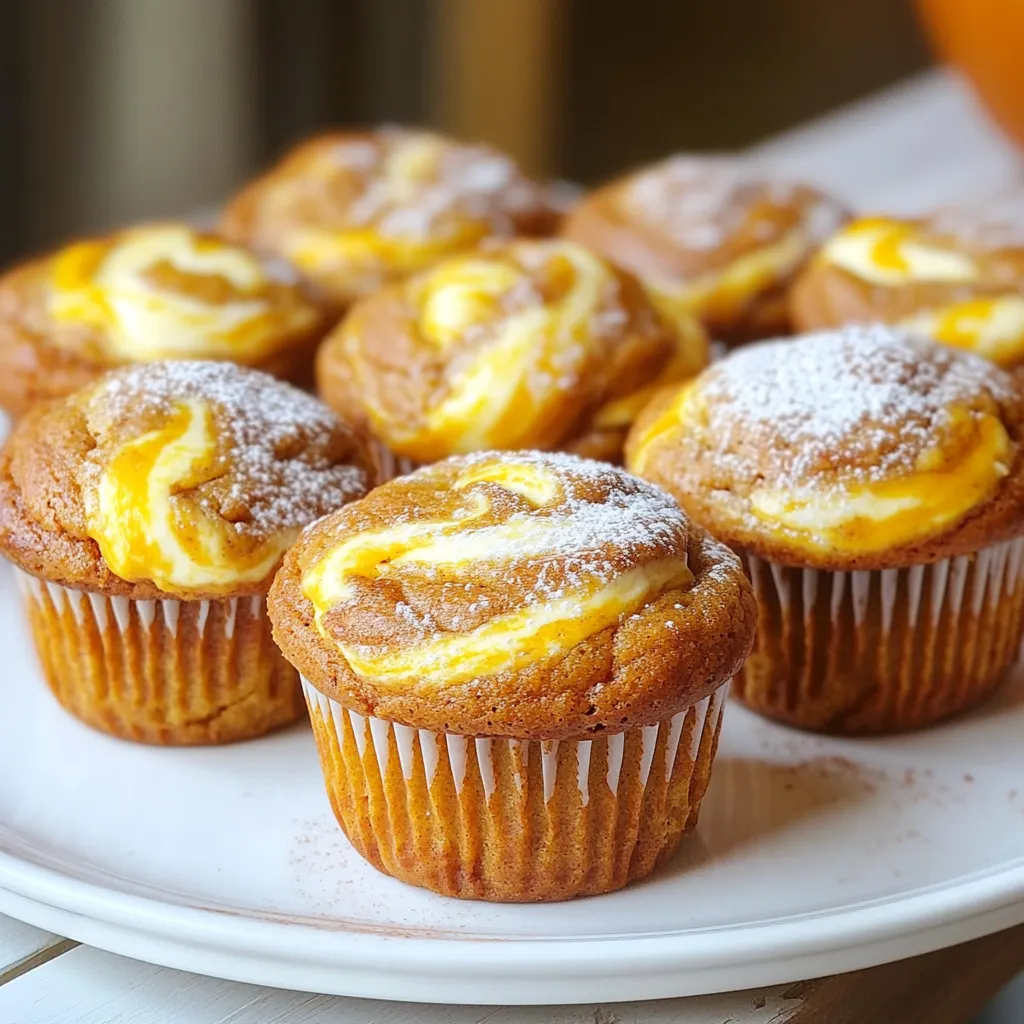
Are you ready to elevate your baking with a delicious twist? These Pumpkin Cheesecake Swirl Muffins are the perfect blend of pumpkin spice and creamy cheesecake. They’re easy to make …
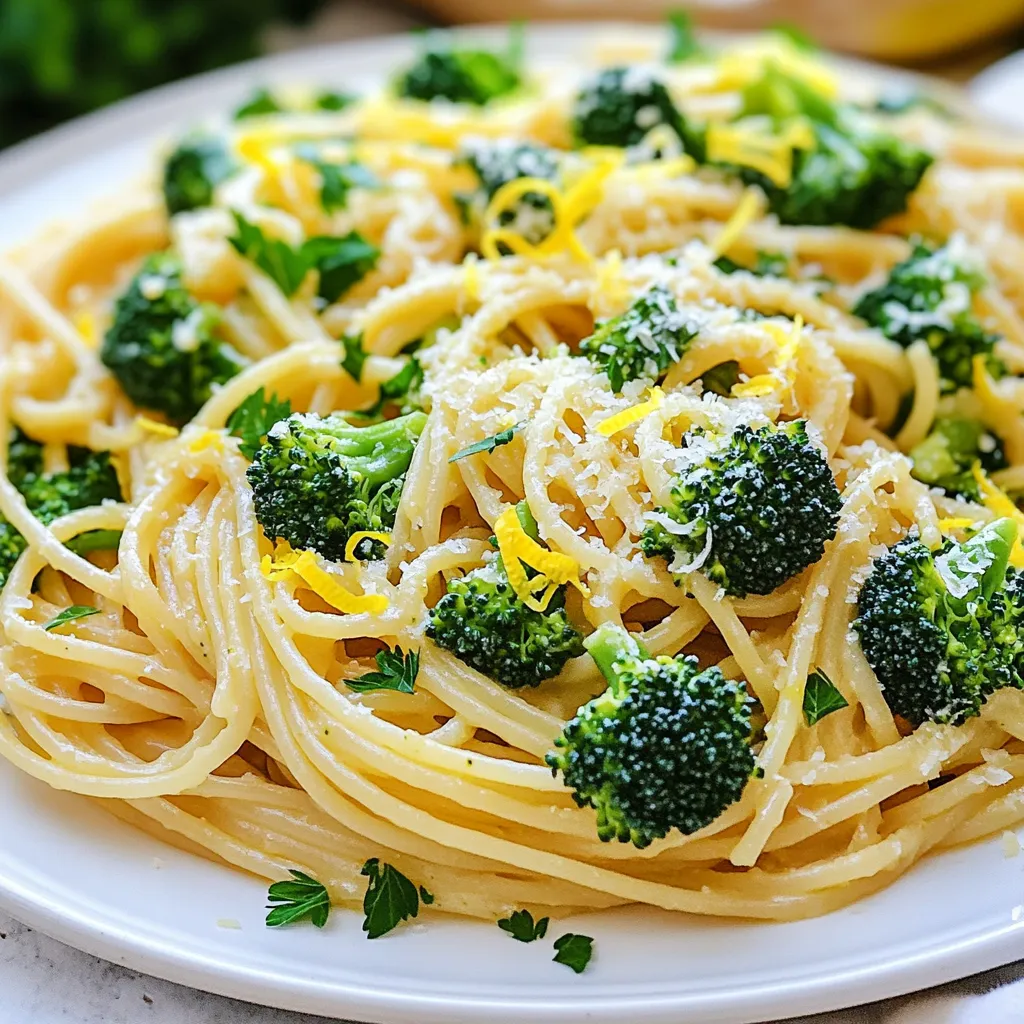
Are you ready to enjoy a delicious and easy meal? Lemon Garlic Broccoli Pasta is the perfect choice! This dish combines the fresh flavors of lemon, garlic, and vibrant broccoli …