Pesto Chicken Zucchini Boats Flavorful and Easy Recipe
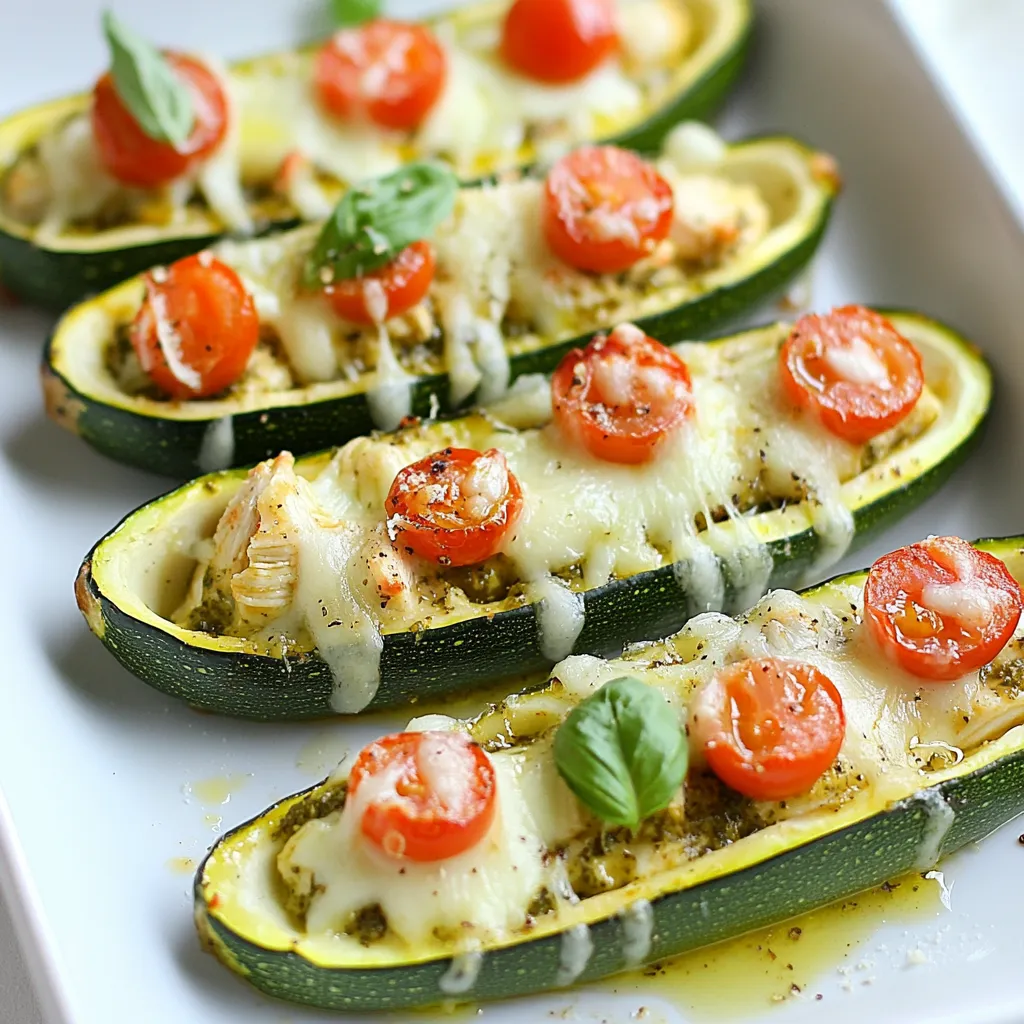
Looking for a fun, tasty meal that’s also healthy? You’ll love these Pesto Chicken Zucchini Boats! They blend fresh flavors and easy prep so you can enjoy cooking without the …
Looking for a fun, tasty meal that’s also healthy? You’ll love these Pesto Chicken Zucchini Boats! They blend fresh flavors and easy prep so you can enjoy cooking without the …
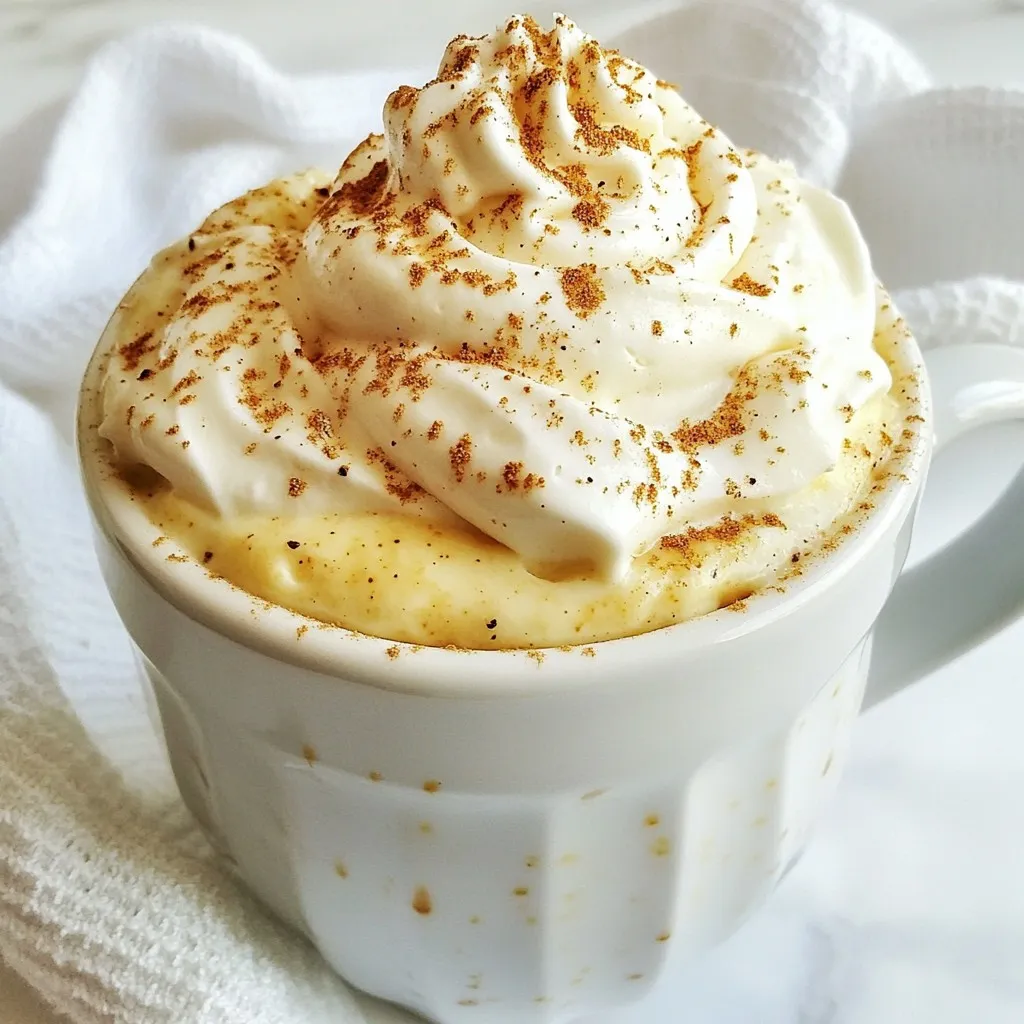
Looking for a quick and easy holiday treat? This Eggnog Mug Cake is your answer! In just minutes, you can whip up a warm, festive cake that captures the flavors …
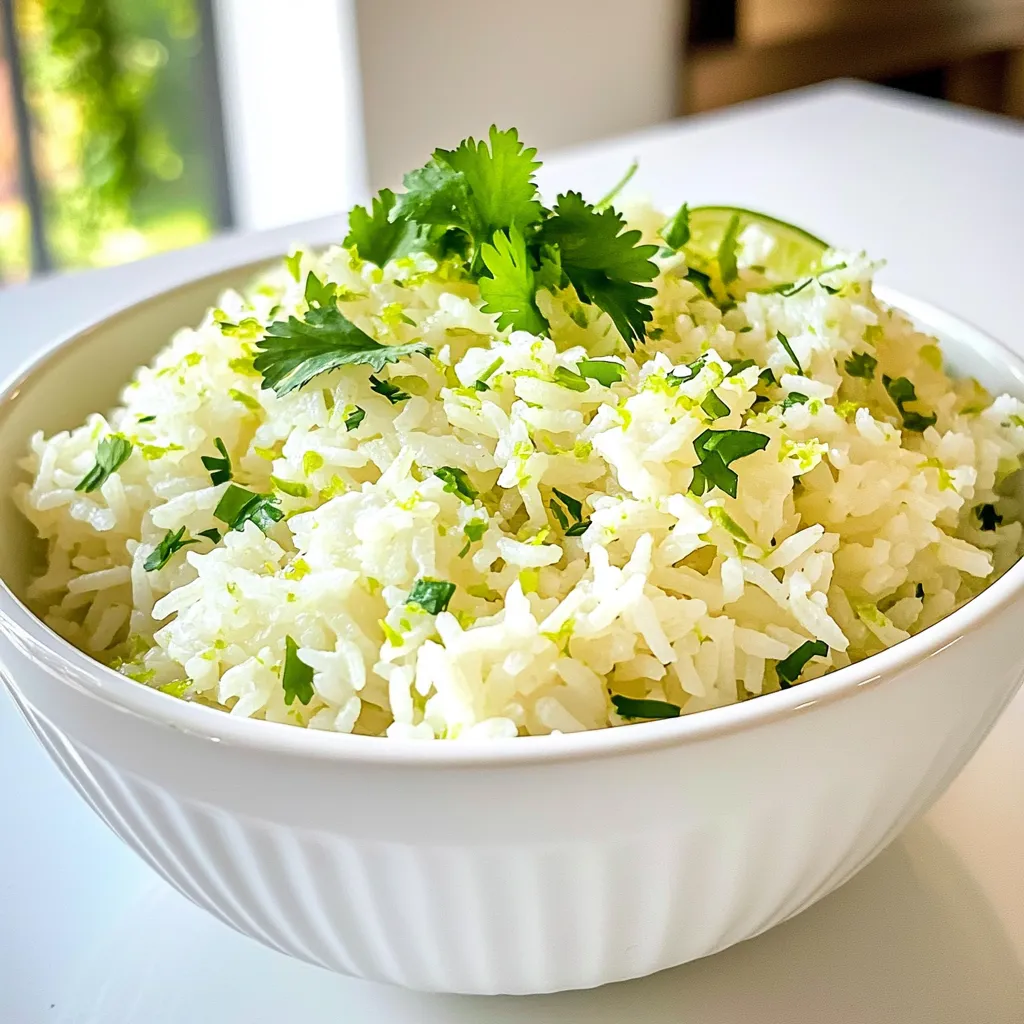
If you’re looking for a simple yet vibrant side dish, look no further than Coconut Lime Rice. This easy recipe combines creamy coconut milk and zesty lime for a flavor …
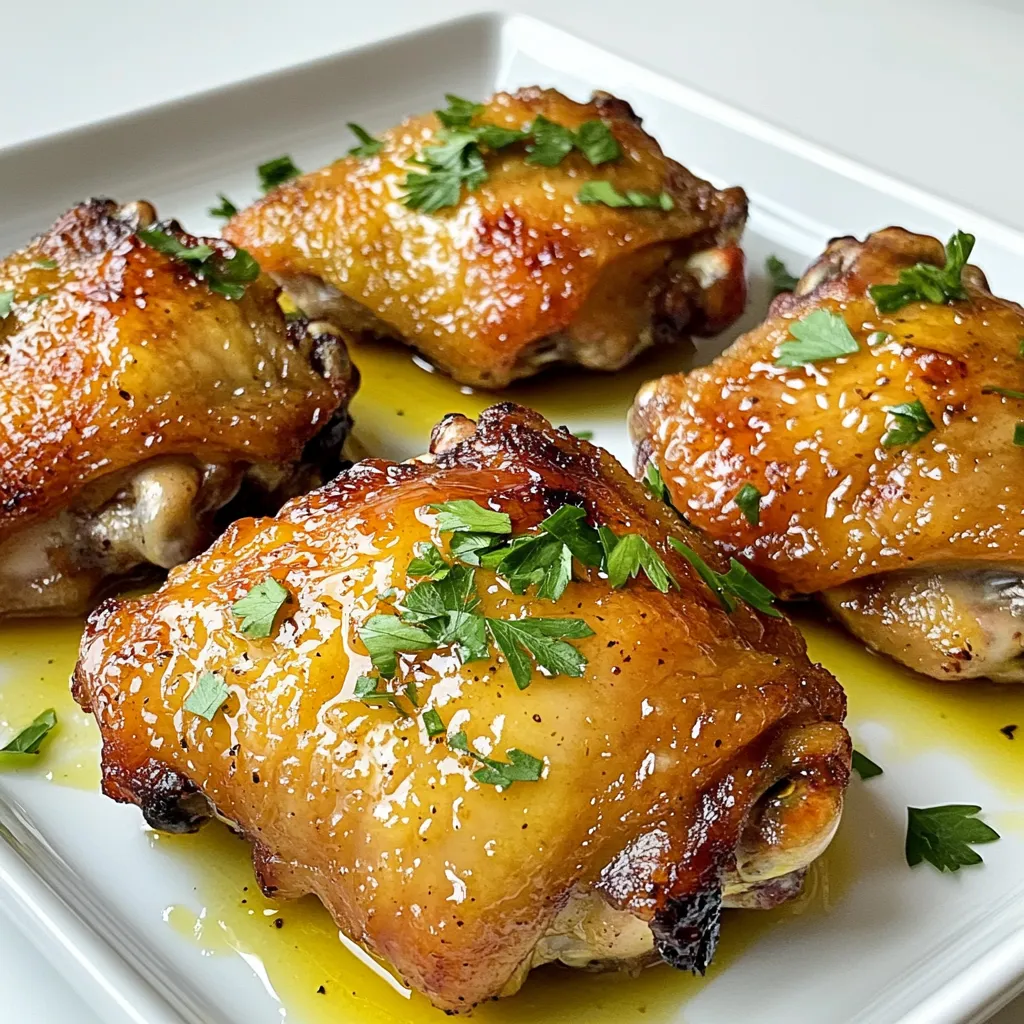
Looking for a dish that bursts with flavor and is easy to make? Honey Mustard Chicken Thighs offer juicy meat paired with a sweet and tangy glaze. In this post, …
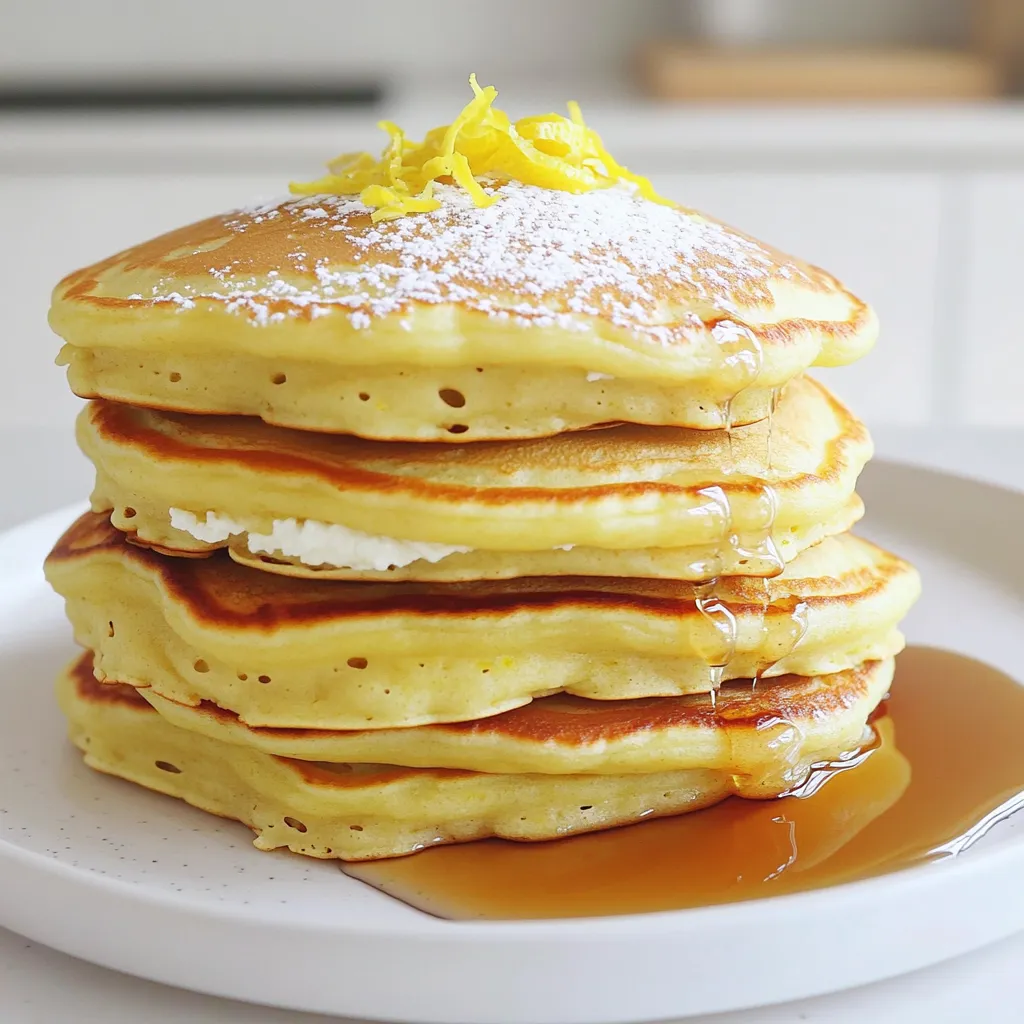
Looking for a breakfast that bursts with flavor? These Lemon Ricotta Pancakes are your answer! They’re fluffy, tangy, and a delightful way to kickstart your day. With just a few …
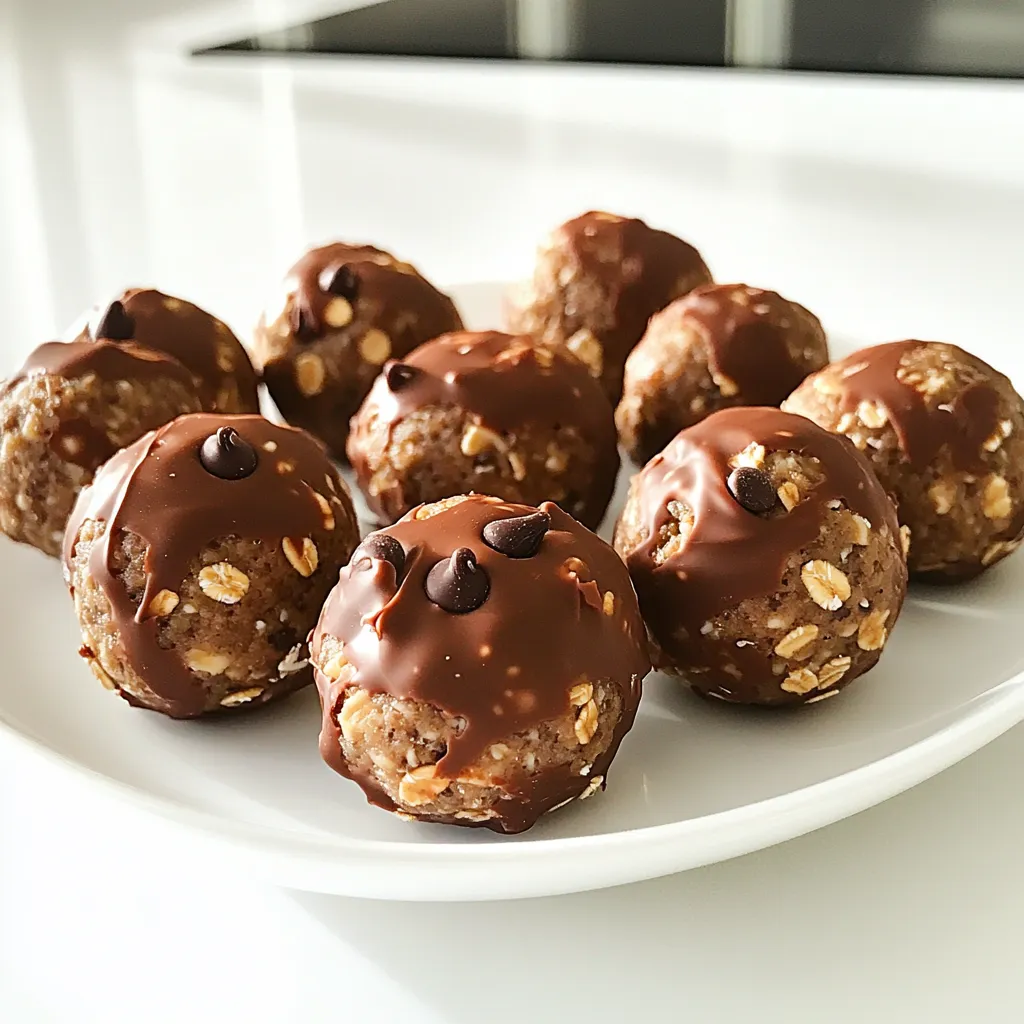
Looking for a tasty and easy snack? I’ve got you covered with my Chocolate Peanut Butter Protein Balls! This simple recipe packs a punch of flavor and nutrition, making it …
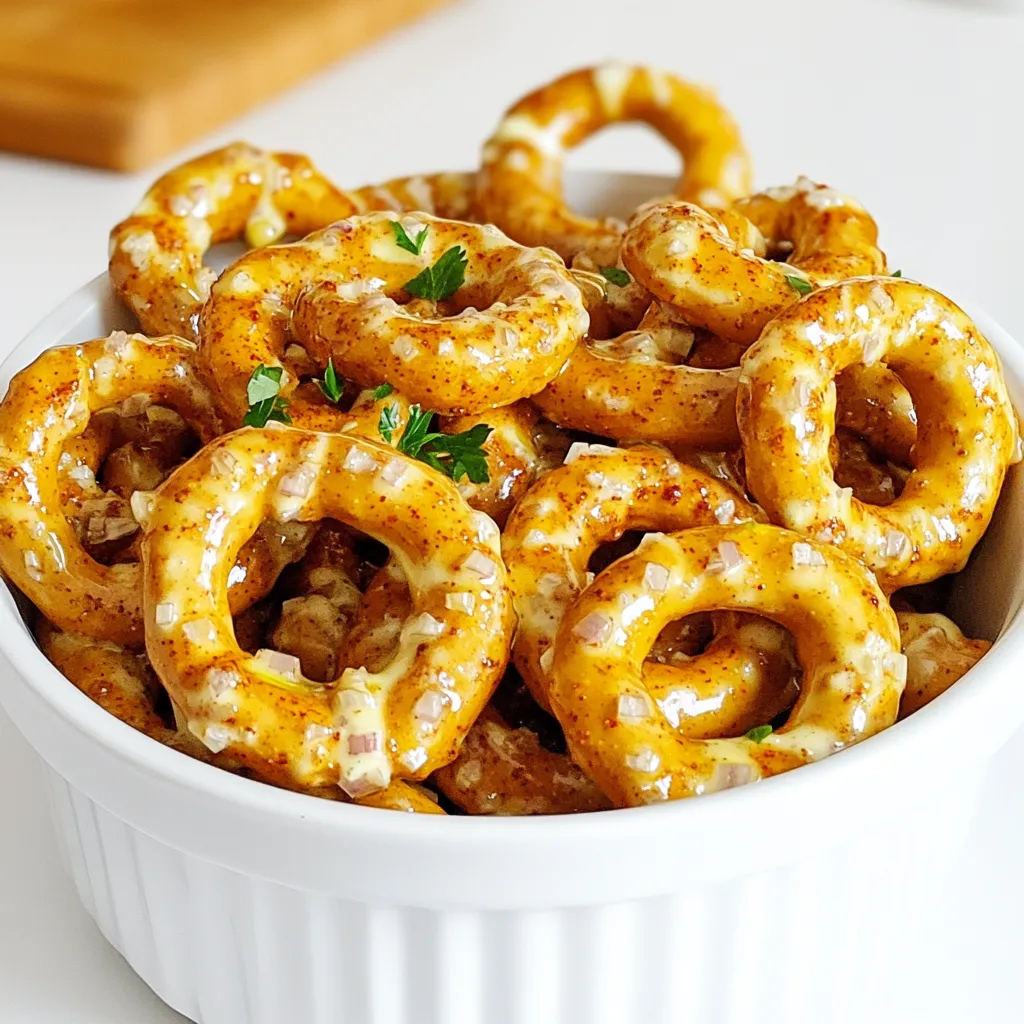
Looking for a snack that packs a punch? Try my Spicy Ranch Pretzels! These savory bites are easy to make and full of flavor. With just a few simple ingredients, …
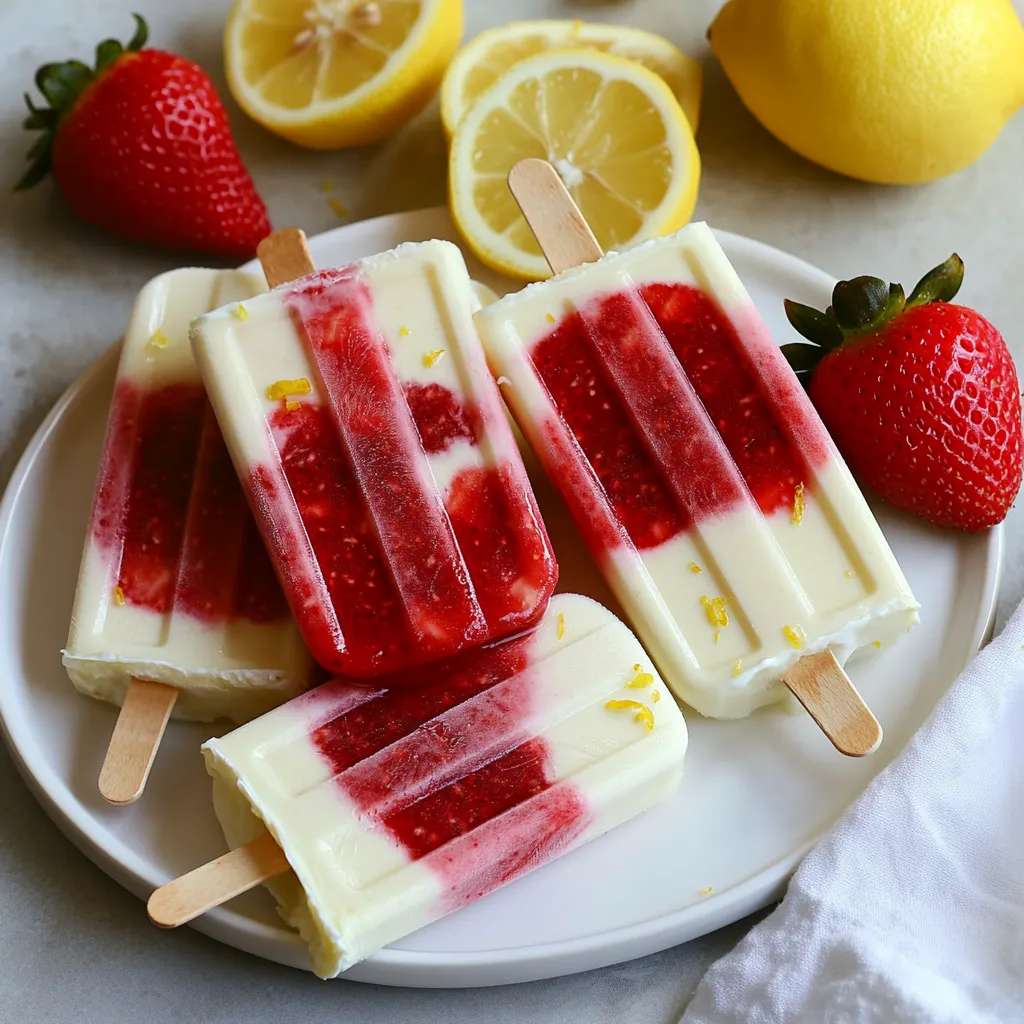
Looking for a cool treat that packs flavor and health? You’re in the right place! These Strawberry Lemon Yogurt Popsicles are refreshing, easy to make, and perfect for hot days. …
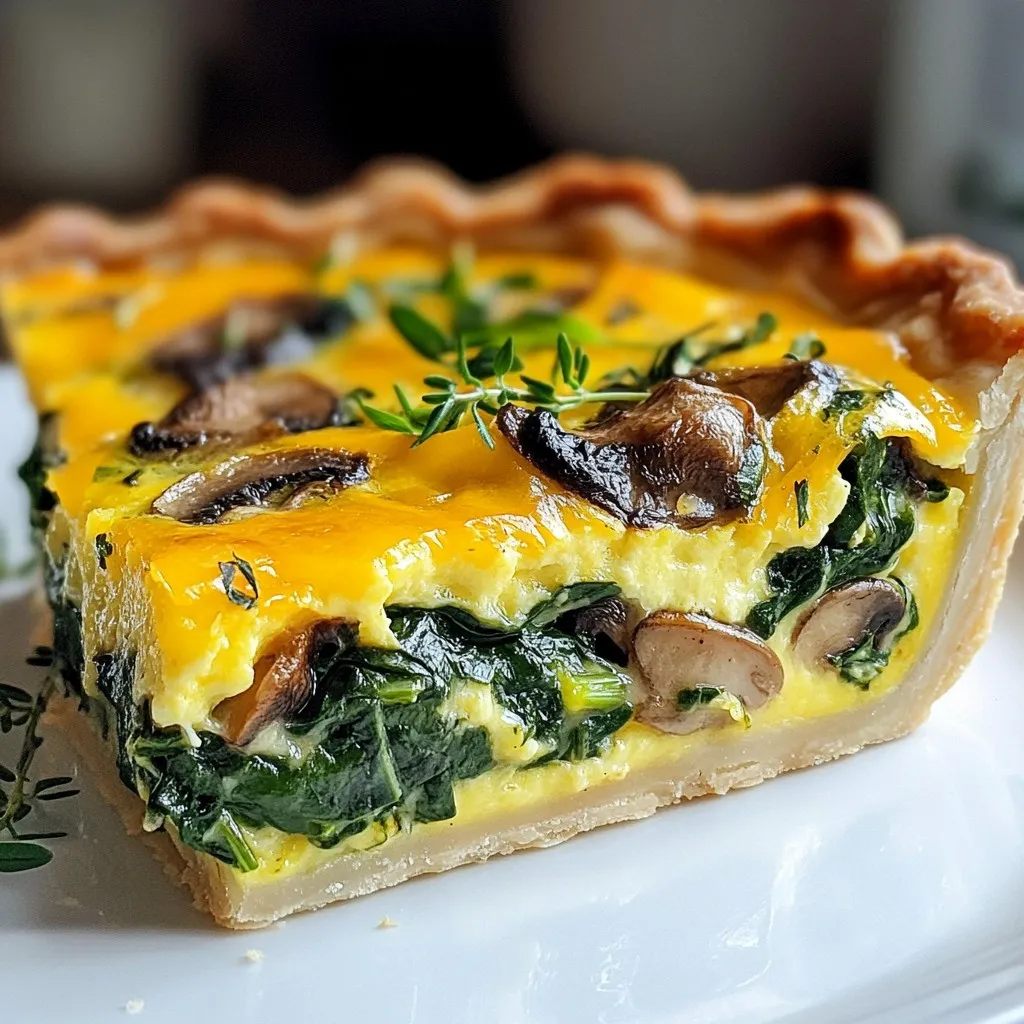
Looking for a simple and tasty dish? This Spinach Mushroom Quiche is perfect for you! Packed with fresh spinach, savory mushrooms, and creamy cheese, it’s easy to make and great …

Are you ready to whip up a tasty, quick meal? My Minute Teriyaki Shrimp Fried Rice is a flavorful delight that you can make in no time. With simple ingredients …