Best Homemade Salsa Ever Flavorful and Fresh Recipe
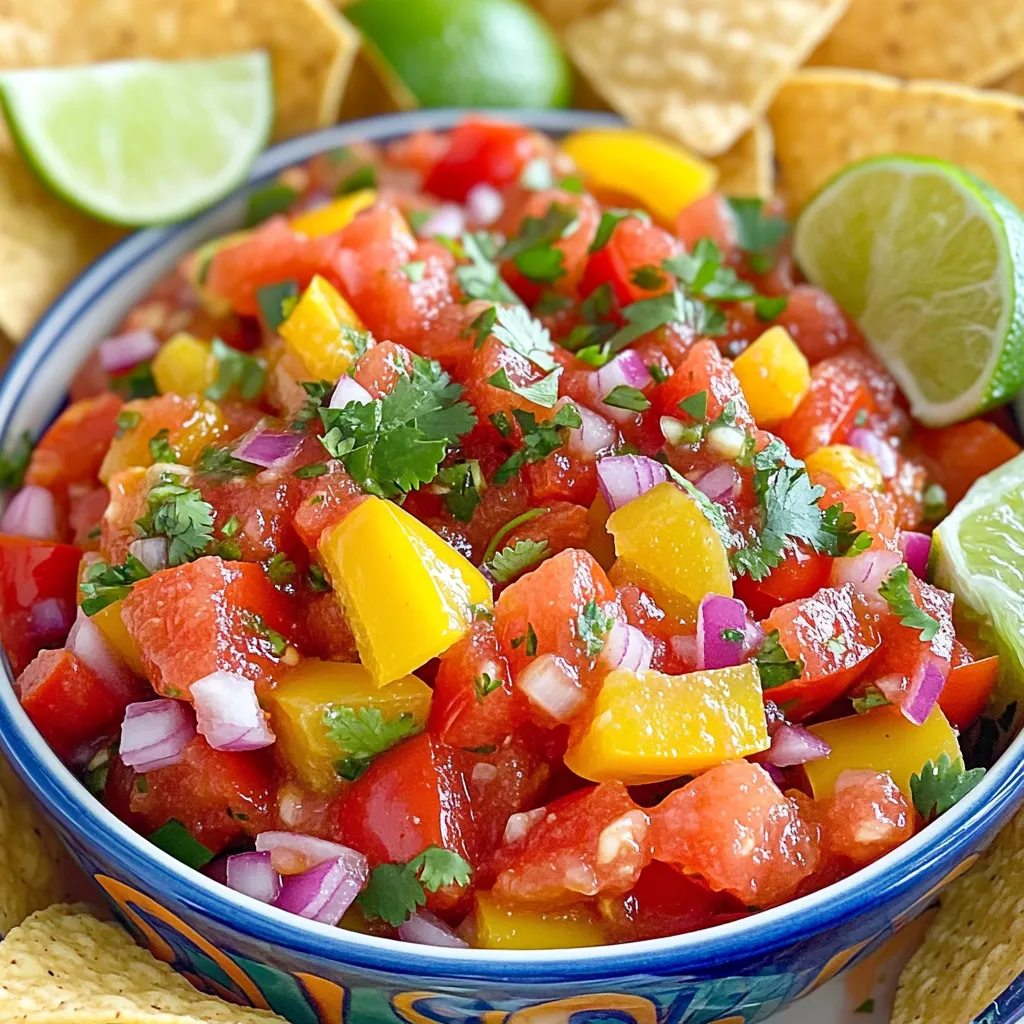
If you’re craving bold flavors and fresh ingredients, you’ve stumbled upon the right recipe. The “Best Homemade Salsa Ever” combines ripe tomatoes, zesty jalapeños, and fragrant cilantro for a taste …
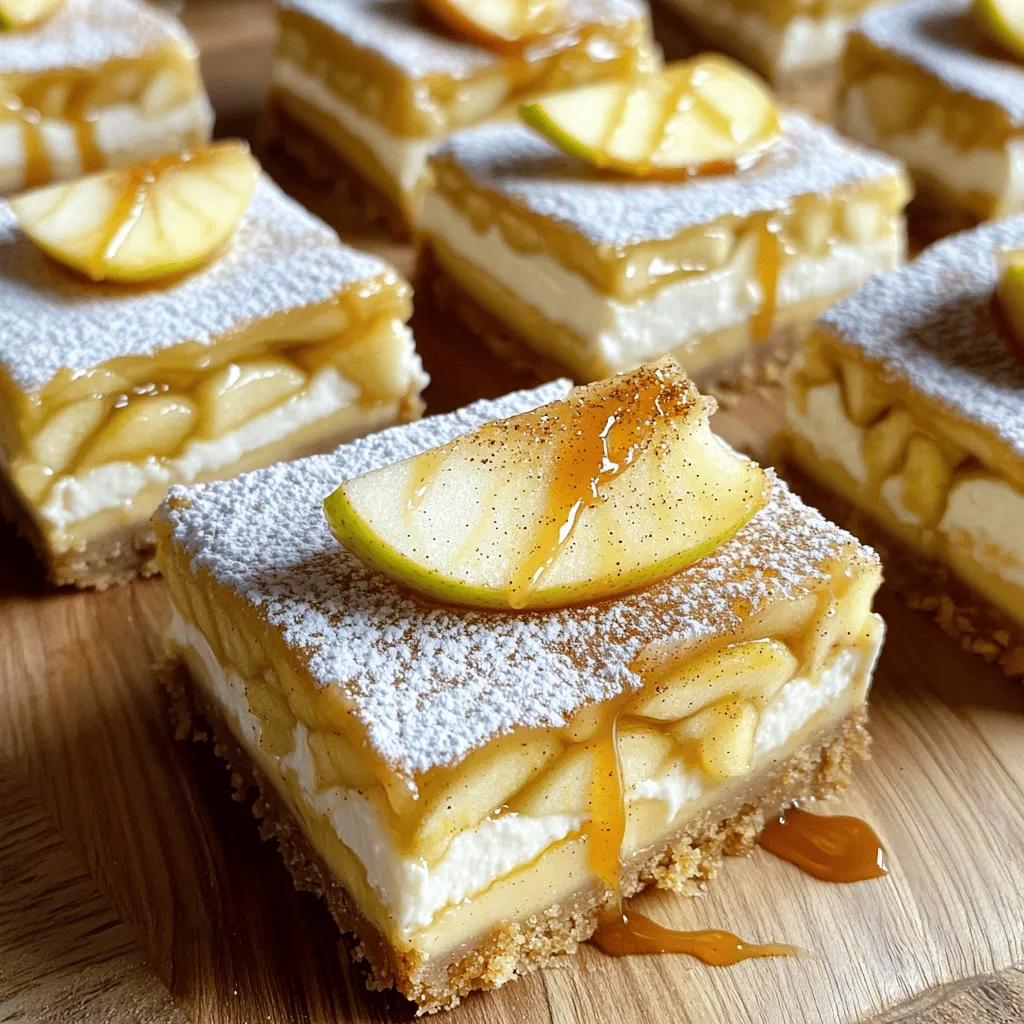
![- 1 ½ cups apple cider - 2 cups all-purpose flour - 1 teaspoon baking powder - ½ teaspoon baking soda - ½ teaspoon salt - 1 teaspoon ground cinnamon - ¼ teaspoon ground nutmeg - ½ cup granulated sugar - ½ cup packed brown sugar - 2 large eggs - ½ cup unsweetened applesauce - ⅓ cup vegetable oil - 1 teaspoon vanilla extract - 4 tablespoons unsalted butter, melted (for brushing) - ½ cup cinnamon sugar (for coating) I love using fresh apple cider for these donuts. It gives them a rich taste. The spices like cinnamon and nutmeg add warmth and flavor. Don't skip the brown sugar; it adds moisture and depth. As for the eggs, they help bind everything together. The applesauce keeps the donuts soft and tender. - Donut pan - Mixing bowls - Whisk and spatula - Saucepan - Piping bag or zip-top bag To make these donuts, you need a donut pan. This pan gives them their fun shape. Mixing bowls help you combine ingredients easily. A whisk works well for blending, and a spatula ensures you get every bit of batter out. A saucepan is a must for reducing the cider. Lastly, a piping bag or zip-top bag helps fill the donut pan without mess. With these ingredients and tools, you are set to make baked apple cider donuts. For the complete recipe, check out the [Full Recipe]. - Preheat the oven to 350°F (175°C). - Grease the donut pan with cooking spray or oil. Start by setting your oven to the right temperature. This step is key for even baking. Grab your donut pan and give it a light coat of cooking spray. This will help the donuts slide out easily after baking. - Heat apple cider in a saucepan. - Simmer until reduced to ¾ cup. Next, pour the apple cider into a small saucepan. Turn the heat to medium and bring it to a boil. After it boils, lower the heat to a simmer. Let it bubble gently for about 15 to 20 minutes. You want it to reduce down to about ¾ cup. This step concentrates the flavor and makes the donuts taste amazing. - Mix dry ingredients in one bowl. - Blend wet ingredients in another bowl. - Combine both mixtures without overmixing. In a large bowl, whisk together your dry ingredients: flour, baking powder, baking soda, salt, and spices. In another bowl, mix the wet ingredients: sugars, eggs, applesauce, vegetable oil, vanilla, and the cooled apple cider. Make sure both mixtures are well combined. Then, slowly pour the wet mix into the dry bowl. Stir gently. You want to mix them just enough—let some lumps stay. Too much mixing can make the donuts tough. - Fill donut pan cavities with batter. - Bake for 12-15 minutes until done. Now, it’s time to fill the donut pan. You can use a piping bag or a zip-top bag with one corner cut off. Fill each cavity about ¾ full. This gives them room to rise. Slide the pan into your preheated oven. Set a timer for 12 to 15 minutes. To check if they’re done, stick a toothpick in a donut. If it comes out clean, they are ready! - Cool donuts in the pan, then transfer to a wire rack. - Brush with melted butter and coat in cinnamon sugar. Once they’re baked, take the pan out and let the donuts cool for about 5 minutes. Then, carefully move them to a wire rack to cool completely. While they’re still warm, brush each donut with melted butter. This makes the cinnamon sugar stick. Next, roll them in the cinnamon sugar mixture. This step adds a sweet crunch that you will love. Enjoy warm or save them for later. You can find the full recipe above for more details! To get the best texture, avoid overmixing the batter. Mix just until combined. A few lumps are okay. Mix too much, and your donuts may turn out dense. Also, ensure all ingredients are at room temperature. This step helps them blend well, creating a light and fluffy donut. For a flavor boost, add spices like cloves or ginger. These spices add warmth and depth. You can also incorporate chopped apples or nuts for added texture. Chopped apples will give a fresh crunch, while nuts add a delightful bite. Both options enhance the taste and make each bite exciting. Baked apple cider donuts taste great with coffee or hot apple cider. The warm drinks pair perfectly with the sweet, spiced donuts. For the best flavor, serve them warm or at room temperature. Warm donuts melt in your mouth, making for a cozy treat. Enjoy them fresh, or share with friends for a delightful snack. {{image_4}} You can easily tweak this baked apple cider donut recipe to suit your needs. Here are some fun variations to try. To make these donuts gluten-free, simply swap the all-purpose flour for a gluten-free flour blend. Look for one that works well for baking. This swap keeps the texture light and fluffy, just like the original. If you want a vegan version, it’s simple! Replace the eggs with flaxseed meal or unsweetened applesauce. Use 1 tablespoon of flaxseed meal mixed with 2.5 tablespoons of water for each egg. You can also use plant-based butter and non-dairy milk instead of regular ones. This way, everyone can enjoy these tasty treats! Add a fun twist with flavored glazes! A maple glaze is perfect for that sweet, fall vibe. Mix powdered sugar with a bit of maple syrup and some non-dairy milk until smooth. You can also try chocolate or caramel drizzles for a richer taste. These glazes make your donuts even more special. For the full recipe, check out the details above and start baking! To keep your donuts fresh, store them in an airtight container at room temperature. This helps maintain their soft texture and delightful taste. They will stay good for about three days. If you want them to last longer, consider freezing them. You can freeze these donuts for up to 2 months. Make sure they are completely cool before wrapping them tightly. Place them in a freezer-safe bag or container. When you're ready to enjoy them, just thaw them at room temperature before serving. To warm up your donuts, you can use a microwave or oven. If using the microwave, heat them for about 10-15 seconds. For the oven, preheat it to 350°F (175°C) and warm the donuts for about 5-7 minutes. Warming brings back that fresh-baked flavor. Enjoy them as if they just came out of the oven! Baked apple cider donuts stay fresh for 2 to 3 days at room temperature. Store them in an airtight container to keep them soft. If you want to keep them longer, you can freeze them. Wrap each donut well in plastic wrap, then place them in a freezer bag. They can last up to 2 months in the freezer. When you want to enjoy them, just thaw at room temperature. Yes, you can use store-bought apple cider! It works well in this recipe. Homemade cider gives a deeper flavor, but store-bought is a great option if you are short on time. Just make sure to choose a quality cider. Look for one that is pure with no added sugars. To check if your donuts are done, use a toothpick. Insert it into the center of a donut. If the toothpick comes out clean, your donuts are fully baked. If it comes out with batter on it, let them bake for a few more minutes. The baking time is usually around 12 to 15 minutes, but always check early. In this blog post, we explored how to make delicious baked apple cider donuts. We covered essential ingredients, equipment needed, and provided a clear step-by-step guide. I shared tips for perfect texture and flavor enhancements to elevate your baking. You can even tweak the recipe for dietary needs or add fun glaze options. Enjoy storing your leftovers and reheating them for a tasty treat. Now, gather your ingredients and get baking! These donuts will bring warmth and joy to your kitchen.](https://tossedflavors.com/wp-content/uploads/2025/07/6dbdb309-cde7-4ba6-be44-62a1bd3f8c80.webp)
. This link will guide you to all the details you need to make this creamy chicken enchilada soup. Enjoy cooking! This blog post covered the key ingredients for making a great soup. I shared essential and optional ingredients, plus substitutions for dietary needs. The step-by-step instructions guide you from prep to perfect cooking. I included tips to boost flavor and avoid mistakes. You can try fun variations, store leftovers wisely, and easily reheat them later. As you explore creative options and storage ideas, I hope you enjoy making this soup your own. Keep experimenting with flavors and ingredients to find what you love most!](https://tossedflavors.com/wp-content/uploads/2025/07/dbdfaee8-8d77-41b0-9726-0e8007b2aec0.webp)
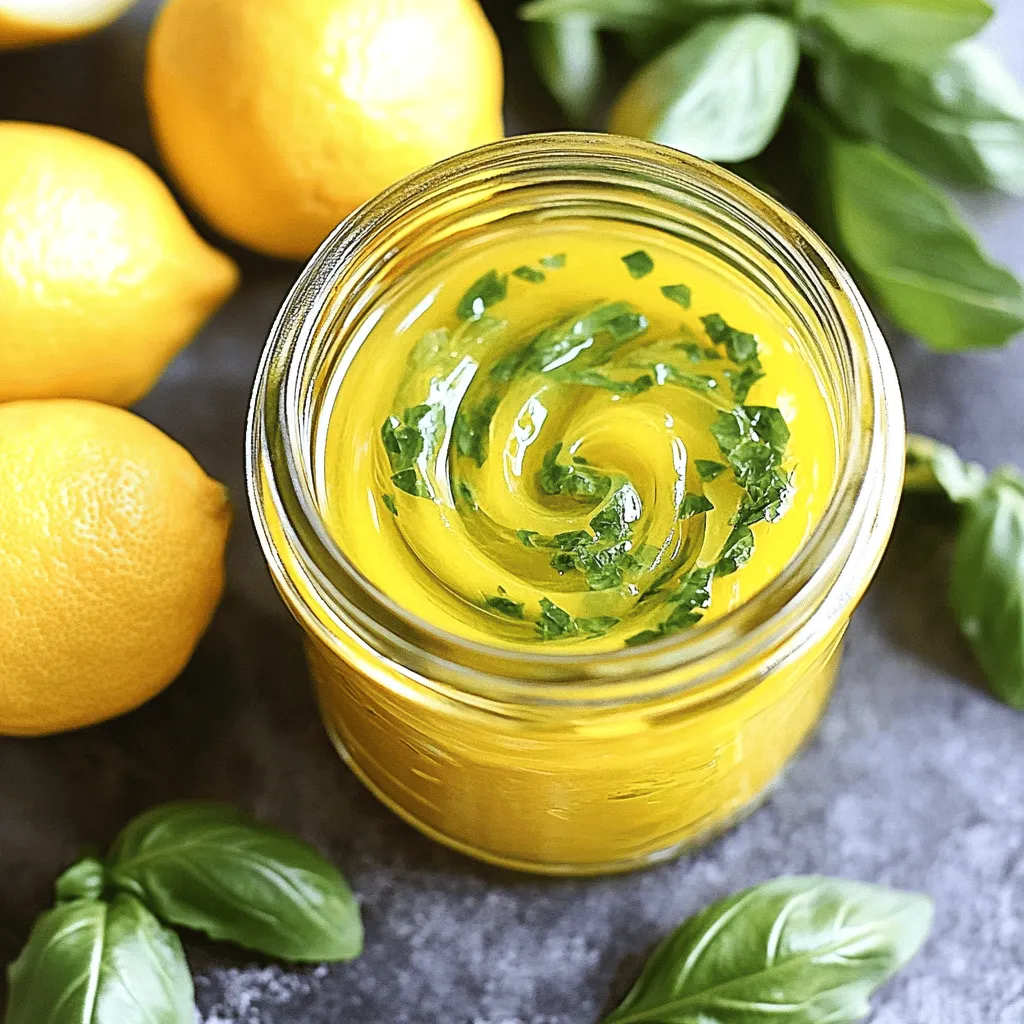
![To prepare the Mini Pancake Fruit Stack, gather these key ingredients: - 1 cup all-purpose flour - 2 tablespoons granulated sugar - 1 tablespoon baking powder - 1/2 teaspoon fine salt - 1 cup milk (preferably whole or 2%) - 1 large egg, at room temperature - 2 tablespoons unsalted butter, melted and slightly cooled - 1/2 teaspoon pure vanilla extract - A variety of fresh fruits (e.g., strawberries, blueberries, banana slices, kiwi) for layering - Maple syrup or honey for drizzling - Fresh mint leaves for garnish (optional) These simple ingredients come together to form a delightful breakfast. The flour gives structure, while the sugar adds sweetness. Baking powder helps the pancakes rise, making them fluffy. The milk and egg create a rich batter. Melted butter adds flavor and moisture, and vanilla gives a warm aroma. Fresh fruits bring color, taste, and nutrition. Maple syrup or honey drizzled on top enhances the sweetness and ties everything together. Lastly, mint leaves add a refreshing touch. For the full recipe, follow the steps for a delightful layered breakfast. 1. Combine dry ingredients: In a large bowl, whisk together the flour, sugar, baking powder, and salt. This step helps to mix the dry items evenly. 2. Mix wet ingredients: In another bowl, whisk the milk, egg, melted butter, and vanilla extract. It should look smooth and creamy. Ensure the butter cools a bit, so it doesn't cook the egg. 3. Combine mixtures: Gradually pour the wet mix into the dry mix. Use a spatula to fold them together gently. It's okay if the batter is a little lumpy. Overmixing can make the pancakes tough. 1. Preheat skillet: Set a non-stick skillet or griddle on medium heat. Lightly grease it with butter or oil. This helps prevent sticking. 2. Cook mini pancakes: For each pancake, pour about 2 tablespoons of batter onto the hot skillet. Cook for 1-2 minutes. Look for small bubbles on the surface. Then, flip the pancake and cook for another 1-2 minutes until it turns golden brown. Repeat until you use all the batter. Adjust heat if needed. 1. Layering pancakes and fruits: On a plate, stack 3-4 mini pancakes. In between each pancake, add layers of fresh fruits. You can use strawberries, blueberries, banana slices, or kiwi. This adds flavor and makes it look pretty. 2. Finishing touches with syrup: Drizzle maple syrup or honey over your stack. Add more fresh fruit on top. For a nice touch, sprinkle some fresh mint leaves as a garnish. It makes the dish look fresh and bright. For the complete recipe, check the Full Recipe section. To make light and fluffy pancakes, avoid dense batter. Start with the right mixing. Gently fold the wet and dry ingredients. It’s okay to have lumps. Overmixing makes pancakes tough. Next, watch the cooking temperature. Preheat your skillet on medium heat. If it’s too hot, the outside burns before the inside cooks. If too cool, the pancakes won’t rise well. You want golden-brown pancakes, not charred ones. Make your pancake stack look great on the plate. Use colorful fruit like strawberries, blueberries, or kiwi. Place a layer of fruit between each pancake. This not only adds flavor but also makes it pretty. For a final touch, drizzle syrup over the stack. You can also add a light dusting of powdered sugar. This small detail makes your dish pop. One big mistake is overmixing the batter. Remember, lumps are okay! If you mix too much, your pancakes turn out tough. Another mistake is not preheating the skillet. If your skillet isn’t hot enough, the pancakes won’t cook right. Always give it a few minutes to heat before pouring in the batter. {{image_4}} You can make your mini pancake fruit stack even better with some tasty flavors. Try using flavored syrups like blueberry or strawberry. They add a fun twist. You can also use spreads, like Nutella or peanut butter, for added richness. Spices can also boost the taste. Adding a pinch of cinnamon or nutmeg gives your pancakes a warm, cozy flavor. Mix these spices into your dry ingredients for even distribution. Choosing the right fruits is key to a great pancake stack. Seasonal fruits work best. In spring and summer, use strawberries, blueberries, and peaches. In fall, opt for apples and pears. These fruits can add color and flavor. Think about pairing fruits, too. Bananas go great with strawberries, while kiwi adds a tart kick. Mix and match to find your favorite combos. You can easily tweak this recipe for different diets. For a gluten-free option, use a gluten-free flour blend instead of all-purpose flour. This keeps the pancakes light and tasty. If you want a vegan version, swap the egg for a flax egg or unsweetened applesauce. Use almond or oat milk to replace dairy milk. These changes still give fluffy pancakes without animal products. For the full recipe, check out the Mini Pancake Fruit Stack. To keep your mini pancakes fresh, store them in the fridge. Place them in an airtight container. This helps keep them soft and tasty. They can last up to three days in the fridge. When you're ready to eat them, reheating is simple. You can use a microwave or a skillet. For the microwave, heat for about 20-30 seconds. For the skillet, warm on low heat for 1-2 minutes. This keeps them fluffy and warm. Storing fresh fruit properly is key to keeping it tasty. Store fruits in the fridge in a breathable bag. This helps them stay fresh longer. Wash fruits just before eating to avoid moisture buildup. If you want convenience, frozen fruits work great too. They can be stored in the freezer for several months. Just thaw them before use, and they’re ready for your pancake stack. Mini pancakes can last in the fridge for about three days. If you want to store them longer, freeze them. In the freezer, they can last up to two months. Just wrap them tightly in plastic wrap and place them in a freezer bag. You can enjoy delicious pancakes anytime! For the full recipe, check out the [Full Recipe]. To make mini pancakes fluffy, focus on the batter. Use fresh ingredients like baking powder. Measure carefully. Mix the dry and wet ingredients separately. Then, combine them gently. Do not overmix! A few lumps are okay. Let the batter rest for five to ten minutes to let it rise. This step helps create air pockets for a light texture. Yes, you can make these pancakes ahead. Prepare the batter the night before. Store it in the fridge. When you're ready to cook, give the batter a quick stir. You can also cook the pancakes in advance. Stack them with parchment paper between layers. Store them in an airtight container. Reheat them in a toaster or skillet when you need them. Use a mix of sweet and tart fruits for flavor. Strawberries and blueberries are favorites. Sliced bananas add creaminess. Kiwi brings a bright color and flavor. Apples or peaches can also work well. Choose fruits that are in season for the best taste. Fresh fruits provide nutrients and make your stack look beautiful. Enjoy mixing and matching your favorites! You learned how to make delicious mini pancake stacks. We covered the key ingredients, step-by-step cooking methods, and tips for perfect pancakes. I shared ways to create fun flavors and dietary options. Finally, we discussed storing pancakes and fruit properly. Now, you can impress others with your tasty creations. Enjoy experimenting and have fun with your food!](https://tossedflavors.com/wp-content/uploads/2025/07/9c323bf5-936f-43be-a528-2e4fb5b2f77e.webp)