Lemon Garlic Shrimp Pasta Quick and Flavorful Dish
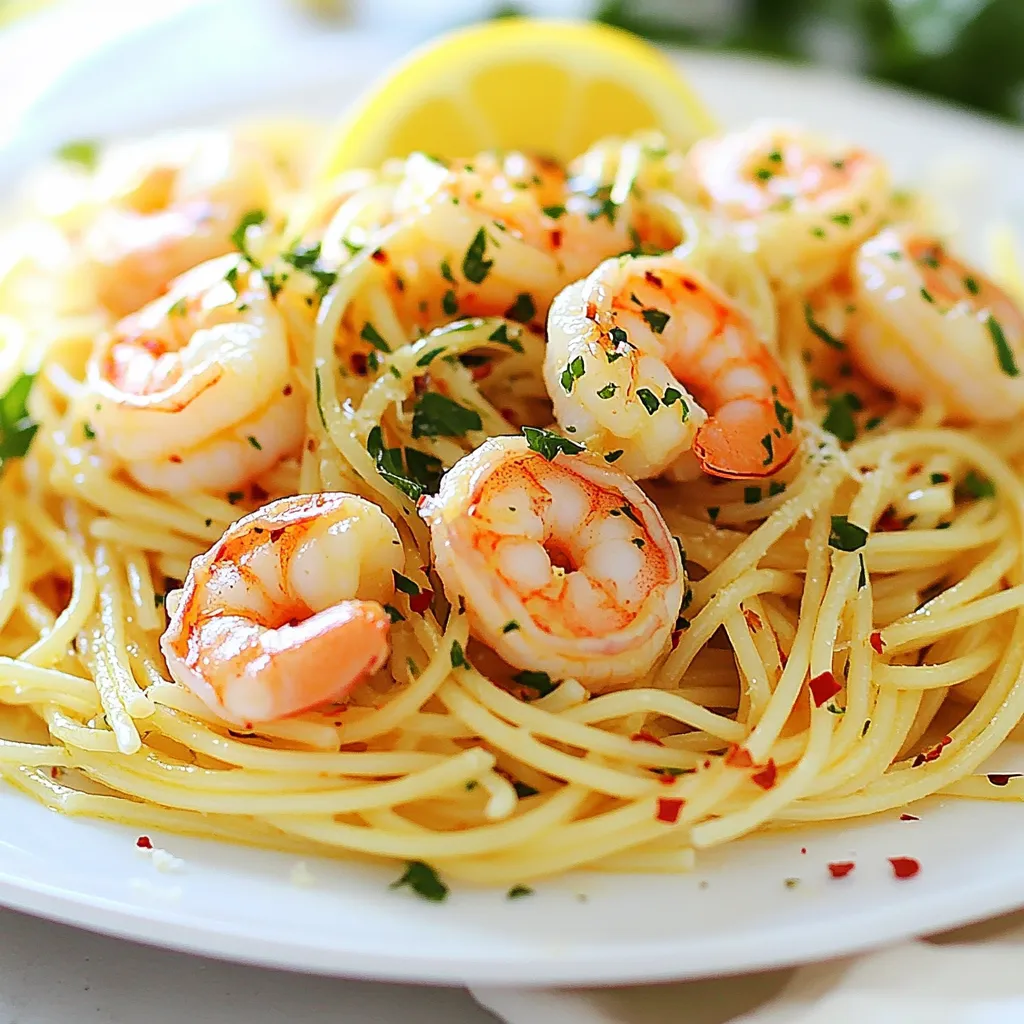
If you’re craving a bright, delicious meal that’s quick to make, you’ve found it! My Lemon Garlic Shrimp Pasta is packed with zesty flavors and takes just minutes to prepare. …
If you’re craving a bright, delicious meal that’s quick to make, you’ve found it! My Lemon Garlic Shrimp Pasta is packed with zesty flavors and takes just minutes to prepare. …
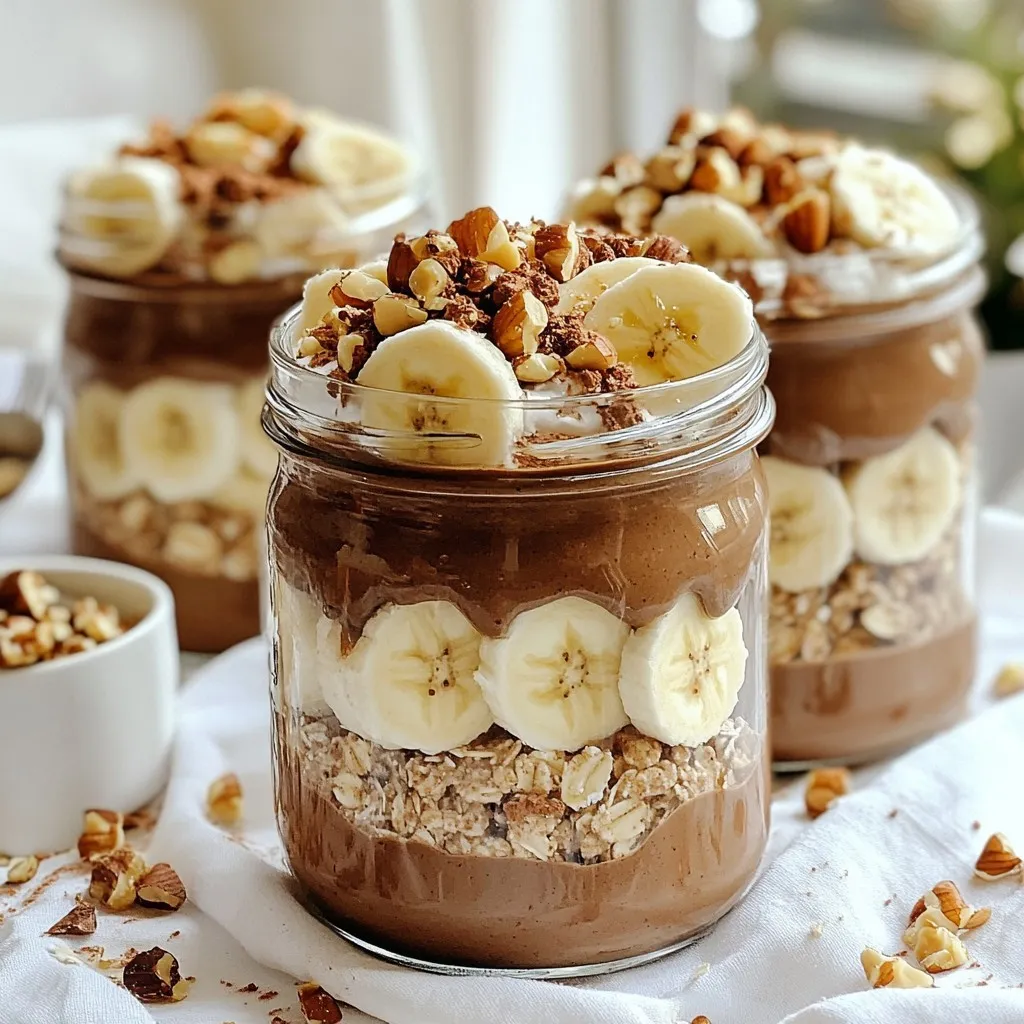
If you love breakfast that tastes like dessert, you’ll enjoy these Chocolate Hazelnut Overnight Oats! This simple recipe lets you wake up to a creamy, rich treat that fuels your …
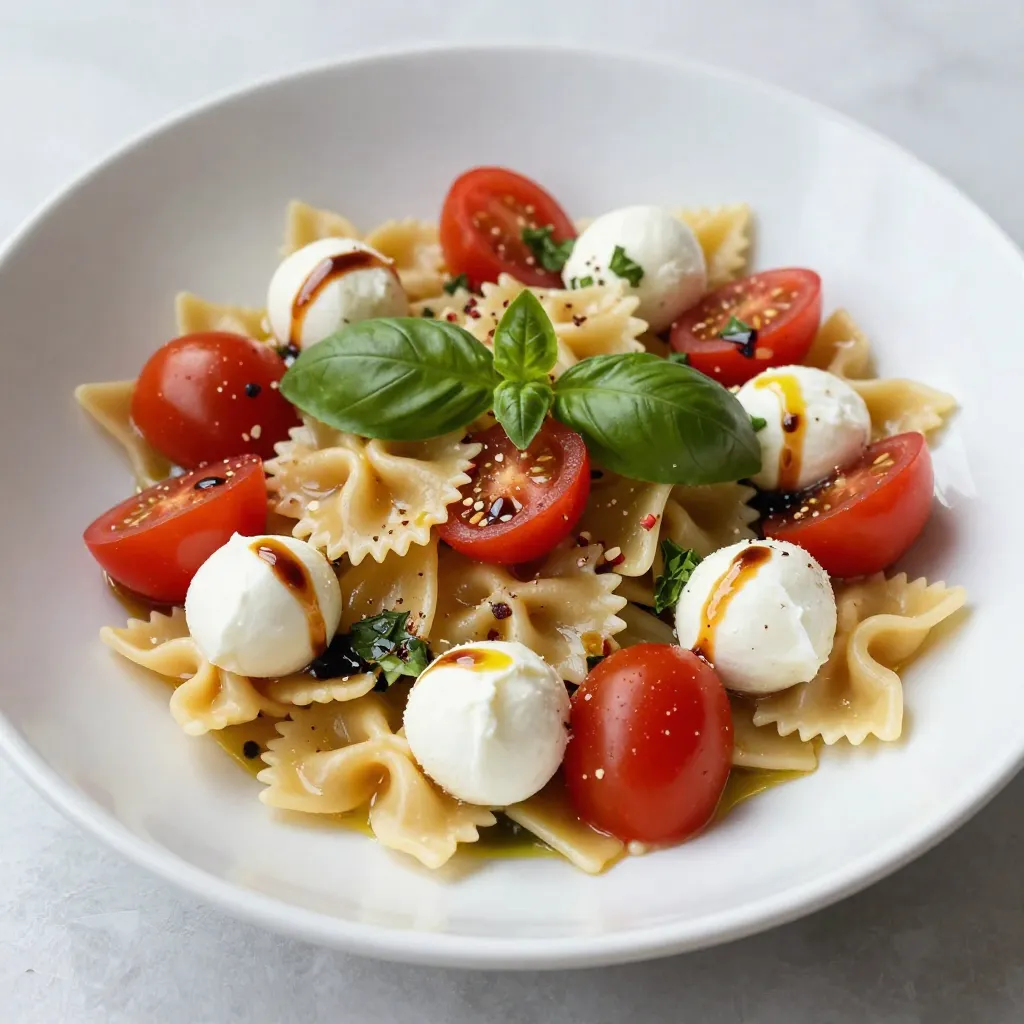
Looking for a dish that dazzles your taste buds? The Tomato Basil Caprese Pasta Salad is a flavorful delight that combines fresh ingredients and easy preparation. With vibrant tomatoes, aromatic …

Are you ready for a healthy breakfast that tastes like a vacation? Mango Coconut Overnight Oats are your perfect solution! This easy, no-cook treat combines sweet mango, creamy coconut, and …
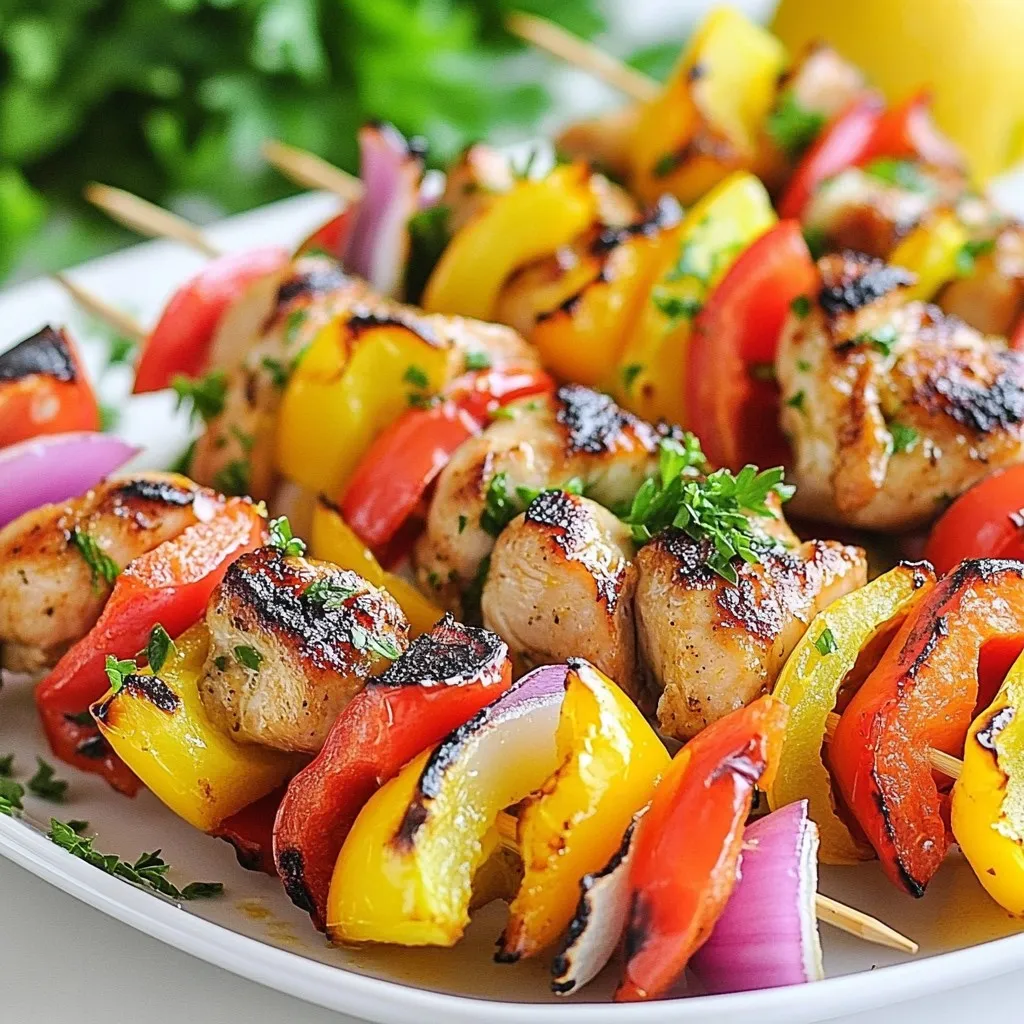
Are you ready to take your grilling game to the next level? This Greek Lemon Chicken Kebab recipe is both tasty and simple. With juicy chicken, zesty lemon, and fragrant …

Looking for a cool drink to sip on this summer? Let me introduce you to Blackberry Sage Lemonade! This recipe combines tart blackberries and fragrant sage for a refreshing twist. …

If you crave a sweet treat, these Salted Caramel Brownie Bites are perfect! They are rich, chewy, and easy to make. You’ll love the blend of chocolate and salty caramel. …
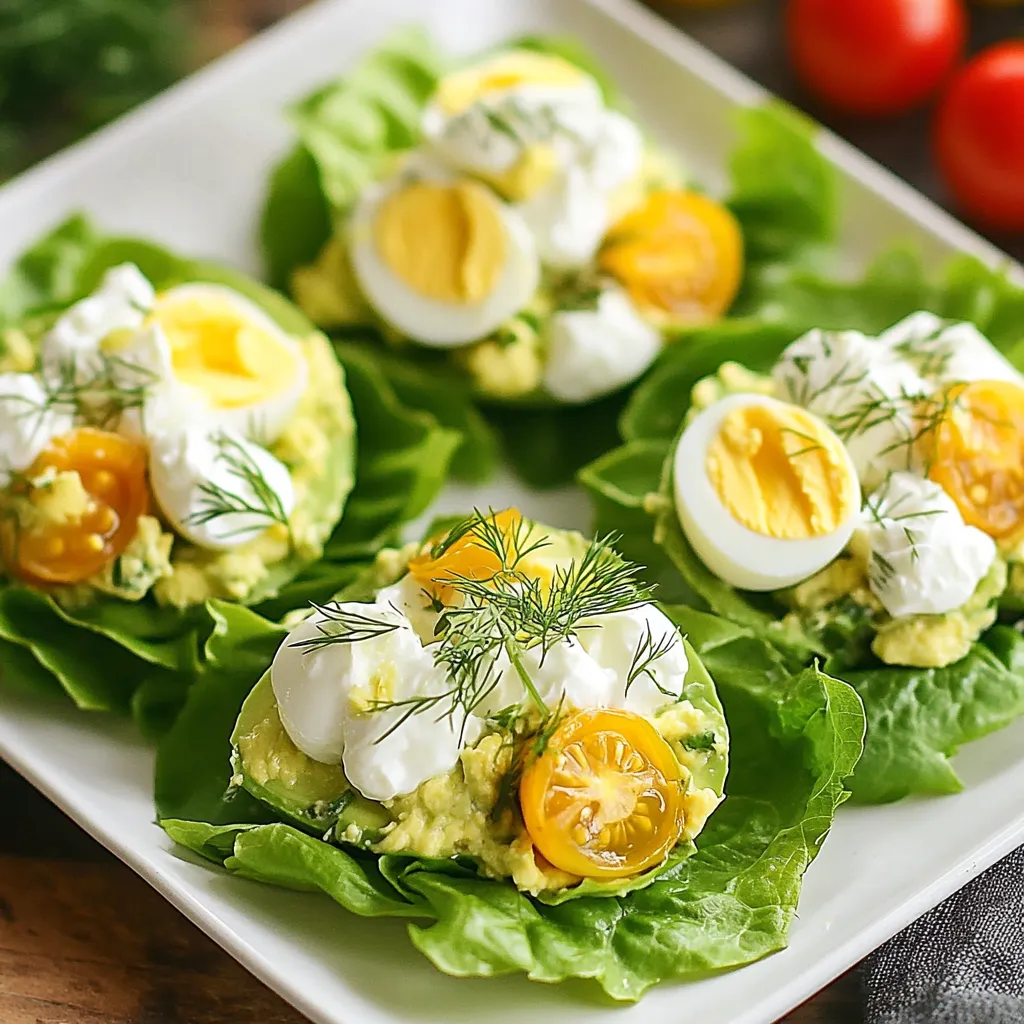
Looking for a quick and healthy meal idea? Try these Avocado Egg Salad Lettuce Wraps! They combine creamy avocado, protein-rich eggs, and fresh herbs all in crunchy lettuce. Whether you …
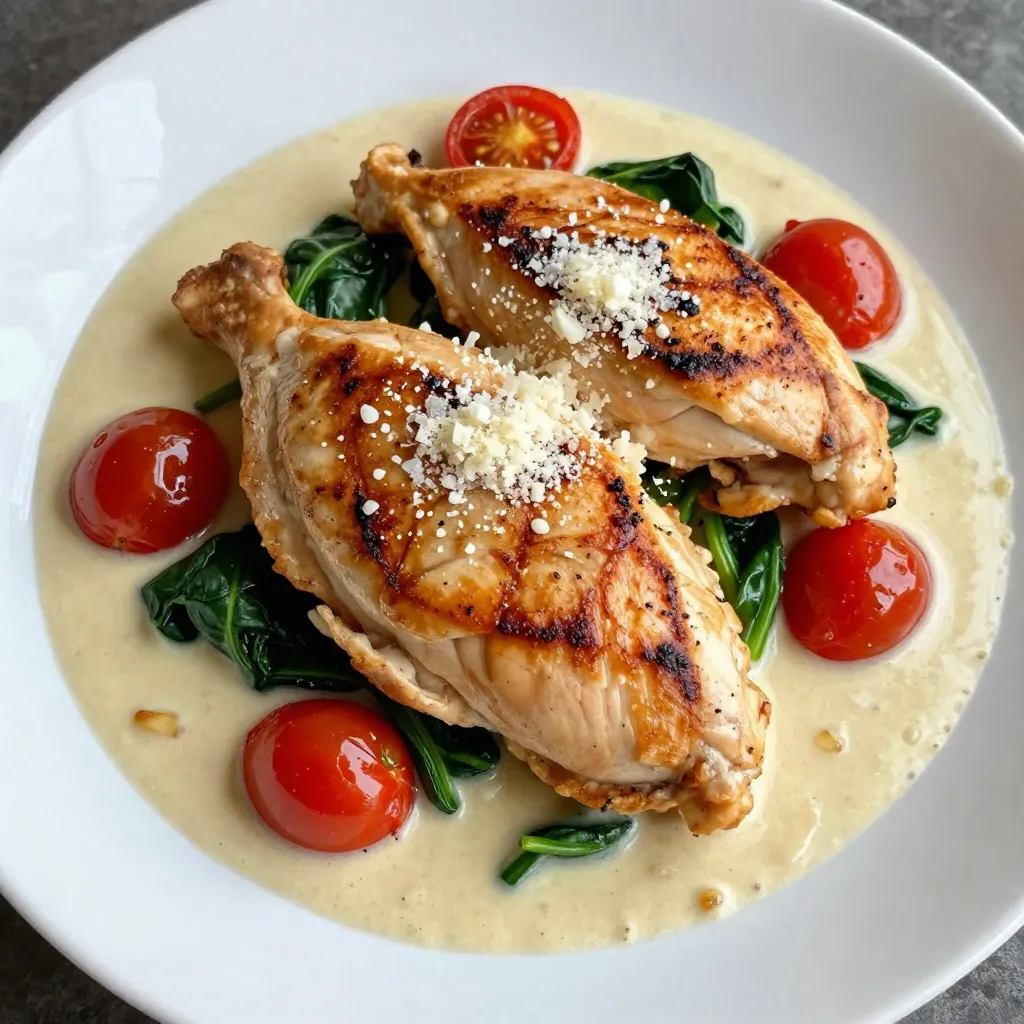
Get ready to savor a dish that’s rich and full of flavor! Creamy Garlic Tuscan Chicken is your new go-to meal. With a lush cream sauce and bright Tuscan flavors, …
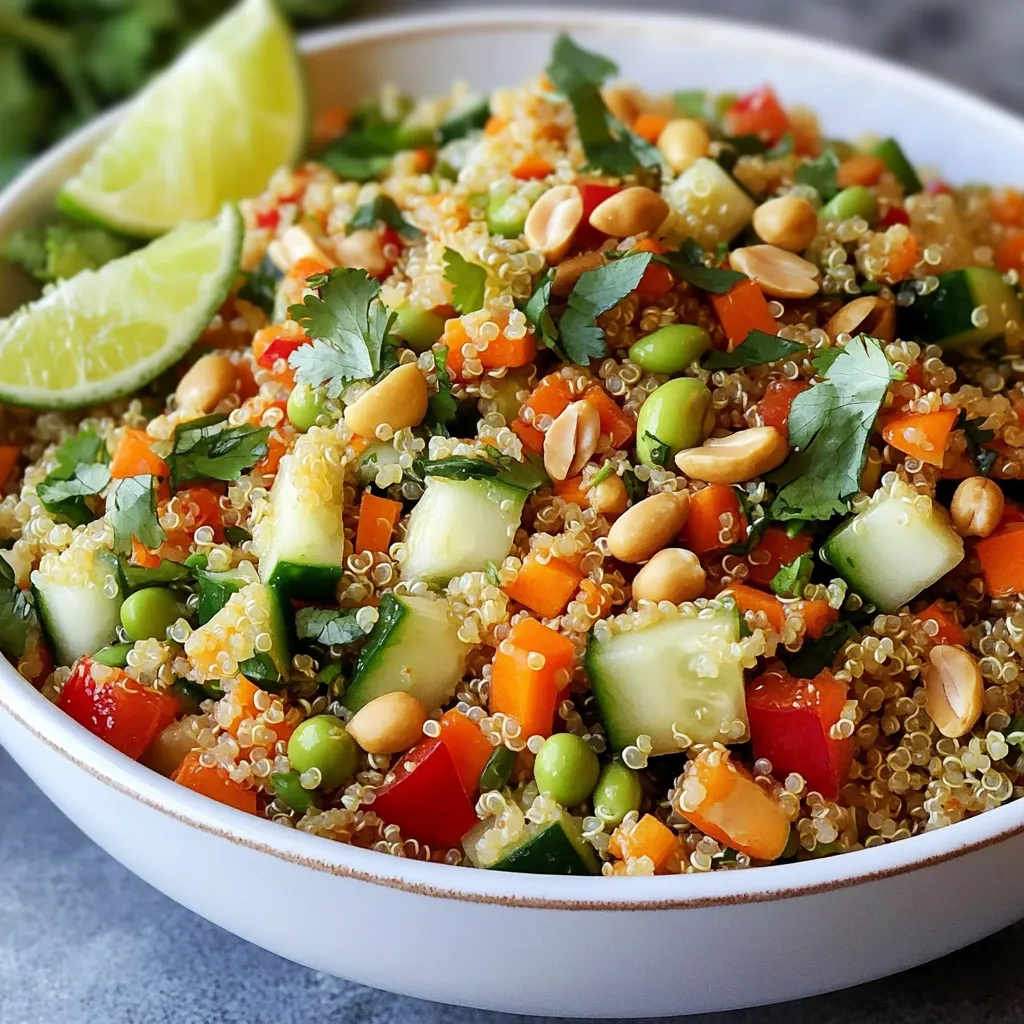
Looking for a tasty and healthy meal? You’ll love this Spicy Thai Peanut Quinoa Salad! Packed with flavor and crunch, this salad is simple to make and great for any …