Crispy Buffalo Tofu Bites Flavorful and Easy Recipe
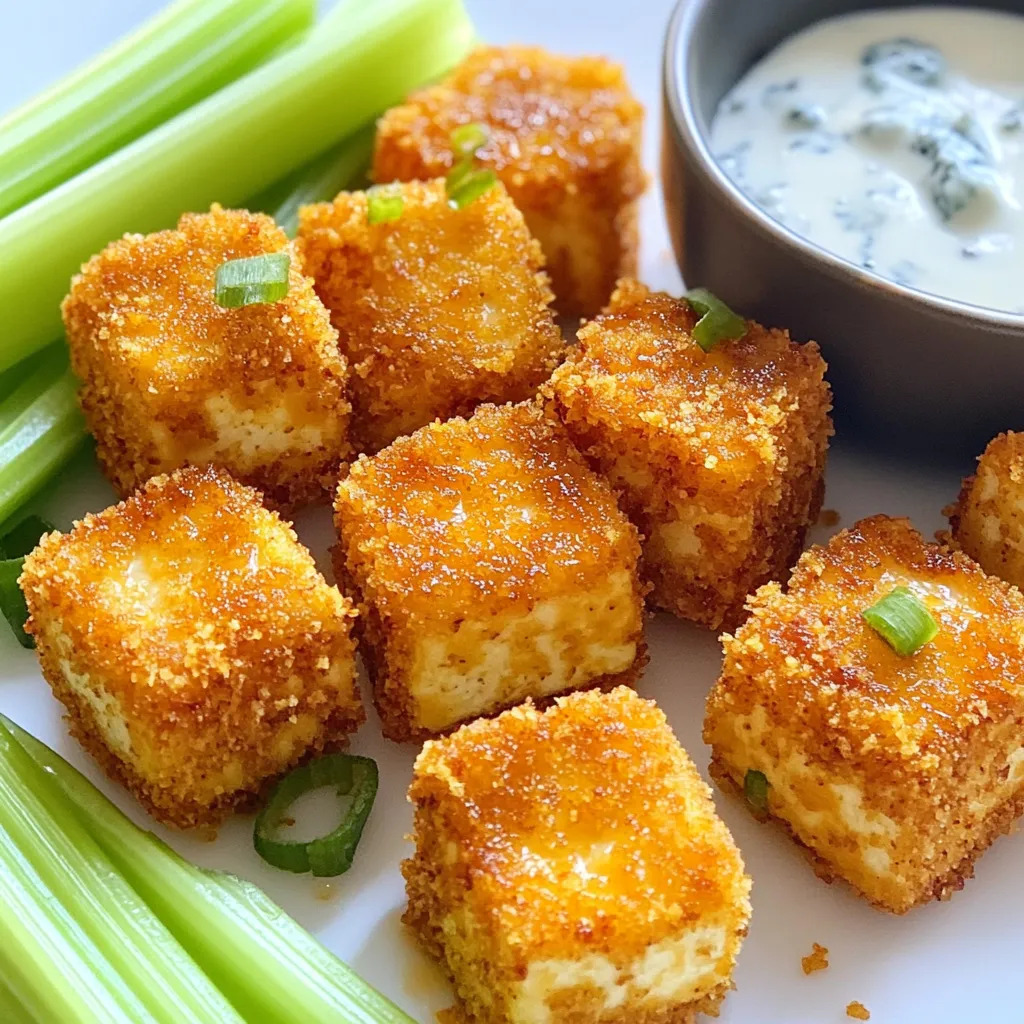
If you’re looking for a fun and tasty snack, you’ve hit the jackpot! My Crispy Buffalo Tofu Bites are packed with flavor and super easy to make. Perfect for parties …
If you’re looking for a fun and tasty snack, you’ve hit the jackpot! My Crispy Buffalo Tofu Bites are packed with flavor and super easy to make. Perfect for parties …
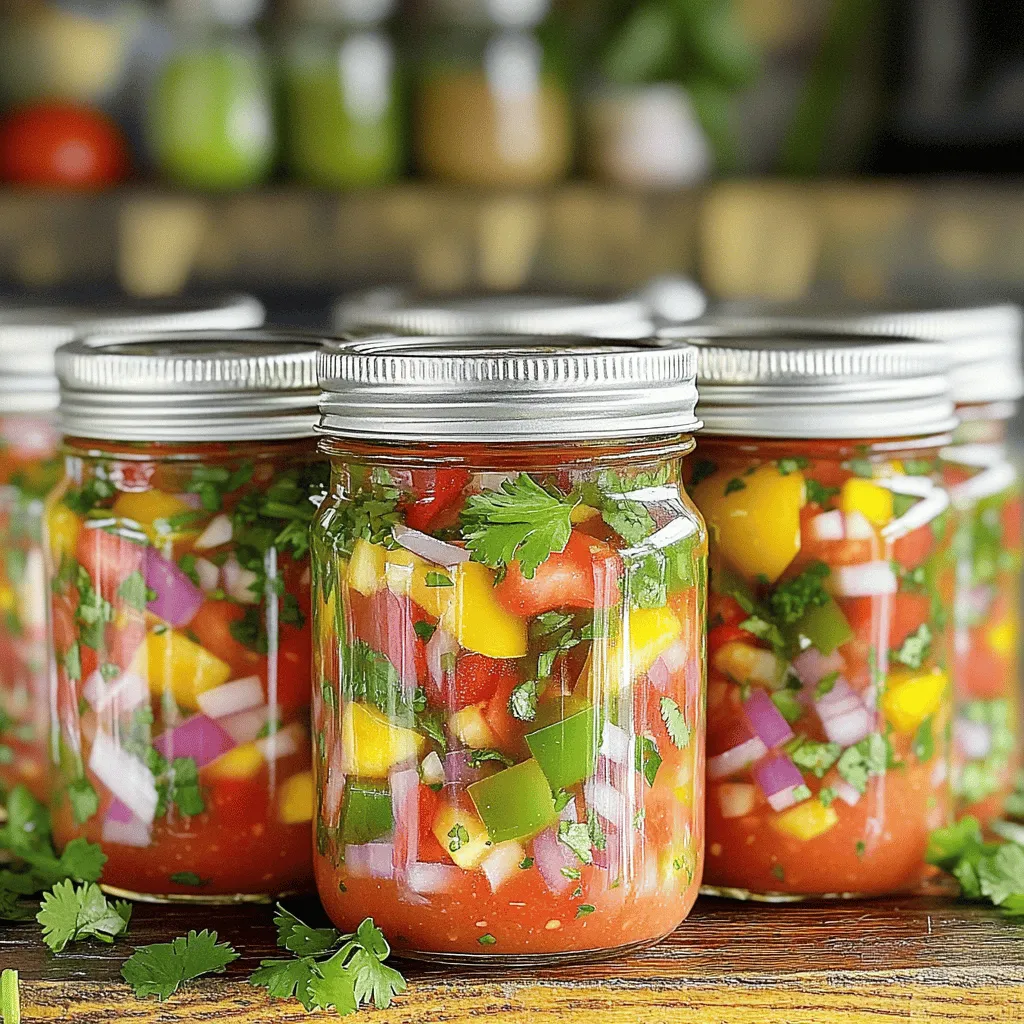
Are you ready to master the art of canning salsa? In this guide, I’ll show you how to create a tasty and easy homemade salsa that bursts with flavor. We’ll …
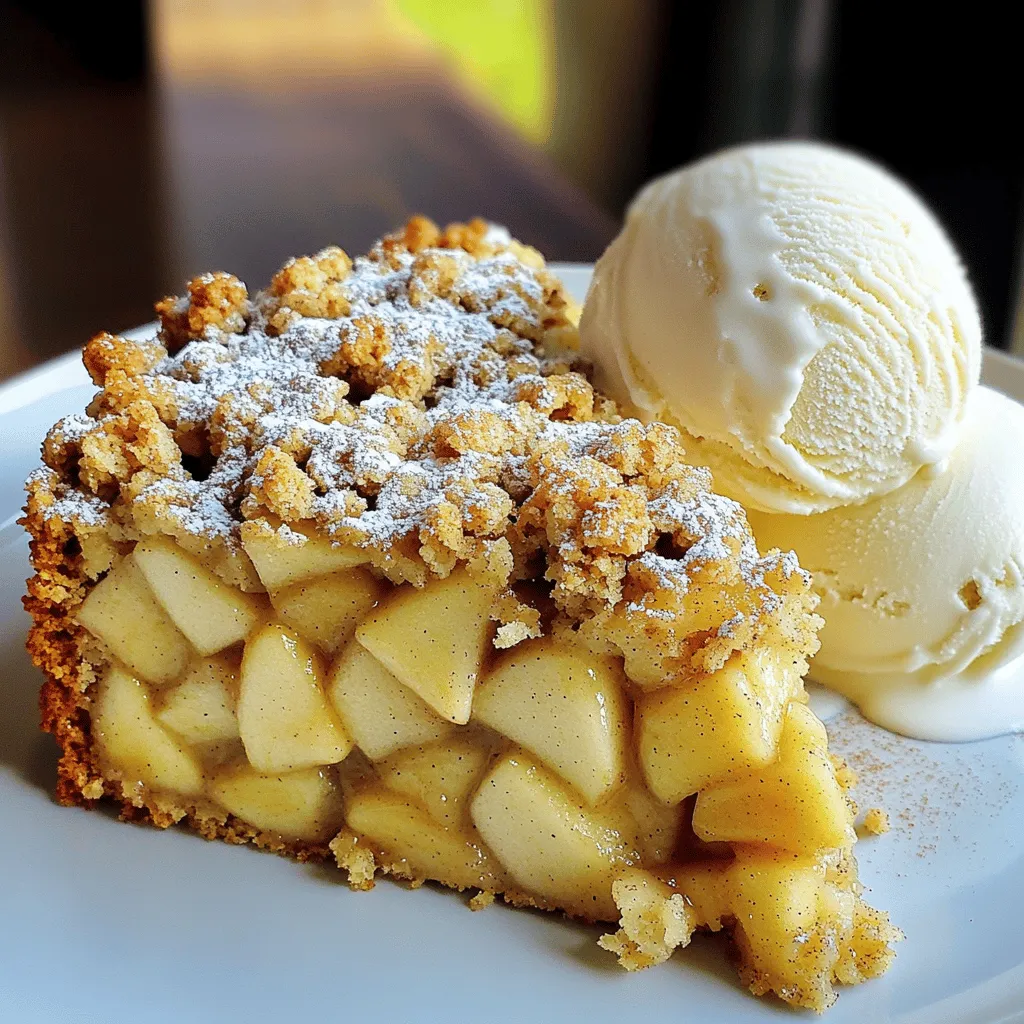
Are you ready to dive into a deliciously simple dessert? This Apple Crumble Cake recipe combines the warm flavors of spiced apples with a crunchy topping. Perfect for both beginner …

As the weather cools, there’s nothing quite like a warm bowl of soup to wrap you in comfort. My Cozy Butternut Squash Tortellini Soup blends rich flavors with hearty tortellini, …
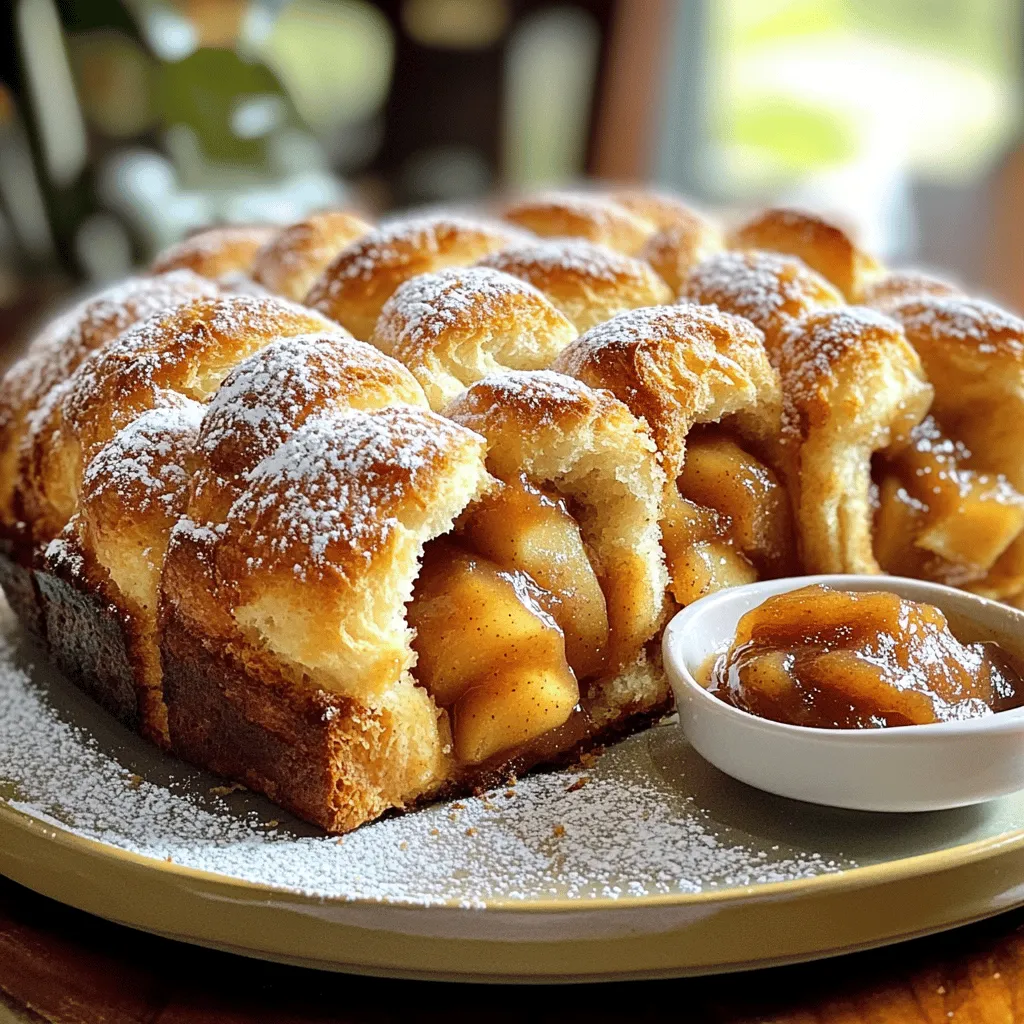
If you’re craving a warm, sweet treat that’s soft and easy to share, you’ve found it! Apple Butter Pull-Apart Bread combines sweet flavors with a fun, shareable style. I’ll guide …

If you’re looking for a delicious snack, try my sweet potato hand pies! These treats are easy to make and full of flavor. With a simple mix of pantry staples …

If you love fall flavors, you’ll adore these delicious pumpkin cupcakes. They are simple to make and bursting with spice. With easy steps and common ingredients, your kitchen will fill …
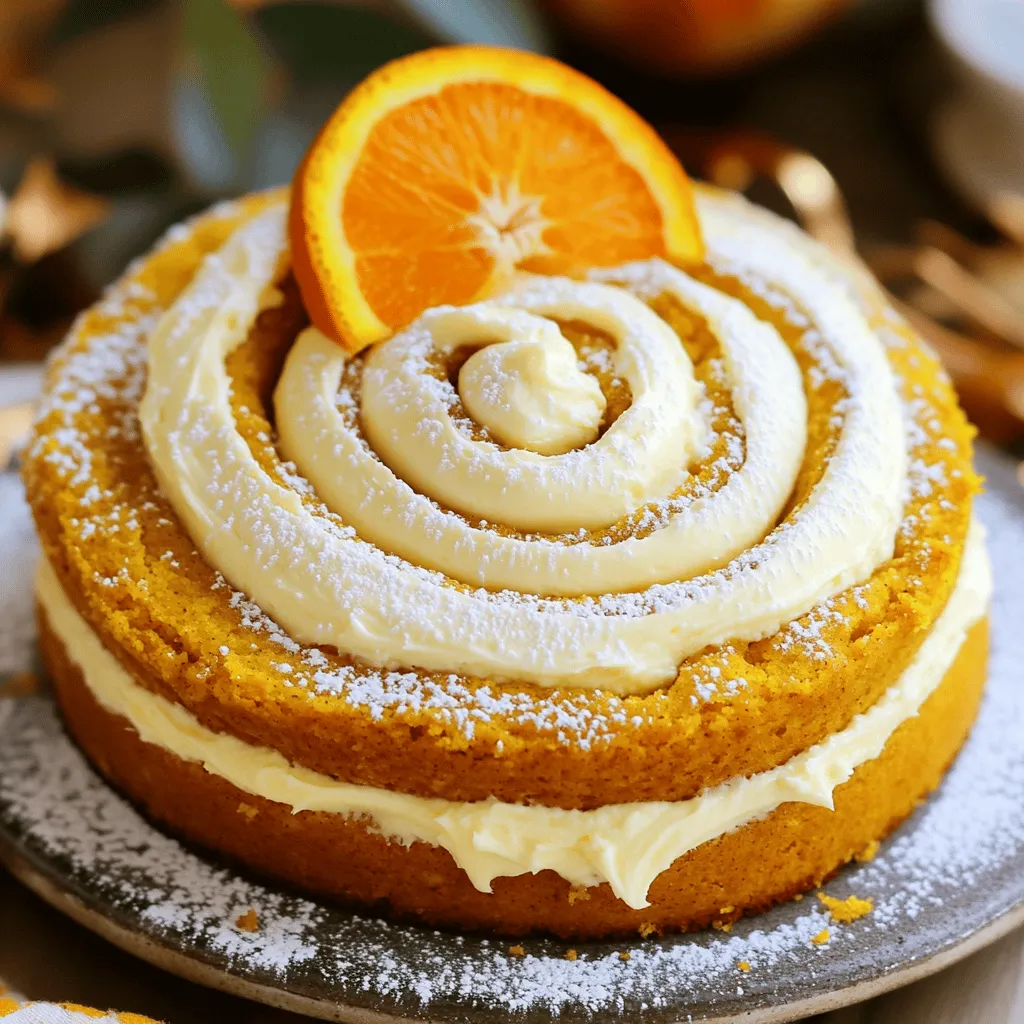
Are you ready to impress your family and friends with a simple yet delicious dessert? Libby’s Pumpkin Roll is an easy way to bring festive flavors to your table! You’ll …
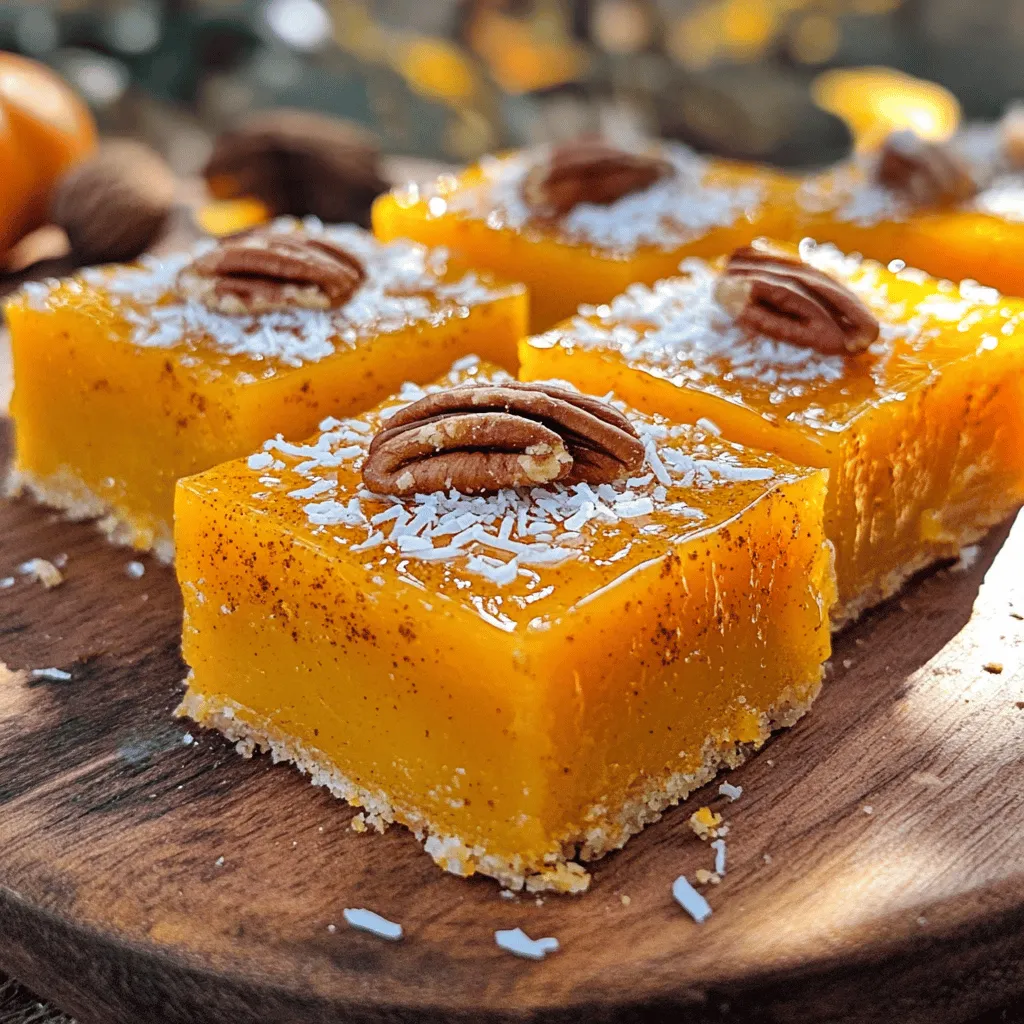
Are you ready to treat your taste buds? This Candied Pumpkin Delight recipe will make you fall in love with pumpkin like never before. With simple steps and a few …
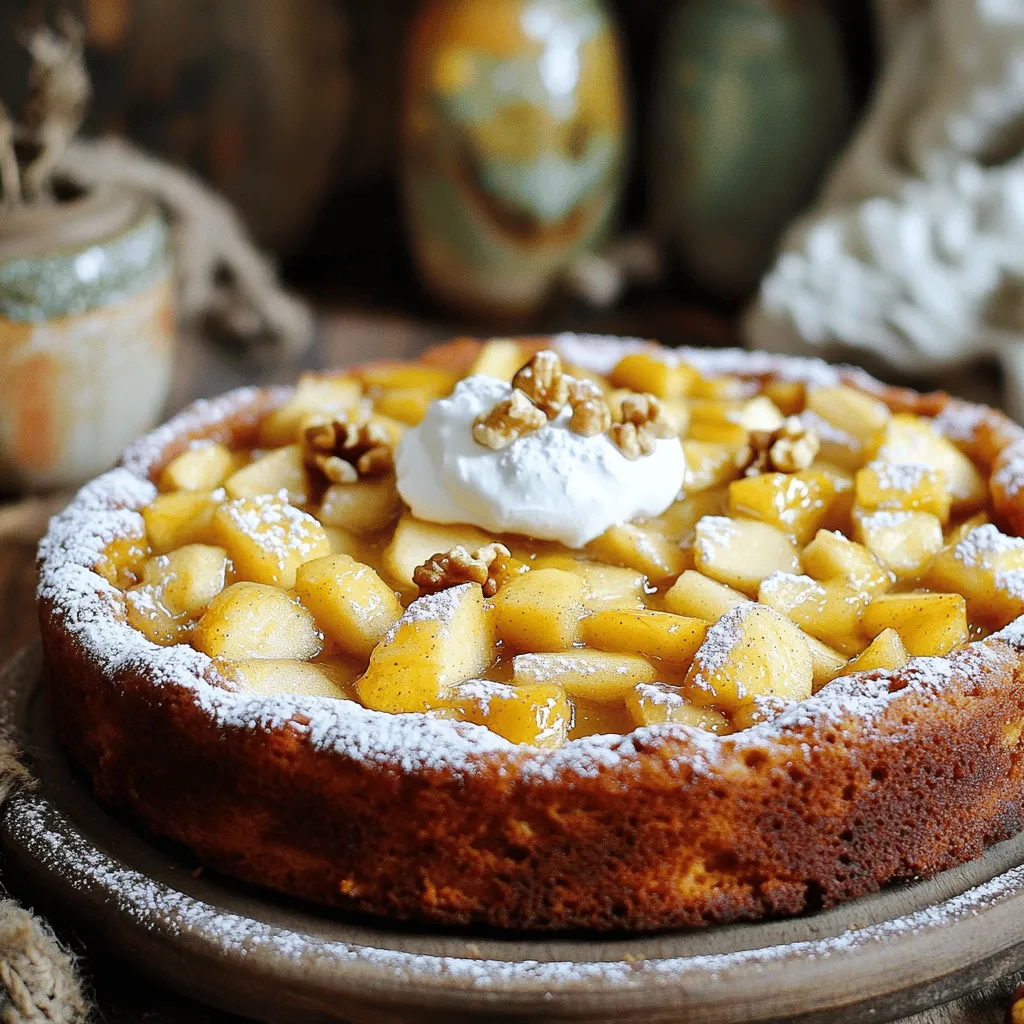
If you think baking a cake needs flour, think again! This Flourless Apple Cake recipe is a game changer. With just a few simple ingredients, including apple, eggs, and almond …