Pumpkin Cinnamon Crumble Cookies Delightful Homemade Treat

Are you ready to spice up your baking with a treat that screams fall? My Pumpkin Cinnamon Crumble Cookies bring together the cozy flavors of pumpkin and warm cinnamon. With …
Are you ready to spice up your baking with a treat that screams fall? My Pumpkin Cinnamon Crumble Cookies bring together the cozy flavors of pumpkin and warm cinnamon. With …

Looking for a sweet treat to cool you down this summer? My Creamy Blueberry Pie is a delightful dessert that combines fresh blueberries with rich, creamy flavors. This easy recipe …
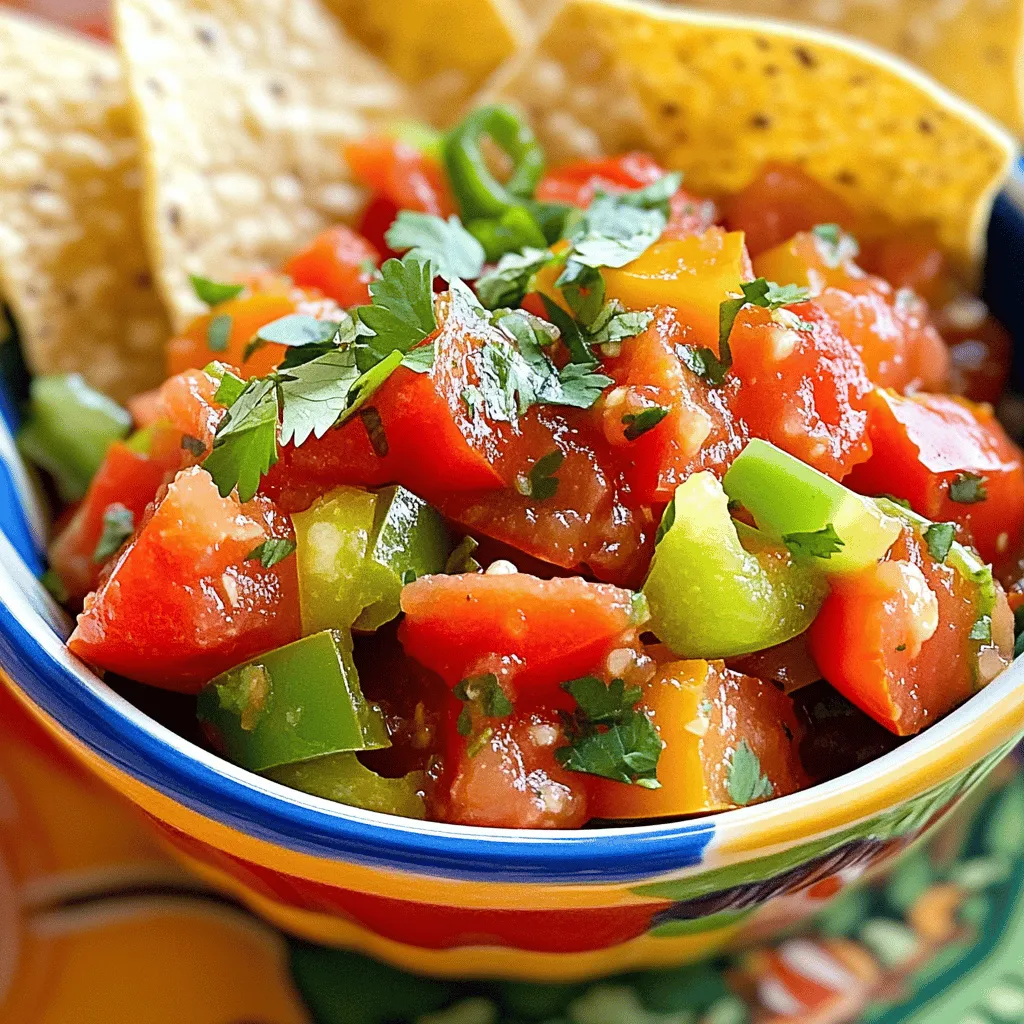
Are you ready to elevate your snack game? This Best Thick Canned Salsa Recipe delivers bold, savory flavors to delight your taste buds. Packed with fresh ingredients and easy-to-follow steps, …
. For browning meat, you want to use high heat. 1. Make sure your pot is hot before adding the oil. 2. Add the beef in a single layer. 3. Don’t overcrowd the pot; this helps it brown well. If you want juicy, tender meat, let it sear without moving it too much. Flip it only when it has a nice crust. Roasting and peeling chiles can enhance their flavor. 1. First, place them under a broiler or over an open flame. 2. Turn them until all sides are charred. 3. Once they cool, place them in a bag to steam. 4. This makes peeling easy. To intensify flavors, think about layering them. Start with sautéing onions and garlic. This builds a strong base. You can also add more chiles for a kick. Consider these spices to enhance your chili: - Ground cumin - Dried oregano - Smoked paprika These spices add depth and warmth. Adjust them to fit your taste. Colorado Green Chili pairs well with warm tortillas. You can also serve it with rice for a filling meal. Try adding a dollop of sour cream or shredded cheese on top. This adds creaminess and balances heat. For beverages, a cold beer is a great choice. If you prefer something non-alcoholic, try iced tea or lemonade. These drinks complement the spicy flavors of the chili well. For the full experience, check out the Full Recipe. {{image_4}} Colorado green chili shows many faces across the state. In the north, people often add more beans. In the south, folks might use more potatoes. The choice of chiles also varies. Some prefer Hatch chiles, while others like Anaheim chiles. This range gives each bowl a unique taste. Mexican cuisine has a big influence on Colorado green chili. Many recipes borrow spices and techniques from Mexico. This mix of flavors creates a rich, savory dish. The blend of cultures makes this chili special and loved by many. You can easily adapt Colorado green chili to fit your diet. For a vegetarian option, skip the beef and use mushrooms or lentils. Beans can also add texture and protein. If you want a vegan dish, use vegetable broth instead of beef broth. Different meats can also change the flavor. Some people use pork or chicken. Others even opt for turkey. Each choice offers a new twist on the classic dish. Feel free to experiment and find your favorite version. Adjusting the spice level in your chili is simple. To make it milder, use fewer chiles. Removing the seeds can also help reduce heat. If you like it spicy, add extra chiles or use hotter varieties like serrano or jalapeño. Some popular chili pepper alternatives include poblano and Fresno peppers. These peppers can provide unique flavors while adjusting the heat. Experiment with different types to find the right balance for your taste buds. To store your leftovers, let the chili cool first. Use an airtight container. This keeps the chili fresh and tasty. It’s best to eat it within 3 to 4 days. Always check for any off smells before you reheat. If you want to freeze green chili, use a freezer-safe container. Leave some space at the top, as the chili will expand. It stays good for up to 3 months. To thaw, place it in the fridge overnight. For a quick thaw, you can use the microwave. When reheating, use the stove for best results. Pour it into a pot and heat on low. Stir often to keep it smooth. If you use a microwave, cover it to avoid spills. Be careful not to overcook. This keeps the flavors and texture just right. What are the best chiles for Colorado Green Chili? The best chiles for Colorado Green Chili are Hatch or Anaheim chiles. These chiles have a mild to medium heat and a rich flavor. Roasting them brings out their sweetness. You can find them fresh or canned. Fresh chiles add a wonderful depth to the chili. Can I make this recipe ahead of time? Yes, you can make Colorado Green Chili ahead of time. The flavors deepen over time, making it taste even better. Just let it cool, then store it in the fridge. It will last for about four days. You can also freeze it for longer storage. How many servings does this recipe yield? This recipe yields about 6 to 8 servings. It’s perfect for a family meal or a gathering. You can easily adjust the recipe if you need more or less. Calorie content and nutritional info One serving of Colorado Green Chili has around 350 calories. It is rich in protein from the beef and has healthy carbs from the potatoes. The chiles provide vitamins and minerals. This dish is hearty and satisfying without being too heavy. Differences between the two dishes Salsa verde is a fresh sauce made with tomatillos, while Colorado Green Chili is a stew with meat and chiles. Salsa verde is usually served cold and used as a dip or topping. Colorado Green Chili is warm and hearty, ideal as a main dish. Flavor profile comparison Salsa verde has a bright, tangy flavor due to the tomatillos and cilantro. Colorado Green Chili has a rich, savory taste from the beef and roasted chiles. Both are delicious but serve different purposes in a meal. Each adds its own unique twist to your plate. In this article, we discussed the essential and optional ingredients for Colorado Green Chili, including meat alternatives. You learned step-by-step instructions for preparation and cooking, along with tips for enhancing flavor. We explored variations, storage tips, and answered common questions. Now, you can confidently create a delicious batch of green chili that suits your taste. Use these insights to enjoy this hearty dish, whether you stick to tradition or add your twist. Cooking should be fun, so get started and enjoy your meal!](https://tossedflavors.com/wp-content/uploads/2025/08/9b76e490-de1c-4498-a4e1-2670cb1f56c5.webp)
Welcome to the heart of Colorado’s culinary scene! In this blog post, I’m excited to share my favorite recipe for Colorado Green Chili. This dish packs a punch with its …

If you love Boston cream pie, get ready for a sweet twist! These Boston Cream Pie Cookies are a fun, easy treat you won’t be able to resist. In this …

Looking for a delicious and healthy treat? The Berry Coconut Chia Parfait is your answer! This simple recipe combines tasty layers of chia pudding with fresh berries and coconut. Not …

Get ready to treat your taste buds with my delightful and easy Blackberry Peach Cobbler recipe! Combining juicy blackberries with sweet peaches creates a perfect dessert. You’ll discover simple steps …
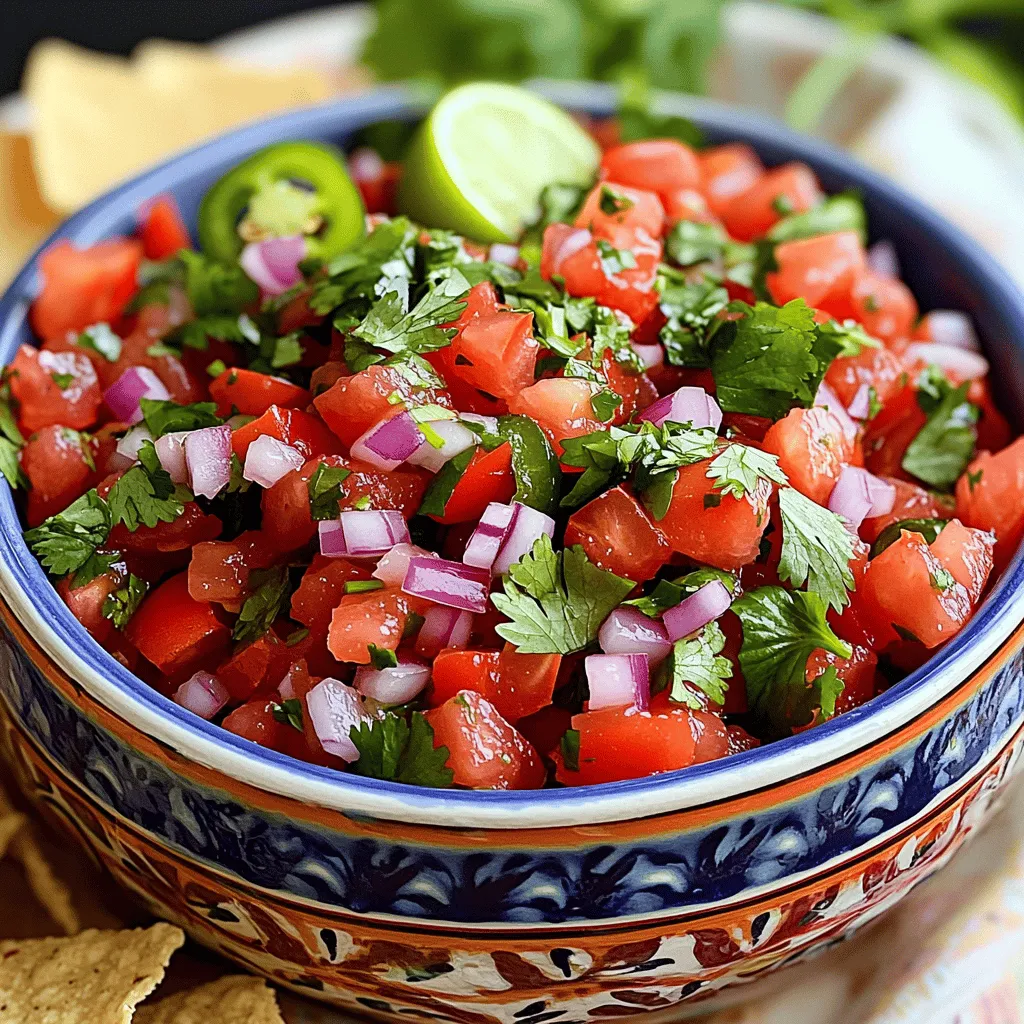
If you’re looking for a vibrant and fresh dish, quick and easy pico de gallo is your answer! This classic salsa bursts with flavor and color, making it perfect for …

Do you crave that cozy, fall favorite, the Pumpkin Spice Latte? You don’t have to visit a café to enjoy it! With my simple flavor guide, you will learn how …

Are you looking for a fun twist on a fall favorite? These Easy Pumpkin Pie Twists are a simple and delicious dessert that will impress everyone. With just a few …