Savory Slow Cooker Beef & Noodles Comfort Meal
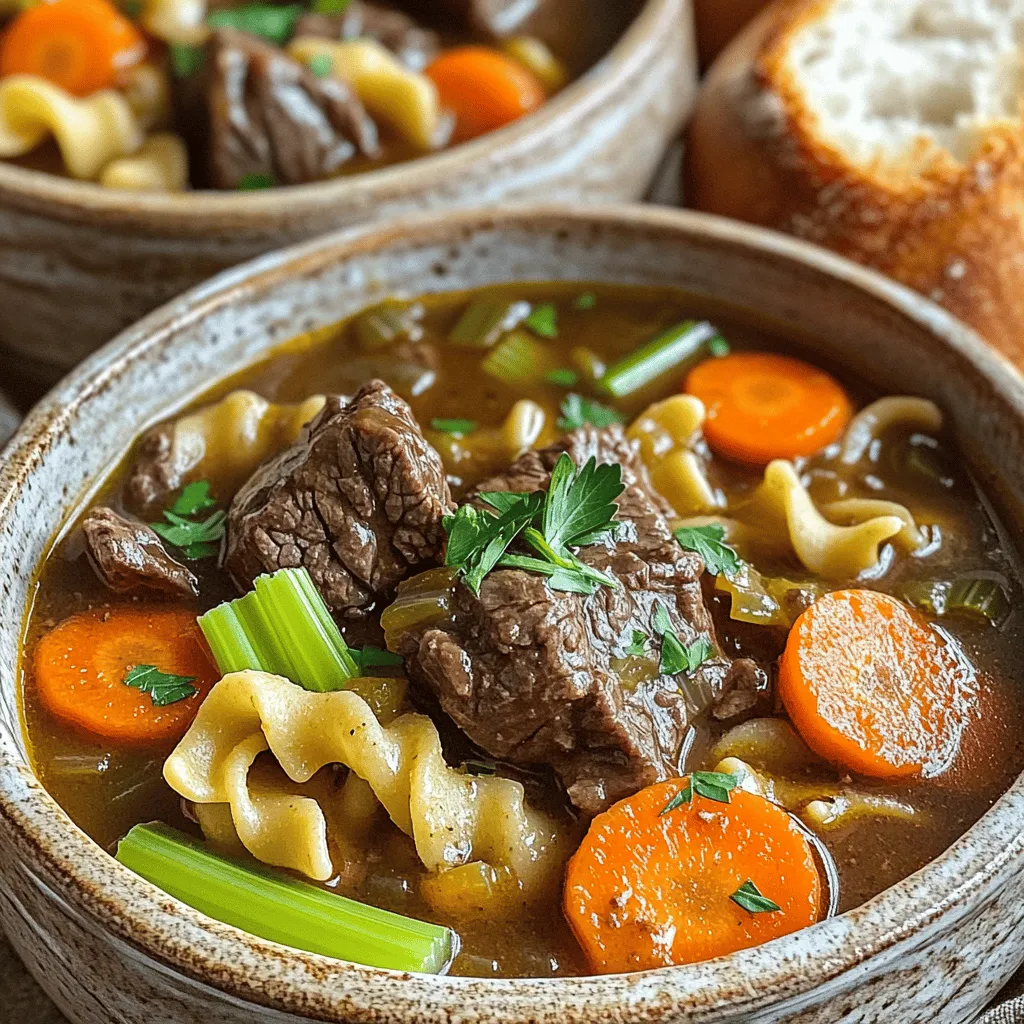
Are you ready to dive into a dish that offers warmth and comfort in every bite? My Savory Slow Cooker Beef & Noodles meal is the perfect solution for busy …
Are you ready to dive into a dish that offers warmth and comfort in every bite? My Savory Slow Cooker Beef & Noodles meal is the perfect solution for busy …

Indulge in a truly delightful treat with Cheesecake Stuffed Strawberries! This simple recipe combines fresh strawberries and creamy cheesecake filling for a bite-sized joy. Perfect for parties, snacks, or just …
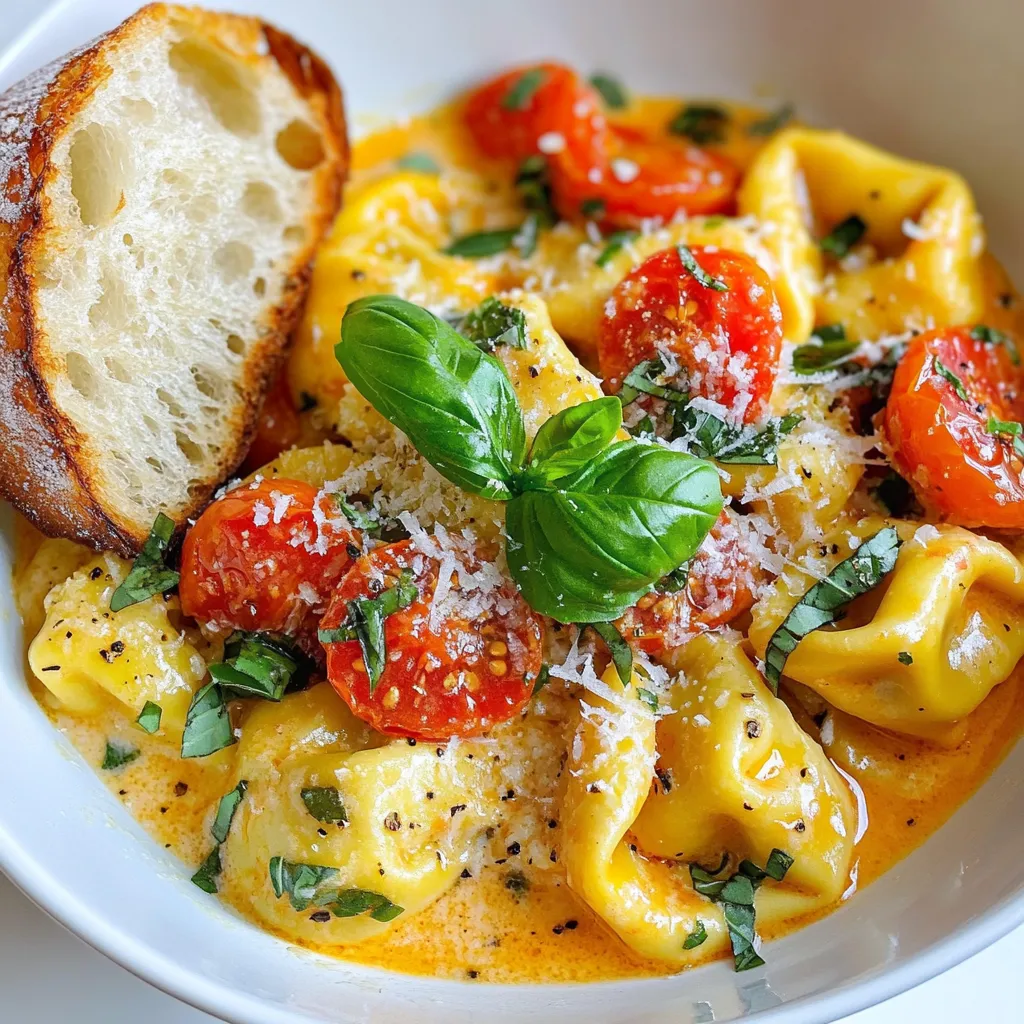
Are you ready for a delicious and quick meal? My Creamy Tomato Basil Tortellini is perfect for busy nights. This dish combines rich flavors and fresh ingredients in no time. …
![To make this delightful pie, gather these simple ingredients: - 2 medium apples, peeled, cored, and thinly sliced - 1 cup granulated sugar - 1 cup whole milk - 1/2 cup all-purpose flour - 1/2 cup unsalted butter, melted - 3 large eggs - 1 teaspoon pure vanilla extract - 1/4 teaspoon fine salt - 1 teaspoon ground cinnamon - Optional: powdered sugar for a finishing touch You can add a few special touches to enhance your pie's flavor: - 1/2 teaspoon nutmeg for warmth - 1 tablespoon lemon juice for brightness - 1/4 cup chopped nuts for crunch These additions can make your pie even more delicious and unique. If you have specific dietary needs, here are some substitutes: - Use almond milk instead of whole milk for a dairy-free option. - Replace all-purpose flour with gluten-free flour for a gluten-free pie. - Try coconut oil or margarine in place of unsalted butter for a dairy-free choice. These substitutions will help you enjoy this pie no matter your dietary restrictions. To start making the Apple Custard Impossible Pie, gather all your ingredients. You will need two medium apples, sugar, milk, flour, butter, eggs, vanilla extract, salt, and cinnamon. First, preheat your oven to 350°F (175°C). Next, grease a 9-inch pie dish with butter or a non-stick spray. This step helps the pie come out easily after baking. In a large bowl, mix the sugar, milk, flour, melted butter, eggs, vanilla, salt, and cinnamon. Whisk it until smooth. Pour this batter into your prepared pie dish. Now, take your thinly sliced apples and arrange them evenly on top of the batter. It’s amazing how the apples sink into the batter as it bakes, creating a tasty custard layer. Now it’s time to bake! Place the pie dish in your preheated oven. Bake for 45 to 50 minutes. Keep an eye on it. The pie is done when the top turns golden brown. A toothpick inserted in the center should come out clean. This tells you the pie is set and ready to enjoy. Once your pie is baked, remove it from the oven and let it cool for a few minutes. This cooling time lets the custard set up nicely. Slice the pie into wedges to serve. For a special touch, dust each slice with powdered sugar just before serving. You can pair it with whipped cream or vanilla ice cream for a delicious finish. Enjoy each bite of this delightful dessert! For the complete recipe, check the [Full Recipe]. To get the best custard texture in your pie, follow these steps. First, whisk your batter well. This helps mix air into the mixture. The air creates a light and fluffy custard. Next, do not overbake the pie. Keep an eye on it in the oven. When the top is golden brown, it is done. A toothpick should come out clean when inserted in the center. This means the custard is set but still soft. Slicing can be tricky with custard pies. Wait for the pie to cool a bit before slicing. This helps the custard firm up. Use a sharp knife for clean cuts. If the slices stick, run the knife under warm water. For serving, use a pie server for easy lifting. Place each slice on a plate. You can also serve it warm or at room temperature. You can add more flavor to your pie easily. Try mixing in some chopped nuts or raisins. A sprinkle of nutmeg can give it a warm spice. For a pretty finish, dust the top with powdered sugar. Serving with whipped cream or ice cream makes it even better. You can also add a drizzle of caramel sauce. These little touches will wow your guests! For the full recipe, check out the links throughout the article. {{image_4}} You can change the apples for other fruits. Pears work great in this pie. They add a sweet, soft texture. You can also use peaches or berries for a fresh flavor. Each fruit gives a different taste and look to the pie. Mix and match to find your favorite combo! To make this pie gluten-free, swap the all-purpose flour with a gluten-free blend. Look for blends that include xanthan gum. This helps keep the pie's texture. You can also use almond flour for a nutty flavor. Watch the bake time as gluten-free pies can cook faster. You can change the pie to fit the seasons. In fall, add spices like nutmeg or cloves for warmth. In summer, use fresh berries and a hint of lemon zest for brightness. For winter, a splash of eggnog can give a festive flair. Each season brings new flavors to enjoy! To keep your Apple Custard Impossible Pie fresh, let it cool first. Once cool, cover it with plastic wrap or aluminum foil. You can also place it in an airtight container. Store it in the fridge for up to four days. Keeping it covered helps prevent it from drying out. If you want to save the pie for later, freezing works well. Wrap the pie tightly in plastic wrap, then in foil. This helps to protect it from freezer burn. You can freeze it for up to three months. When ready to enjoy, let it thaw in the fridge overnight. To reheat the pie, preheat your oven to 350°F (175°C). Place the pie on a baking sheet and cover it with foil. This helps to keep the moisture in. Bake for about 15-20 minutes or until warm. If you want a crispy top, remove the foil for the last five minutes. Enjoy your delicious pie just like when it was fresh! An Impossible Pie is a unique dessert that makes its own crust as it bakes. You mix all the ingredients, pour them into a dish, and magic happens! The batter separates during baking. It forms a rich custard and a golden crust at the same time. This pie is easy to make and tastes incredible. Yes, you can use other types of apples. I love using Granny Smith for their tartness. Honeycrisp adds sweetness and crunch. You can also try Fuji or Gala apples. Each type will give a different flavor and texture. Just make sure the apples are firm and fresh. Apple Custard Impossible Pie lasts for about 3 to 4 days in the fridge. Store it in an airtight container to keep it fresh. You can also freeze it for up to 2 months. Just thaw it in the fridge before serving. Enjoy every slice! For the complete recipe, check the Full Recipe link. In this blog post, we explored the Apple Custard Impossible Pie. We covered all the ingredients, from the main list to tasty substitutions. You learned step-by-step how to prepare, bake, and cool your pie. I shared tips for perfect texture and serving. We also discussed fun variations and how to store leftovers. Making pie is fun and easy. You can impress friends and family with your skills. Enjoy creating your delicious pie that suits everyone’s taste!](https://tossedflavors.com/wp-content/uploads/2025/08/bb30ac55-66c9-4584-8ba5-4a9b9d5fd621.webp)
Are you ready to delight your taste buds with a unique dessert? This Irresistible Apple Custard Impossible Pie is perfect for any occasion. With layers of sweet apples and creamy …

Craving a comforting bowl of mac and cheese? Imagine it loaded with the rich flavor of roasted Hatch chiles. This Creamy Hatch Chile Mac and Cheese will elevate your weeknight …
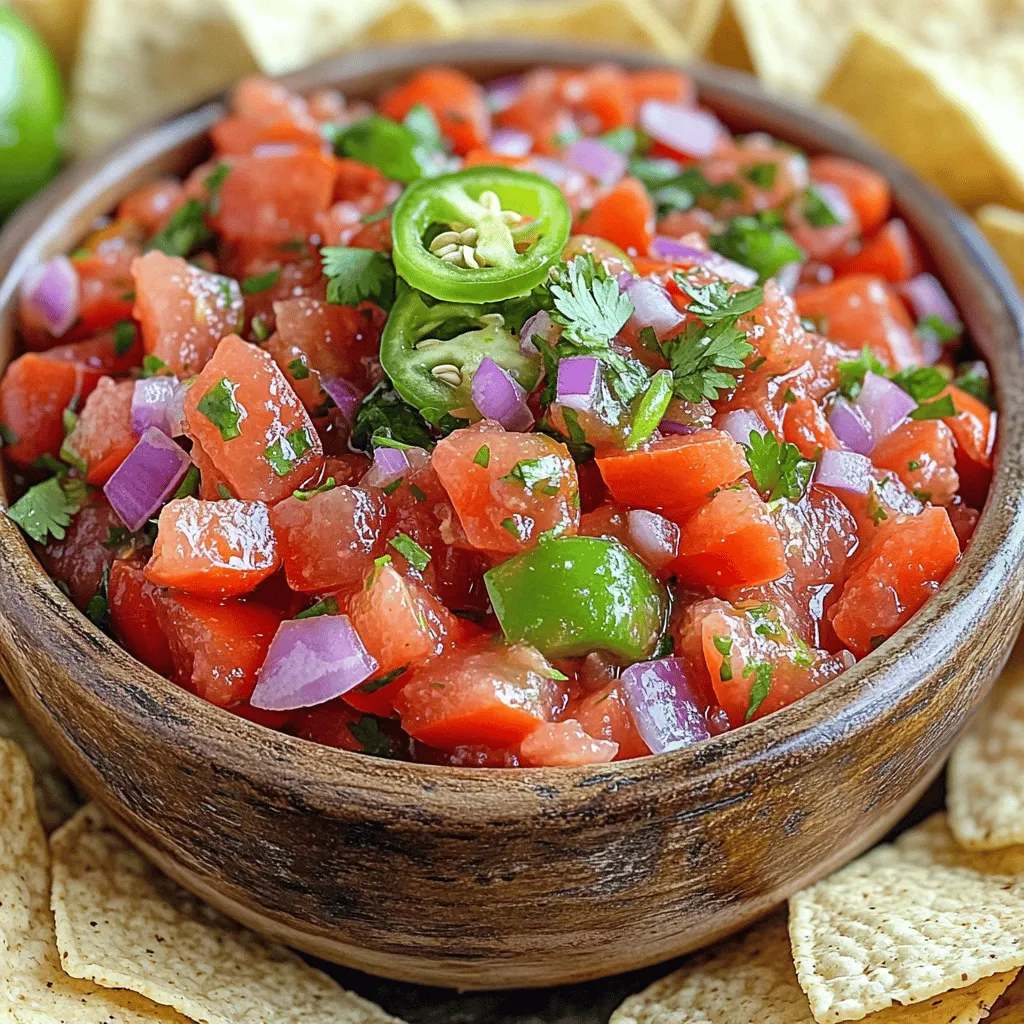
Ready to elevate your snack game? This Best Homemade Salsa Fresh and Flavorful Recipe will transform your gatherings. With fresh tomatoes, zesty lime, and spicy jalapeños, your taste buds will …
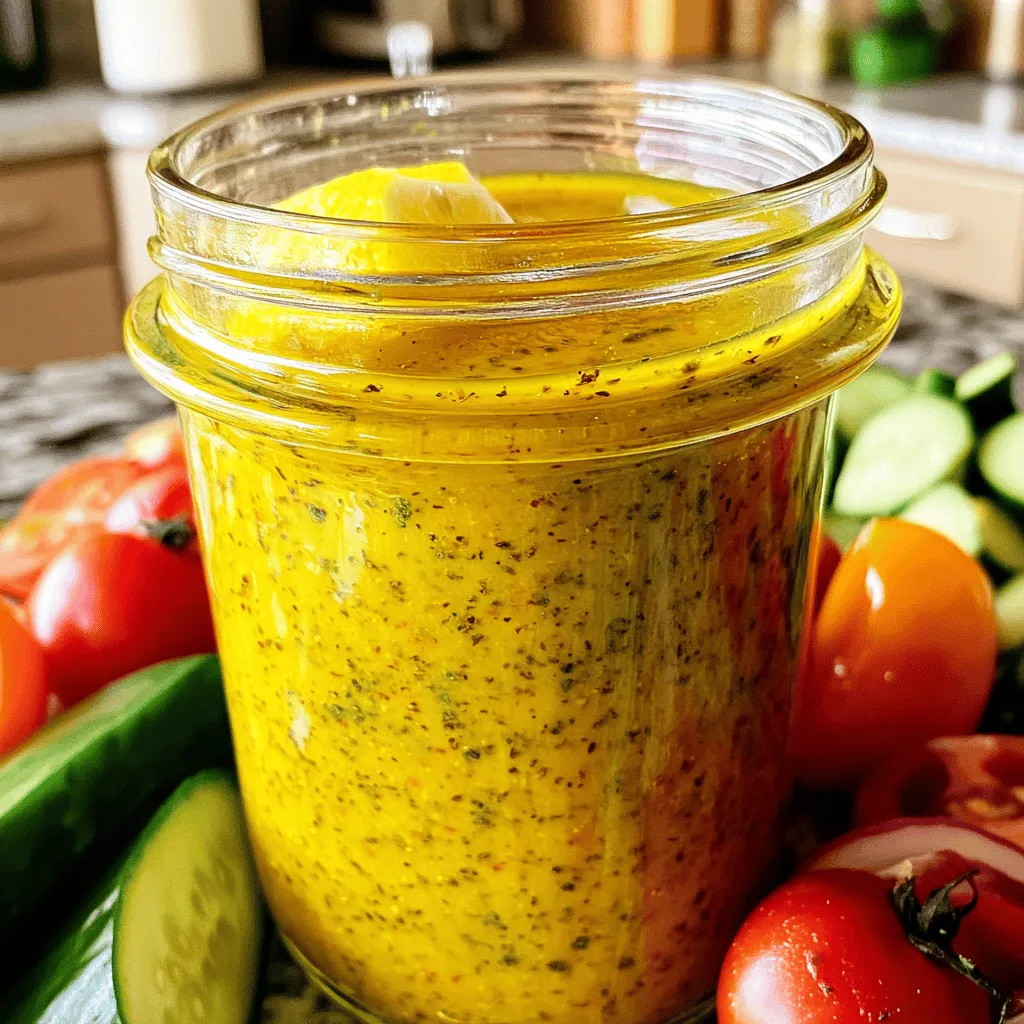
Making your own Greek salad dressing is easier than you think. With simple ingredients, you can create a fresh, flavorful mix that lifts any salad. This dressing not only enhances …

Looking for a quick and tasty lunch? You’re in the right place! Turkey Cheddar Lunch Roll Ups are easy to make and packed with flavor. With just a few ingredients, …
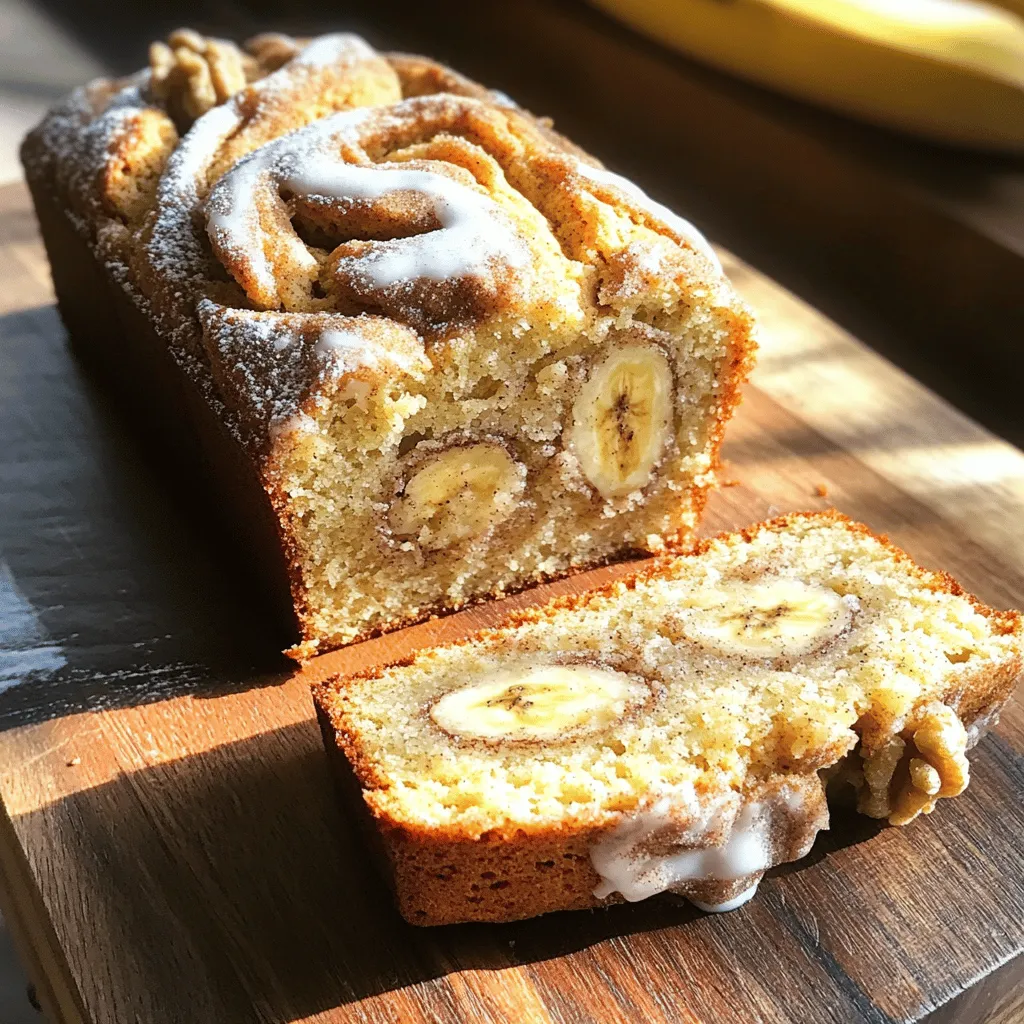
Imagine biting into a warm slice of cinnamon roll banana bread. It’s sweet, gooey, and simply delicious. If you love both cinnamon rolls and banana bread, this recipe is for …
![- 2 cups all-purpose flour - 1/2 cup pumpkin puree - 1/4 cup granulated sugar - 1/4 cup brown sugar, packed - 1/4 cup unsalted butter, melted - 1/2 cup lukewarm milk - 1 large egg - 1 packet (2 1/4 teaspoons) active dry yeast - 1 teaspoon pumpkin spice blend - 1/2 teaspoon salt For the filling: - 1/2 cup brown sugar, packed - 1 teaspoon ground cinnamon - 1/4 teaspoon ground nutmeg - 1/4 cup unsalted butter, softened For the cream cheese frosting: - 4 oz cream cheese, softened - 1/4 cup unsalted butter, softened - 1 cup powdered sugar - 1 teaspoon vanilla extract - 1 tablespoon milk (adjust for desired consistency) - Mixing bowls - Baking dish - Rolling pin - Whisk and spatula To create these delightful pumpkin cream cheese cinnamon rolls, gather all your ingredients first. The dough needs flour, pumpkin puree, sugars, butter, milk, egg, and yeast. Each ingredient plays a role in making the rolls soft and flavorful. Next, for the filling, you'll need brown sugar, cinnamon, nutmeg, and more butter. This mix gives the rolls their sweet, warm flavor. Lastly, for the cream cheese frosting, you will need cream cheese, butter, powdered sugar, vanilla extract, and milk. This frosting adds a rich and creamy finish that complements the cinnamon rolls perfectly. You can find the full recipe for Pumpkin Cream Cheese Cinnamon Rolls, which guides you step by step. 1. Activating the yeast with warm milk: Start this process by mixing lukewarm milk with the active dry yeast in a small bowl. Let it sit for 5 to 10 minutes. You will know it’s ready when it becomes foamy. This step wakes up the yeast and helps the dough rise. 2. Mixing dry ingredients and combining with wet ingredients: In a large bowl, whisk together the flour, granulated sugar, brown sugar, pumpkin spice blend, and salt. Create a well in the center and add the pumpkin puree, melted butter, egg, and the foamy yeast mixture. Stir until a sticky dough forms. 3. Kneading the dough and letting it rise: Transfer the dough to a floured surface. Knead it for 5 to 7 minutes until smooth. Shape it into a ball and put it in a greased bowl. Cover it with a kitchen towel. Let it rise in a warm spot for about an hour until it doubles in size. 1. Preparing the filling mixture: While the dough rises, mix the brown sugar, ground cinnamon, and nutmeg in a small bowl. This sweet blend will add flavor to your rolls. 2. Rolling out the dough and adding filling: Once the dough has risen, roll it out on a floured surface into a rectangle about 1/4 inch thick. Spread the softened butter over the surface. Sprinkle the sugar and spice mixture evenly on top. 3. Cutting, arranging, and second rise of rolls: Starting from a long side, roll the dough into a tight log. Cut this log into 12 equal pieces. Place the rolls cut-side up in a greased baking dish. Cover them and let them rise again for 30 minutes until they feel puffy. 1. Baking the rolls until golden brown: Preheat the oven to 350°F (175°C). Bake the rolls for 25 to 30 minutes or until they turn golden brown. Keep an eye on them to avoid burning. 2. Preparing the cream cheese frosting: In a medium bowl, beat the softened cream cheese and butter until creamy. Gradually add the powdered sugar, vanilla extract, and milk. Mix until you get a smooth frosting. Adjust the milk for your preferred thickness. 3. Drizzling frosting over warm rolls: After baking, let the rolls cool for a few minutes. Drizzle the cream cheese frosting generously over the warm rolls. This will make them even more delicious. For the complete recipe, check the [Full Recipe]. Enjoy crafting these warm and comforting pumpkin cream cheese cinnamon rolls! How do you check if your dough has risen properly? Look for size. The dough should double in size. You can also gently press it with a finger. If it springs back, it is ready. If it stays indented, let it rise a bit longer. To roll the dough evenly, use a rolling pin. Start from the center and move outward. Rotate the dough a quarter turn as you roll. This helps keep the shape uniform. Dust your surface with flour to prevent sticking. Aim for a rectangle about 1/4 inch thick for even baking. How do you adjust frosting thickness to fit your taste? Start with the base of cream cheese and butter. Add powdered sugar slowly, mixing until smooth. If it’s too thick, add milk a little at a time. Keep mixing until you reach your desired creaminess. Using a piping bag can enhance your rolls' look. Fill the bag with frosting and cut a small hole at the end. Drizzle over the warm rolls for a decorative finish. This makes the rolls not just tasty, but also beautiful to serve. {{image_4}} You can easily make these rolls your own. Try adding nuts or chocolate chips to the filling. Walnuts or pecans give a nice crunch. They also add a rich flavor. If you want a sweeter touch, add chocolate chips. They melt into gooey goodness. You can also experiment with spices. Swap out some cinnamon for ginger or cloves. Each spice brings its own warmth and depth. You might even create a blend that becomes your new favorite. If you need gluten-free rolls, you can use gluten-free flour. Many brands offer good options that work well. Just ensure you follow the package instructions for best results. For vegans, there are simple swaps. Use coconut oil instead of butter. For cream cheese, look for vegan cream cheese brands. These replacements keep the taste rich and creamy without animal products. No matter what you choose, these variations keep the joy alive in your kitchen. For the full recipe, you can find it above. Enjoy the process of making these rolls your own! To keep your pumpkin cream cheese cinnamon rolls fresh, store them in an airtight container. This helps seal in moisture. You can keep them at room temperature for up to three days. If you want them to last longer, place them in the fridge. They can last about a week in the fridge. When it comes to reheating, I recommend using the oven. Preheat your oven to 350°F (175°C). Place the rolls on a baking sheet and cover them with foil. Heat for about 10-15 minutes. This method warms them up nicely without making them too dry. You can also use the microwave. Heat them for 10-15 seconds. Be careful not to overheat, or they may get tough. You can freeze unbaked rolls for later use. After cutting the rolls, place them on a baking sheet. Freeze them for about 1-2 hours until solid. Then, transfer them to a freezer-safe bag or container. They can stay frozen for up to three months. When you’re ready to bake, take them out and let them rise overnight in the fridge. Bake them as usual. You can also freeze baked rolls. If you freeze them with frosting, wrap them well in plastic wrap. Place them in a freezer-safe bag. They can last up to three months too. When you want to enjoy them, thaw in the fridge overnight. Reheat in the oven, just like before. If you freeze them without frosting, you can add fresh frosting after reheating. This keeps your rolls tasting fresh and delicious. Can I make the dough ahead of time? Yes, you can make the dough a day before. Just cover it and store it in the fridge. When you are ready, let it sit at room temperature for about 30 minutes before rolling it out. How long should I let the rolls rise? Let the rolls rise for about 30 minutes after cutting them. They should feel puffy and increase in size. A warm spot helps them rise better. What’s the best way to serve pumpkin cream cheese cinnamon rolls? Serve them warm right out of the oven. Drizzle the cream cheese frosting on top. You can add a sprinkle of pumpkin spice for extra flavor. How can I tell when the rolls are fully baked? Check for a golden brown color on top. You can also tap the bottom of a roll. If it sounds hollow, they are done. What if I don’t have pumpkin spice? Can I make it at home? Yes! You can mix cinnamon, nutmeg, and ginger to create your own pumpkin spice blend. Use 1 teaspoon of cinnamon, 1/2 teaspoon of nutmeg, and 1/2 teaspoon of ginger for a simple mix. Where can I find the full recipe for Pumpkin Cream Cheese Cinnamon Rolls? You can check the full recipe for Pumpkin Cream Cheese Cinnamon Rolls to get all the details you need for this delicious treat. In this article, we covered how to make delicious pumpkin cream cheese cinnamon rolls. You learned about the main ingredients, kitchen tools, and step-by-step instructions for perfect results. I shared tips for achieving the best rolls, offered tasty variations, and provided storage advice to keep your treats fresh. Remember, baking is fun and creative. Enjoy the process and don't be afraid to experiment. With these tips, your rolls will impress family and friends. Enjoy your baking adventure!](https://tossedflavors.com/wp-content/uploads/2025/08/0265abe7-07c1-4a3d-9c64-30a2bcd91030.webp)
Warm up your kitchen this season with my Pumpkin Cream Cheese Cinnamon Rolls! Imagine soft, fluffy rolls filled with pumpkin goodness and a sweet cream cheese glaze drizzled on top. …